
How to authenticate your domain before sending emails
Overview
Once you’ve cleaned your list and imported your best subscribers complete this essential step: authenticate your domain.
Domain authentication tells inbox providers (like Gmail, Yahoo, and Outlook),
“These emails are really coming from me. I’m a trusted sender.”
It’s one of the most effective ways to protect your reputation and ensure your emails land in inboxes instead of spam folders.
Domain authentication verifies that Flodesk is allowed to send emails on your behalf.
Without it, your messages may look suspicious to inbox providers or even be blocked.
Here’s what authenticating your domain does for you:
Improves deliverability: helps your emails reach the inbox instead of spam
Builds sender trust: shows that you’re a verified, legitimate sender
Protects your brand: prevents spoofing and phishing attempts
Supports smooth domain warm-up: essential when starting on a new platform
What domain authentication includes
Flodesk uses three DNS records to verify your domain:
Record | What it does | Why it matters |
SPF (Sender Policy Framework) | Lists which servers are allowed to send on your behalf | Prevents fake or unauthorized sending |
DKIM (DomainKeys Identified Mail) | Adds an encrypted digital signature to your emails | Confirms that your content wasn’t altered in transit |
DMARC (Domain-based Message Authentication, Reporting & Conformance) | Sets policies for how inboxes handle unauthenticated messages | Strengthens your domain’s protection and reputation |
You’ll add these records to your domain host’s DNS settings (for example, GoDaddy, Namecheap, or Squarespace).
How to authenticate your domain
In your Flodesk account, go to My account → Domain setup.
Click Authenticate now on your domain card and select the automatic flow or the manual steps. Then, follow the on-screen prompts.
If you selected the manual steps, copy the listed DNS records (SPF, DKIM, and DMARC).
Log in to your domain host and paste each record into the DNS settings exactly as shown.
Return to Flodesk, click Next → Done.
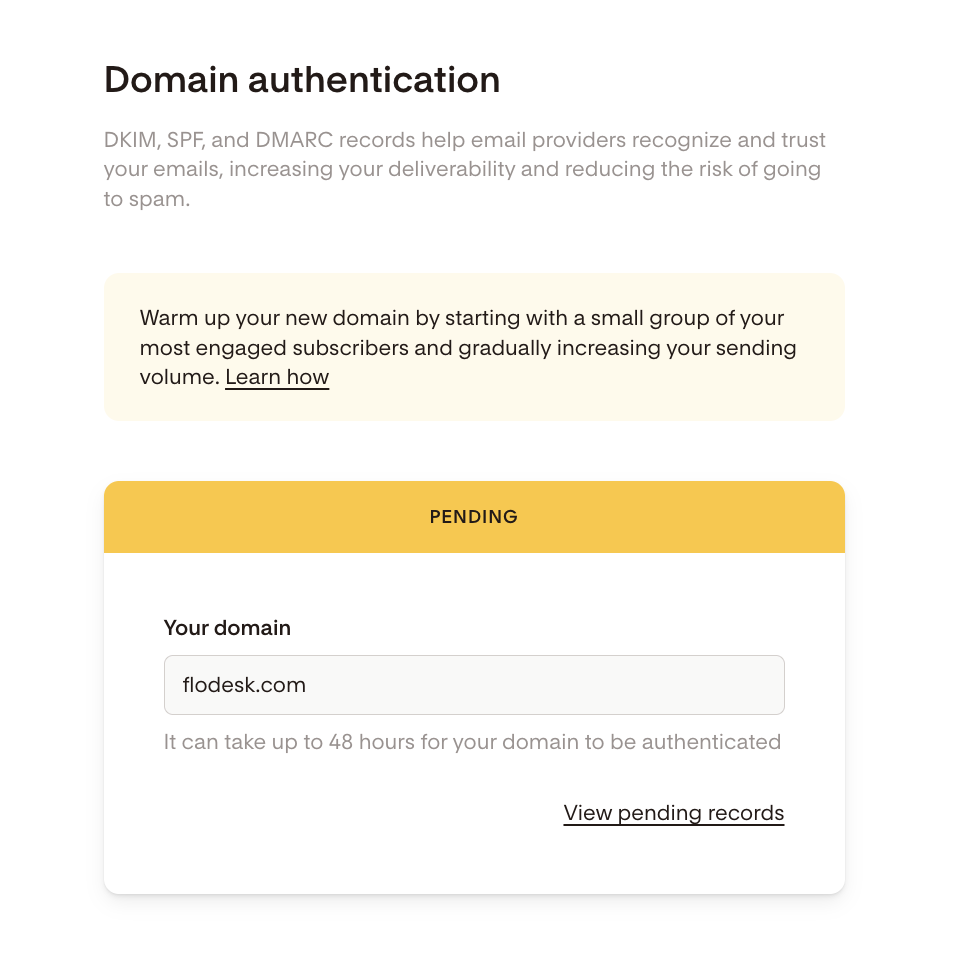
Note: It can take up to 48 hours for your domain provider to update your records.
You can review your authentication progress in your Domain Setup.
If you need to change your domain in Flodesk, follow the steps from here.
Need additional step-by-step help?
We’ve got detailed guides for each setup method and also video guides for the following domain providers:
How to complete verification for a partially verified custom domain
Video guide: Authenticate your domain in GoDaddy manually
Video guide: Authenticate your domain in Squarespace manually
Video guide: Authenticate your domain in Namecheap manually
Video guide: Authenticate your domain in Namecheap automatically
Video guide: Authenticate your domain in Shopify manually
Video guide: Authenticate your domain in Google Domains manually
Or, learn more about what each record does in more detail:
After authentication
Once your domain is verified:
You can start warming up your domain gradually.
You’ll build a strong sender reputation that supports better deliverability over time.
Do this next
Once your domain is authenticated, continue setting up your account and then warm up your sending domain. As domain warming can take 5–6 weeks with regular sending, use this time to replace your old opt-in forms with your new Flodesk forms and create your workflows:
Set up your account by customizing your brand settings in Flodesk
Recreate your forms, email templates and build your automations in Flodesk
Set up your first offer in Flodesk Checkout (optional)