
All about the Audience tab
Overview
This article explains everything you need to know about the Audience tab in Flodesk, the central place where all your subscriber and customer data lives. It covers what each subscriber status means (including the new Archived status), how to manage and organize your list, what actions you can take on subscribers, and how segments and customers work.
What is the Audience tab?
The Audience tab is where all subscriber and customer data lives in Flodesk.
You’ll use it to:
View and manage your email list
Add or delete subscribers
Organize subscribers into segments
View customers and order history (Flodesk Checkout)
You can access it from the top navigation bar or directly at: https://app.flodesk.com/subscribers
What you’ll find in the Audience tab
The Audience tab has three sections: Subscribers, Customers, and Segments.

Subscribers
This is your main list in Flodesk.
Flodesk uses one list, not multiple lists. Every subscriber is automatically added to the system-default All subscribers segment when they:
Opt in through a Flodesk form
Are added manually
Are uploaded via CSV
Are added through a connected integration
Important to know: The main Subscribers view includes both active and inactive records: unsubscribed contacts, hard bounced addresses, and archived subscribers are all shown here. Inactive subscribers appear grayed out and don't receive emails. Flodesk doesn't automatically delete them, since some privacy laws require record-keeping. If you need to remove them, you can filter by status and use bulk actions to delete.
Understanding subscriber statuses
Every subscriber in your account has a status that determines whether they can receive your emails. Here's what each one means.
Active
This subscriber is on your list and eligible to receive your emails. Active subscribers count toward your plan's subscriber limit.
Archived
This subscriber has been removed from your active sending list: either by you, a team member, or automatically by Flodesk to protect your deliverability. Archived subscribers don't receive marketing or workflow emails, but they can still receive commerce purchase receipts. They don't count toward your plan's subscriber limit, and you can restore them to Active at any time.
Archiving is the safer alternative to deleting. Subscriber data is preserved, and the action is reversible. If an archived subscriber fills out one of your Flodesk opt-in forms, they'll automatically be reactivated (or moved to Unconfirmed if you have double opt-in enabled).
Unconfirmed
This subscriber hasn't confirmed their subscription yet. This status applies if you have double opt-in enabled. Once they click the confirmation link in the email Flodesk sends them, they'll move to Active. Contacts can also appear as Unconfirmed when they're added to Flodesk through a post-purchase follow-up workflow or an abandoned cart workflow without having given marketing consent.
Unsubscribed
This subscriber has opted out of your list and won't receive any emails from you. To hear from you again, they'd need to sign up on their own. You can't manually reactivate them.
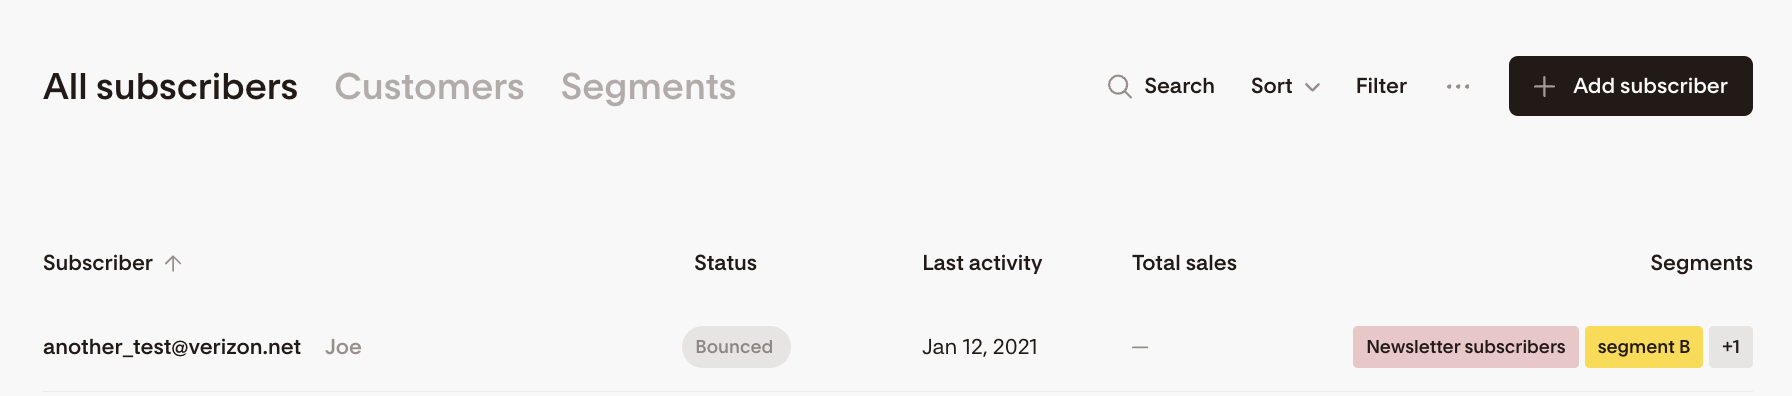
Bounced
This subscriber's email address has hard bounced, meaning emails can't be delivered to them. They can't receive any more emails from you. If they want back on your list, they'd need to sign up again with a different email address.
Marked spam
This subscriber marked one of your emails as spam in their email client. They won't receive any more emails from you. To re-subscribe, they'd need to opt in again through a Flodesk form.
Cleaned
These subscribers were automatically removed from your list because their address was flagged as invalid, risky, or likely to damage your deliverability, or they reached soft bounce limits. Cleaned is a permanent status. It can't be reversed, even if the subscriber tries to resubscribe. Like Archived subscribers, they can still receive commerce purchase receipts.
“Deleted”
Deleted subscribers are entirely removed from your account. This isn't technically a status. Once deleted, there's no record left to reference or restore.
Which statuses count toward your subscriber limit?
Only Active subscribers count toward your plan's subscriber limit. All other statuses — Archived, Unsubscribed, Bounced, Marked spam, Cleaned, and Unconfirmed — do not.
Can you manually change a subscriber's status?
You have control over some statuses, but not all.
Status | Can you set this manually? |
Active | Yes — by unarchiving a subscriber |
Archived | Yes — by archiving an active subscriber |
Unsubscribed | Yes — you can manually unsubscribe a subscriber |
Bounced | No — set automatically after a hard bounce |
Marked spam | No — set automatically when a subscriber marks your email as spam |
Cleaned | No — set automatically by Flodesk's systems or after repeated soft bounces |
Unconfirmed | No — set automatically when a subscriber signs up via double opt-in without confirmation |
Note: Only Admins and Managers can archive and unarchive subscribers. Editors don't have permission to perform these actions.
Archiving vs. other statuses — what's the difference?
It's worth knowing how Archived compares to a few other statuses, since they can look similar at a glance.
Archived vs. Unsubscribed: Archiving is reversible by you. Unsubscribed requires the subscriber to take action. They need to opt in again before they can receive emails from you.
Archived vs. Cleaned: Archived contacts can be reactivated by you at any time. Cleaned is permanent and can't be reversed.
Archived vs. Deleted: Archiving preserves the subscriber's record and history. Deleting removes them from your account entirely and can't be undone.
Actions available in Subscribers
Search, Sort, Status, Filter, Download CSV
Search: Find subscribers by name or email
Sort: By date created or date modified
Status: View subscribers based on the selected status
Filter: Narrow subscribers by status, segments, fields, and more. Learn more about all the filtering options available here.
Add subscriber: Add one subscriber manually or upload a CSV

Tip: Click the “Subscriber” column header to sort A–Z or Z–A:
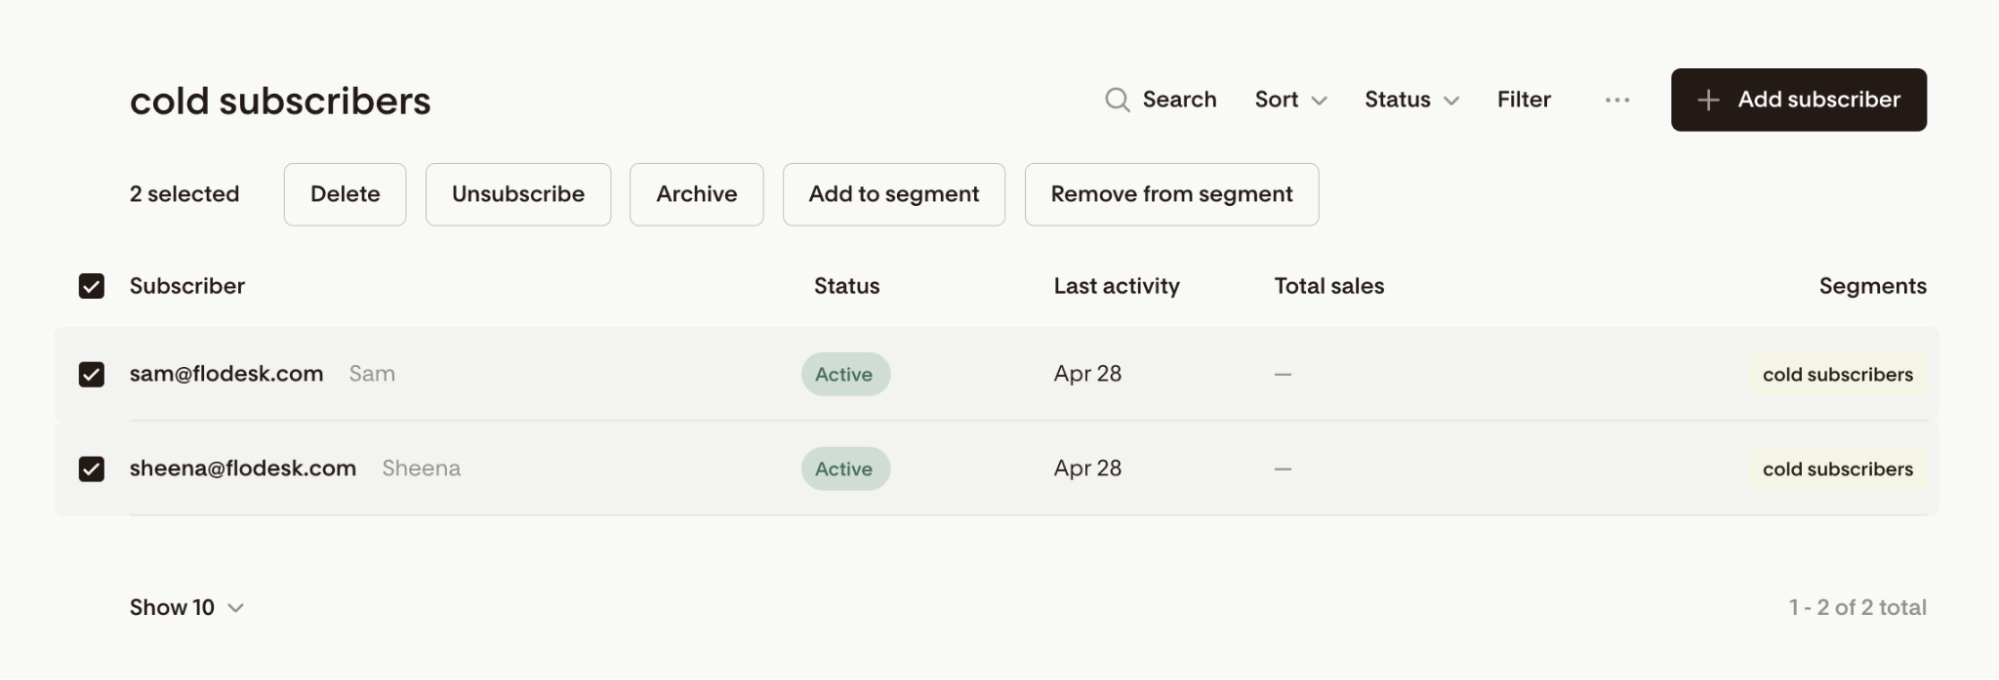
Bulk actions
After selecting one or more subscribers, you can:
Delete — Permanently removes the subscriber record from your account and all segments. This can't be undone.
Unsubscribe — Marks the subscriber as unsubscribed. They can't be re-added manually or via CSV. They must opt in again on their own.
Archive — Moves the subscriber to Archived status. Their data is preserved and you can restore them at any time.
Add to segment — Adds subscribers to the segment(s) you choose. They stay in All subscribers and are also added to the new segment.
Remove from segment — Removes subscribers from a specific segment, but doesn't remove them from All subscribers or delete their record.
You cannot remove subscribers from a segment by uploading a CSV.
CSV uploads can only add subscribers.
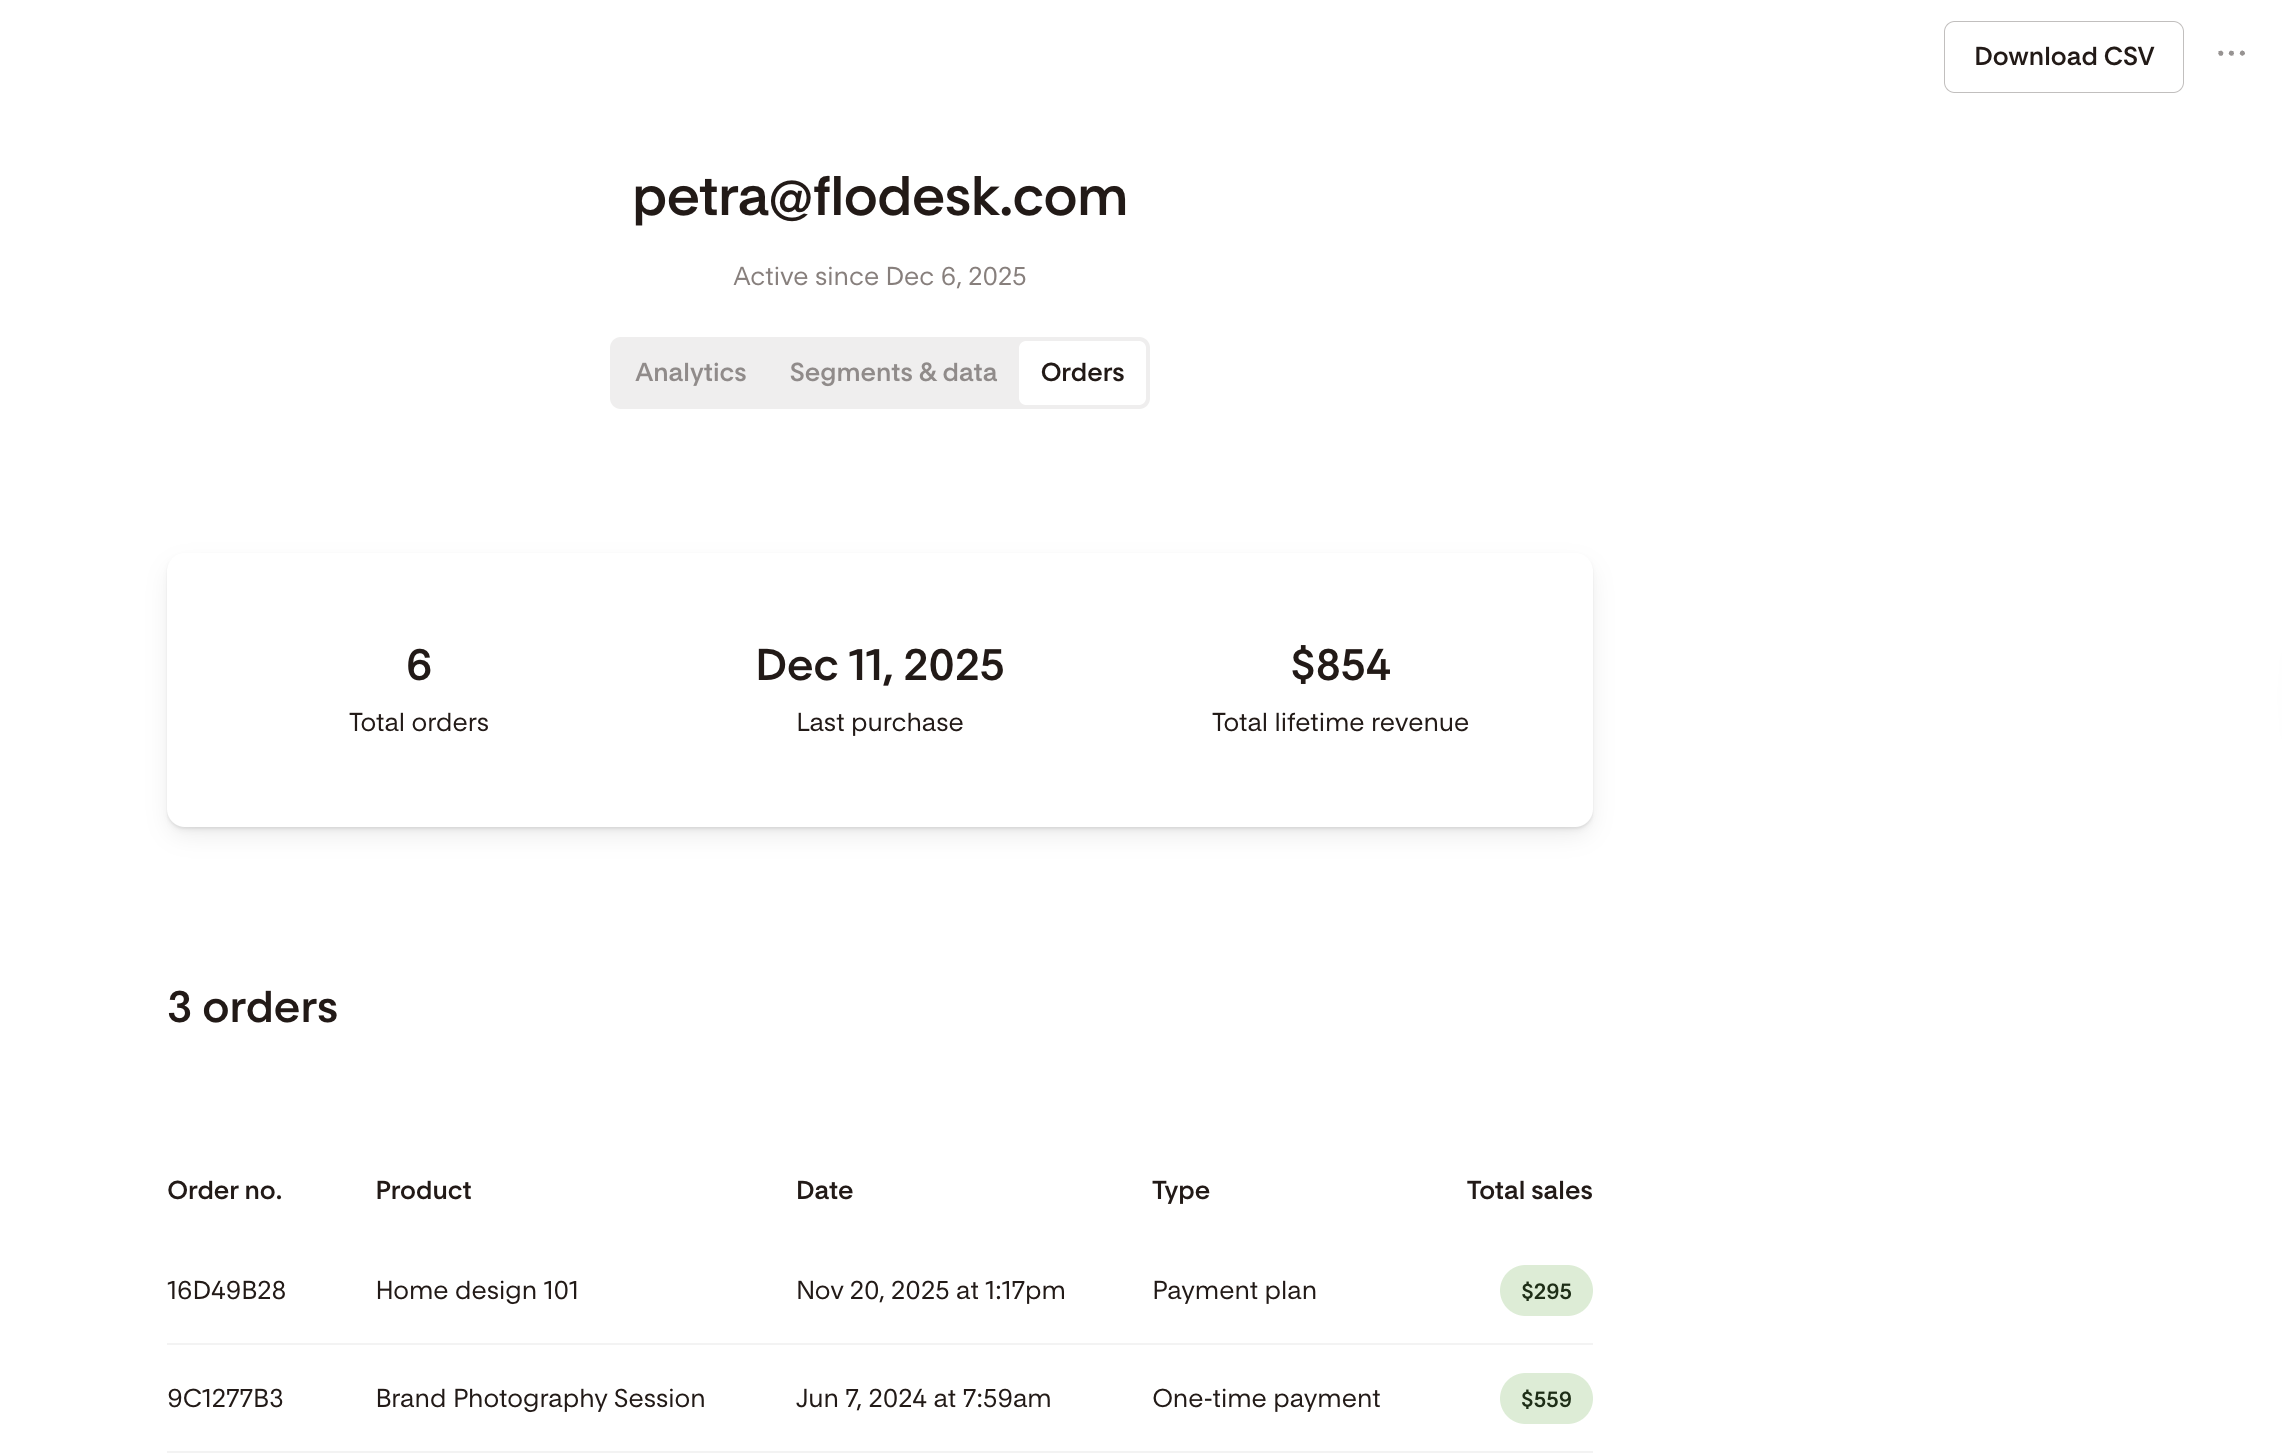
Viewing an individual subscriber
Click a subscriber’s email address to open their record. You’ll see two main tabs:
Analytics — Lifetime open rate, click rate, and engagement data
Segments & data — The segments they belong to and all stored custom subscriber fields
Customers
If you use Flodesk Checkout, buyers appear in the Customers section. Here you can:
Search and sort customers
Click a customer email to view their details
Access the Orders tab to see purchase history
Export order data using Download CSV

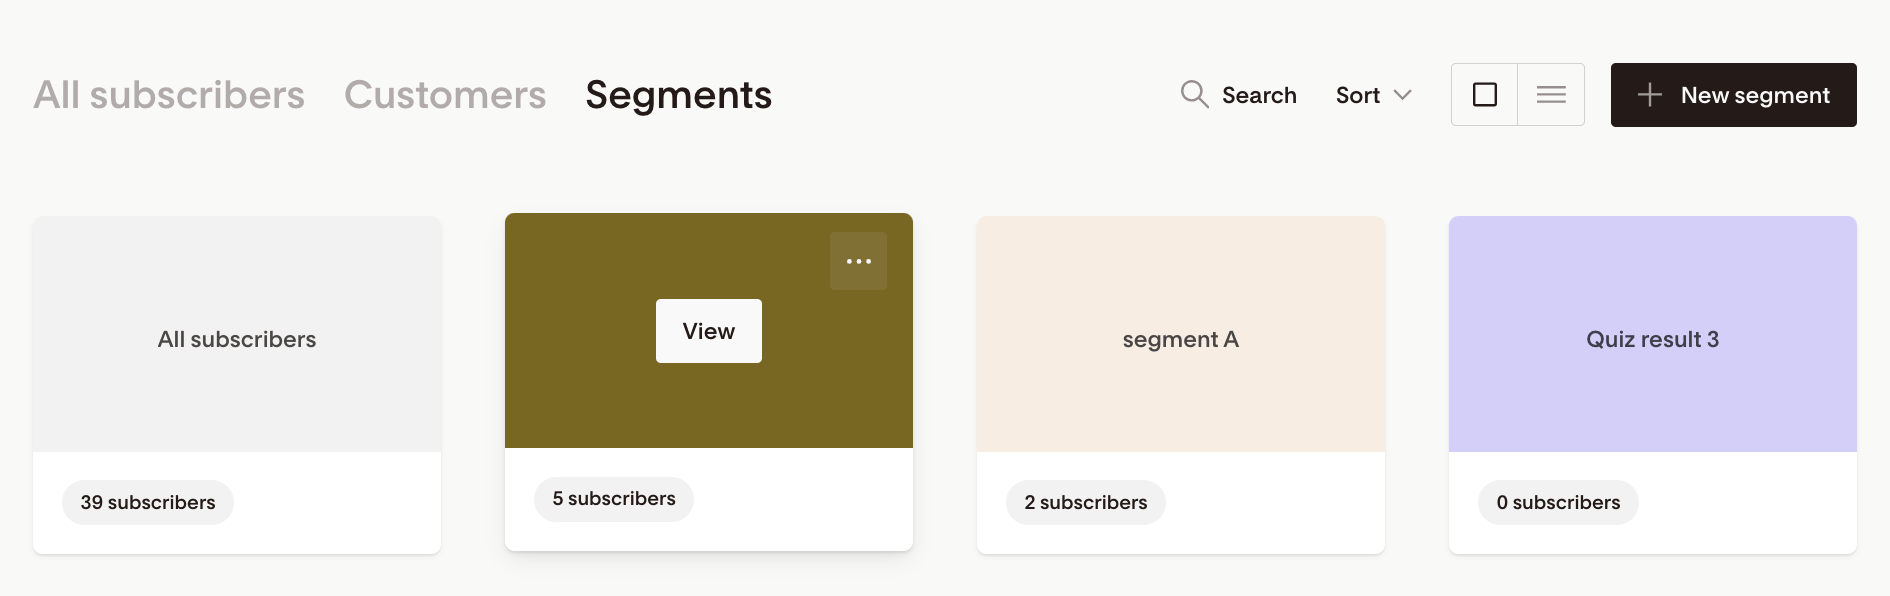
Segments
Segments are groups of subscribers you create to organize your audience and target your sends.
Key things to know about segments:
You can create unlimited segments
The system-default All subscribers segment includes everyone (active and inactive), can't be deleted, and can't be used to trigger a workflow
Subscribers can belong to multiple segments at once
You can view segments as cards or a list, search them, and create new ones using + New segment.
Segments card view:
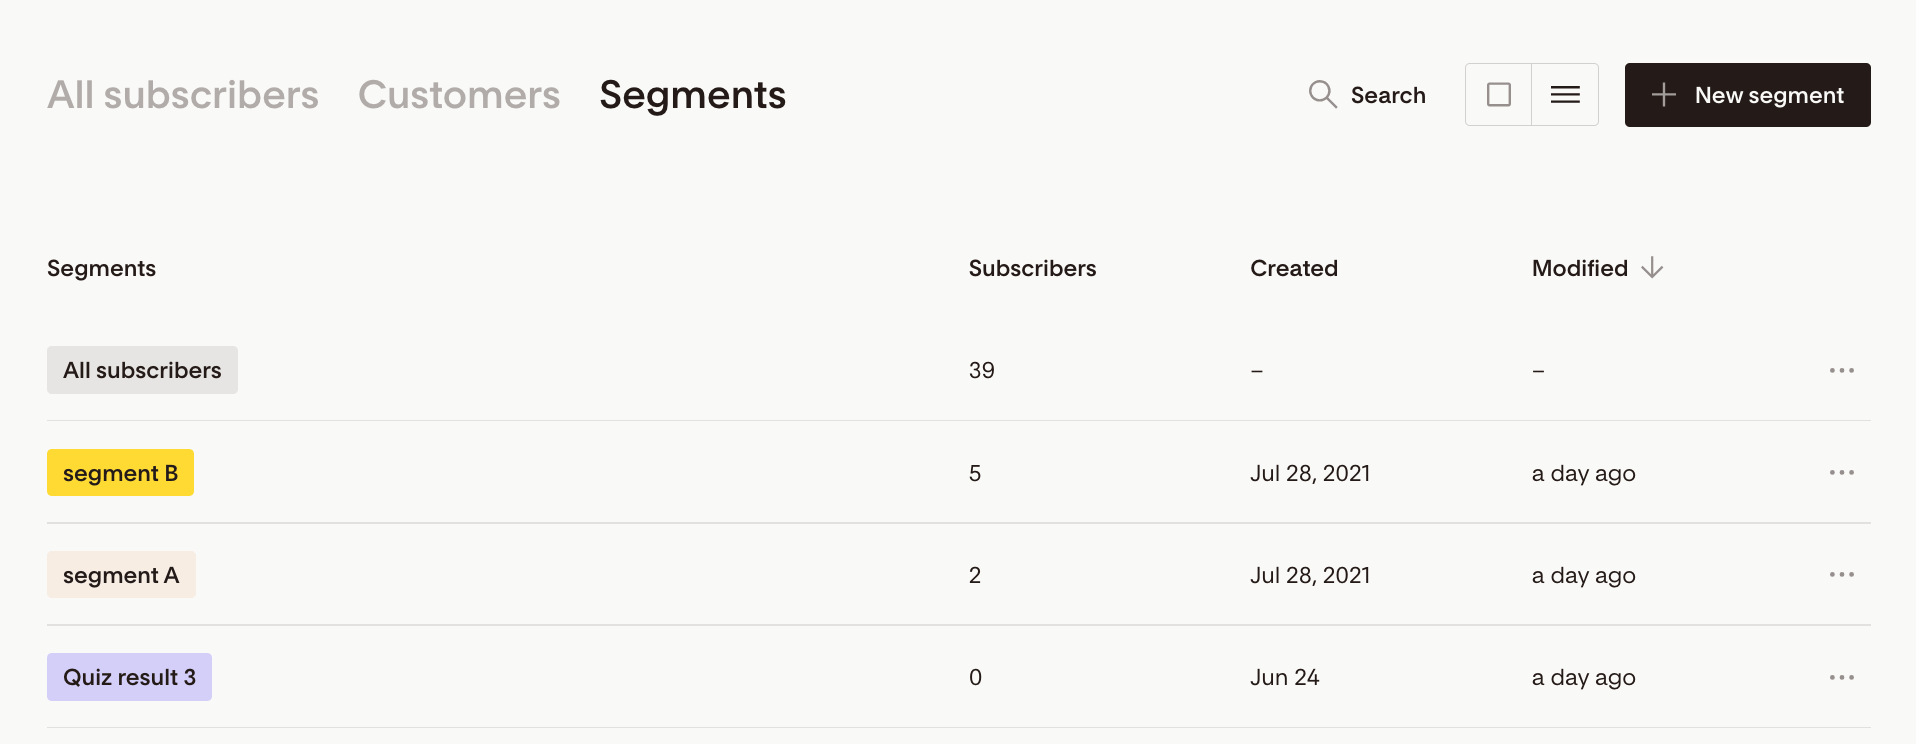
Segments list view:
FAQ
What's the difference between archiving and deleting a subscriber?
Archiving preserves the subscriber's record and is reversible. You can restore them to Active at any time. Deleting permanently removes them from your account and can't be undone.
What's the difference between Archived and Unsubscribed?
An archived subscriber can be reactivated by you. An unsubscribed subscriber needs to take action themselves. They must opt in again before they can receive emails from you.
Can I archive subscribers in bulk?
Yes. Select multiple subscribers and choose Archive from the bulk action menu. If some subscribers can't be archived (for example, they're Unsubscribed or Bounced), Flodesk will show you a summary before you confirm.
Can I undo a bulk archive?
Yes. You can select multiple subscribers and choose Unarchive from the bulk action menu.
Can I update or change a subscriber's email address?
No. Subscriber email addresses can't be edited in Flodesk.
Can I remove subscribers from a segment by uploading a CSV?
No. CSV uploads can only add subscribers. To remove subscribers from a segment, use bulk actions in the Audience tab.
How do I delete subscribers?
Filter or select subscribers, then use the Delete action. This permanently removes them from your account.
How do I add a subscriber?
You can upload a CSV, add a subscriber manually using Add subscriber, collect subscribers automatically through Flodesk opt-in forms, or add subscribers via connected integrations.
Can I change a subscriber's status manually?
You can archive an active subscriber, unarchive an archived subscriber, or manually unsubscribe a subscriber. You can't manually change a subscriber to Bounced, Marked spam, Cleaned, or Unconfirmed. Those statuses are set automatically by Flodesk's systems.