
Set Up Your Logo and Social Media Profiles in Flodesk
Learn how to customize your brand settings so your emails, forms, and checkouts reflect your unique style.
Overview
Your brand settings in Flodesk help you create a consistent look and feel across everything you send. From uploading your logo and fonts to connecting social media profiles, this guide walks you through every step.
Step-by-Step: Customize Your Brand Settings
1. Go to Branding
Click your avatar → Account settings → Branding
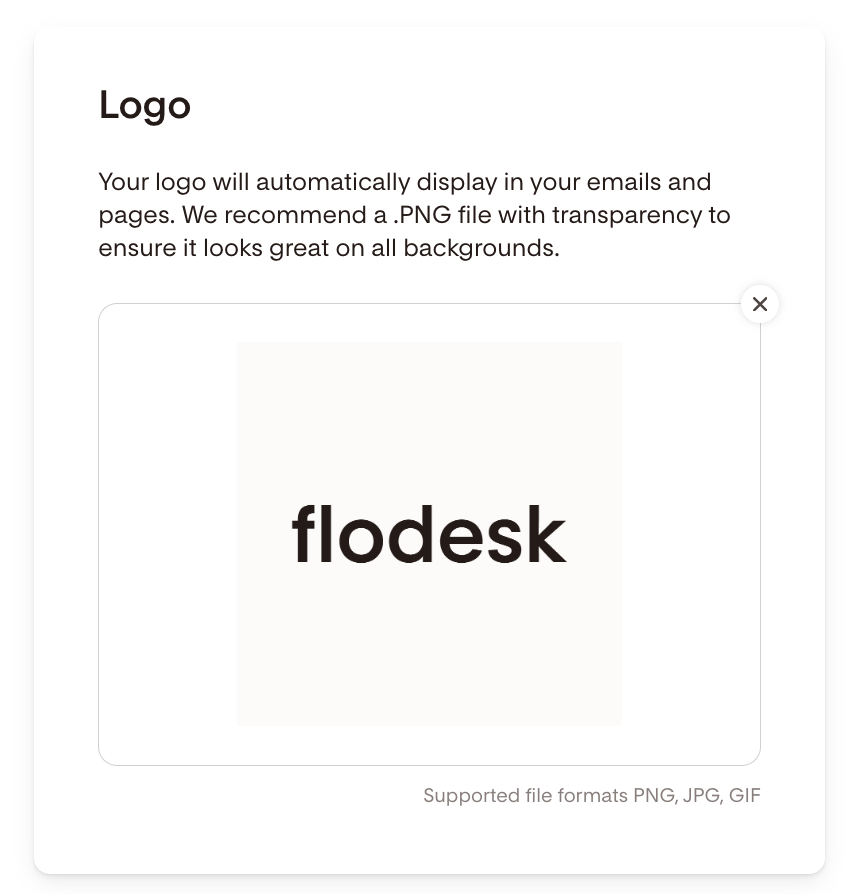
2. Upload your logo
Your logo automatically appears in your emails and pages in the Logo block.
Use a transparent PNG for the best results.
Supported file formats: PNG, JPG, GIF
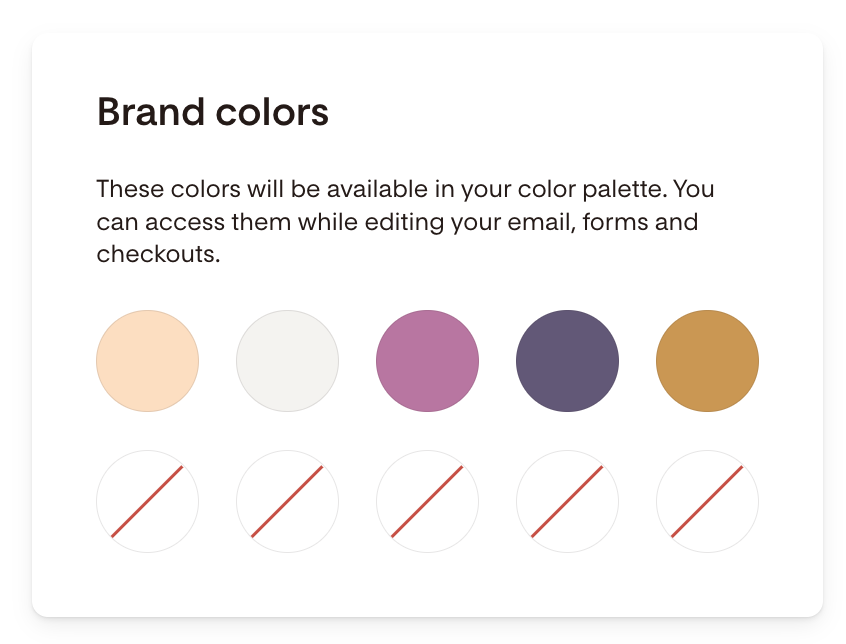
3. Choose your brand colors
Select up to 10 colors to use across your emails, forms, and checkouts.
These colors will appear in your design color palette.
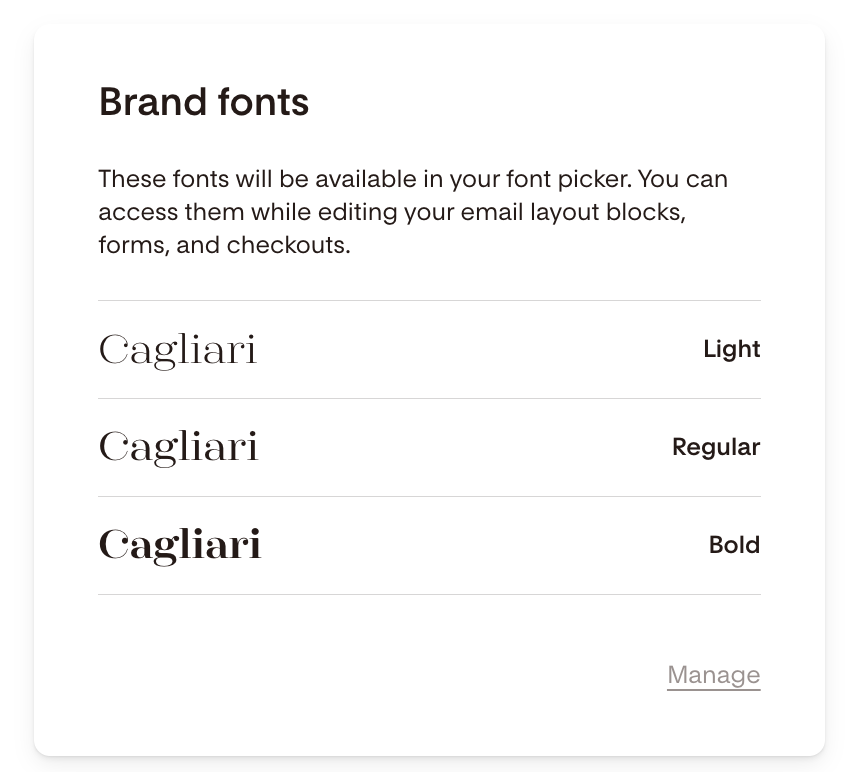
4. Upload your brand fonts
Upload your custom fonts to use in emails, forms, and checkouts.
Custom fonts are available in the font picker.
Note: Custom/Brand fonts are not available in plain Text blocks.
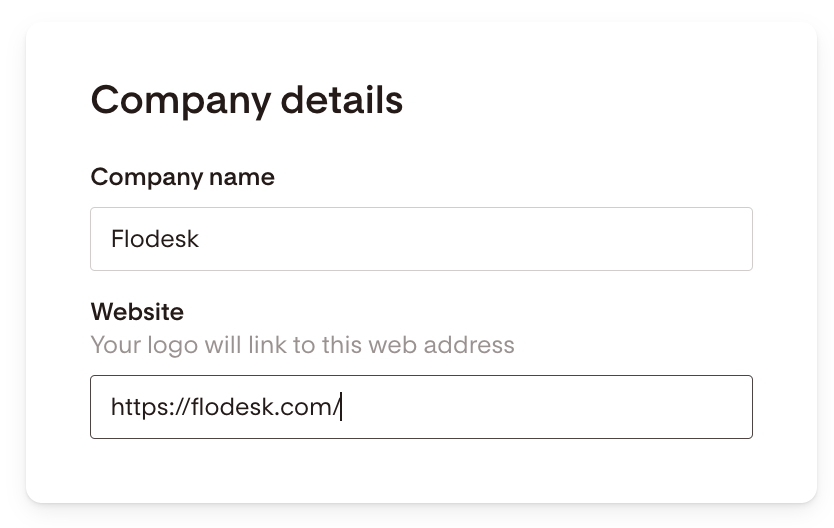
5. Add your company details
Enter your company name and website URL (starting with
https://).Your logo will automatically link to this URL.
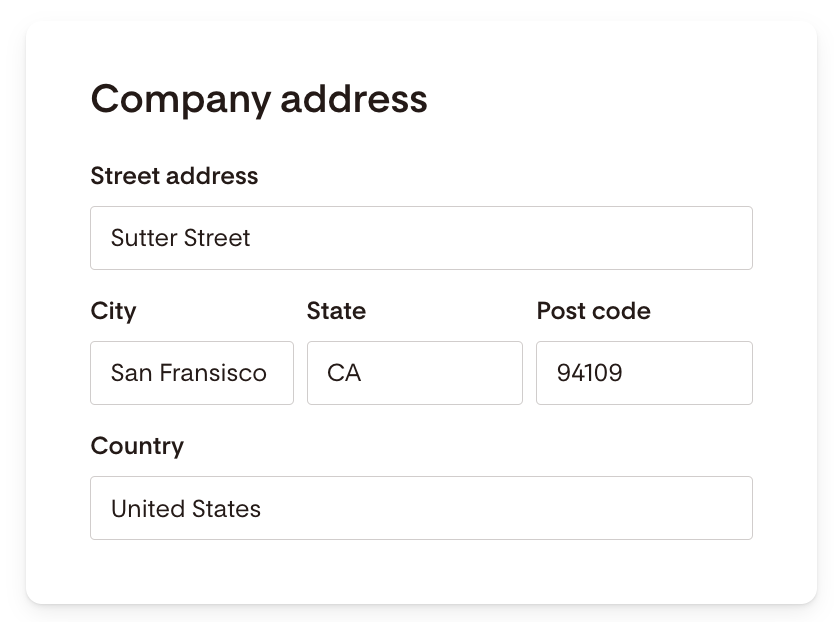
6. Add your company address
Required to comply with the federal CAN-SPAM Act.
This address appears in your email footer.
Tip: Use a P.O. Box or virtual business address instead of your home address if you prefer privacy.
If you need to update your mailing address, edit the relevant fields.
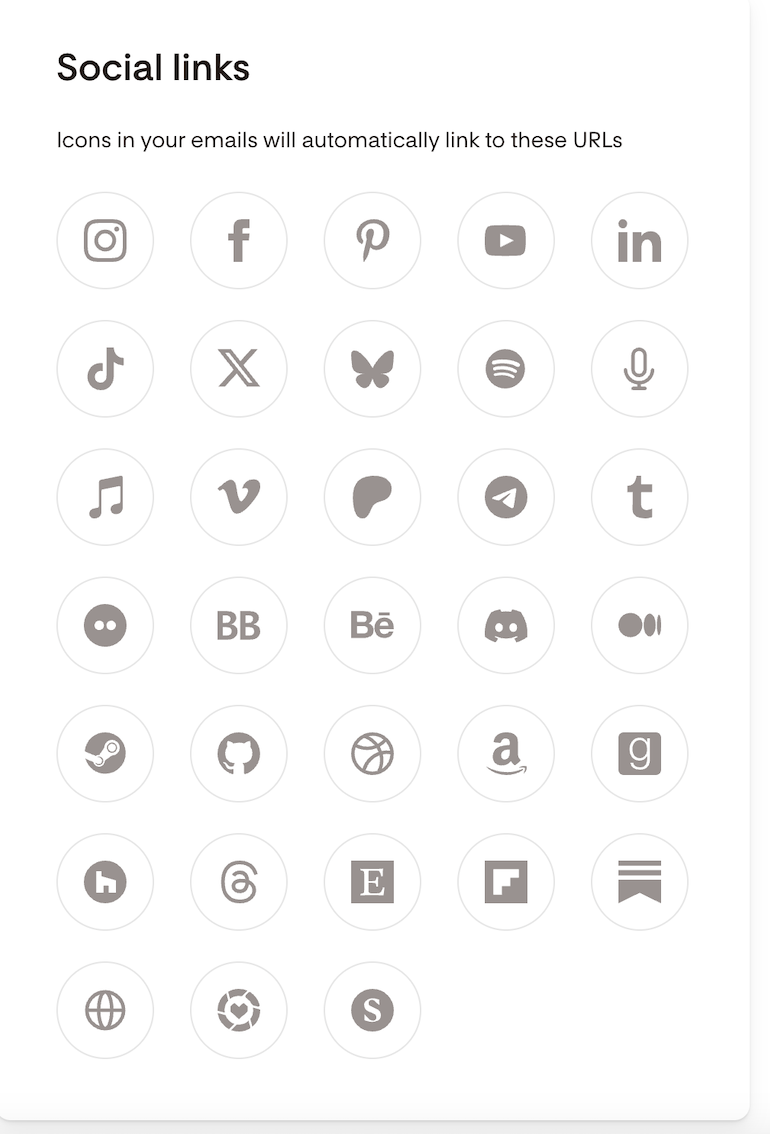
7. Connect your social media links
Click the social platforms you want to add and enter your profile URLs (include
https://).These will appear as icons in your email footer when you use the social block.
Supported social channels include:
Instagram
Facebook
Pinterest
Youtube
LinkedIn
TikTok
X
Bluesky
Spotify
Podcast
Apple Music
Vimeo
Patreon
Telegram
Tumblr
Flickr
Bookbub
Behance
Discord
Medium
Steam
Github
Dribble
Amazon
Goodreads
Houzz
Threads
Etsy
Flipboard
Substack
Website
LTK
Shopmy
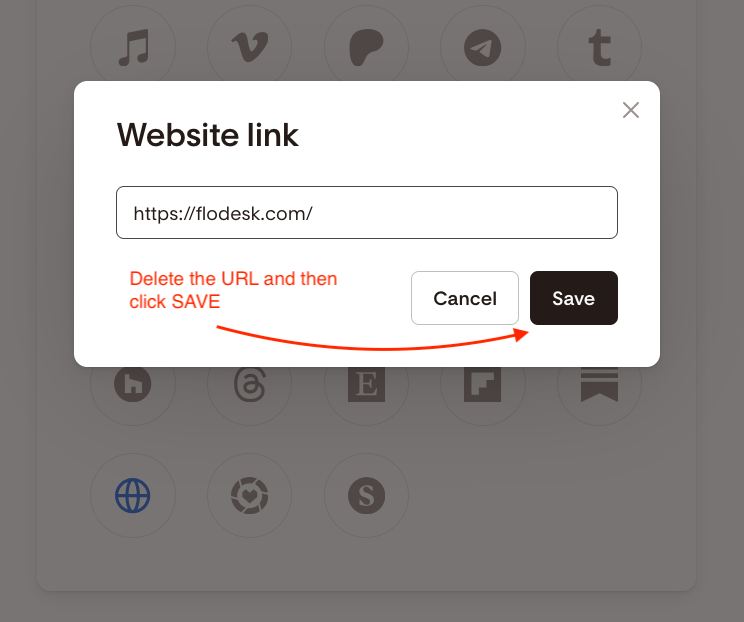
To delete a social link so that it doesn't appear in your emails:
Click on the Social icon under Account settings > Branding (see the image below as a reference, where we selected the website link to be removed)
Delete the URL and hit Save.
8. Manage Flodesk branding
Use a Flodesk-branded footer that automatically links to your unique referral sign-up link so you get paid for anyone who signs up through your emails, full page forms, and checkouts. You can hide this footer with our Pro, Everything, or legacy plans.

You’re all set! Your brand colors, fonts, logo, address, and social media links are now saved. You’re ready to start creating beautiful, on-brand emails and pages in Flodesk.
Set Up Your Logo and Social Media Profiles — FAQs
How do I access my brand settings?
Go to your avatar → Account settings → Branding.
How do I upload my logo?
Click Upload logo in Branding. Use a transparent PNG, JPG, or GIF file for best results.
What’s the recommended logo format?
A transparent PNG works best on all backgrounds.
How many brand colors can I add?
You can select up to 10 colors to use in your emails, forms, and checkouts.
Can I upload my own fonts?
Yes! Upload custom brand fonts under Branding. They’ll appear in your font picker (not in plain text blocks).
Why do I need to add a company address?
It’s required by the CAN-SPAM Act and appears in your email footer.
Tip: Use a P.O. Box or virtual business address for privacy.
How do I add my social media links?
In Branding, click each social icon and enter your full URL (starting with https://). These links appear in your email footer.
Can I remove a social link?
Yes. Delete the URL under Account settings → Branding, then click Save.
Can I hide Flodesk branding from my emails?
You can hide this footer with our Pro, Everything, or legacy plans.
Can I change my branding later?
Absolutely. You can edit your logo, colors, fonts, and links anytime in Account settings → Branding.