
Adding products to your sales page
Overview
Once you've created a product in your catalog, the next step is adding it to a sales page so buyers can find and purchase it. In Flodesk, a sales page is one part of a checkout, alongside the checkout form and delivery settings. You'll create the sales page under Checkouts in your dashboard.
This article walks you through how to link products to a sales page, what to do if you haven't created a product yet, and what's required before you can publish.
Note: this feature is being released in batches. Right now, Products is available to new members who haven't created a checkout before. If you’re an existing Flodesk member who has existing checkouts, you'll be invited to try Products soon, and switching will always be your choice. Nothing will be migrated automatically.
Important: A sales page can only be published if every product block on the page has a linked, published product, and if you have a completed Stripe account. Draft products, empty product blocks, and incomplete Stripe onboarding will all prevent publishing until they're resolved.
Plan limits for creating and publishing sales pages
Lite plan: you can’t publish sales pages
Pro plan and legacy Unlimited Email plans: you can publish one sales page at a time. However, you can sell multiple products on that same page. If you try to publish a second sales page while the first is still live, you'll see an alert letting you know you've reached your limit.
Everything plan: you can publish unlimited sales pages
For a full breakdown, see What's included in Products on each plan.
How sales pages and products work together
In Flodesk, sales pages and products are separate things that work together. A sales page is the page your buyers visit and browse. A product is what they actually purchase. You connect the two by adding a product block to your sales page and linking a product from your catalog to it.
This separation means the same product can appear on multiple sales pages without you having to re-enter its details. It also means you can update a product once in your catalog and have that change carry through to every page it appears on.
For more on managing products, see How to manage an existing product
Creating a sales page
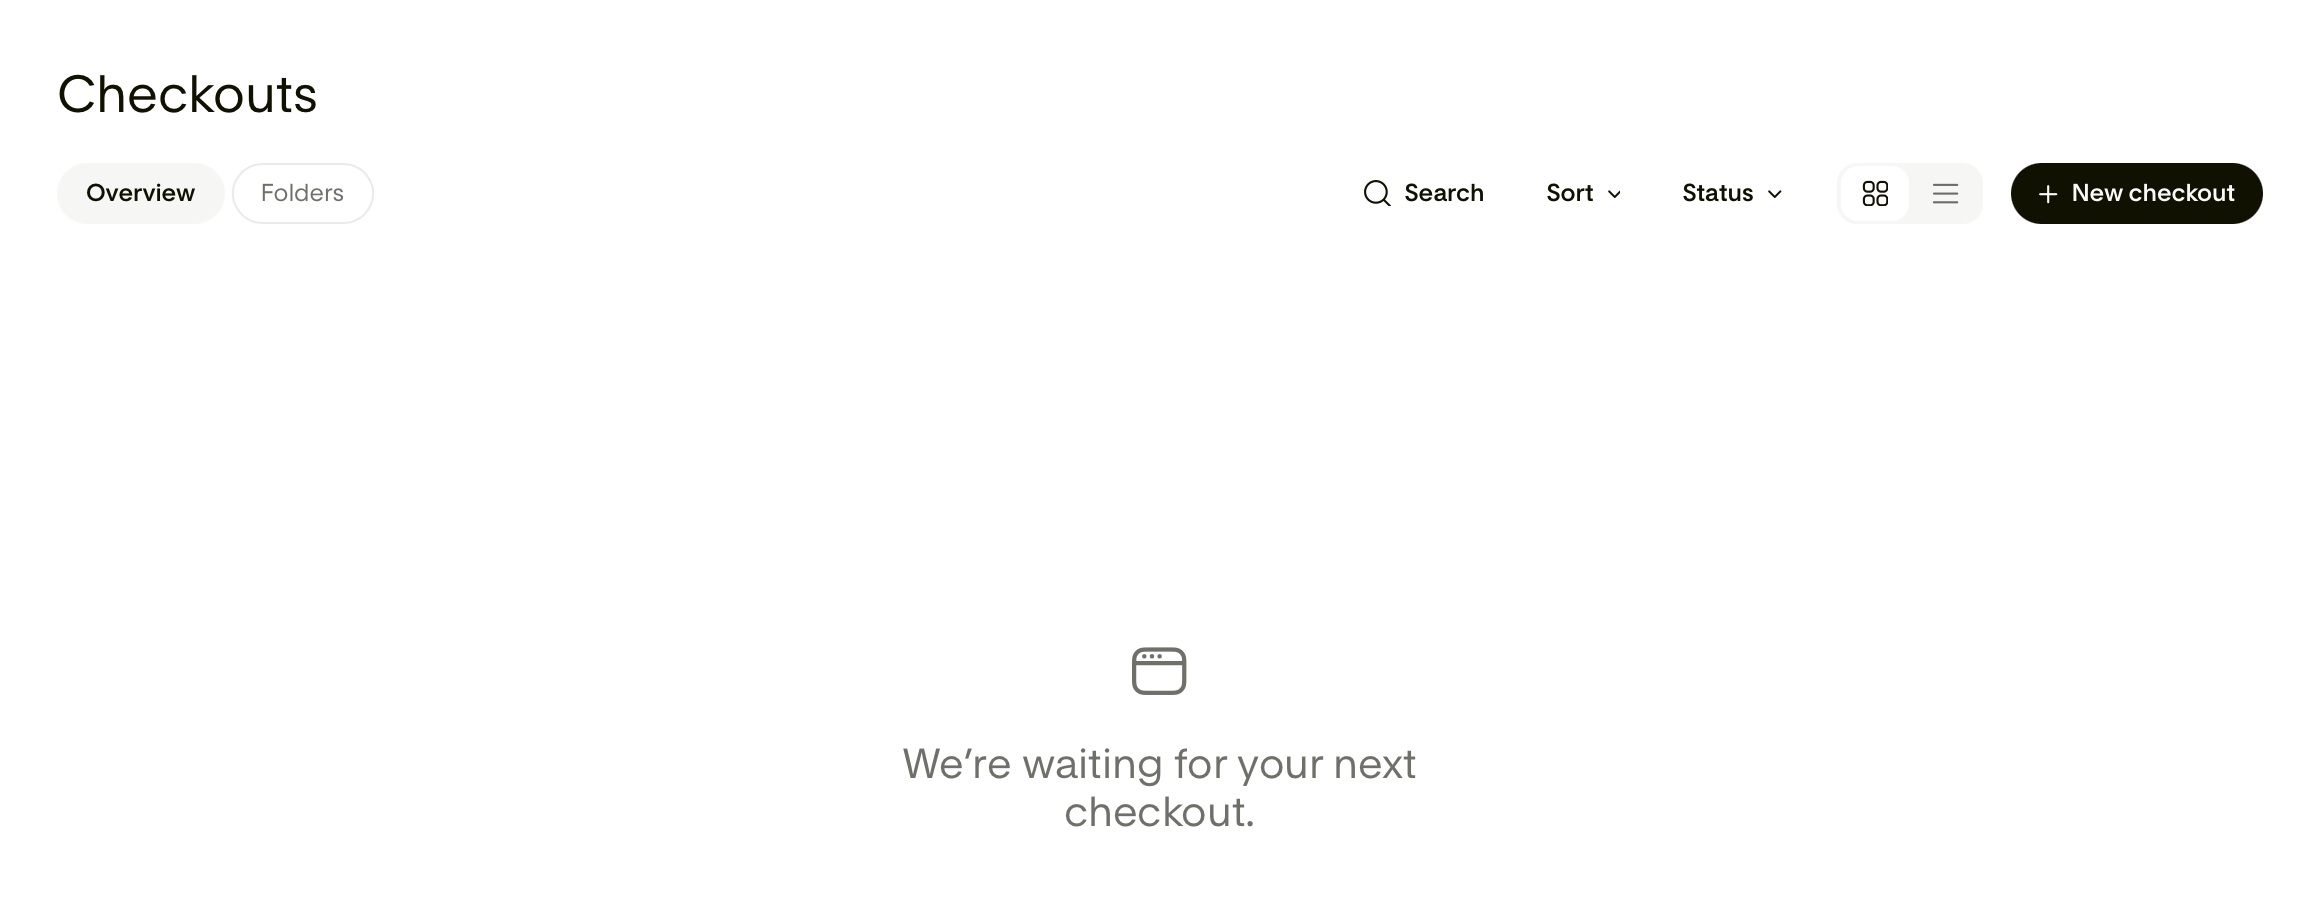
From your Flodesk dashboard, go to Checkouts.
Click +New checkout.
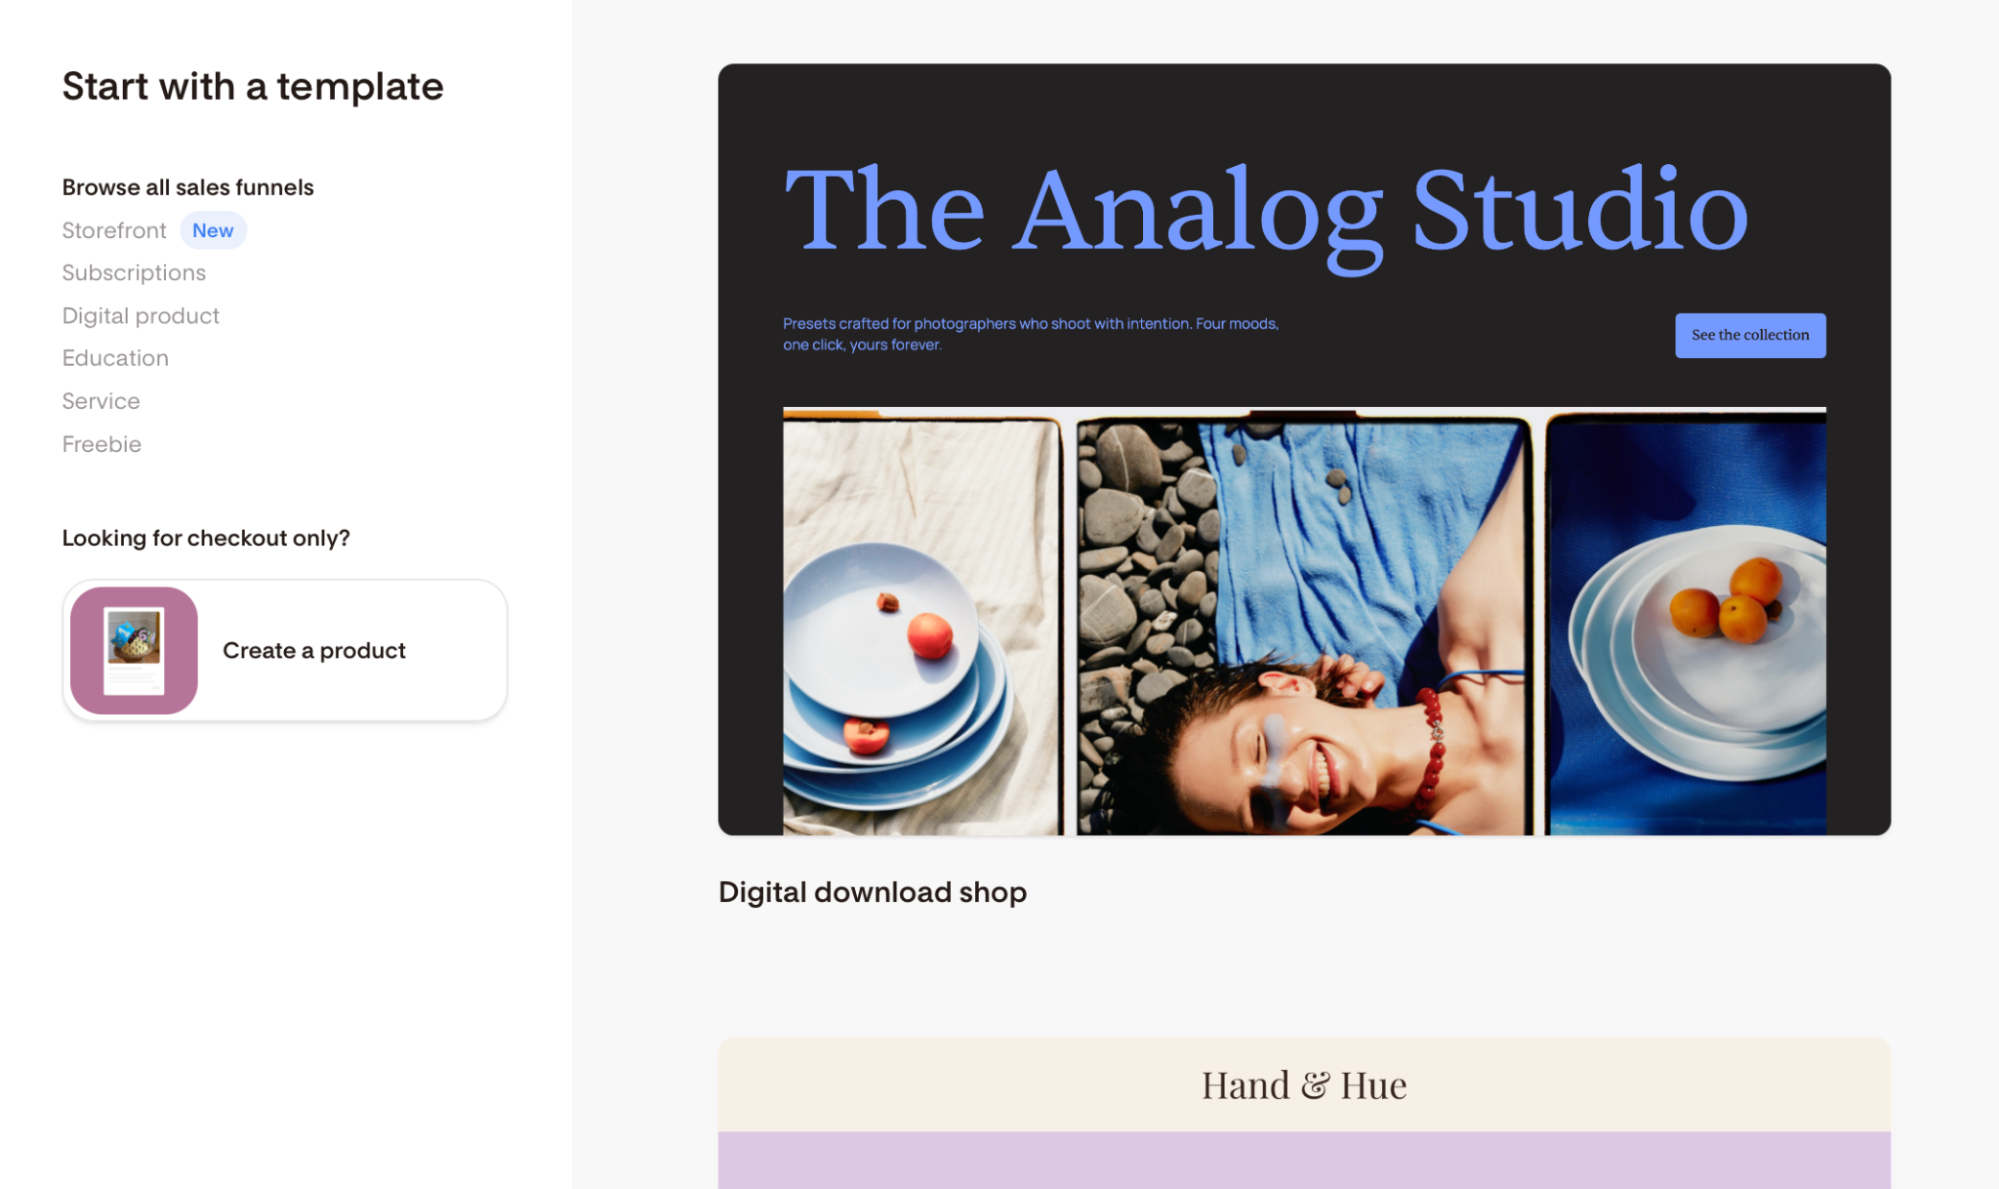
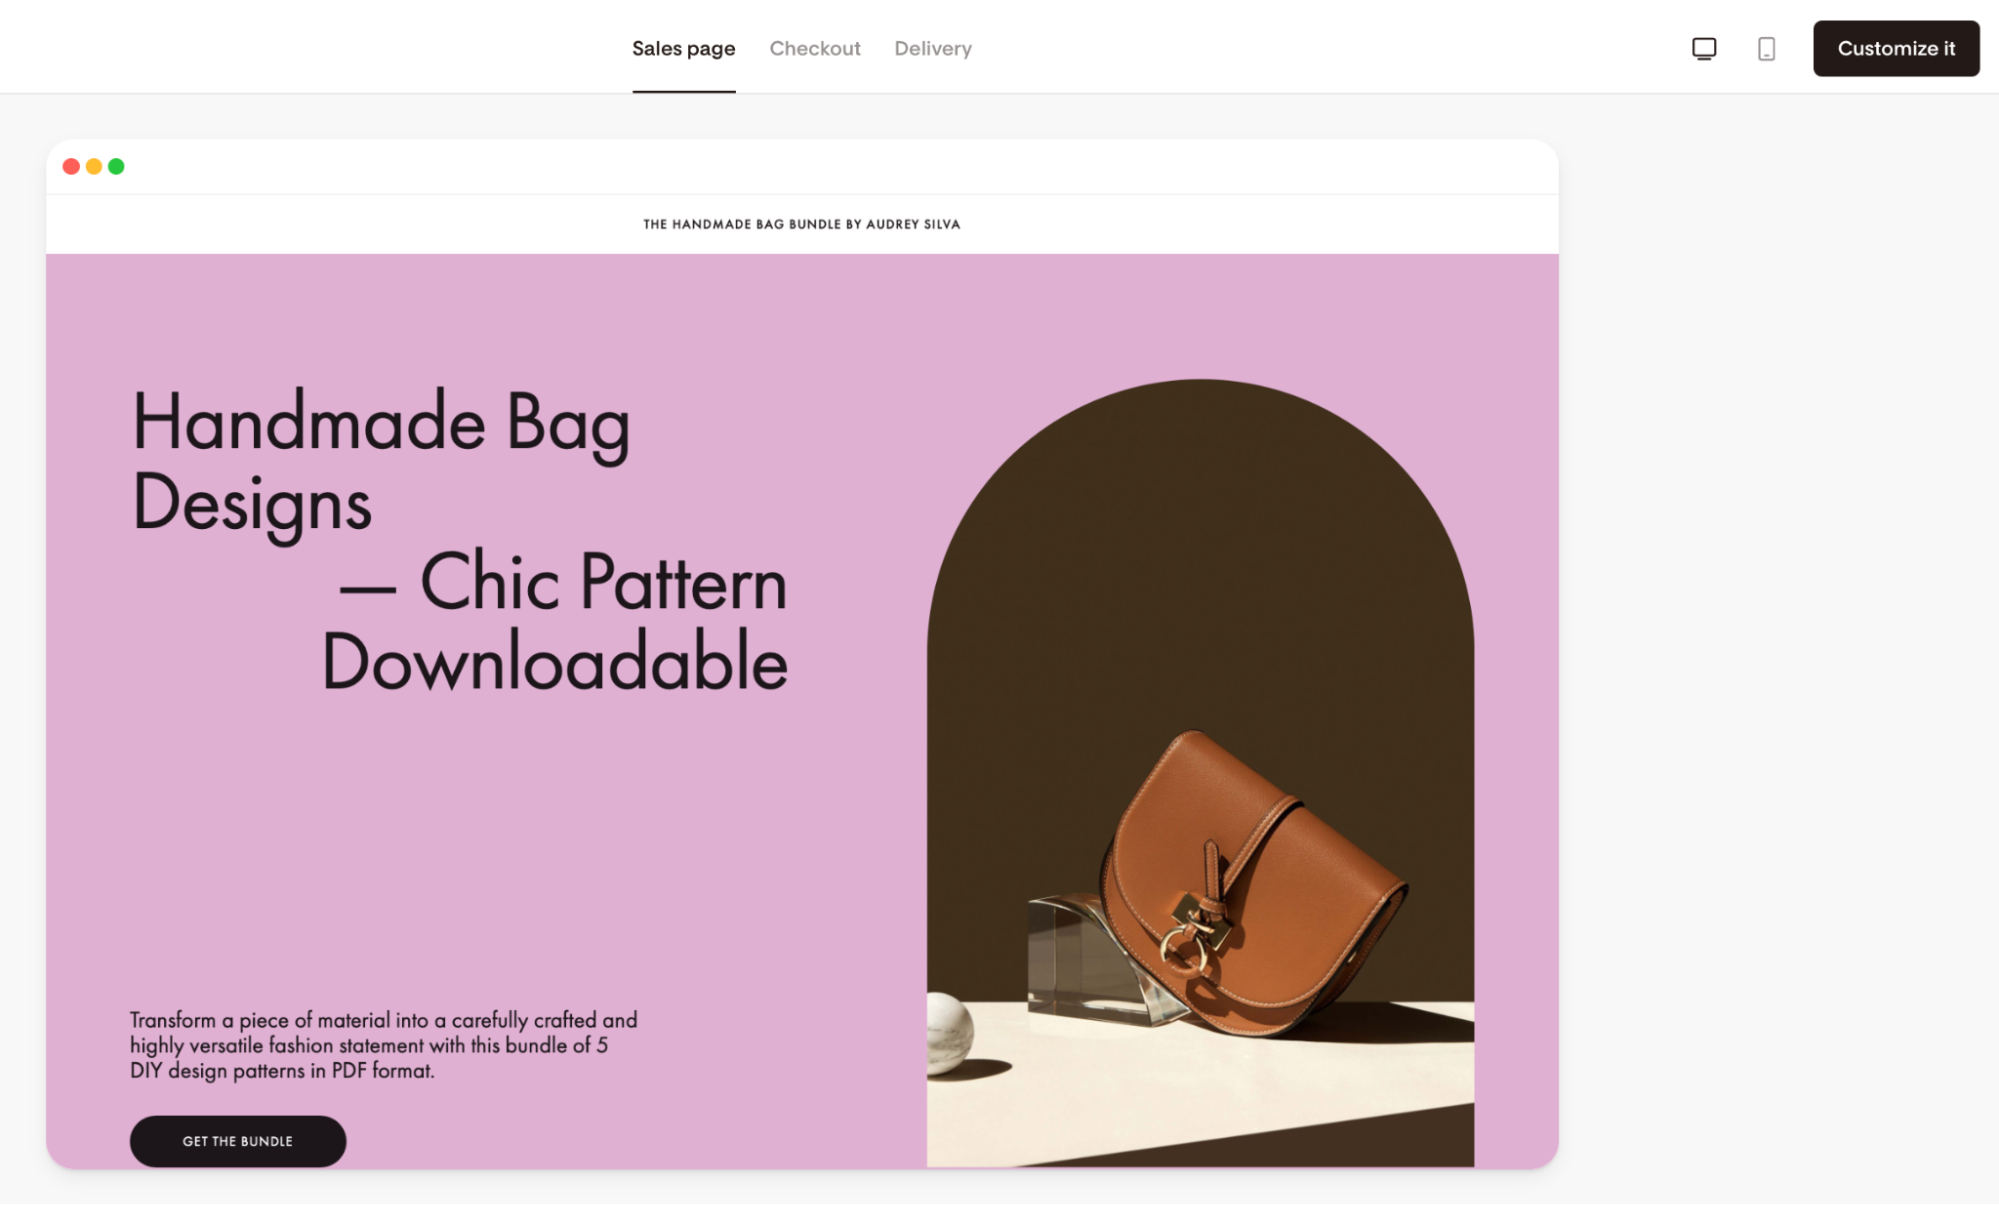
Choose a template from the gallery and click to Customize it.
Enter the page builder.
All templates include CTA buttons that are ready to be linked. Templates don't come with pre-linked products, so you'll connect your own products from your catalog as you build the page.
Adding a product to a CTA button or product block
On the sales page builder, hover your mouse over a section and click the blue Add block button to open the block selector.
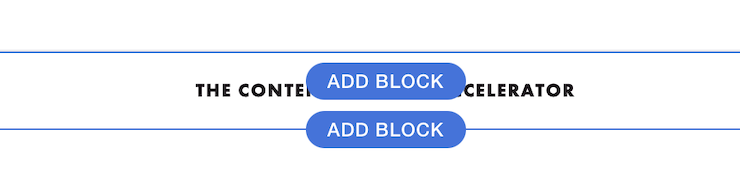
Here, you can find various sections you can add to your sales page, including product blocks.
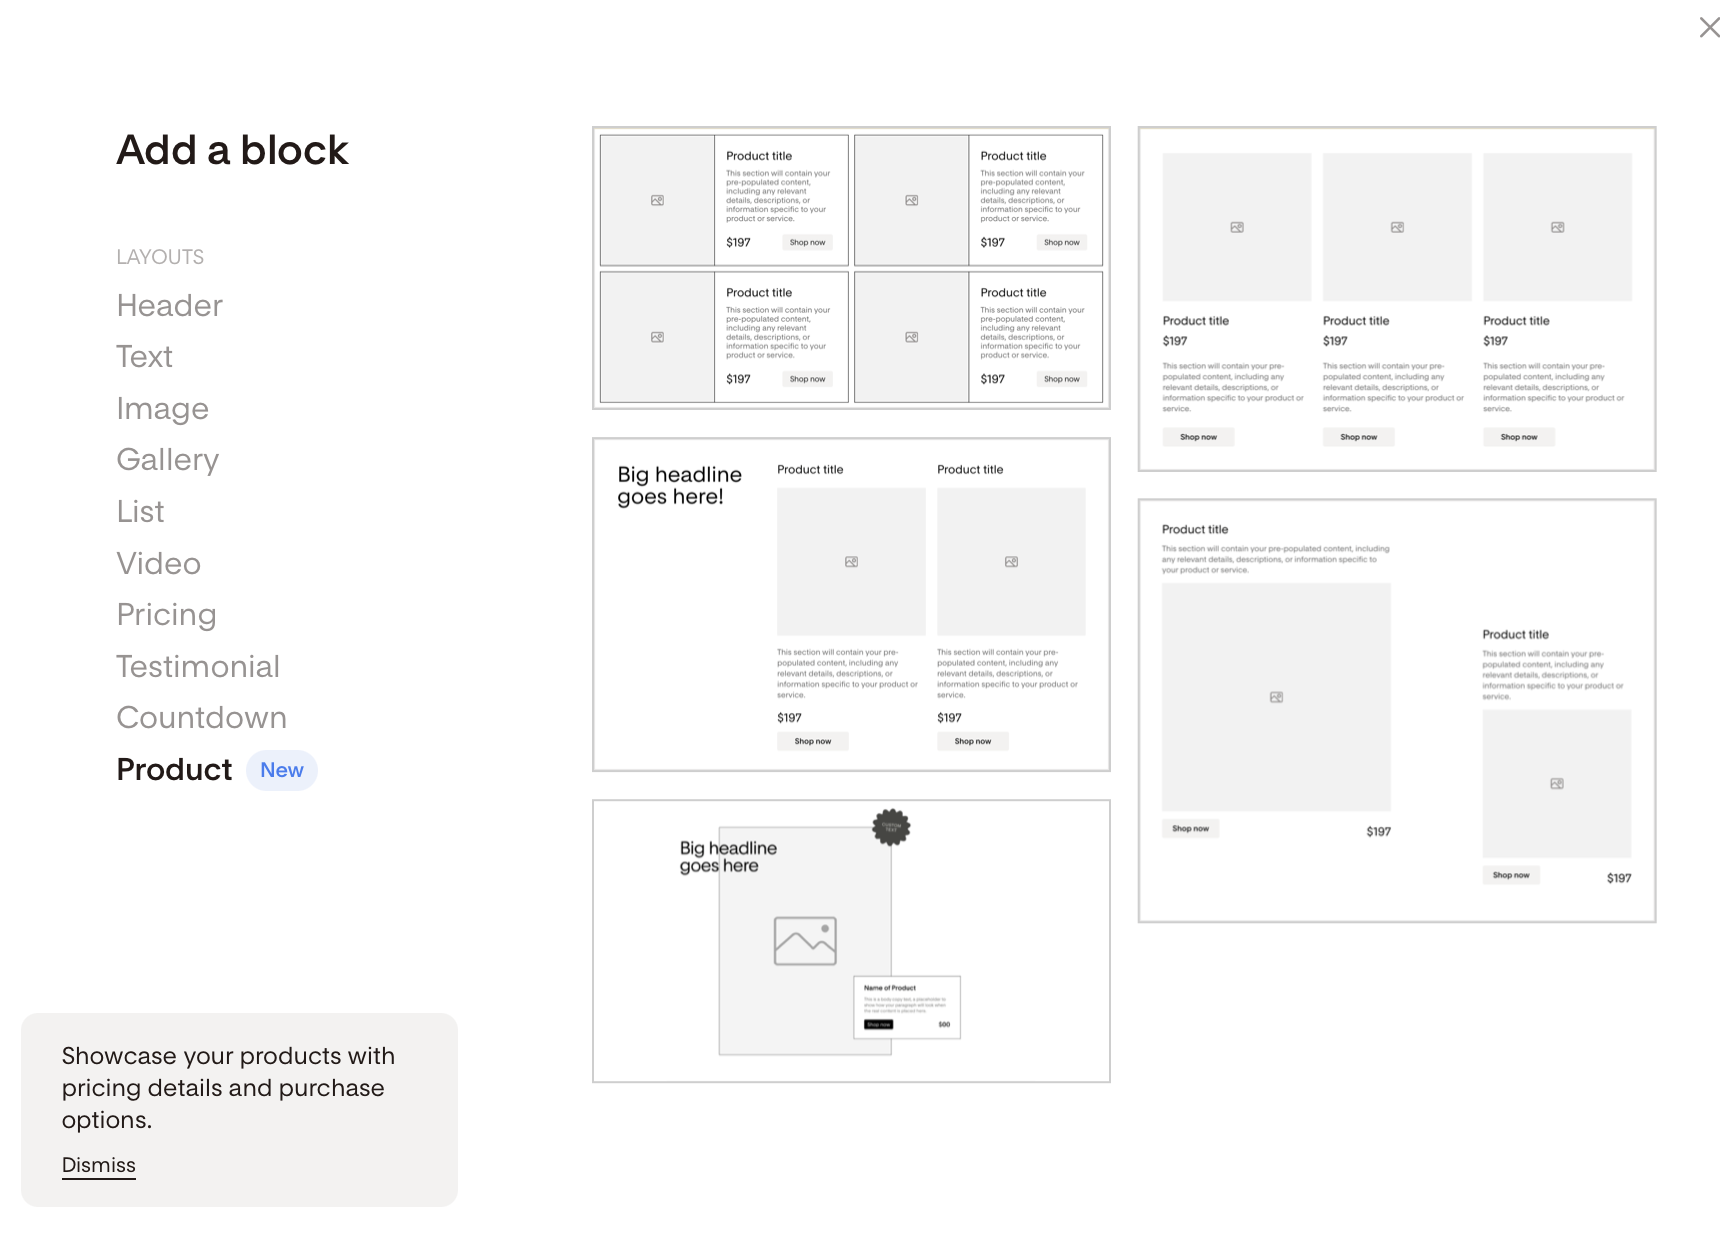
Each product block and any CTA button outside of a product block on your sales page has two options for linking a product: you can select an existing product from your catalog, or create a new one on the spot.
Linking an existing product
If you've already created and published the product you want to feature:
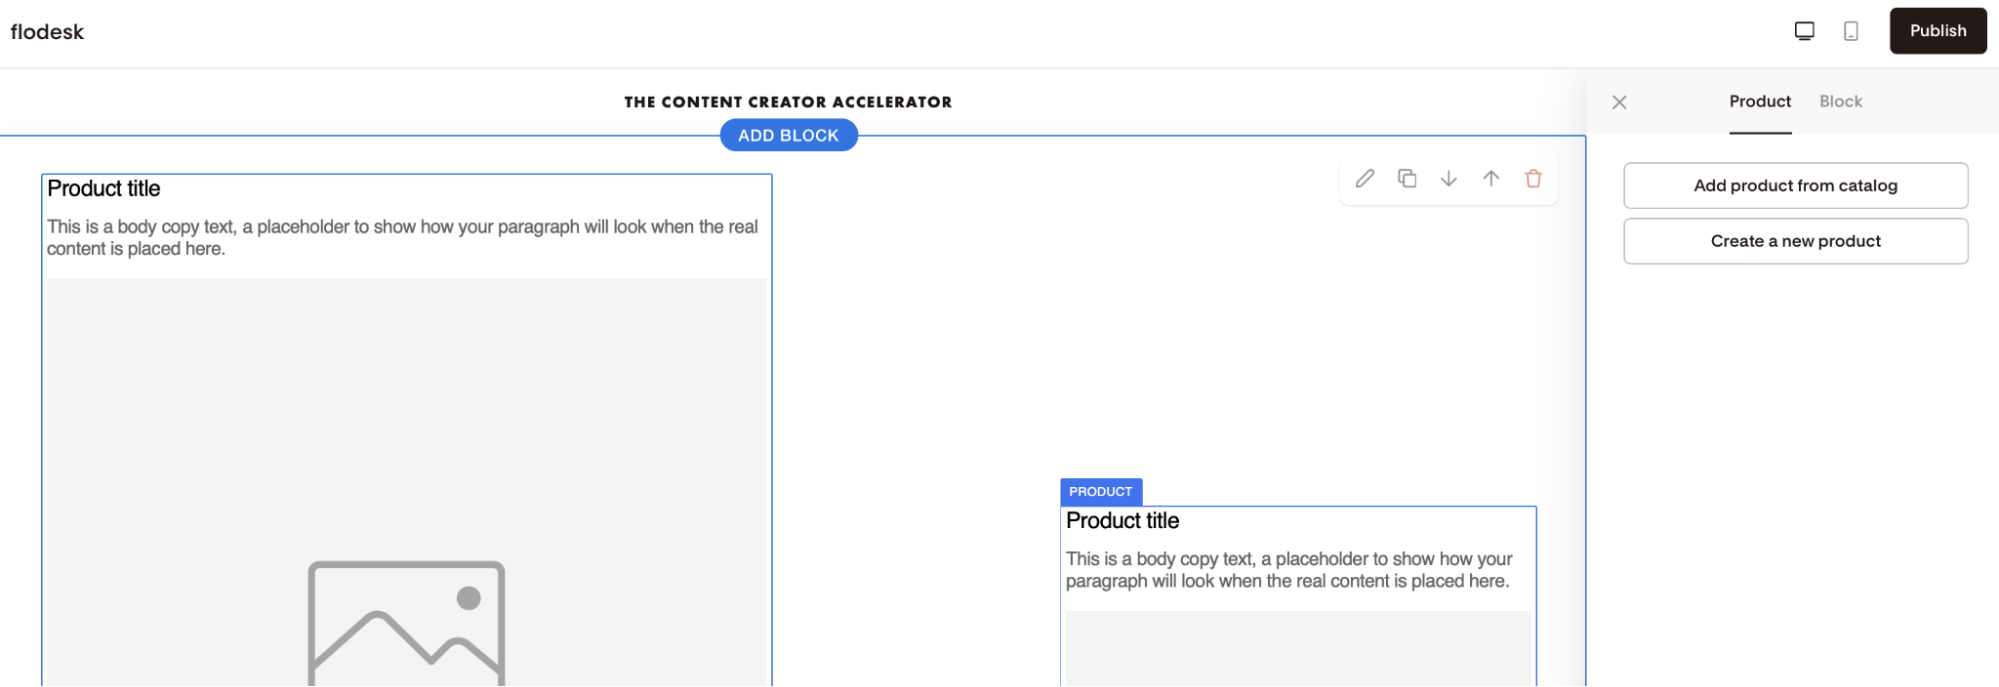
Click on the product block in the page builder.
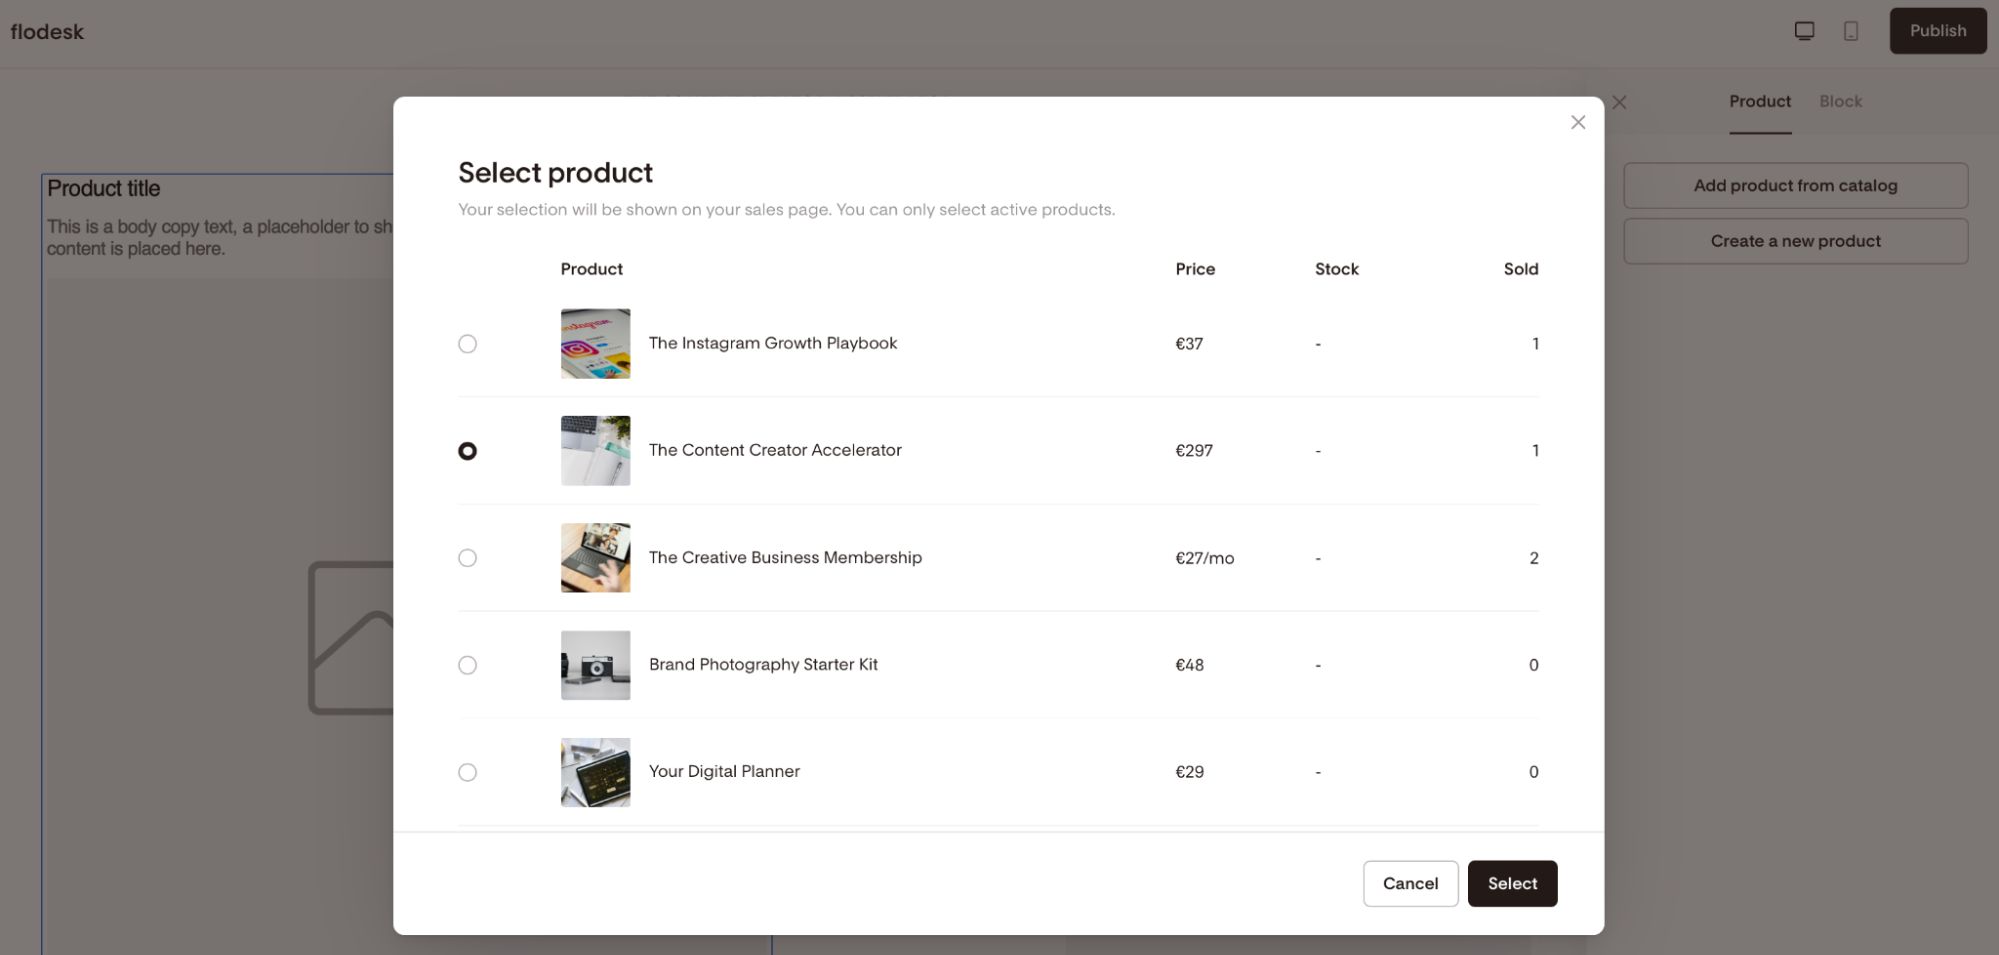
Select Add product from catalog.
Browse or search your catalog for the product you want.
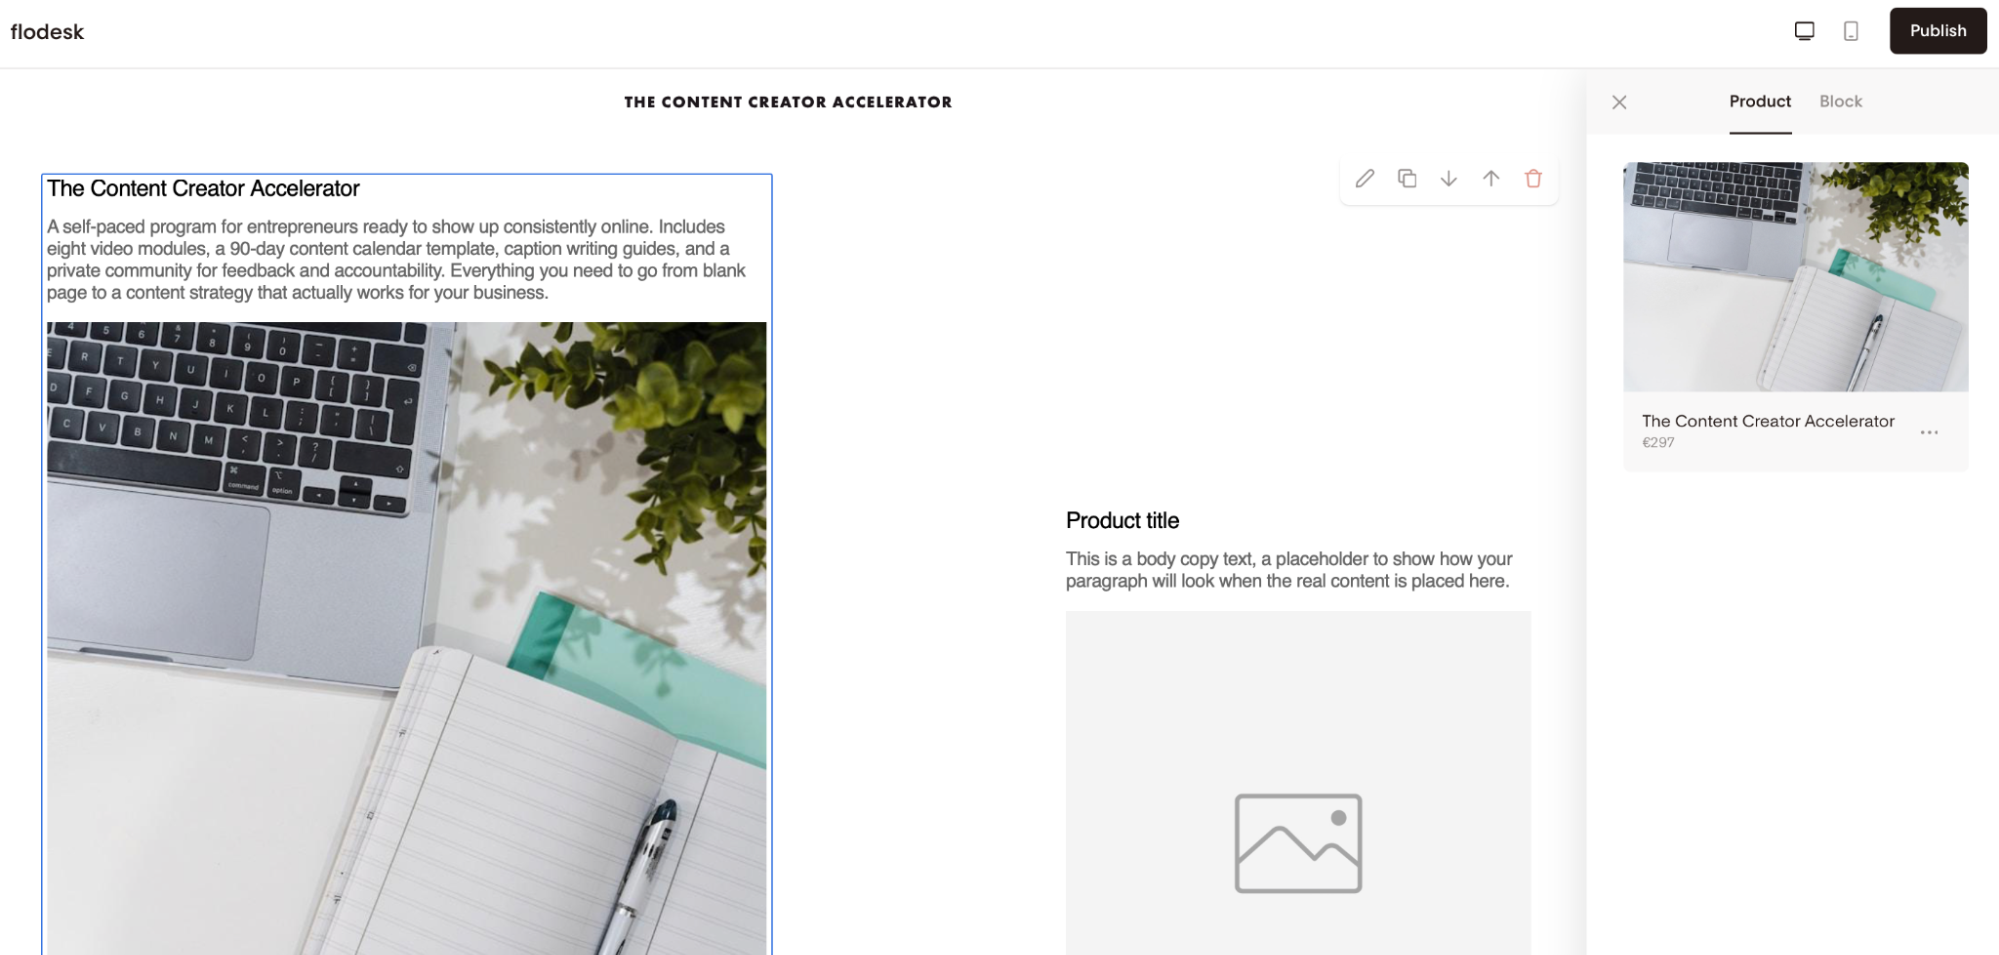
Click the product to link it to the block and hit Select.
The block will immediately display your product's image, name, price, and a CTA button linking to that product's checkout.
Creating a new product from within the page builder
If you haven't created the product yet, you don't need to leave the page builder to do it.
Click on the product block.
Select Create new product.
Complete the product creation flow.
When you finish and publish the product, you'll be returned directly to the page builder with the new product automatically linked to the block you started from.
For a full walkthrough of the product creation flow, see How to create, save, and publish a product
Product block display options
Once a product is linked, you can control how it appears on the page using the block settings. The following elements can each be toggled on or off independently:
Product description
CTA button (the button linking to the product's checkout)
Product price
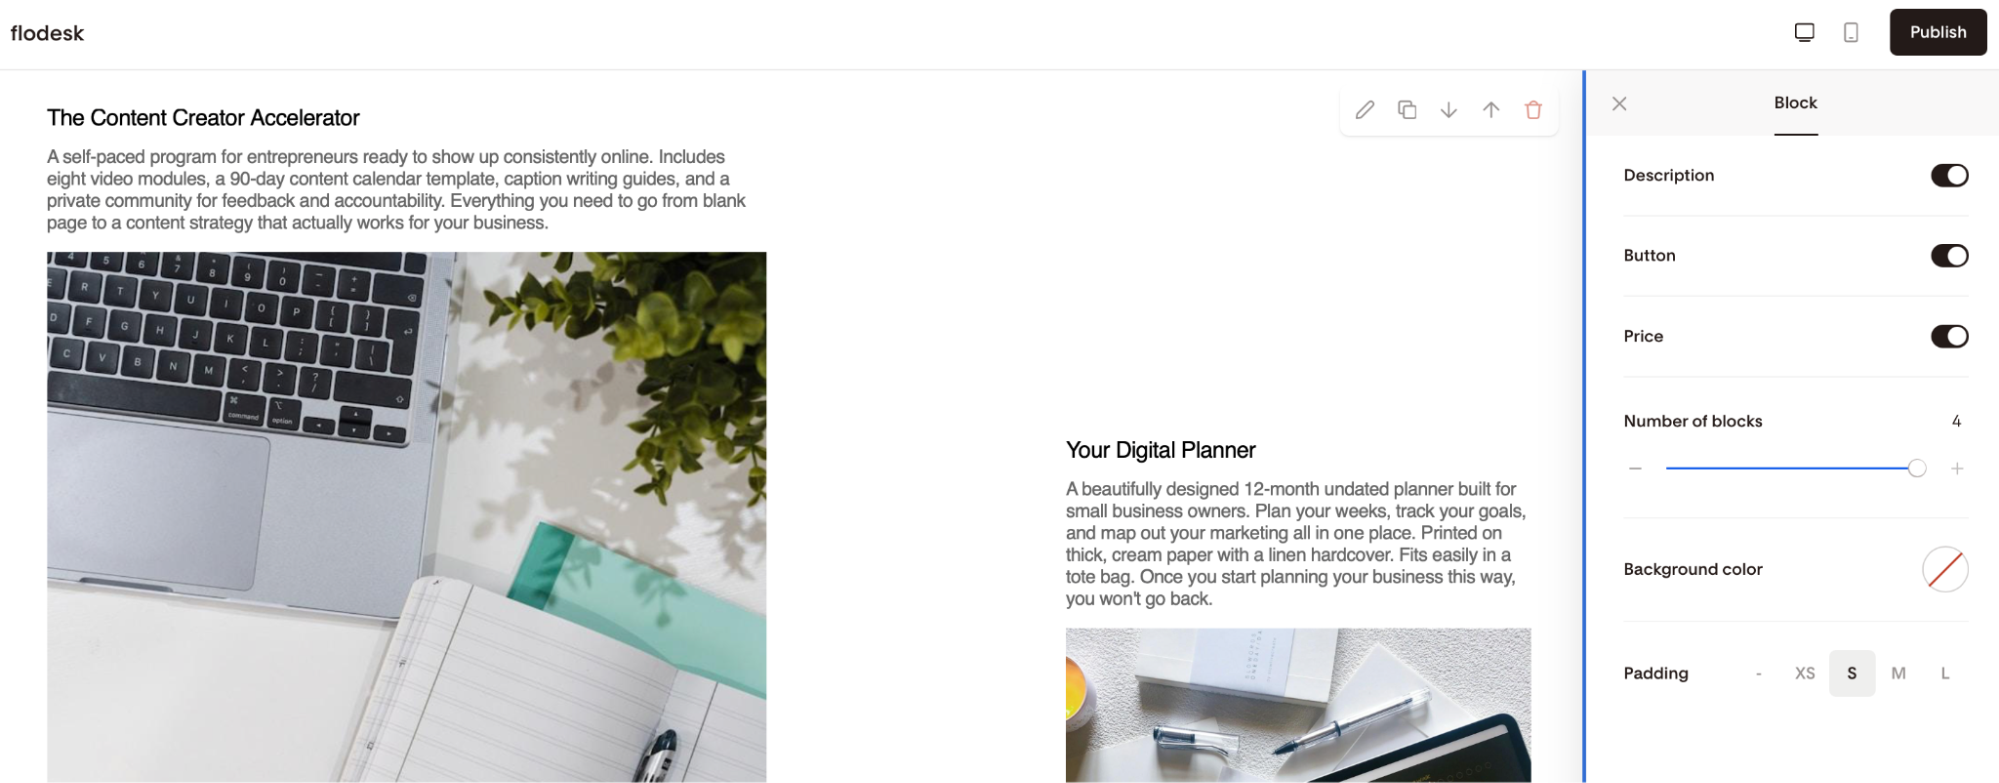
You can also adjust the layout of the product block:
Number of blocks
Background color
Padding
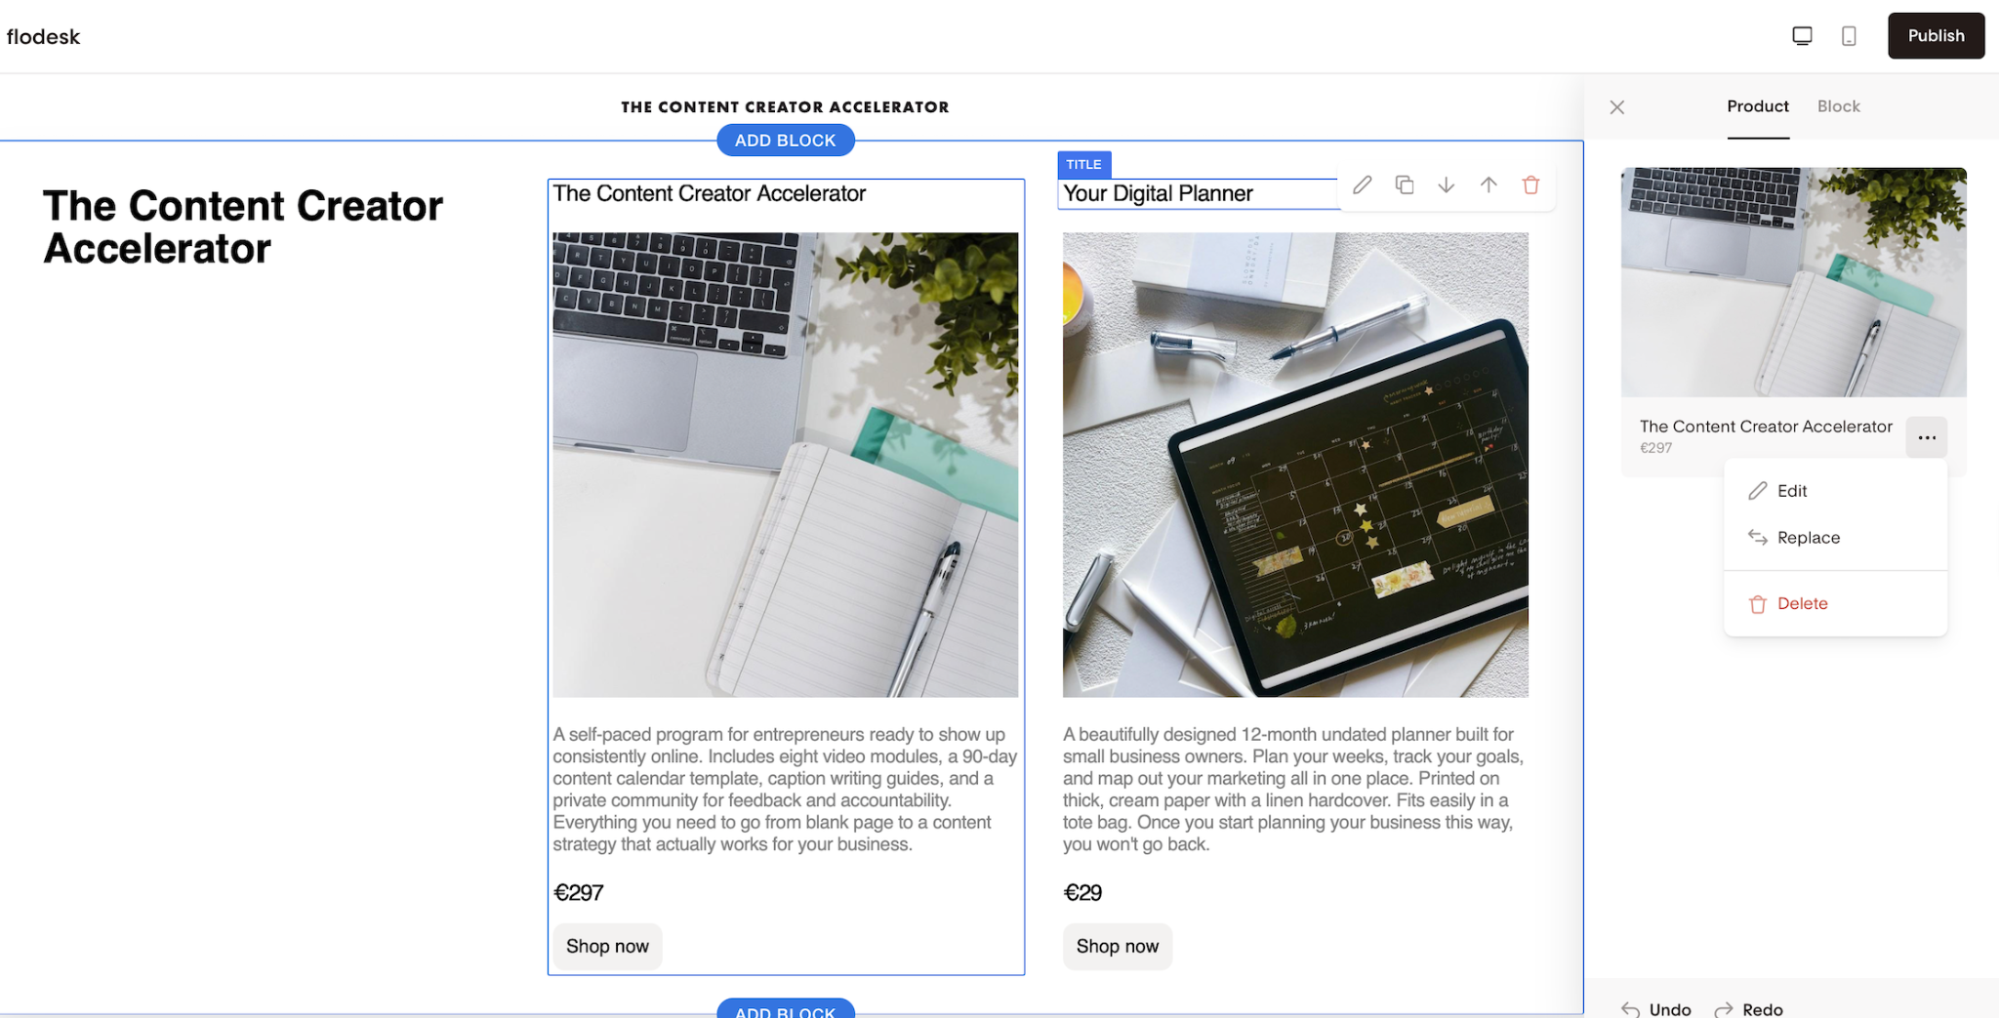
Editing or removing a linked product
Each linked product in a block has a menu with three options:
Edit: Opens the product in the product editor so you can make changes.
Replace: Opens your Product catalog so you can select a different product.
Delete: Removes the product from the block. The block returns to an unlinked state and will need a new product linked before you can publish the page.
Applying a product to all buttons on the page
If you want every CTA button on your sales page to link to the same product, you can use the Apply this product to other buttons option instead of updating each button individually.
When you link a product to a block, you'll see a checkbox labeled "Apply this product to other buttons” on this page. Checking it links that product to every non-product CTA button across the entire page in one step.
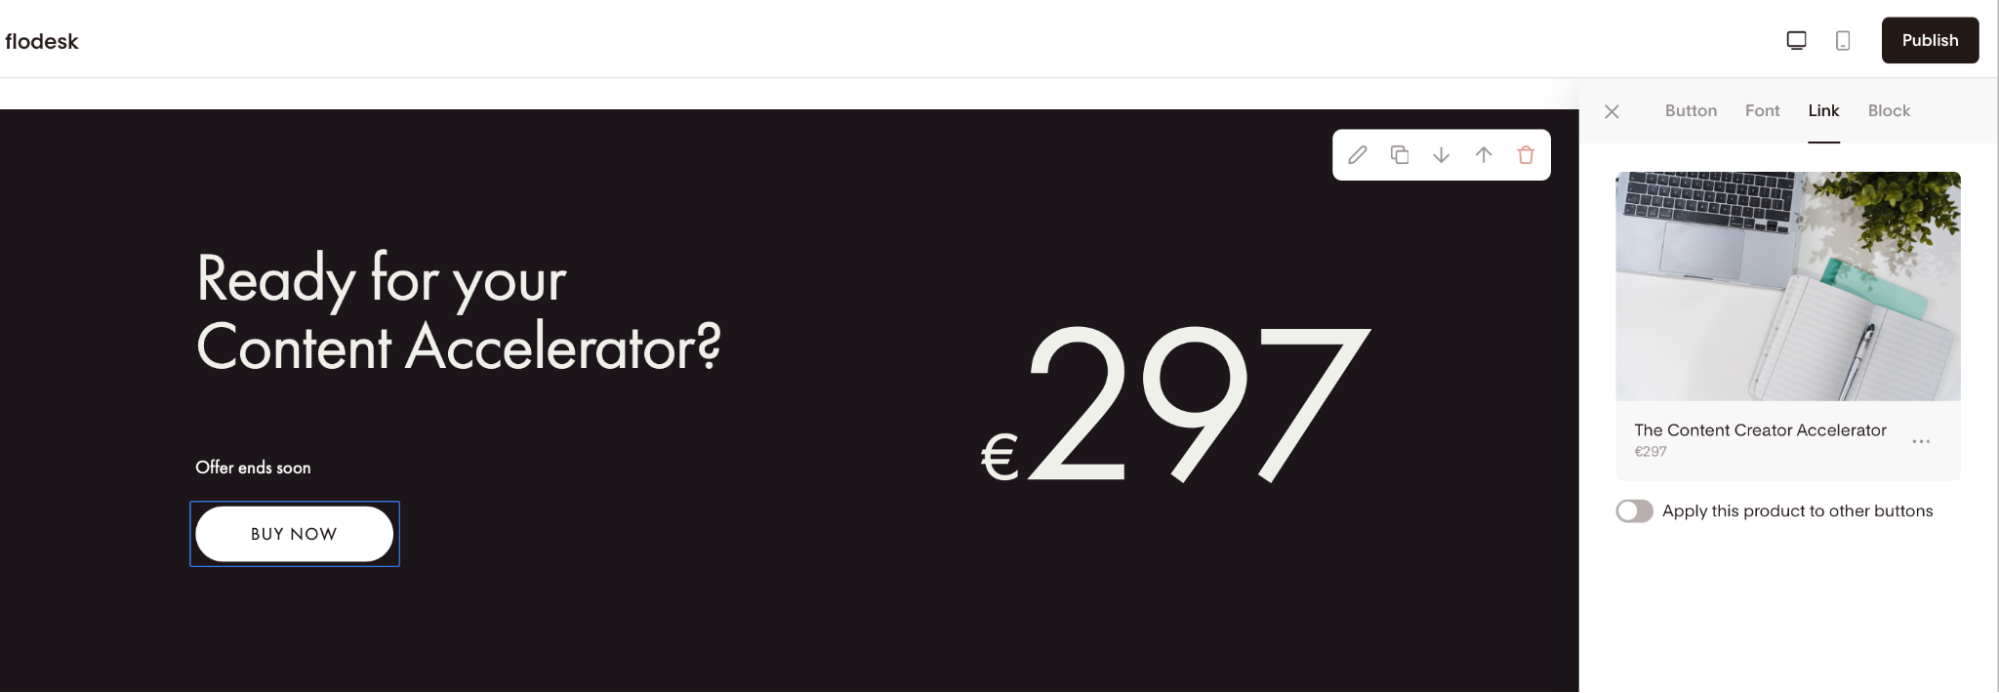
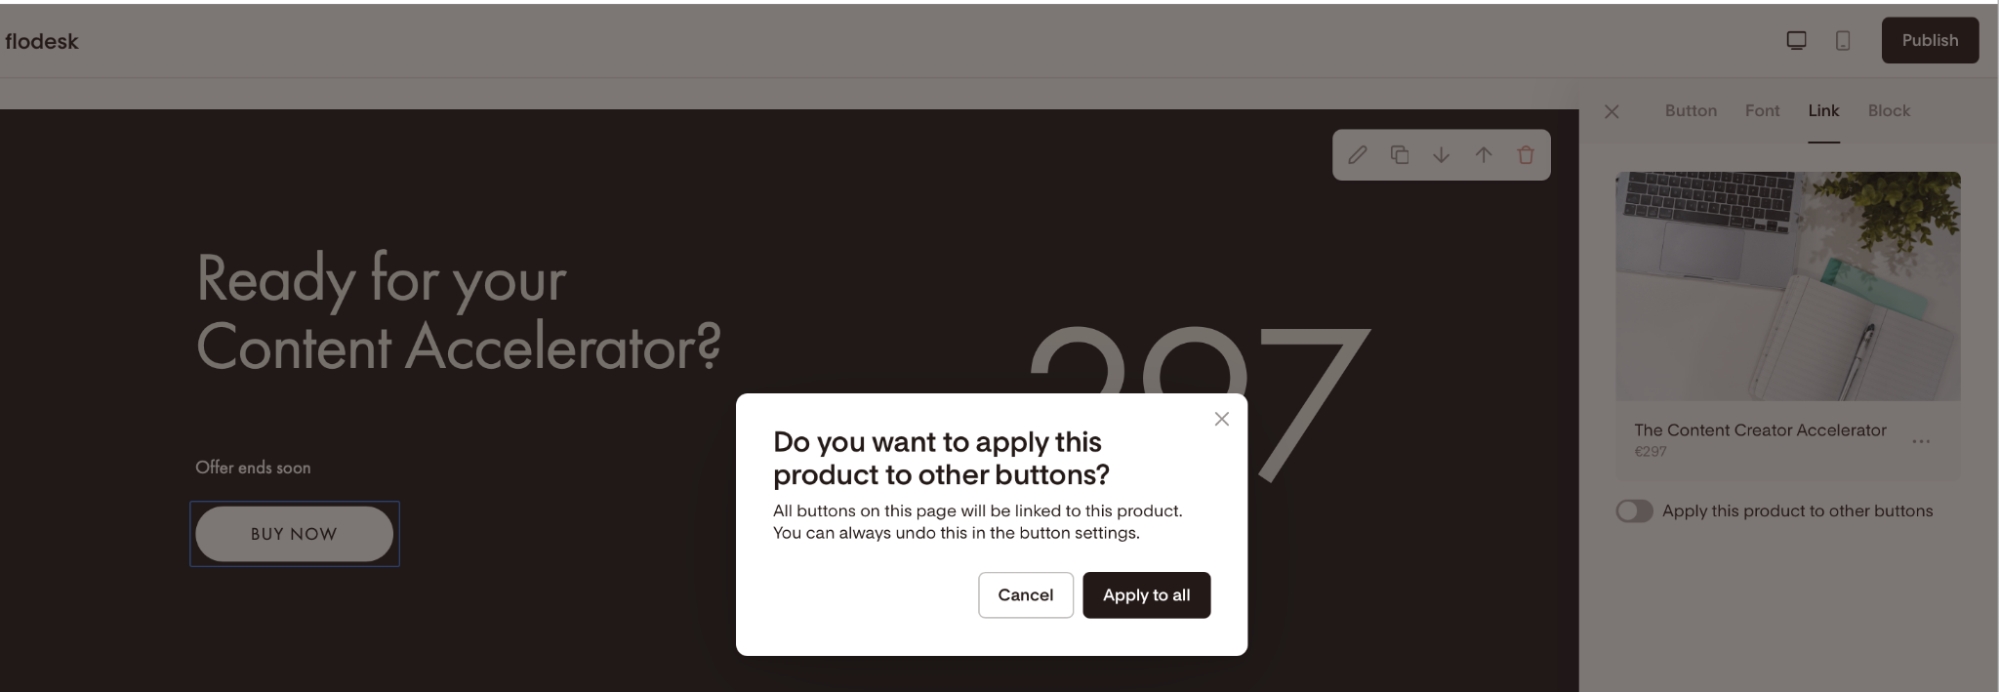
A few things to know about this option:
Only one product can be applied to all buttons at a time.
This is a page-level setting, not scoped to the individual block.
If you later add a new button to the page, it needs to be manually linked.
Publishing your sales page
Before your sales page can go live, every product block on the page must have a linked, published product, and you'll need a completed Stripe account. If any blocks are empty or linked to a draft product, or if Stripe onboarding isn't finished, publishing is blocked.
When you click Publish and there are unresolved product blocks, a modal will appear telling you what needs attention.
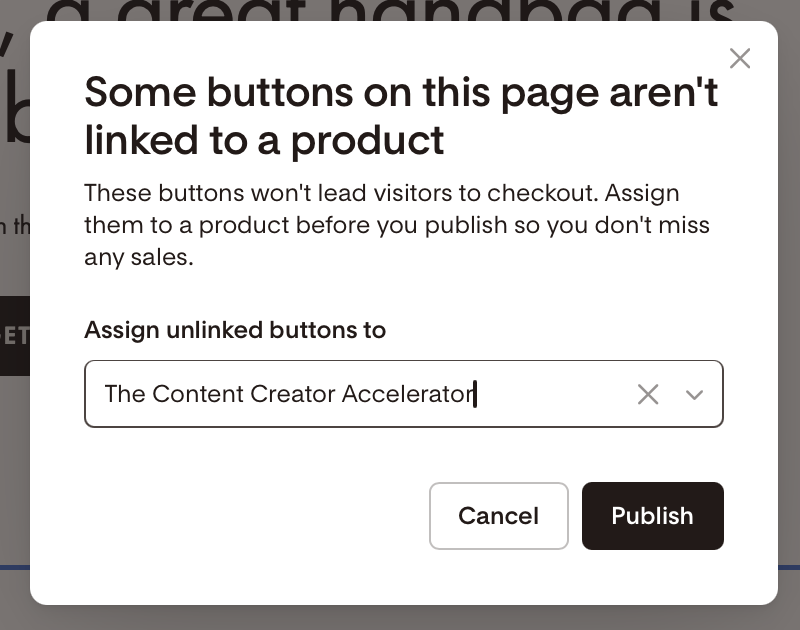
You'll also need a completed Stripe account to publish. Stripe setup is handled at the product level, so if your products are already published, this is taken care of.
If you're creating your first published product as part of this flow, you'll be prompted to complete Stripe onboarding before the product (and therefore the sales page) can be published.
FAQ
Can I add more than one product to a sales page?
Yes. You can add multiple product blocks to a single sales page, each linked to a different product. This is how you create a multi-product sales page for showcasing a collection, a course library, or multiple service offerings.
Can I add the same product to more than one sales page?
Yes. A product from your catalog can be linked to as many sales pages as you like. Updating the product in your catalog updates it everywhere it appears.
What happens to my sales page if I unpublish or archive a linked product?
When someone clicks the product or a CTA that is connected to the archived product, they will see a 404 error page and can no longer purchase it from that page.
Can I link a free ($0) product to a sales page?
Yes. Free products work the same as paid products in the page builder. They can be linked to product blocks, displayed with a "Free" price label, and purchased without buyers entering payment details.
What's the difference between the product block CTA button and other CTA buttons on my sales page?
The product block CTA button is automatically linked to that product's checkout when you link a product to the block. Other buttons on your page (such as standalone CTA buttons in other sections) need to be linked manually, or you can use Apply this product to other buttons to connect them to a specific product in one step.
Can I reorder products within a multi-product block?
No. You would need to remove the product and reselect the desired product from the catalog.
Do I need to create my products before building my sales page?
No. You can create products directly from within the page builder using the Create new product option inside any product block. However, having your products ready in advance does make the page-building process faster.