How to create a lead magnet delivery flow
Publish a lead magnet form that subscribers can opt in to, and automate the delivery of your content.
Want to launch your first lead magnet with Flodesk? In this step-by-step tutorial, we’ll show you exactly how to create a signup form, set up an automated workflow, and deliver your lead magnet — all inside Flodesk.
By the end of this video, you'll have a fully functional lead magnet system ready to grow your email list — without any confusion or tech headaches.
Step 1. Create your lead magnet
Whether it's a PDF guide, a one-page cheatsheet or a tutorial video, create something that immediately gives a quick win to your subscribers—and that seamlessly integrates into your paid offers and services.
Step 2. Create a new segment
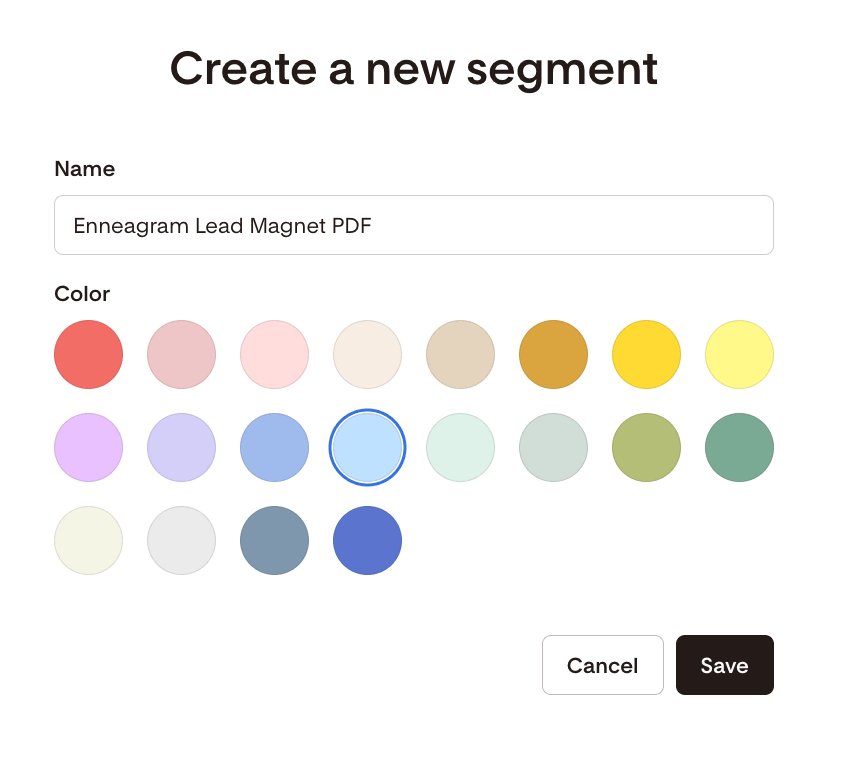
Go to Audience > Segments, and click create +New segment. Name it after your freebie. Subscribers opting in to your lead magnet form will be automatically added to this segment.
In this example, we named the new segment "Enneagram Lead Magnet PDF".
Step 3. Create a workflow with a freebie delivery email
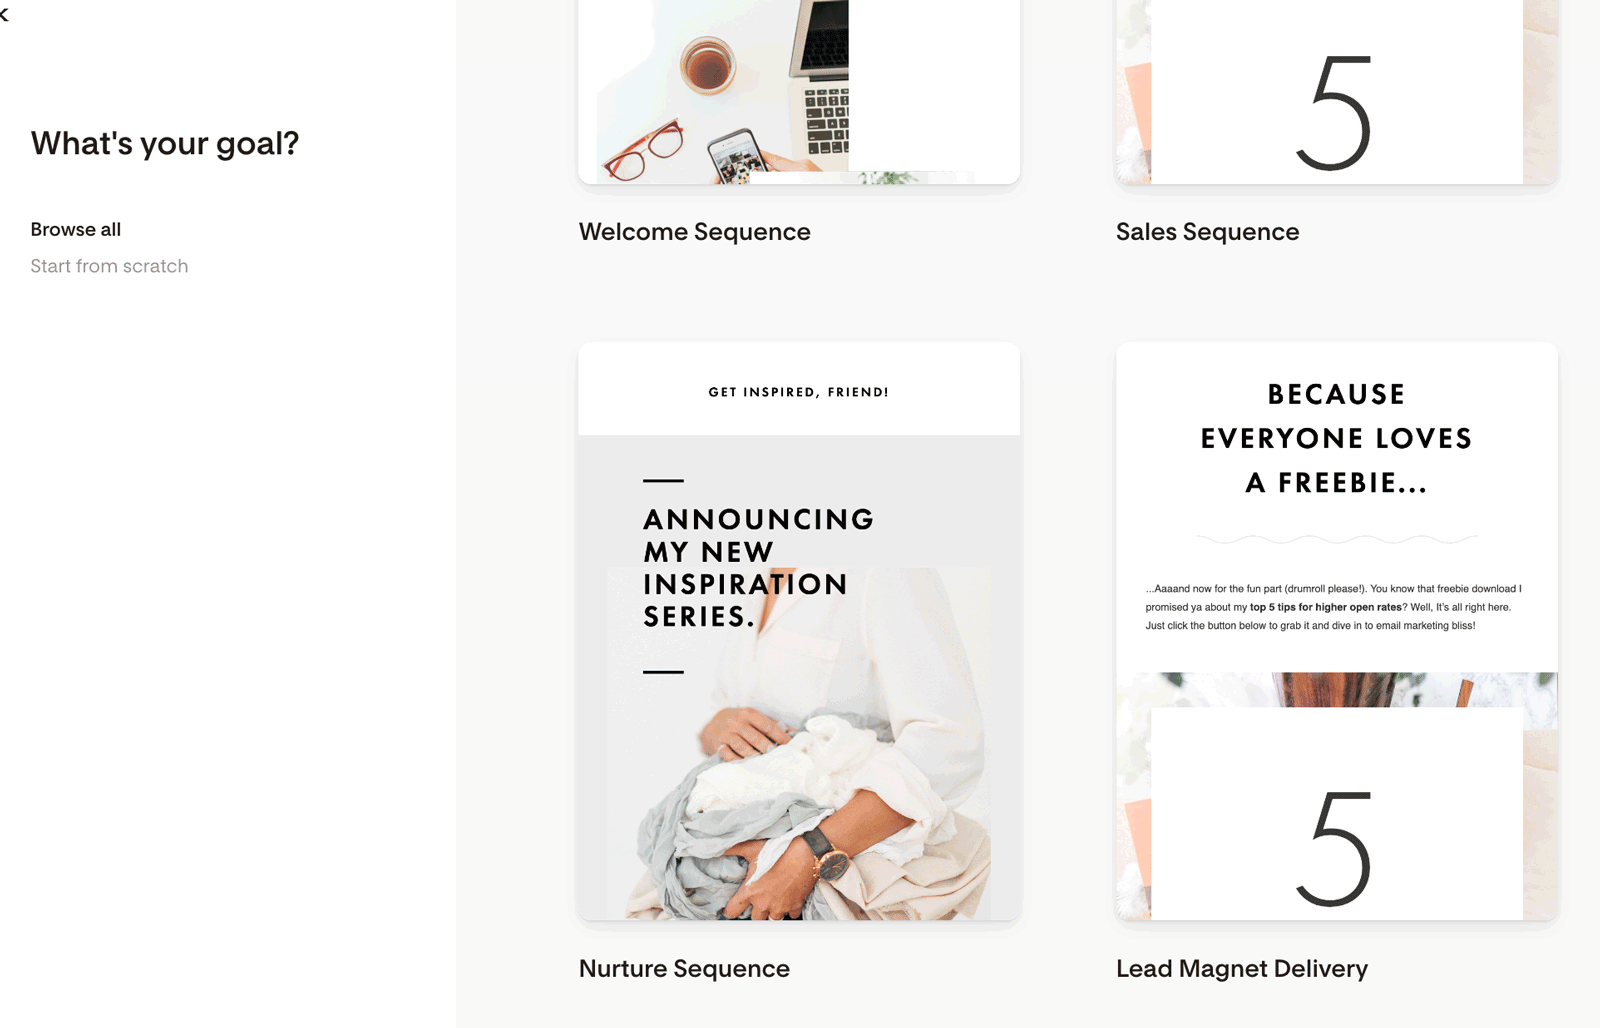
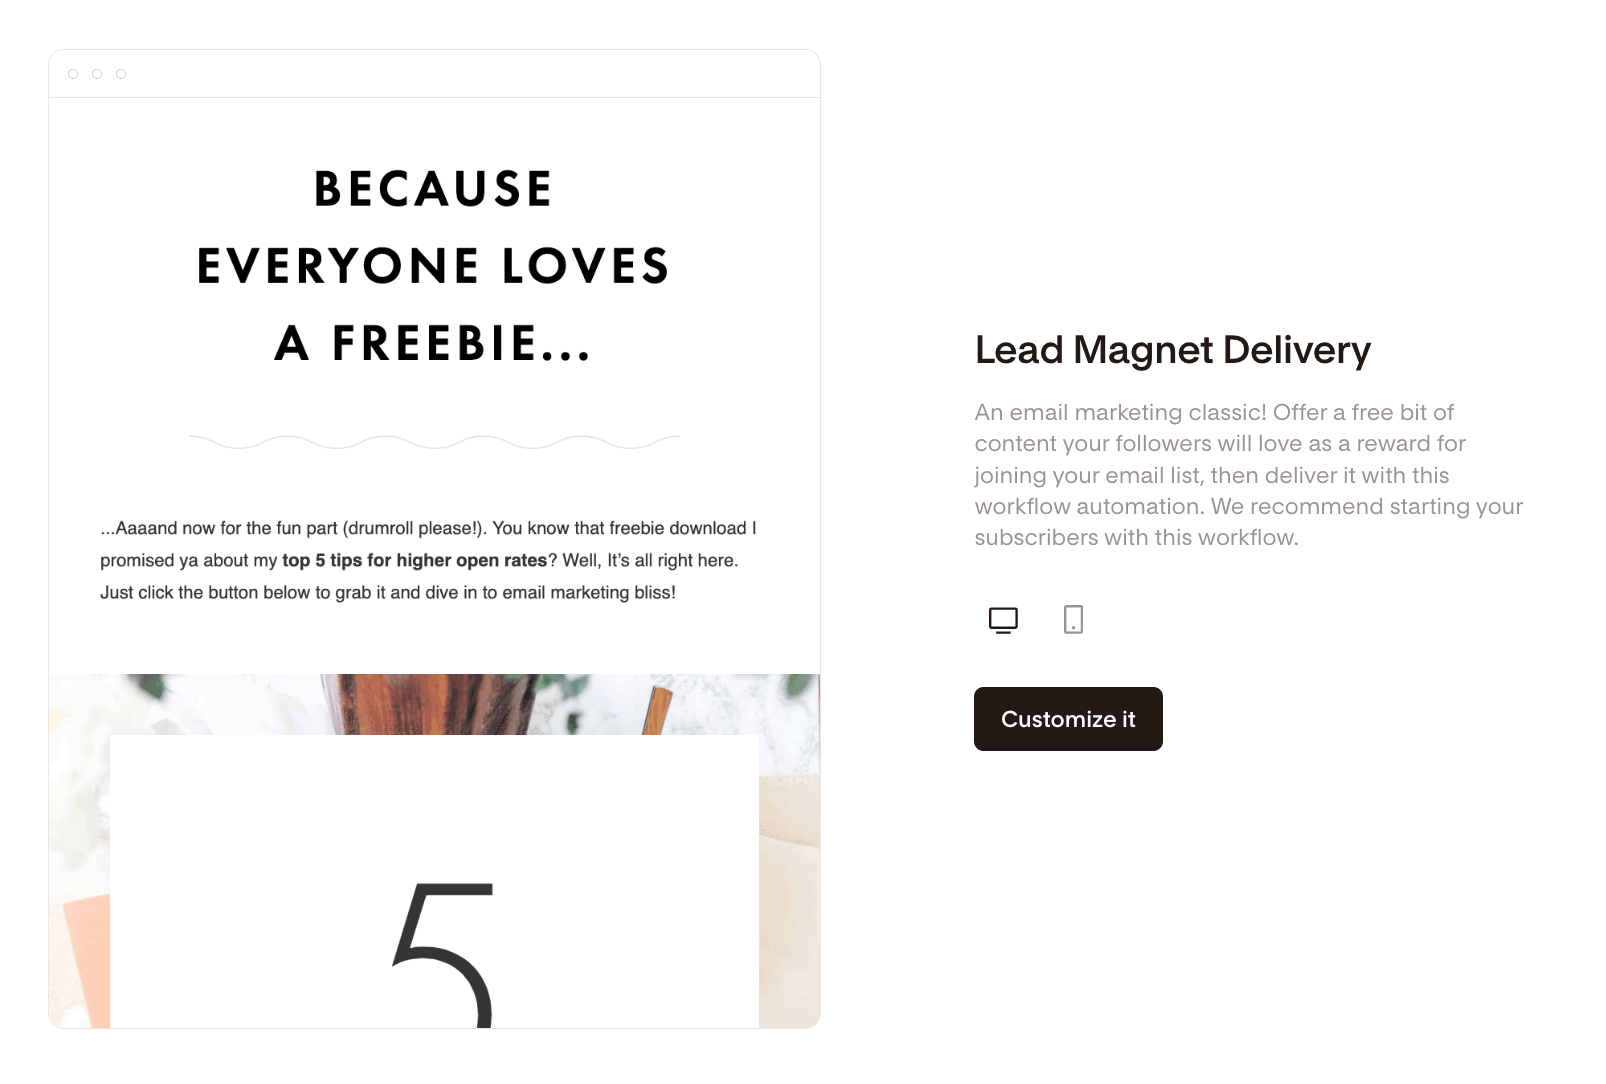
Go to Workflows on the top navigation menu, and click create +New workflow. You can select to edit and customize the "Lead Magnet Delivery" workflow template or start a new workflow from scratch.
In this example, we will customize the "Lead Magnet Delivery" workflow template.
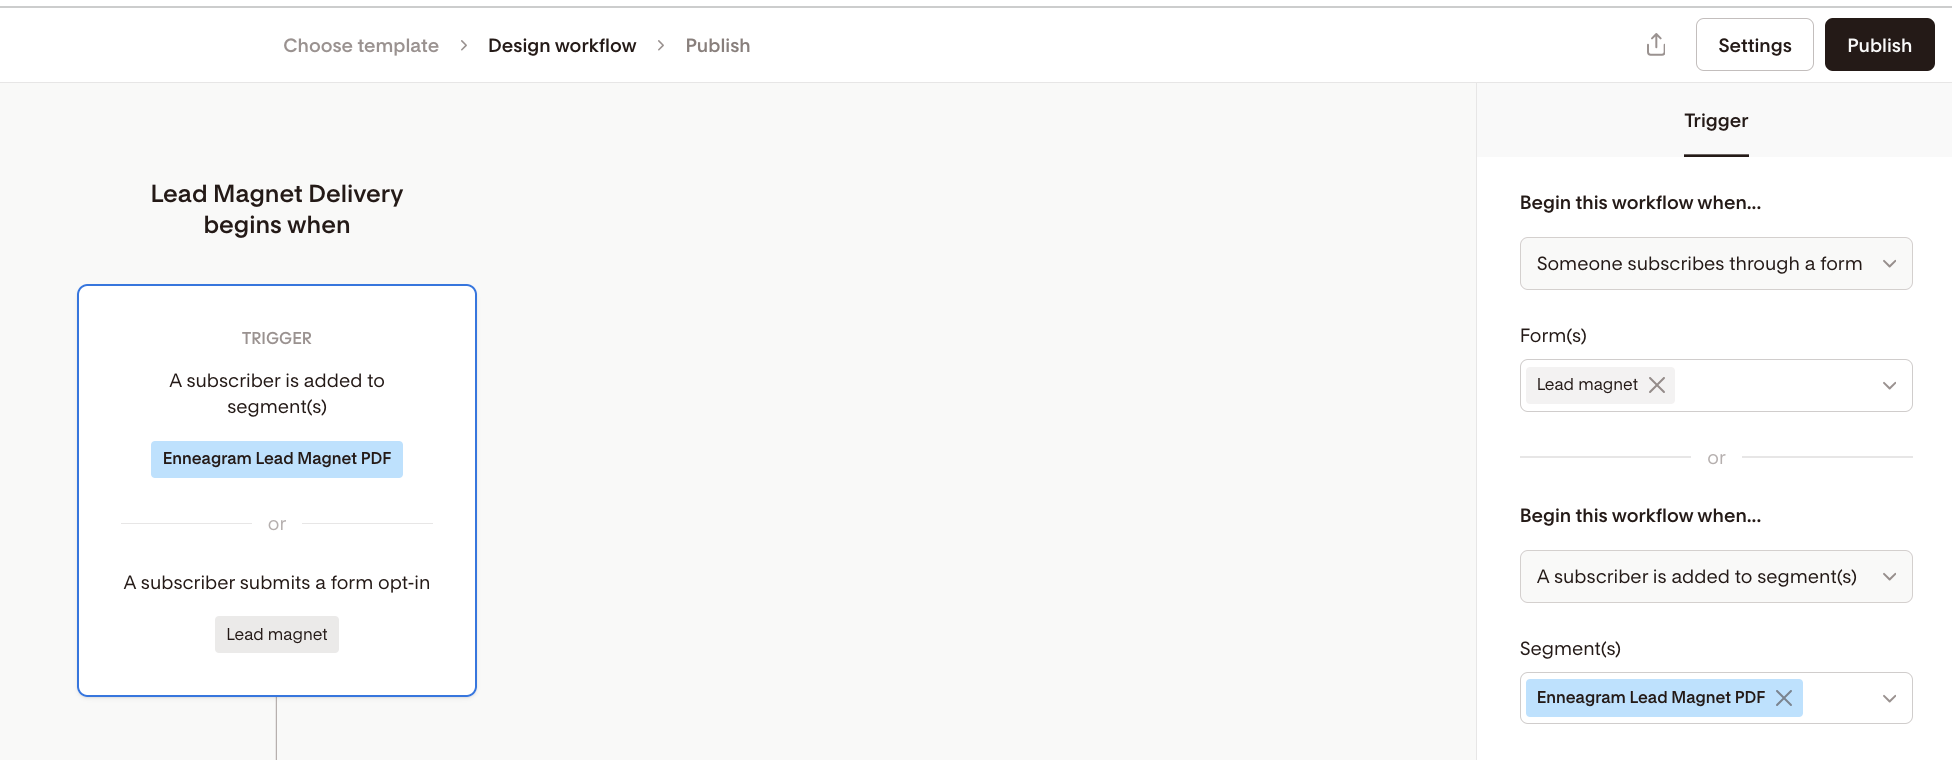
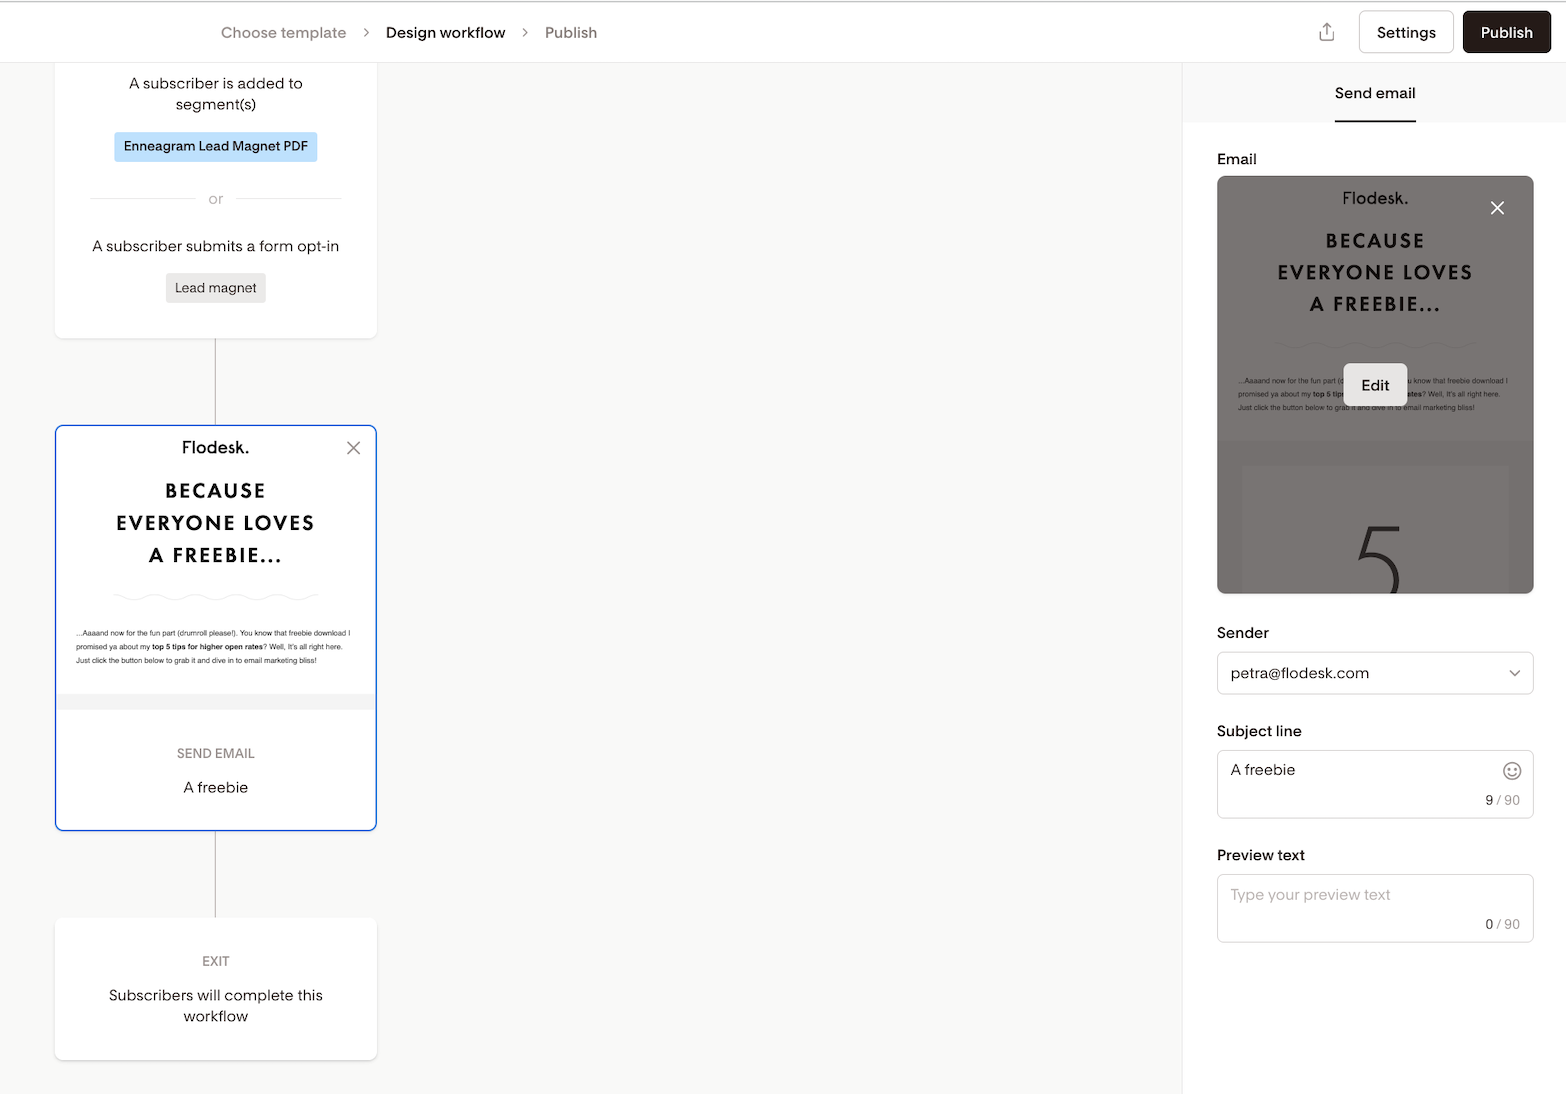
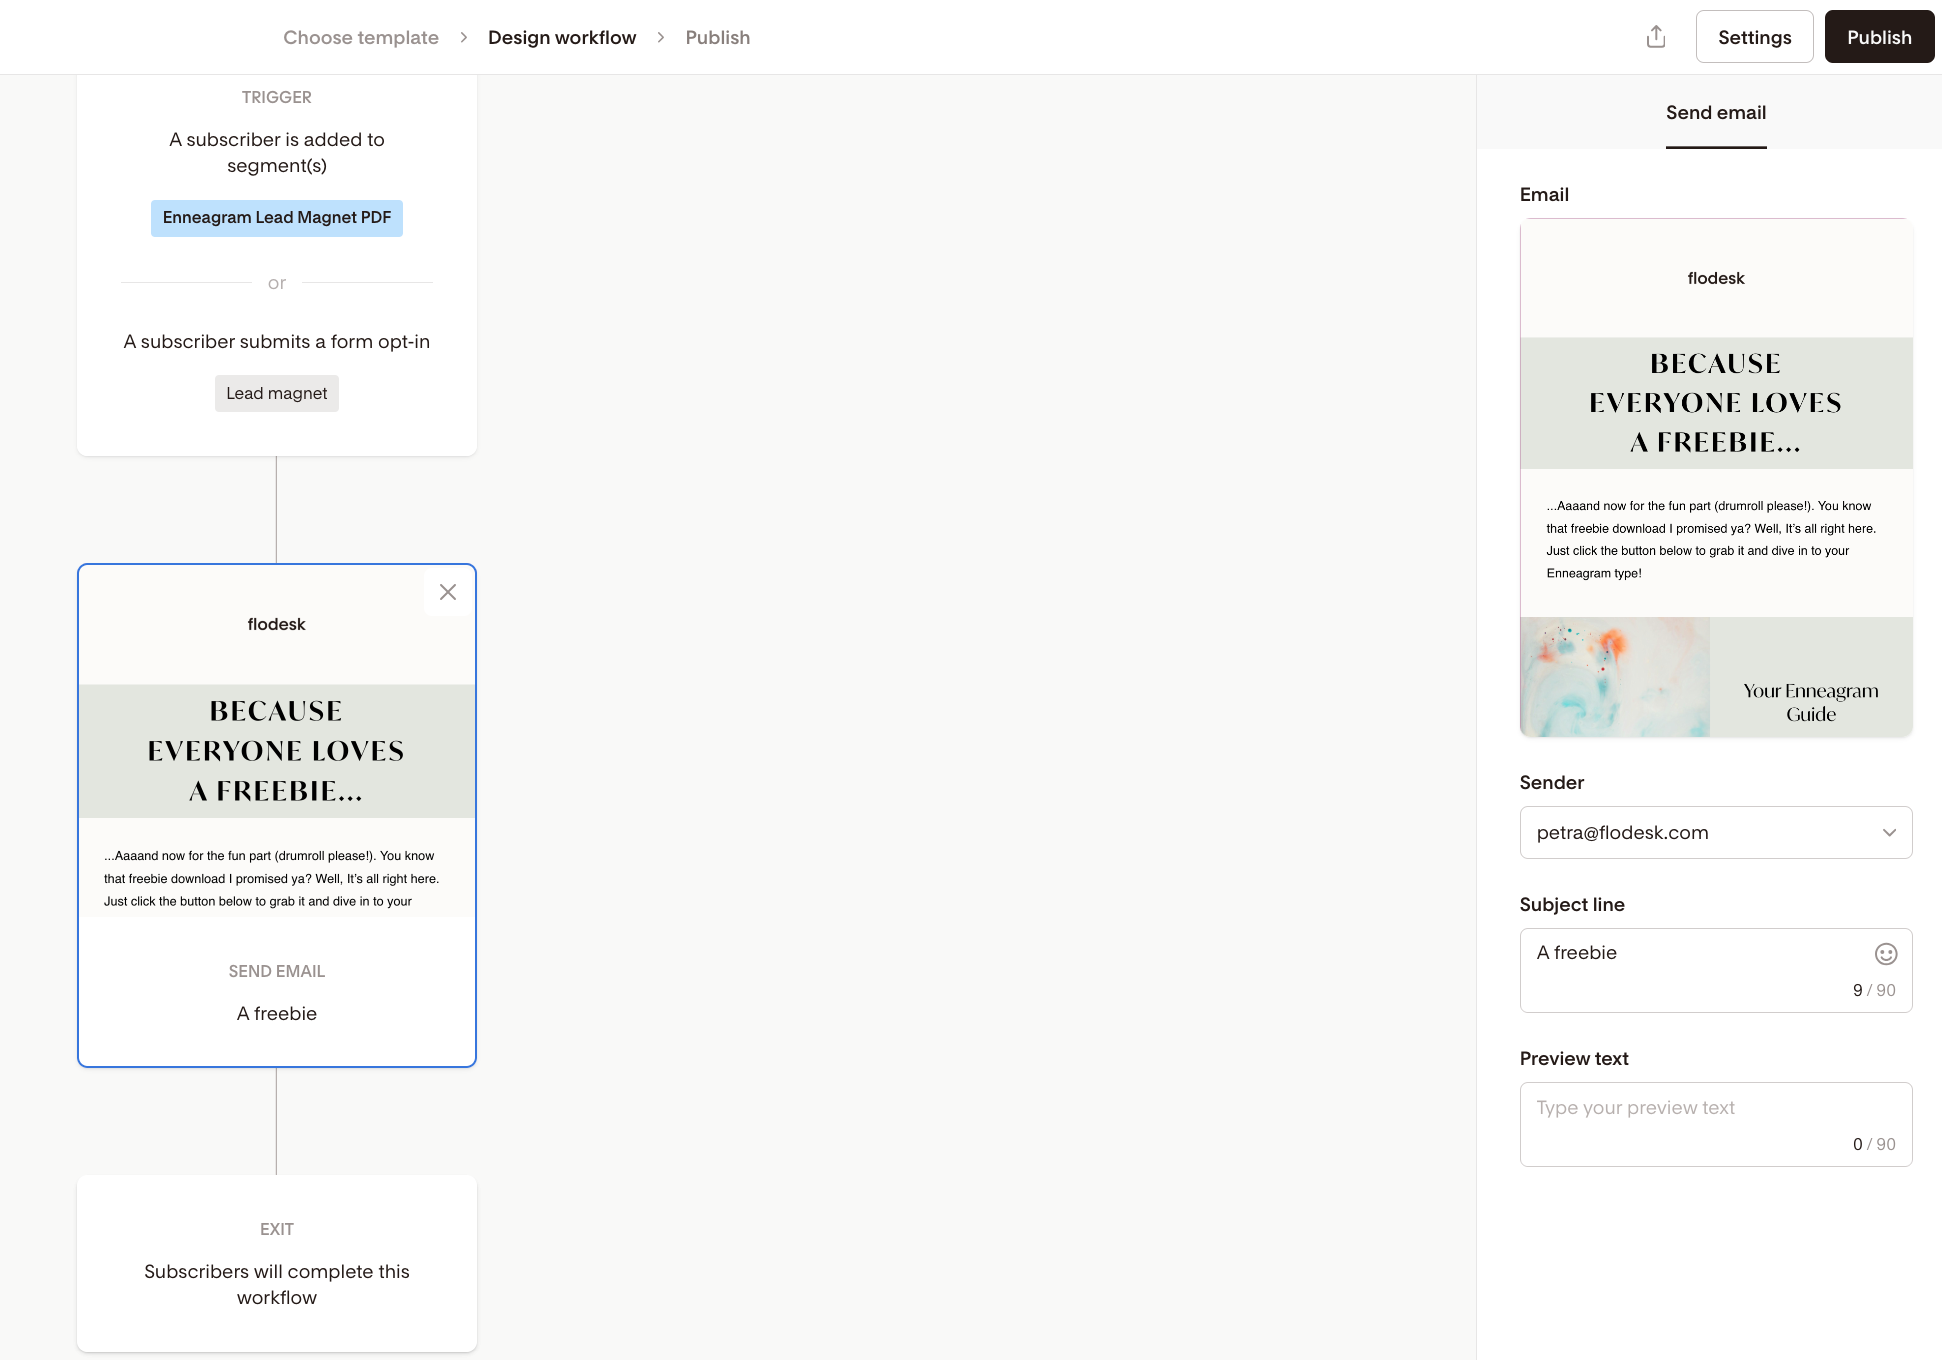
Click +Add trigger on the main screen, and choose the segment that should kickstart your freebie workflow on the right sidebar using the dropdown menu.
On workflows v2, you can also add subscribers to the workflow when they complete a particular opt-in form, in our example, this is the Lead magnet form.
Next, click the Email step. You can then start editing the email by clicking the email's card on the right sidebar.
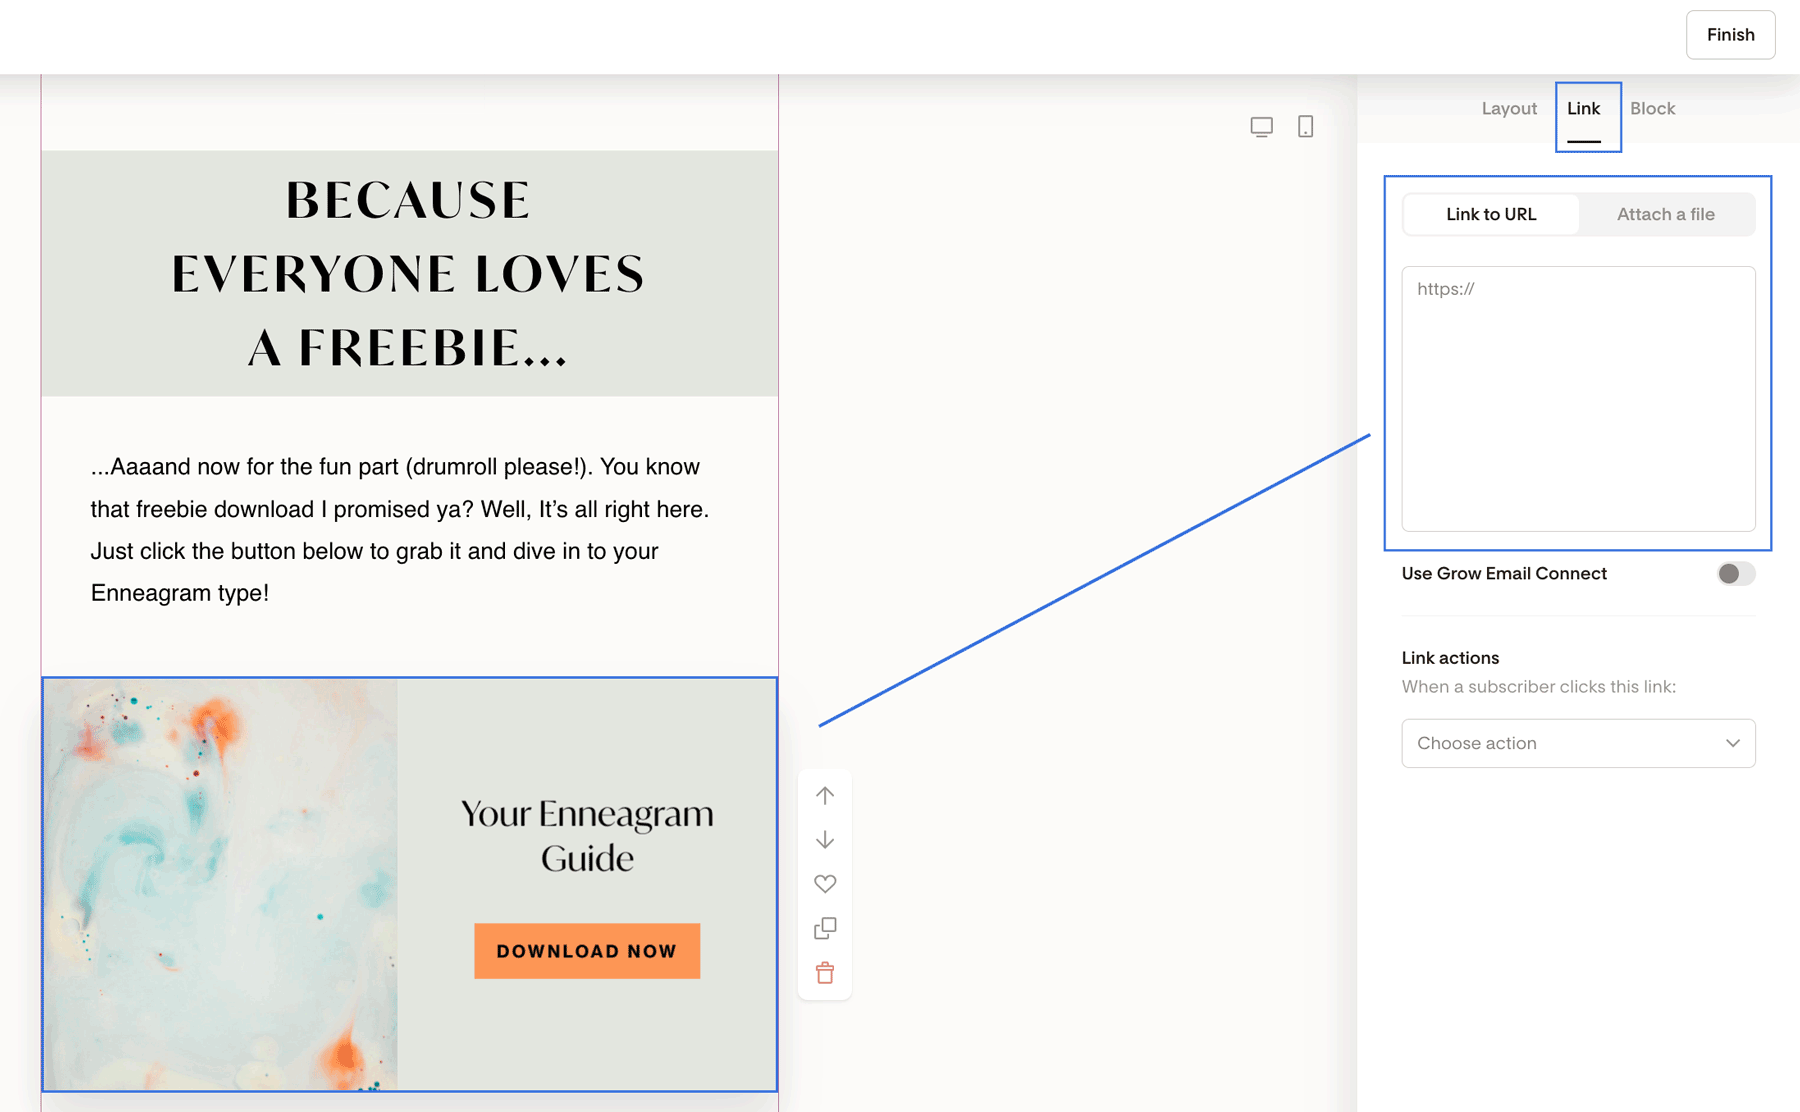
Customize the email with your brand fonts, colors and replace the placeholder copy text with your own. And remember to add the link to your freebie to a button or a layout block.
When your email is done, click the Finish button in the top right corner. This will bring you back to the workflow screen. Scroll down a bit on the right sidebar until you see the Sender, Subject line and Preview text sections.
Double-check that the sender email is correct, and write your preferred subject line and preview text.
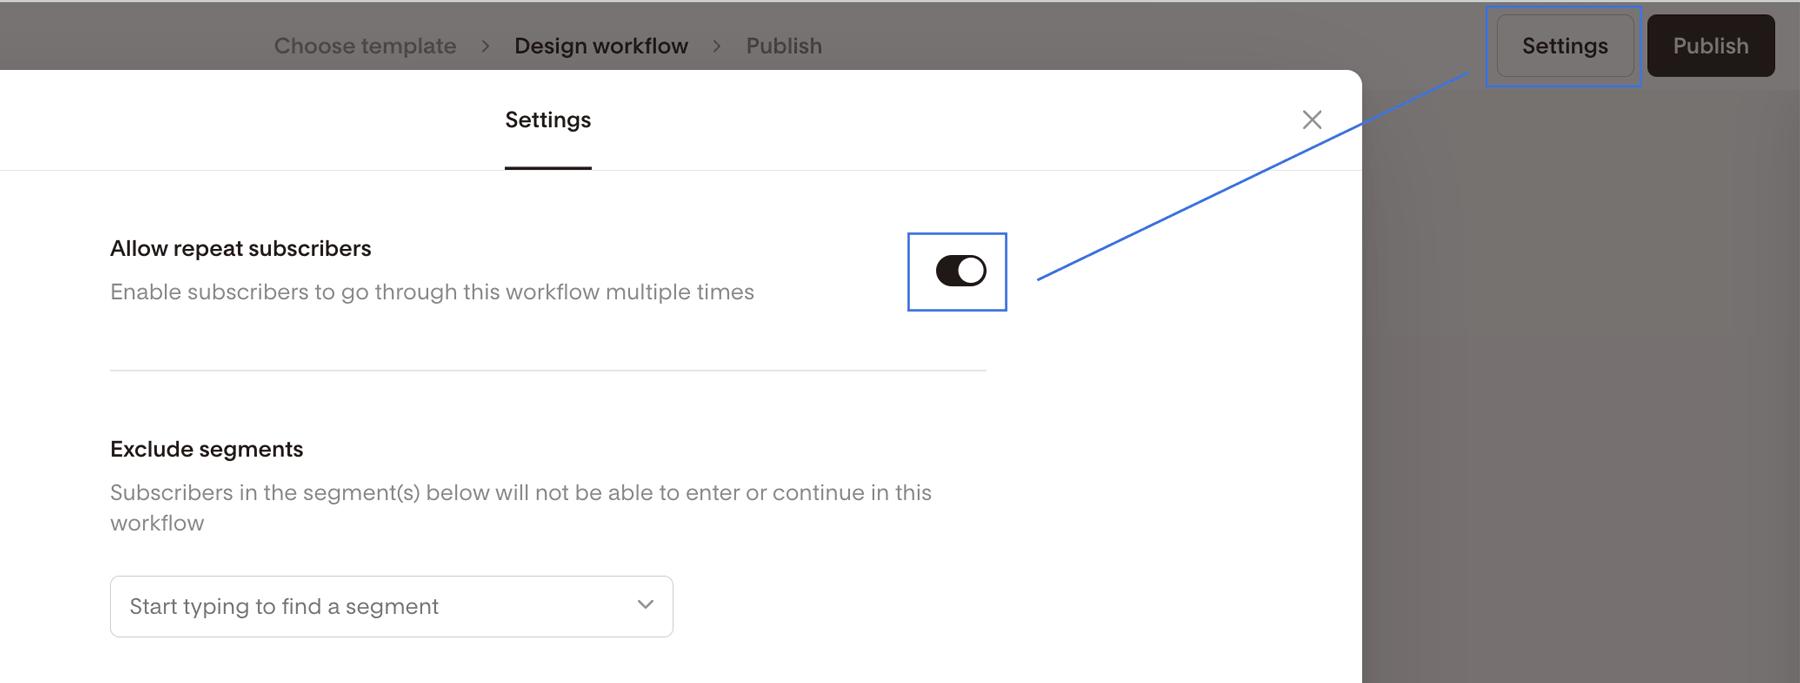
Before publishing the workflow, review the Settings (top right corner) and turn on the "Allow repeat subscribers" toggle if you want to enable subscribers to go through this workflow multiple times. This way, you can give subscribers another chance to download a freebie they may have missed.
For a more detailed tutorial, visit How to allow subscribers to go through a workflow more than once.
Once you're happy with your workflow, click the Publish button in the top right corner.
Step 4. Create your lead magnet opt-in form
Go to Forms on the top navigation menu, and click create +New form. Then select between the following form templates:
a Popup form: a popup form appears over your website content when visitors land on your website. It comes with an embed code.
an Inline form: an inline form appears inside a blog post, web page, or article. It comes with embed codes.
a Full page form: a full page form comes with a unique shareable URL. No embed codes, no website needed. You can share it right away via its link.
a Link in bio form: a link in bio form is your go-to link in bio solution. It comes with a unique shareable URL. No embed codes, no website needed. You can share it right away via its link.
Hover over the form template you want to start working with, then click on Customize it to start making it your own.
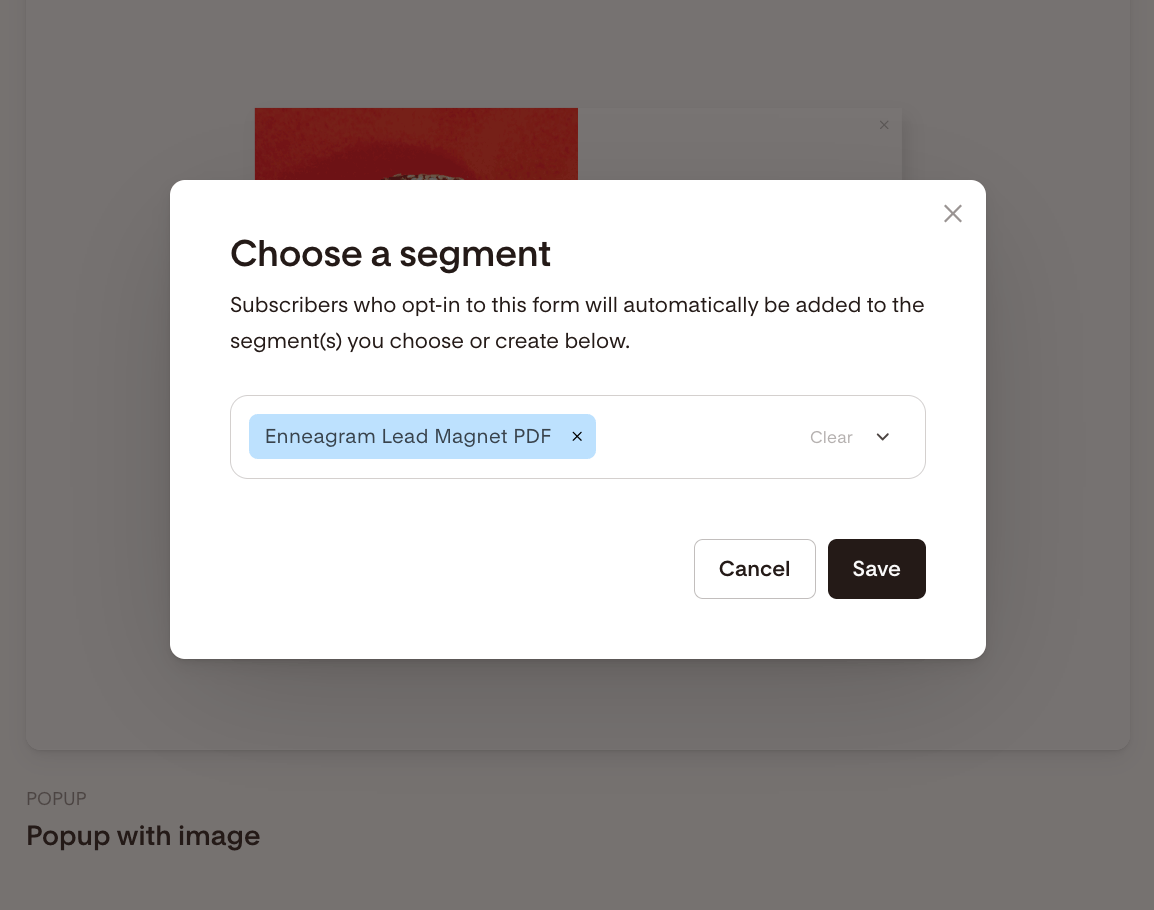
Next, select the segment that you've used to trigger your lead magnet delivery workflow. In our example, it's the "Enneagram Lead Magnet PDF" segment.
Continue tweaking your form design and form copy according to your needs. Learn more about how to customize an opt-in form for your brand here.
After you’ve created your Popup or Inline form, grab the HTML code snippets and paste them into the appropriate places on your website to embed the form wherever you want it to show up.
And if you're creating a Full page form or a Link in bio form, customize the form link and share it wherever you want!
And voila you’re on your way to growing your list 🙌.
Note: while you can create unlimited opt-in forms on our free plan, if you’d like to set up a freebie delivery workflow as described above, you need to upgrade to the paid Email or Everything bundle—which include unlimited emails and workflows.
To upgrade your plan, go to Account setting > Plan + billing and click the Choose your plan button.

