
How to Add a Custom Domain Sender Email in Flodesk
Overview
Learn how to add and verify a sender email from your own domain, so your emails look professional and meet authentication standards.
Why Use a Custom Domain Email
Sending from a custom domain email (like hello@yourbusiness.com) instead of a free email address (you@gmail.com) helps:
Build trust with subscribers
Improve email deliverability and sender reputation
Meet industry-standard authentication requirements from Gmail, Yahoo, and Microsoft
Tip: If you don’t have a custom domain email yet, start with our guides:
Before You Start
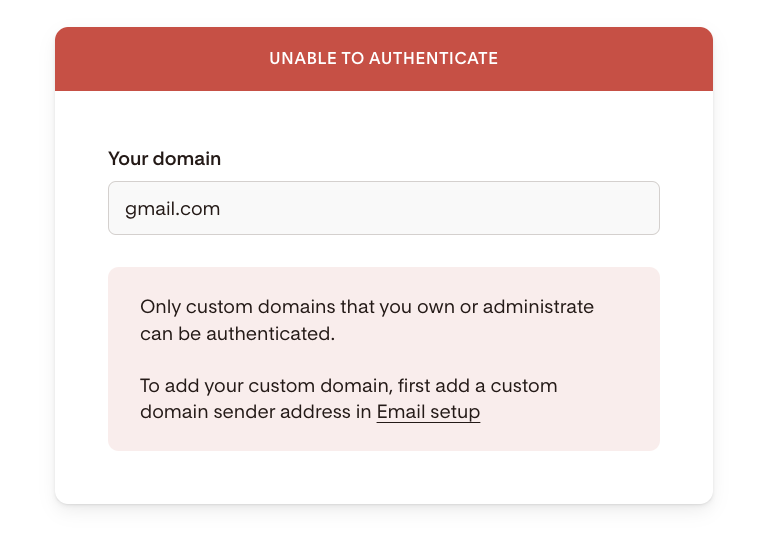
By default, your Flodesk account login email is used as your sender address.
If this email comes from a free provider (like Gmail, Yahoo, or Outlook), you’ll see an “Unable to authenticate” message under My Account > Domain setup.
To fix this, you’ll need to add a custom domain email and verify it as your sender.
Add Your Custom Domain Email
Follow these steps to add and verify your sender email.
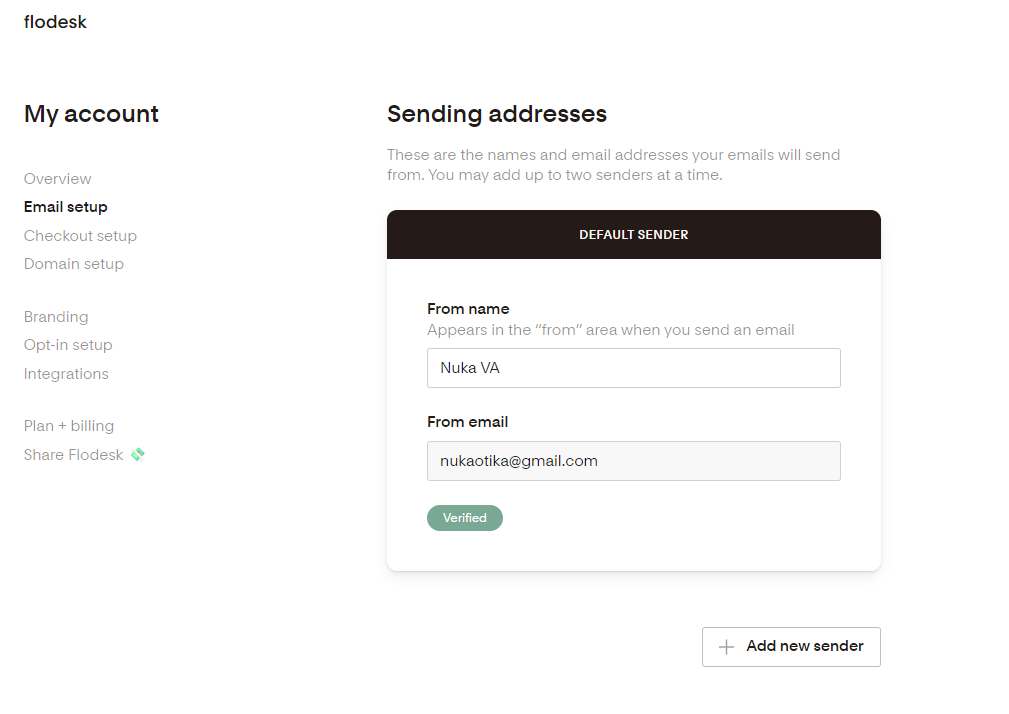
Step 1: Go to My Account > Email setup
In your Flodesk dashboard, open the Email setup tab under My Account.
Step 2: Click "+ Add new sender"
This opens a panel to enter your sender details.
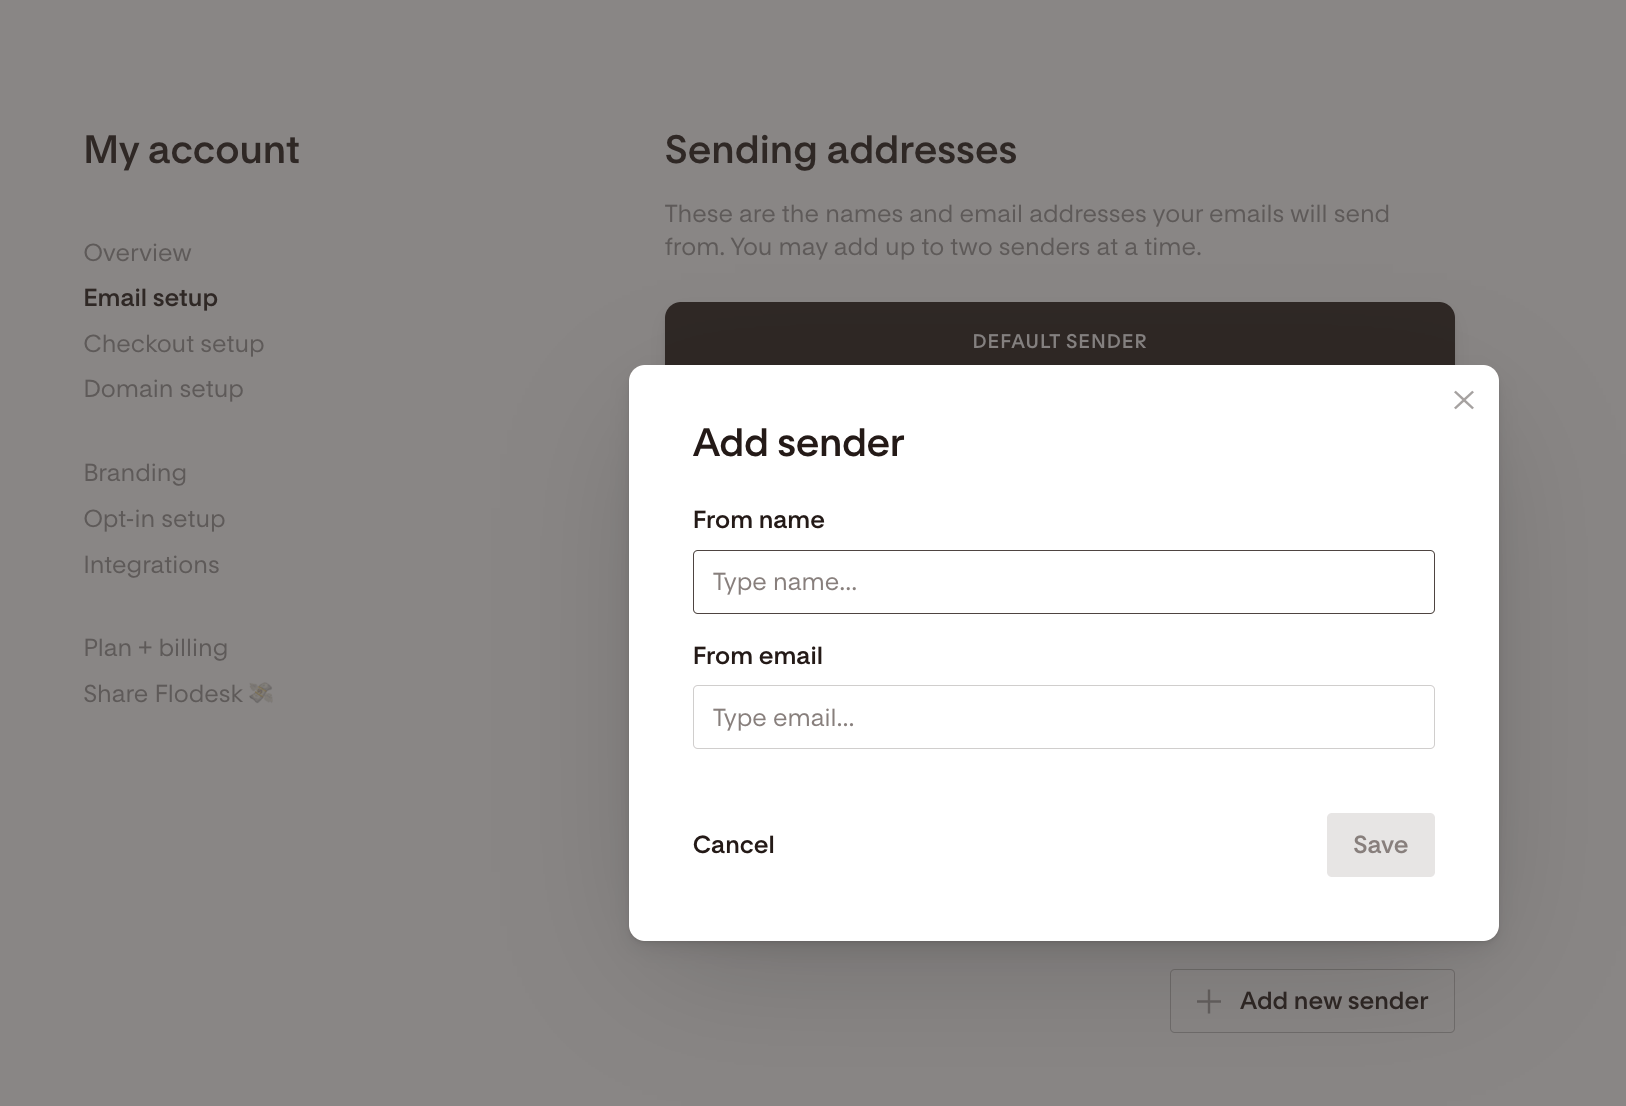
Step 3: Add your sender details
Enter your From name (what your recipients will see)
Type your custom domain email address (e.g., hello@yourbrand.com)
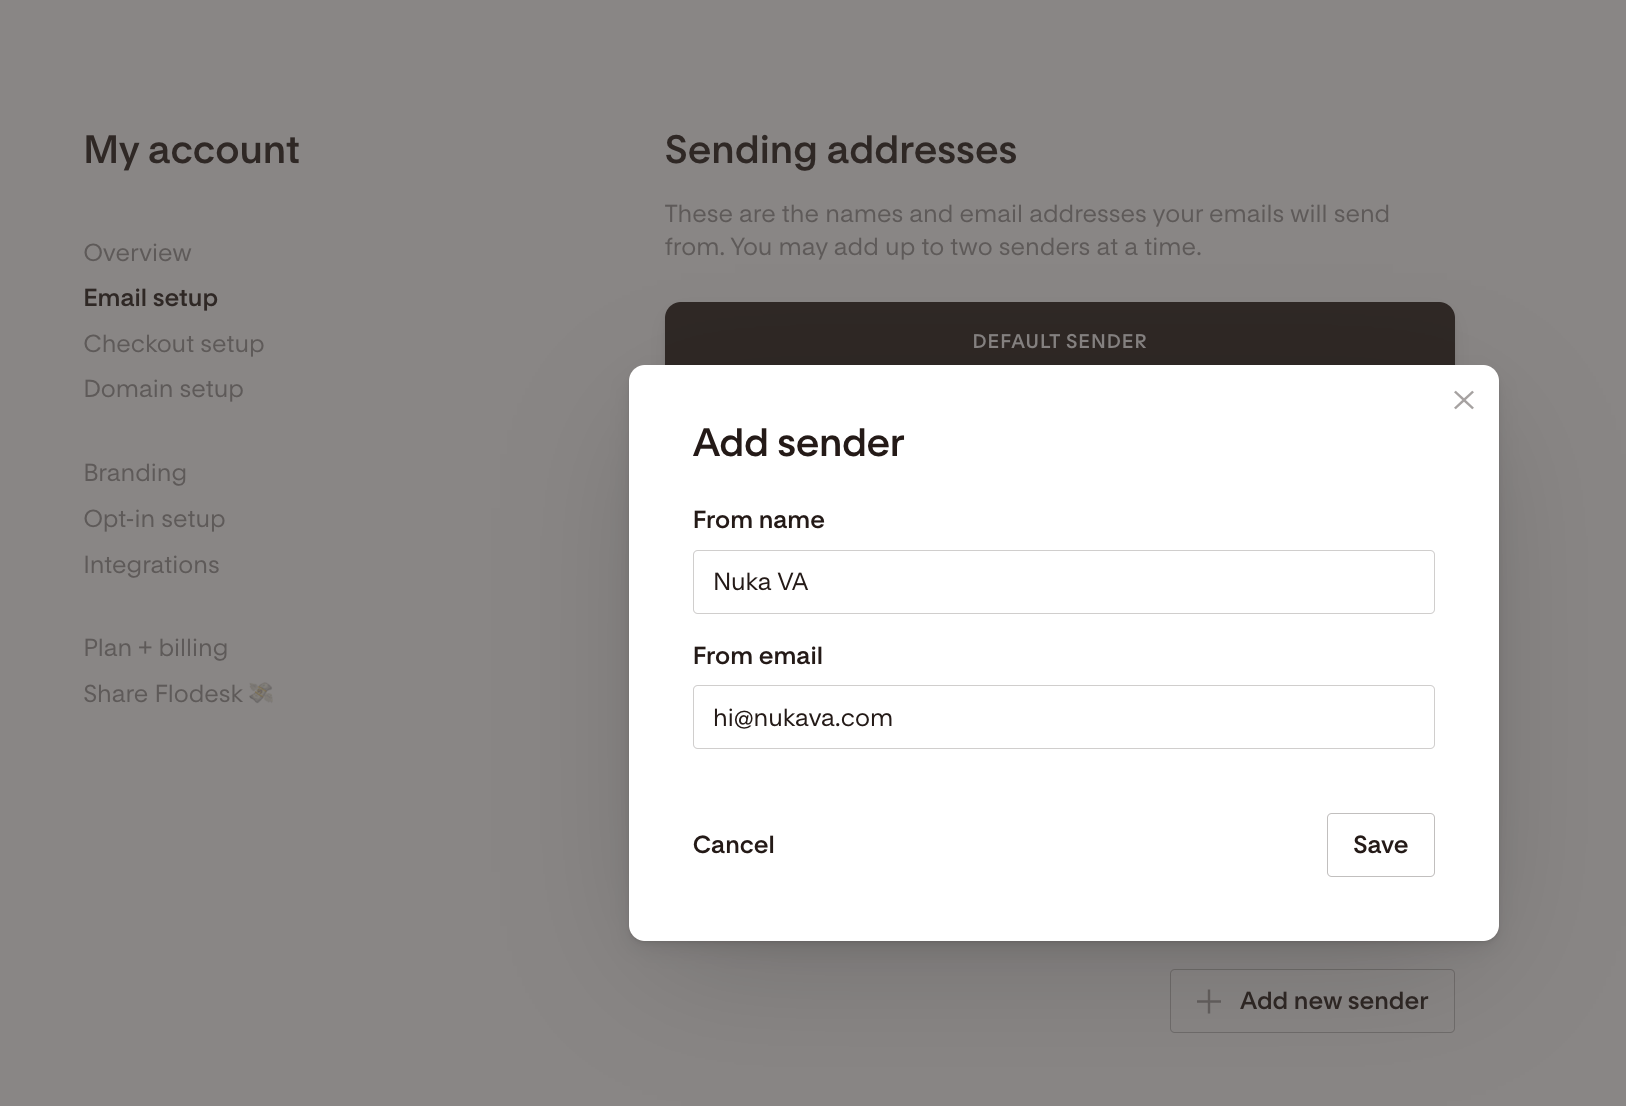
Click Save
Flodesk will now send a verification email to the address you entered.
Verify Your Email Address
Check your inbox for the verification email from Flodesk
Open the message and follow the prompts to confirm ownership
Didn’t get the verification email?
Check spam, junk, or promotions folders
Add help@flodesk.com to your email contacts
Go back to Email setup in Flodesk and click Resend verification email
Set It as Your Default Sender (optional)
Once your email is verified:
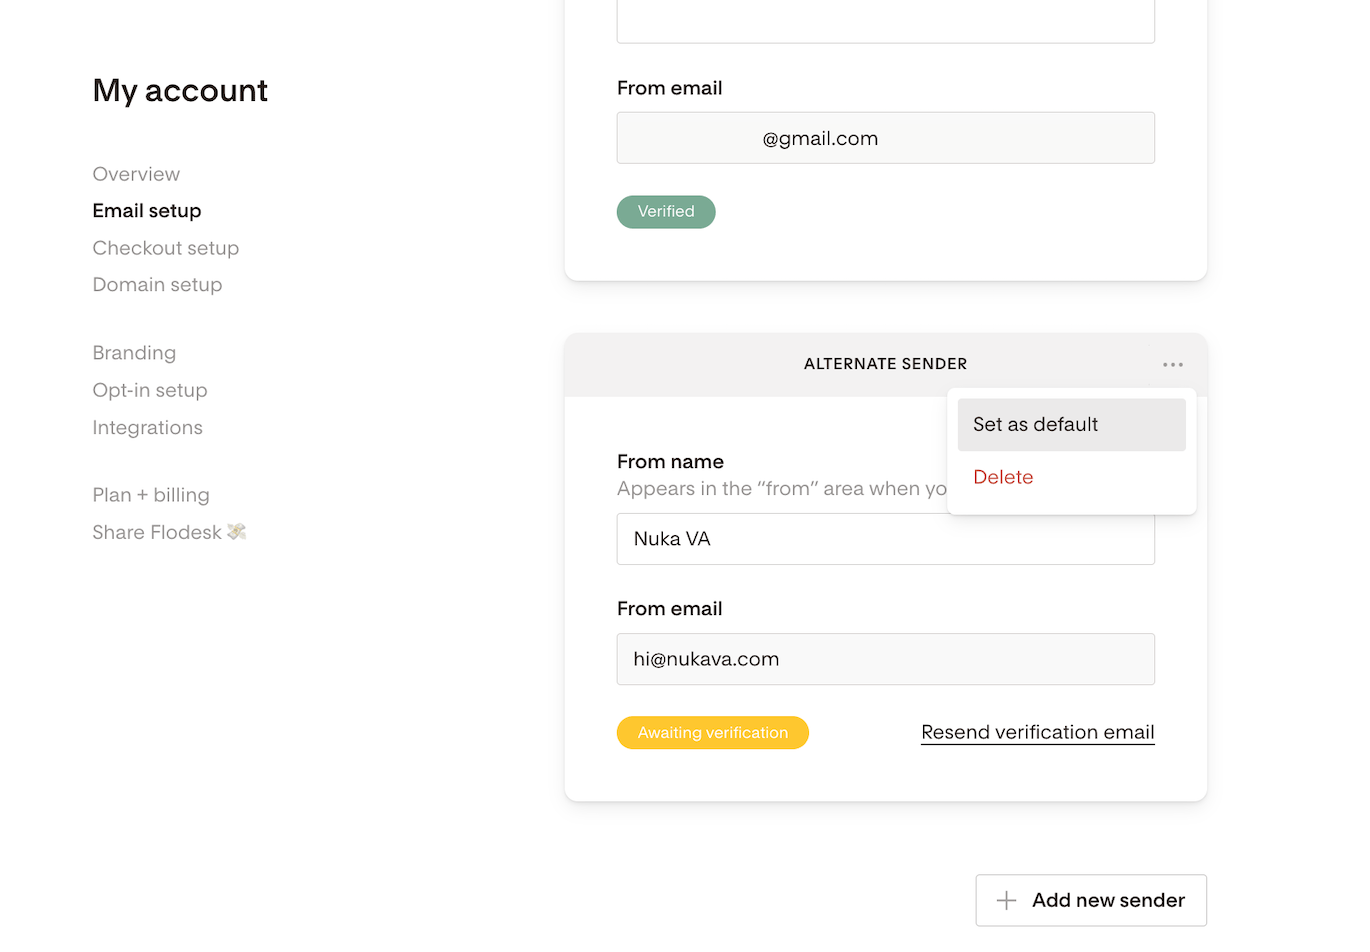
Click the three-dot menu (...) next to your new sender address
Select Set as default
Your Flodesk emails will now send from your custom domain by default.
Change or delete your default sender email address
Your default sender email address can't be edited or deleted directly. You can only delete an alternate sender. To change your default, you'll first need to make it the alternate, then delete it from there.
How you do this depends on how many sending addresses you currently have.
If you already have two sender email addresses set up:
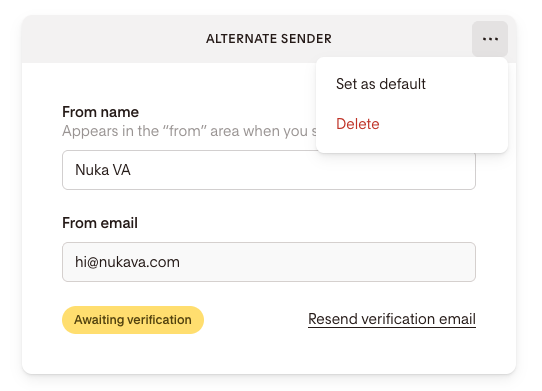
On your current alternate sender card, click the three dots (...) and select Set as default.
Now that your original sender email became the alternate, click the three dots on that email card and select Delete.
If you only have one sender email address (your default):
Go to Account settings > Email setup and click + Add sender.
Enter a new From name and From email address, then verify it (even if this is temporary).
Hover over the new sender card, click the three dots (...), and select Set as default.
Now that your original email address became the alternate, click the three dots on that email card, and select Delete.
Editing your domain
Your domain is connected to your sending address, so anytime you want to remove or change a domain, you'll do it from the Email setup tab. Your domain auto-populates based on the sending address you've added—there's nothing to edit directly on the Domain setup page.
Good to know before you start:
Each Flodesk account supports up to two sending addresses, which means you can authenticate up to two custom domains.
Your default sender address can't be deleted until a different address is set as the default (more on that in the FAQs below).
Remove a domain
Go to the Email setup tab
Click the three-dot menu (...) next to the sending address tied to the domain
Select Delete
Once the sending address is deleted, its domain is removed from the Domain setup page automatically.
Change a domain
Go to the Email setup tab
Delete the sending address tied to the domain you want to replace (three-dot menu (...) → Delete)
Confirm the deletion of the sending address
Click "+ Add new sender"
Enter your new sending address with your preferred domain
Your new domain will appear on the Domain setup page automatically—no extra steps needed.
Authenticate Your Domain
After verifying your email address, go to My Account > Domain setup
You’ll see your domain listed and ready for authentication. This includes:
DKIM (DomainKeys Identified Mail)
SPF (Sender Policy Framework)
DMARC (Domain-based Message Authentication Reporting & Conformance)
Follow this guide on domain authentication to complete the setup.
Summary
To successfully add and authenticate a custom domain email in Flodesk:
Step | Action |
|---|---|
1. | Go to My Account > Email setup |
2. | Click + Add new sender |
3. | Enter your custom domain email and click Save |
4. | Check your inbox and verify your email address |
5. | (Optional) Set it as your default sender |
6. | Go to Domain setup and complete authentication |
If your sender email is from a free domain (like Gmail or Yahoo), your domain cannot be authenticated.
You’ll continue to see a warning until you add and verify a custom domain email.
FAQ: Adding a Custom Domain Sender Email in Flodesk
Why should I use a custom domain email?
It helps you look professional, improve deliverability, and meet Gmail, Yahoo, and Outlook authentication rules.
What happens if I use a free email (like Gmail)?
Flodesk can’t authenticate it. You’ll see an “Unable to authenticate” message until you add a custom domain email.
How do I add a custom domain sender email?
Go to My Account → Email setup → + Add new sender, enter your custom email, and click Save.
How do I verify my new email?
Check your inbox for a Flodesk verification email and follow the link to confirm ownership.
Can I resend the verification email?
Yes. Go to Email setup and click Resend verification email.
How do I make it my default sender?
After verification, click the three-dot menu (...) next to your address and select Set as default.
Do I need to authenticate my domain too?
Yes. Go to My Account → Domain setup and follow the steps to add DKIM, SPF, and DMARC records.
Can I add multiple sender emails?
Yes, you can add and verify two sender emails and switch between them anytime.
Can I delete a sending address that's set as my default sender?
Not right away—a different address needs to be set as the default first. Here's how:
If you have two sending addresses: Set the other address as your default sender, then delete the one you want to remove.
If you only have one sending address: Add a new sending address, set it as the default, then delete the original.