
How to Set Up the Preferences Page
Give your subscribers control over what they want to receive, without losing them from your list.
Overview
The Preferences Page lets your subscribers manage what topics they’re interested in and/or how often they hear from you. It’s an easy way to personalize their experience and reduce unsubscribes.
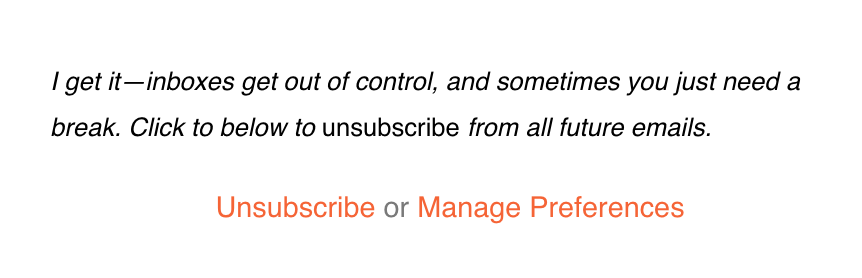
When subscribers click “Manage Preferences” in your email footer, they’ll go to the Preferences Page where they can update their details and preferences.
What Subscribers Can Do on the Preferences Page
On the Preferences Page, subscribers can:
Update their first and last name
Choose what topics or content they want to receive
Select how often they want emails (if you offer frequency options)
Think of this as an ongoing way to keep your emails relevant—even after subscribers have already joined your list.
Note: Subscribers can’t change their email address through this page. They’ll need to re-subscribe using your opt-in form if they want to use a new email.
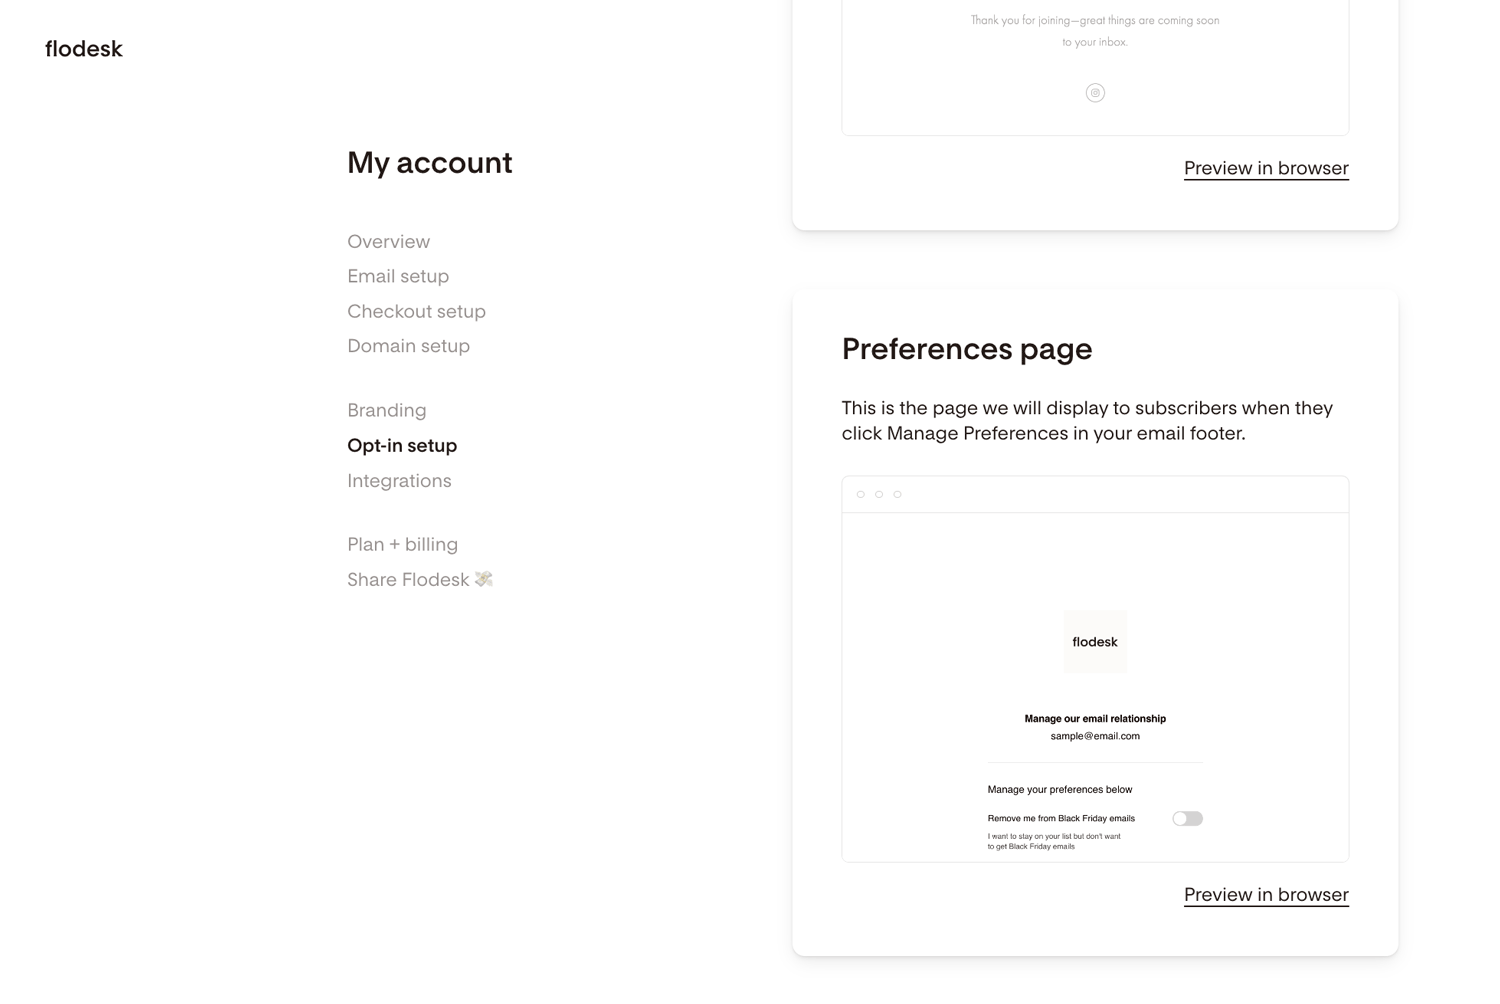
How to Find and Edit the Preferences Page
To access and customize your Preferences Page:
Log in to your Flodesk account
Go to My Account > Opt-in setup
Scroll to the Preferences Page section
Click to edit the page
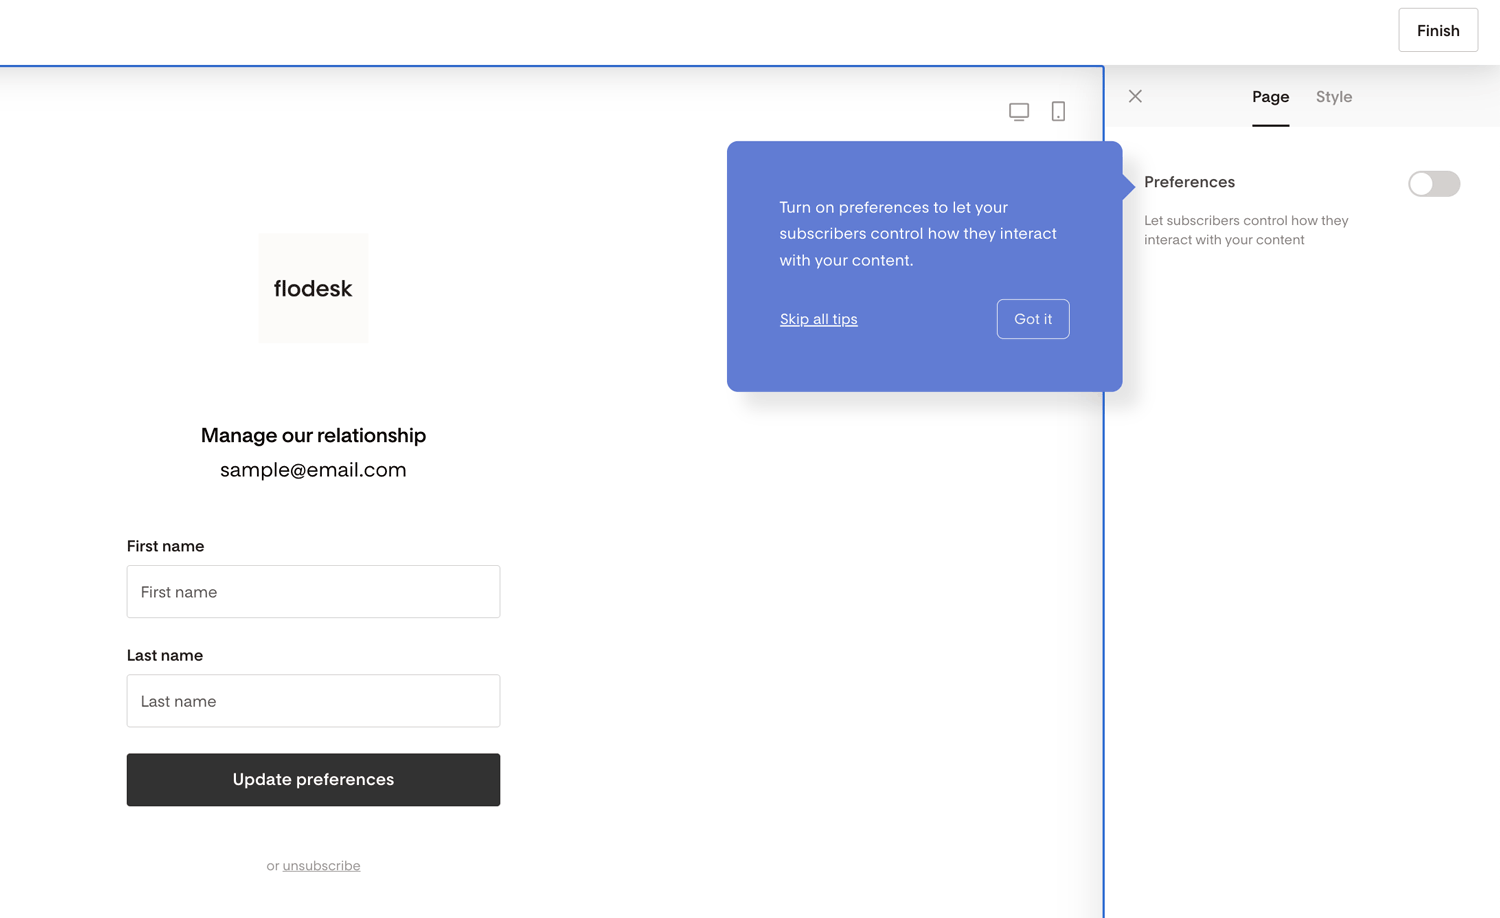
By default, only the name fields appear. To let subscribers choose content or frequency, turn on the Preferences toggle.
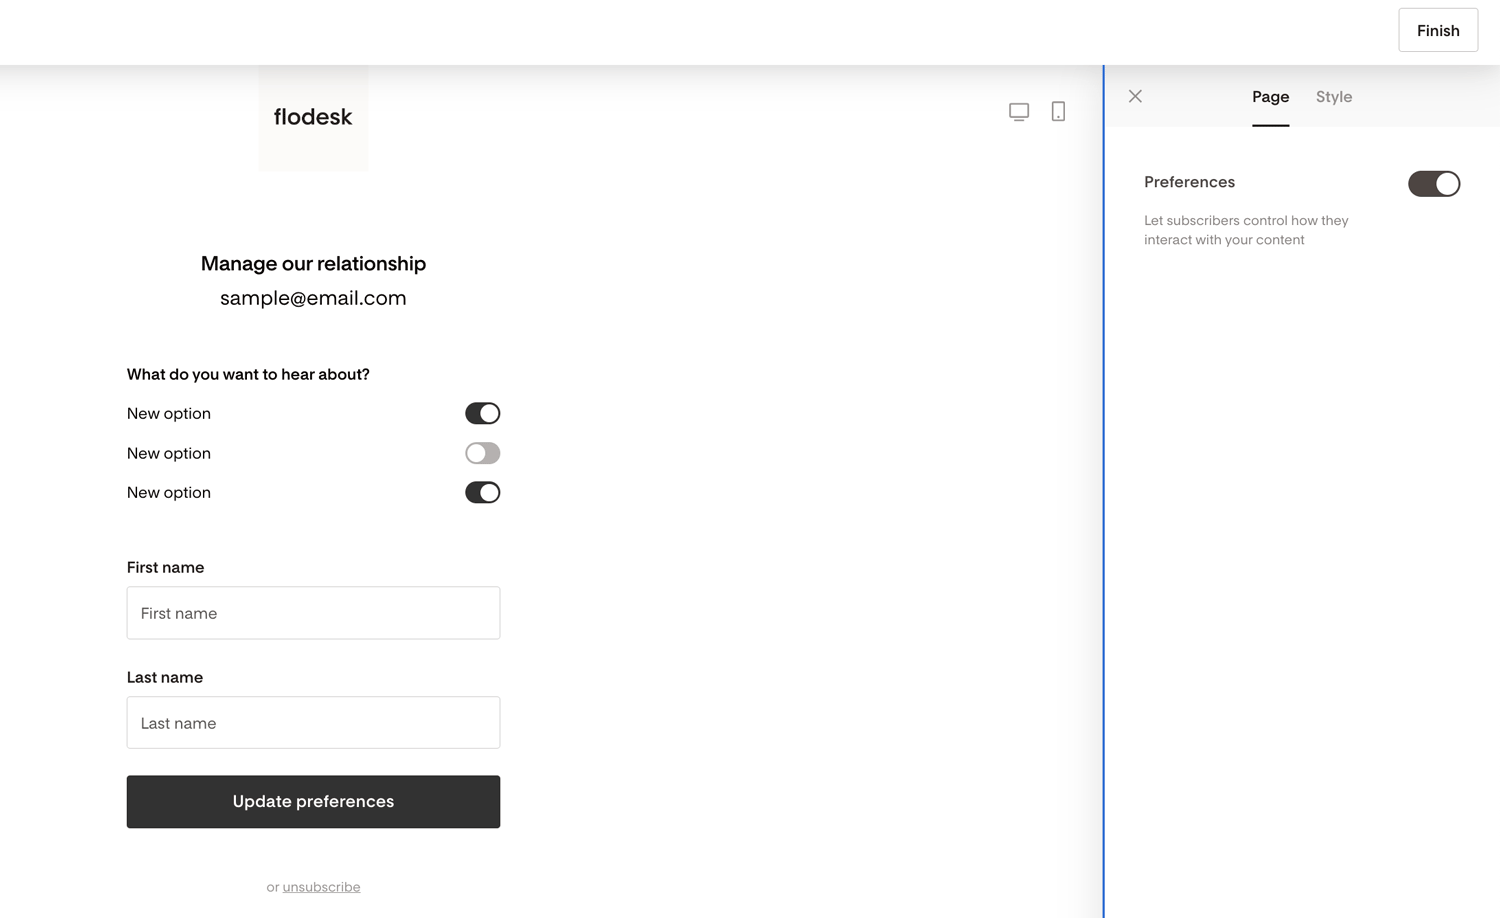
How to Set Up Preferences
Once Preferences are turned on, you can create up to six preference options to keep things clear and effective. You can ask questions like:
“What do you want to hear about?”
Segment by content types like blog updates, promotions, white wine tips, etc.
“How often do you want to hear from me?”
Segment by email frequency, like weekly, monthly, or only during launches.
For each preference:
Click an existing preference to edit.
In the right sidebar, you can:
Edit the label (e.g., “Weekly updates” or “Wine tips only”)
Add an optional description
Connect it to a segment
When subscribers select or uncheck a preference, they’re automatically added to or removed from that segment.
To add more, click + Add.
To remove one, click the three dots (⋯) and select Delete.

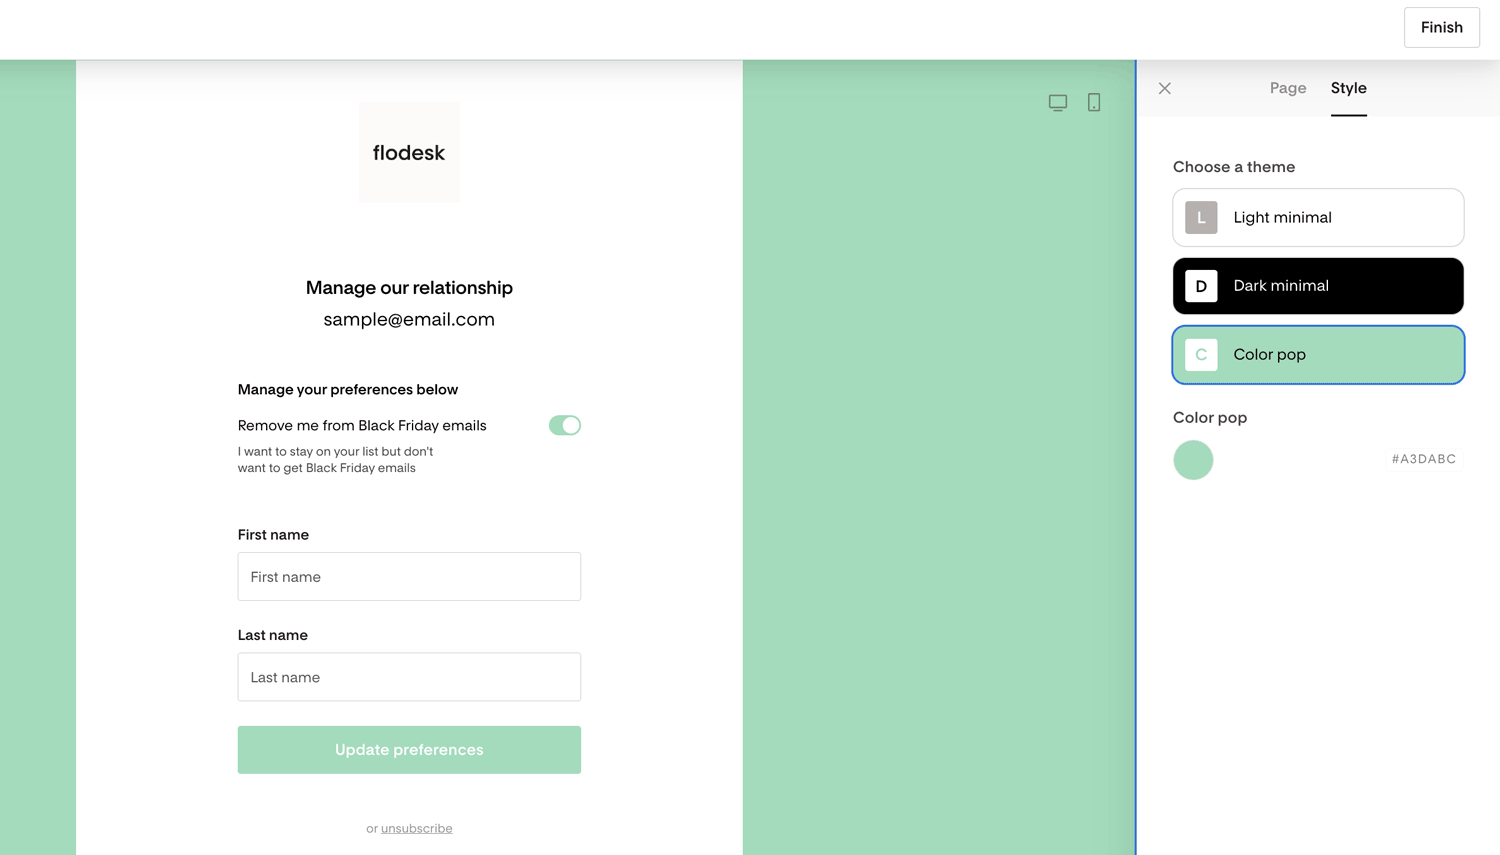
Customizing the Look and Feel
Make the page match your brand under the Style tab:
Choose light or dark theme
Set brand colors and fonts
Pick checkbox shapes (squares, circles, or hearts)
Don’t forget to click Finish to save your changes.
Good to Know
Preferences on Forms vs. Preferences Page:
They’re separate but complementary.
Forms ask preferences when people first sign up
Preferences Page lets existing subscribers update them later.
Learn more here: What is the difference between Preferences in Forms and the Preferences Page?
If someone accidentally unsubscribed:
They must resubscribe on their own. You can’t manually re-add them or use a CSV to make them active again.
Testing the “Manage Preferences” link:
{"code":"subscriber_not_found","message":"Your profile was not found."}If you see an error like
{"code":"subscriber_not_found","message":"Your profile was not found."}
that’s expected in test emails. The link only works for live subscribers. In a real send, subscribers will see a page that reflects their own information.
Summary
The Preferences Page appears when subscribers click “Manage Preferences” in your email footer
It helps them choose content or frequency instead of unsubscribing.
You can add up to six preferences linked to segments.
Works only in live emails—not in test sends.
Preferences Page — FAQs
What is the Preferences Page?
It’s a page where subscribers can choose what type of content they want to receive and how often—without unsubscribing from your list.
How do subscribers access it?
They click “Manage Preferences” in your email footer.
What can subscribers update?
Their first and last name, interests or topics, and email frequency (if you’ve set that up).
Can subscribers change their email address here?
No. They’ll need to re-subscribe with their new email through one of your forms.
How do I set it up?
Go to My Account → Opt-in setup → Preferences Page, then turn on the Preferences toggle to customize topics and connect them to segments.
How many preferences can I add?
Up to six. This keeps the page clear and conversion-friendly.
What happens when someone selects or deselects a preference?
They’re automatically added to or removed from the connected segment.
Can I customize how it looks?
Yes—choose your brand fonts, colors, checkbox style, and theme under the Style tab.
Why doesn’t the “Manage Preferences” link work in test emails?
It only works for real subscribers in live email sends, not test emails.
What if someone unsubscribed by accident?
They’ll need to re-subscribe via one of your forms. You can’t manually re-add them or import them via CSV.