How to create a lead magnet delivery flow
Automatically deliver your freebie to new subscribers using a form, segment, and workflow in Flodesk.
This guide walks you through how to set up a complete lead magnet system in Flodesk: from creating your freebie to automatically delivering it via email. By the end, you’ll have a fully automated flow that grows your email list and sends your lead magnet without any manual work.
What you’ll need before you start
Before setting up your lead magnet delivery workflow, make sure you have:
A lead magnet ready (PDF, checklist, video, or other free resource)
A Flodesk paid plan that includes workflows
A sender email address set up in your account
Step 1: Create your lead magnet
Start by creating the free resource you want to deliver to subscribers.
This could be:
A PDF guide or workbook
A one-page checklist or cheat sheet
A video or training hosted elsewhere
Your lead magnet should provide a quick win and naturally connect to your paid offers or services.
Step 2: Create a segment for your lead magnet
Next, create a segment that will collect everyone who signs up for this freebie.
Go to Audience → Segments.
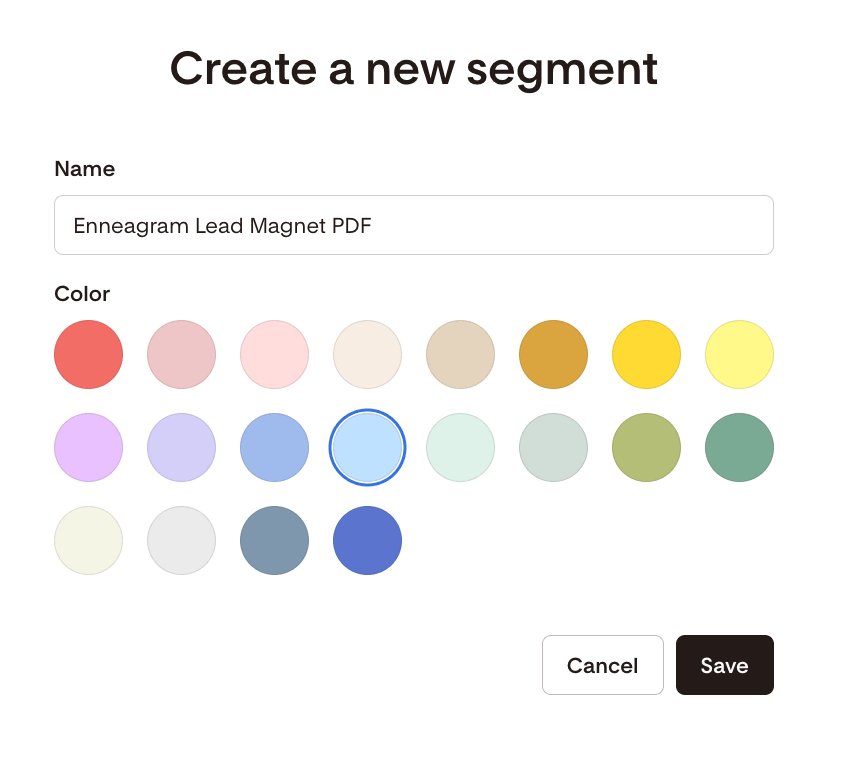
Click + New segment.
Name the segment after your lead magnet (for example: Enneagram Lead Magnet PDF).
This segment will be used to trigger your delivery workflow.
Step 3: Create your lead magnet opt-in form
Now create the form subscribers will use to sign up.
Go to Forms.
Click + New form.
Choose a form type:
Popup form – appears over your website content (embed code required)
Inline form – embedded inside a page or blog post
Full page form – standalone page with a shareable link
Link in bio form – shareable link for social media bios
Click Customize it on your chosen template.
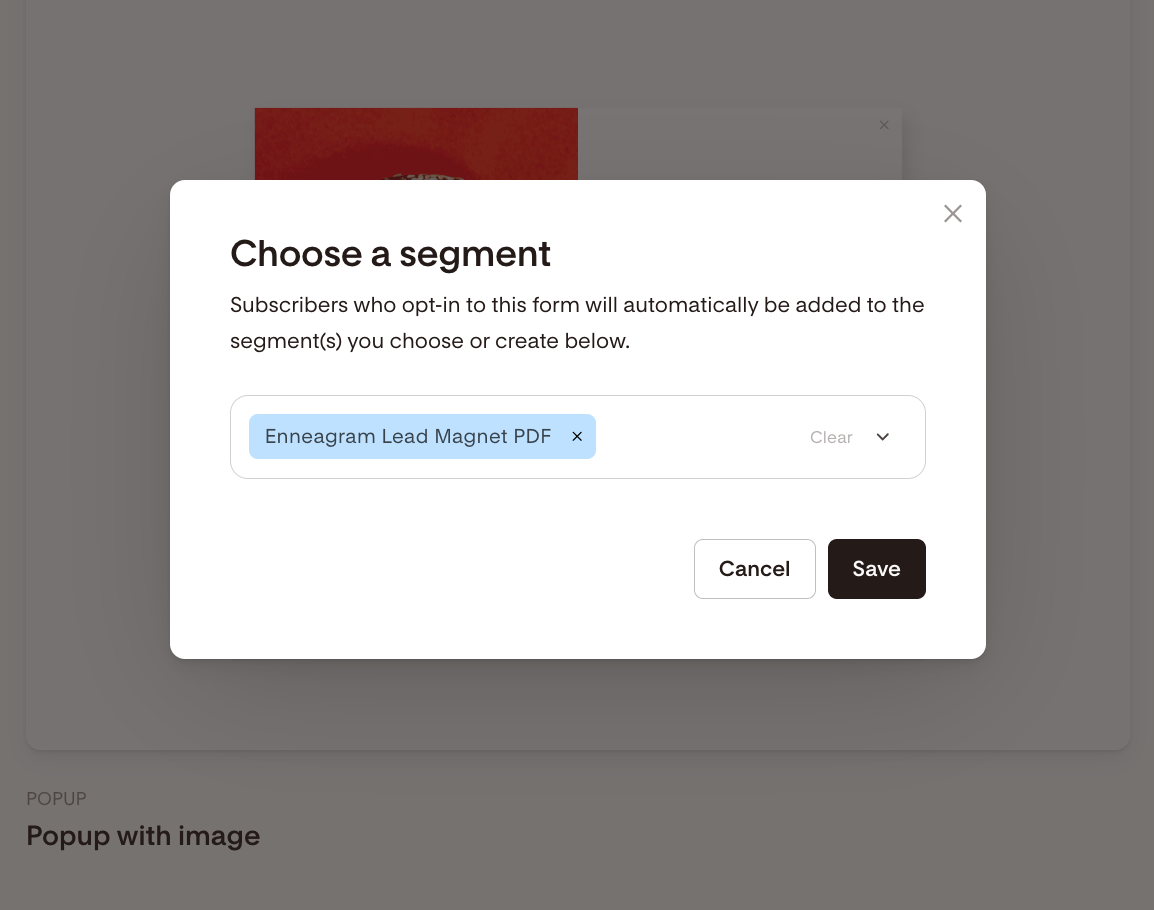
Select the same segment you created above. We will use this to trigger your workflow.
Do not share your form on your website or elsewhere yet. We need to set up the workflow first.
Step 4: Create a workflow to deliver the lead magnet
Now you’ll create the automation that sends your freebie.
Create the workflow
Go to Workflows in the top navigation.
Click + New workflow.
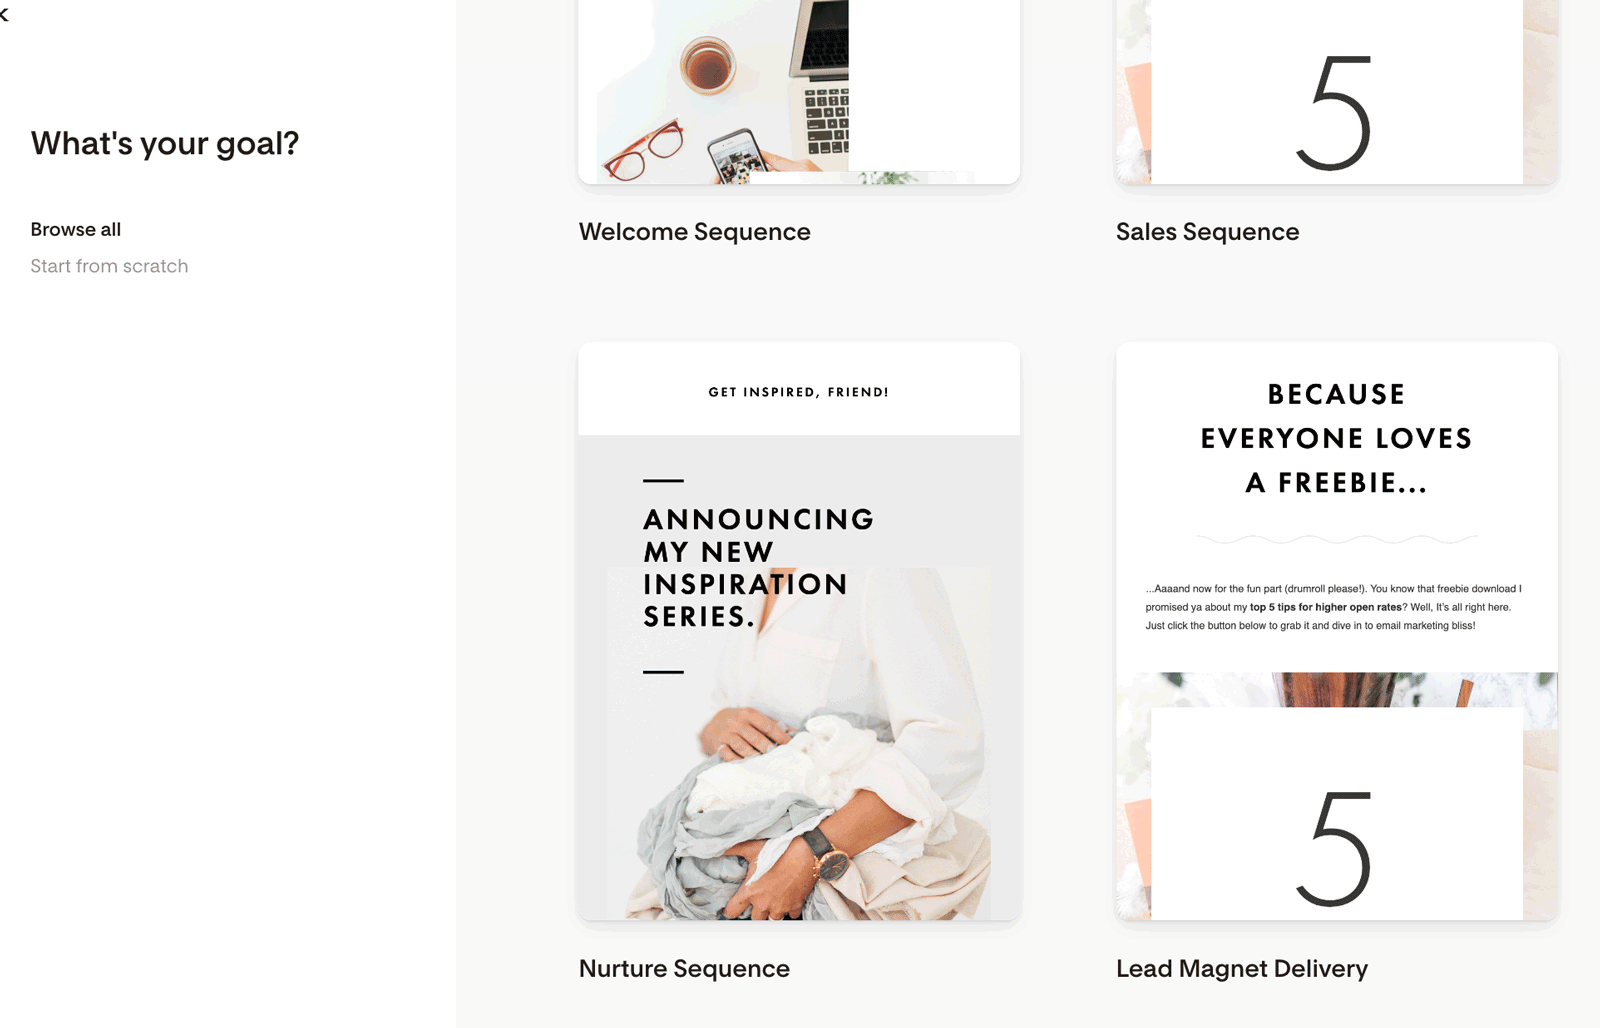
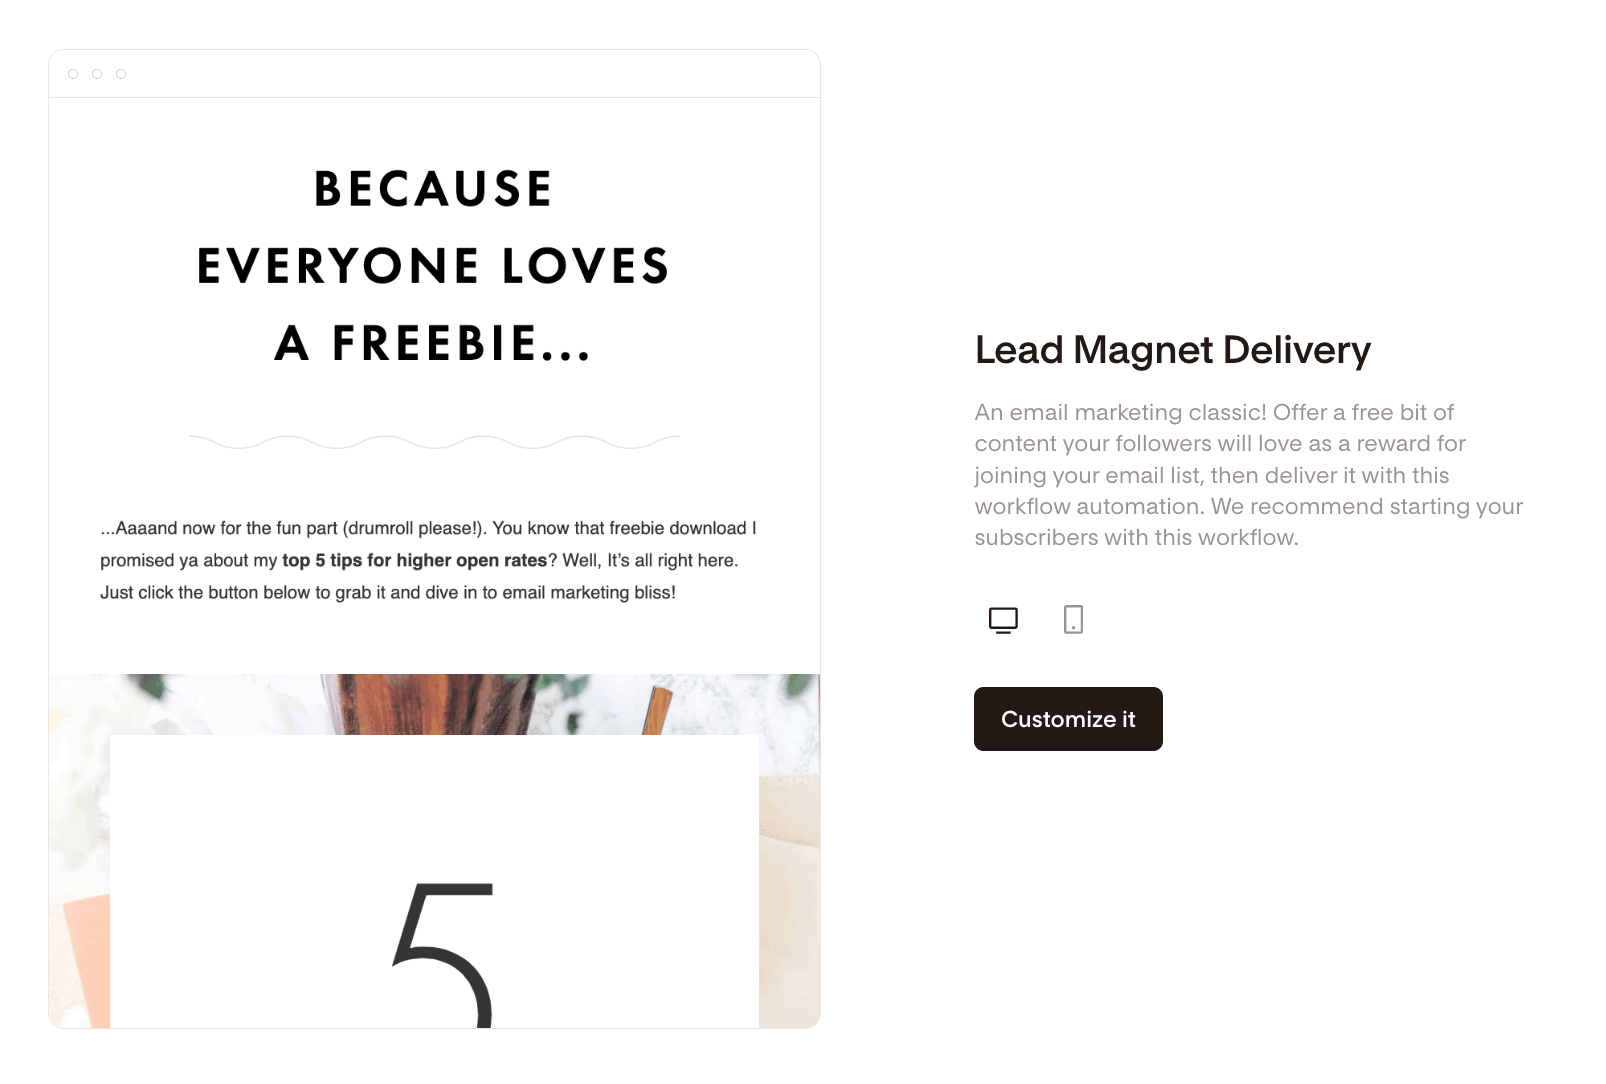
Choose the Lead Magnet Delivery workflow template, or start from scratch.
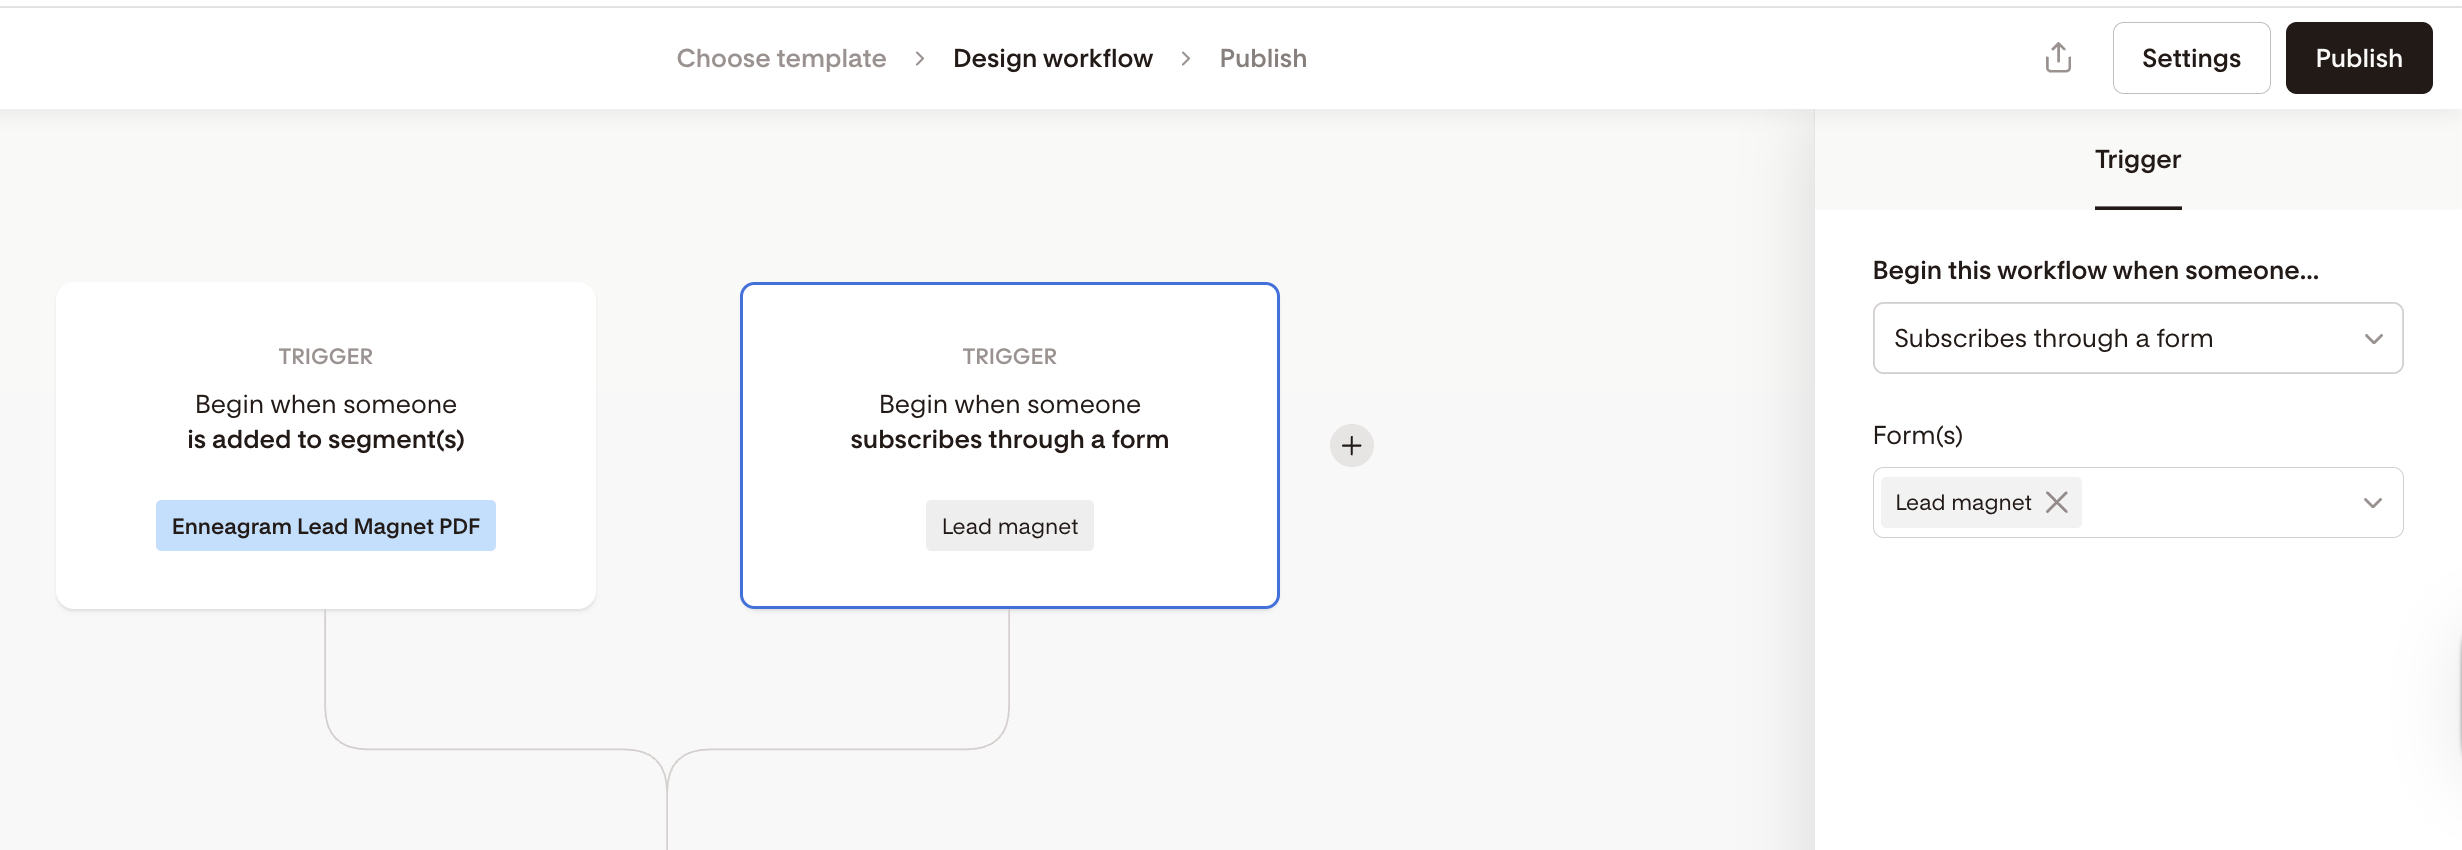
Set the trigger
Click + Add trigger.
Select the segment you created for your lead magnet.
You can also trigger the workflow when someone completes the specific opt-in form you created.
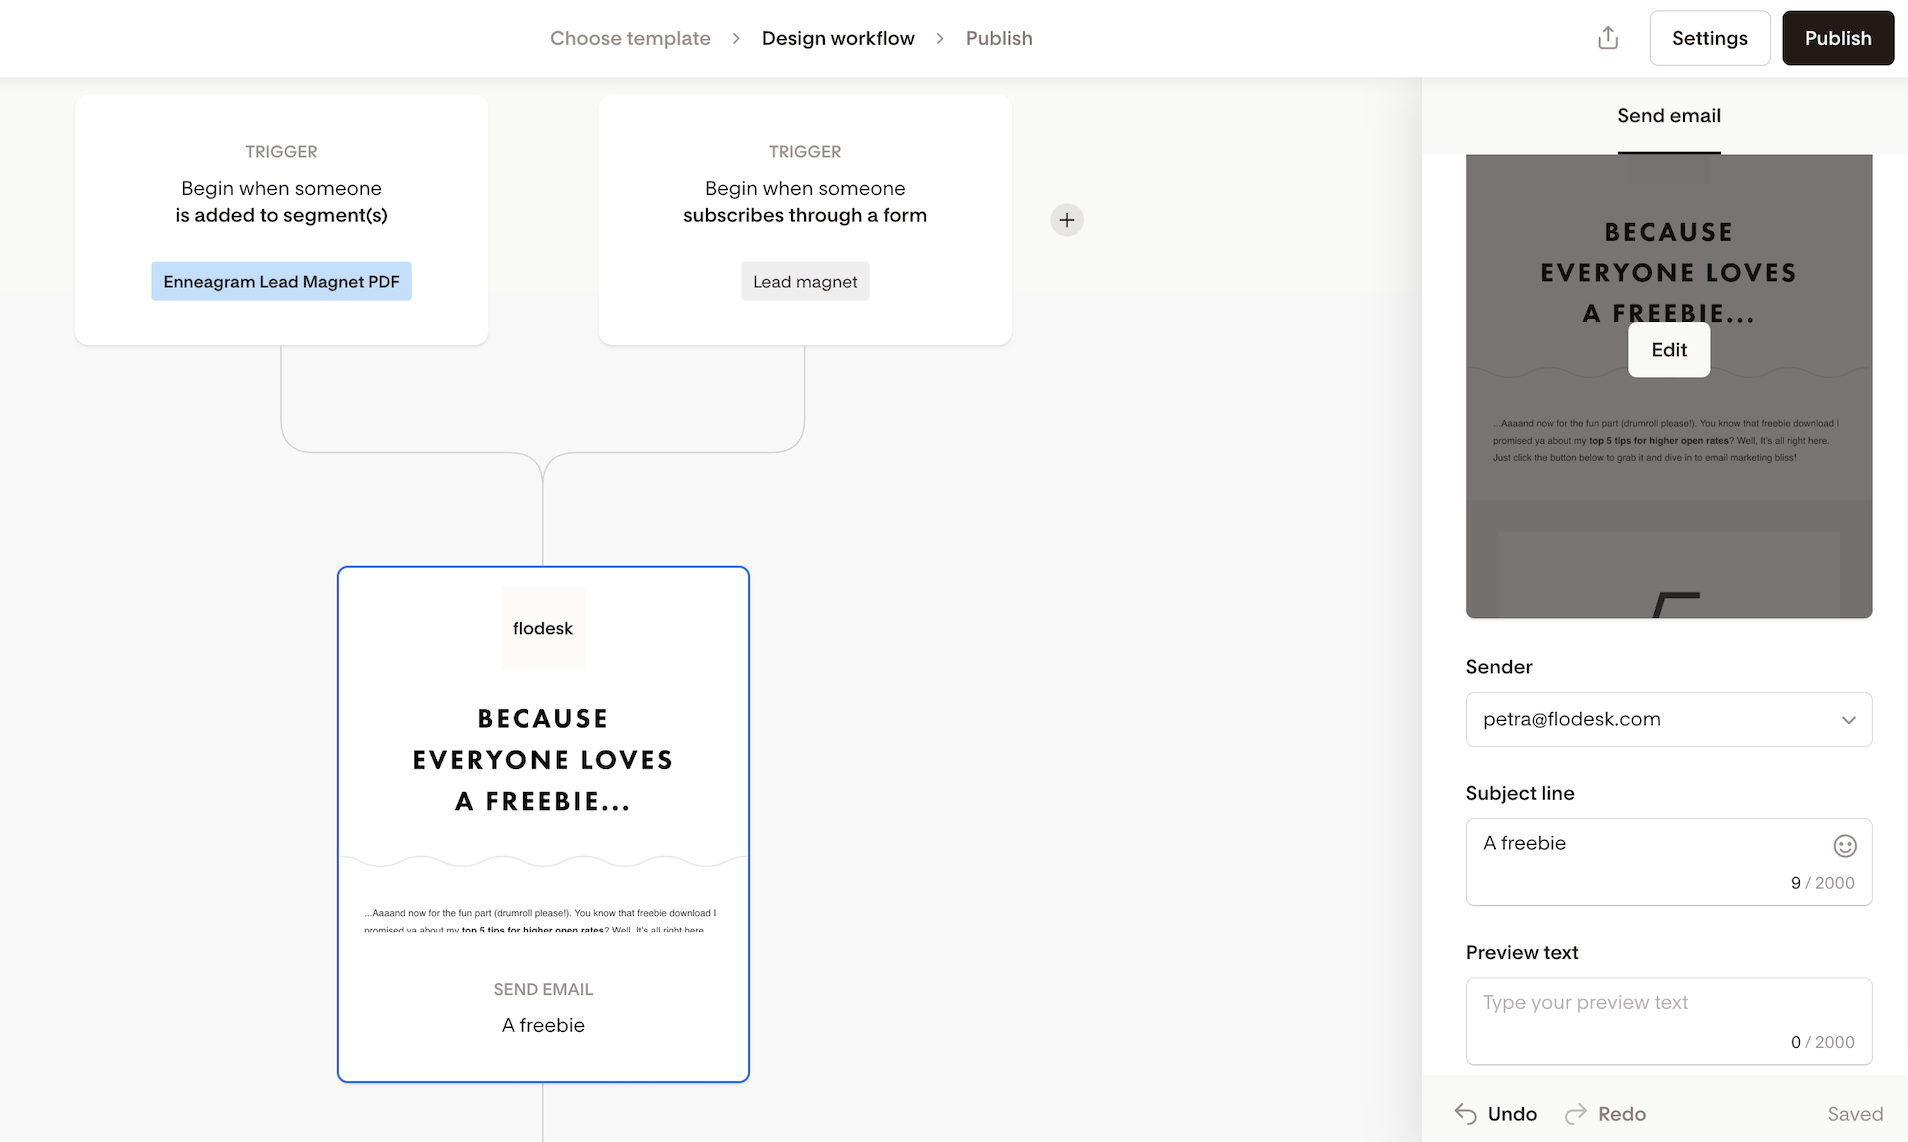
Customize the delivery email
Click the Email step in the workflow.
Edit the email by clicking the email card in the right sidebar.
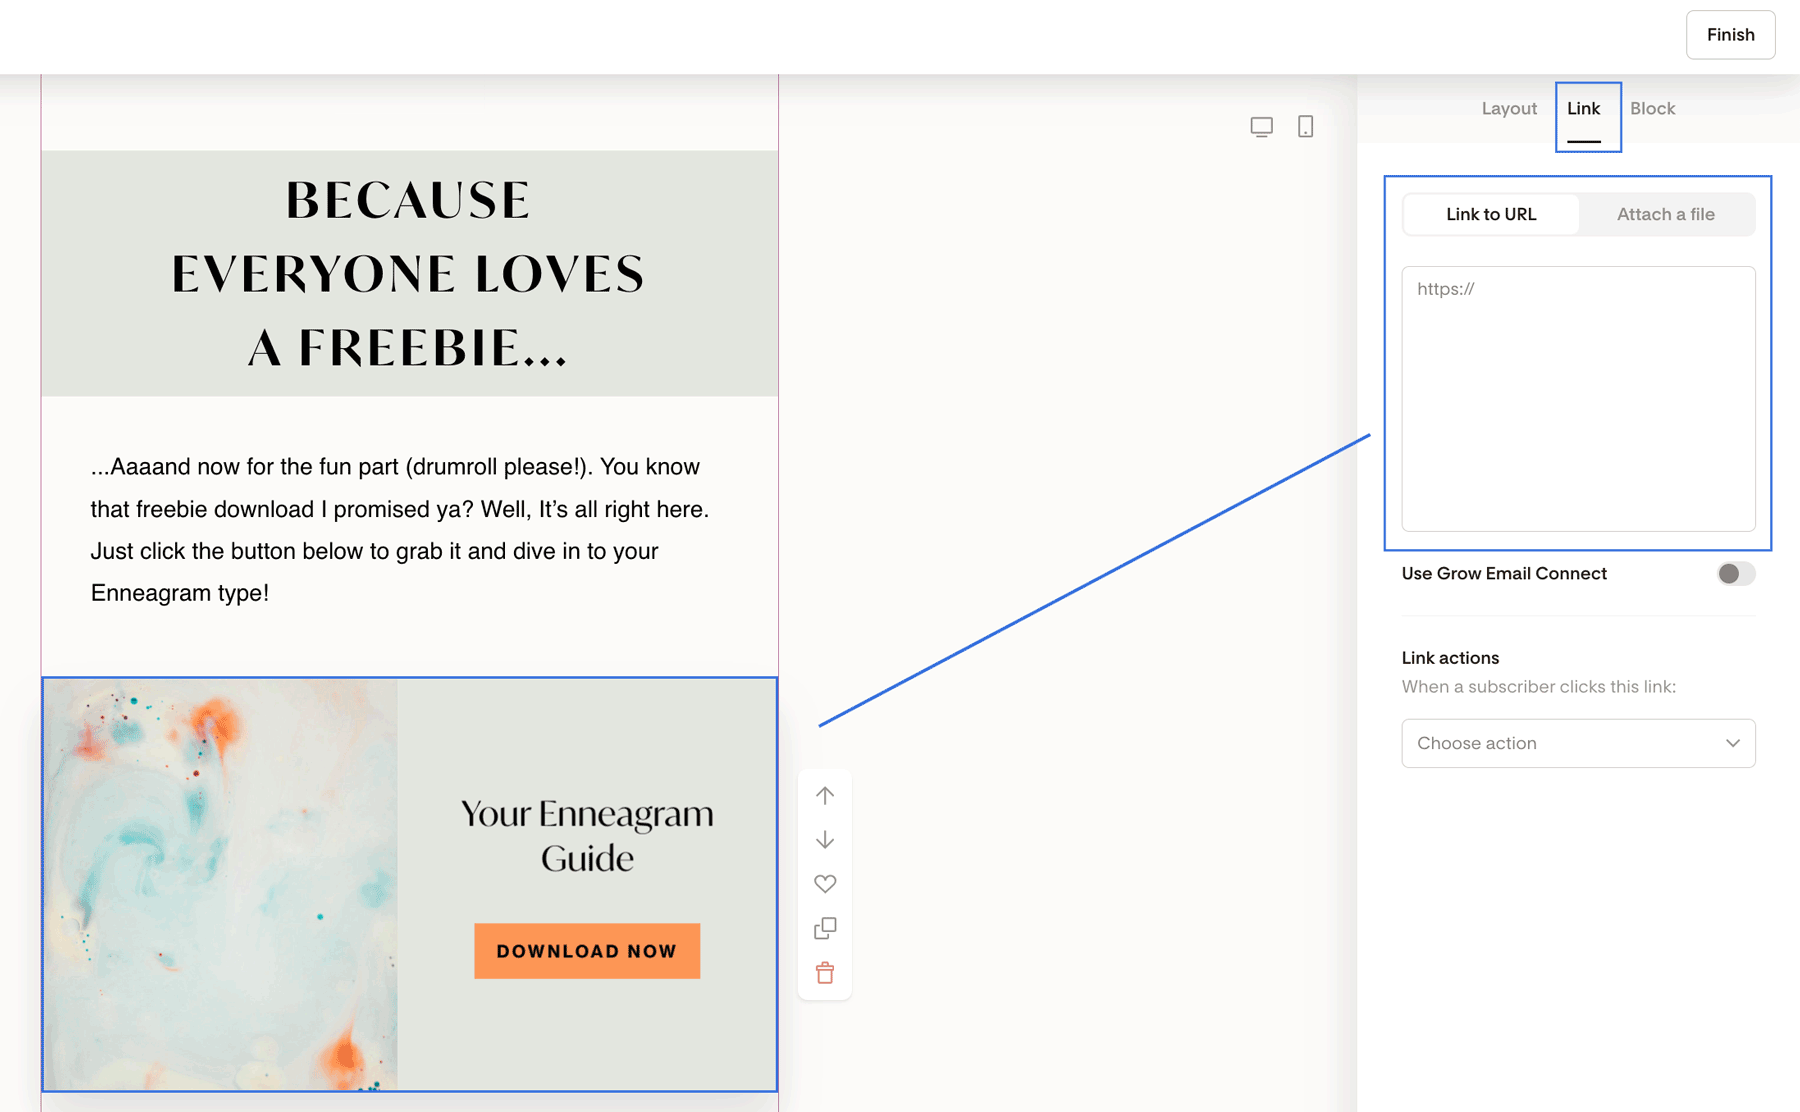
Customize the design and copy to match your brand.
Add your lead magnet link to a button or layout block.
Click the
Finishbutton in the top right corner when your email is done.
Review sender details
Once you're back to the workflow screen, scroll down a bit on the right sidebar until you see the Sender, Subject line and Preview text sections.
Confirm the sender email
Add a subject line and preview text
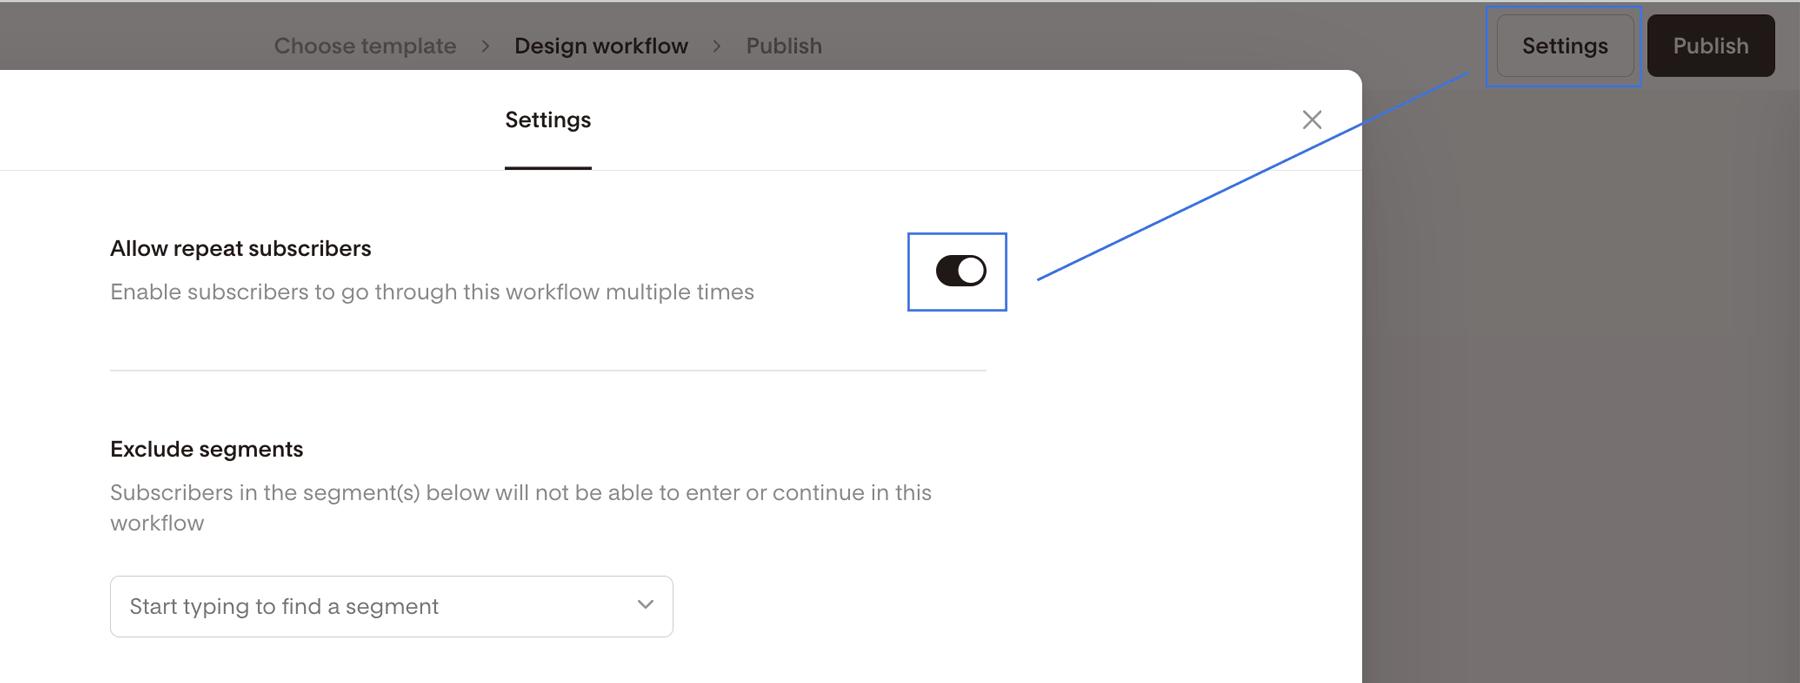
Allow repeat subscribers (optional)
In Settings, enable Allow repeat subscribers if you want people to receive the freebie again if they re-opt in later.
Learn more: How to allow subscribers to go through a workflow more than once
Publish the workflow
Once everything looks good, click Publish.
Step 5. Embed/share your opt-in form
For Popup or Inline forms, copy the embed code and add it to your website.
For Full page or Link in bio forms, customize the form link and share the form URL anywhere you promote your freebie.
And that’s it. You now have a fully automated lead magnet delivery flow!
FAQ: Lead magnet delivery flows
What is a lead magnet delivery flow?
A lead magnet delivery flow is an automated workflow that sends a free resource to subscribers after they sign up through a form.
Do I need a workflow to deliver a lead magnet?
Yes. Workflows are required to automatically send the delivery email.
Can I use the same segment for multiple lead magnets?
No. Each lead magnet should have its own segment so the correct workflow is triggered.
Can I deliver my lead magnet without an email?
Yes. You can deliver your lead magnet without an email by adding a Redirect URL in your opt-in form’s Thank you tab. This redirect can send subscribers directly to your lead magnet after they submit the form.
That said, we strongly recommend also creating a delivery workflow email so subscribers receive the lead magnet in their inbox. This gives them a copy they can come back to later and reduces the chance they miss or lose access to the freebie.
What file types can I deliver as a lead magnet?
You can link to PDFs, videos, or hosted resources. Files are not stored directly inside Flodesk emails.
Is this available on the free plan?
Forms are available on the free plan, but workflows (required for delivery) are only available on selected paid plans.

