How to authenticate your custom domain manually
Overview
Starting in February 2024, major inbox providers like Gmail and Yahoo require that bulk email senders use verified custom domains with authentication protocols: DKIM, SPF, and DMARC.
If you are using a custom domain email that has not yet been authenticated, your emails may be filtered as spam or blocked entirely. To maintain strong deliverability and sender reputation, manual domain authentication is required if you do not use Flodesk’s automatic setup option.
Need an easier option? You can also automatically autenticate your domain using our integration with Entri.
What You’ll Need
Before starting the manual setup:
Access to your Flodesk account
Access to your domain provider’s DNS management tool
Step-by-Step: Manually Authenticate Your Domain
Step 1: Access Domain Settings in Flodesk
Log in to your Flodesk account
Navigate to My Account > Domain setup
Step 2: Start the Authentication Process
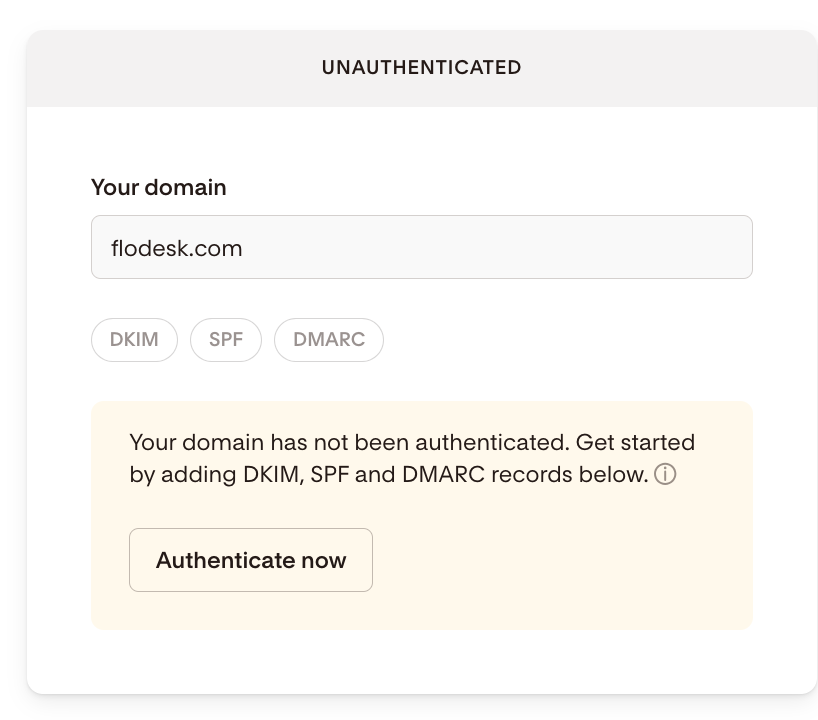
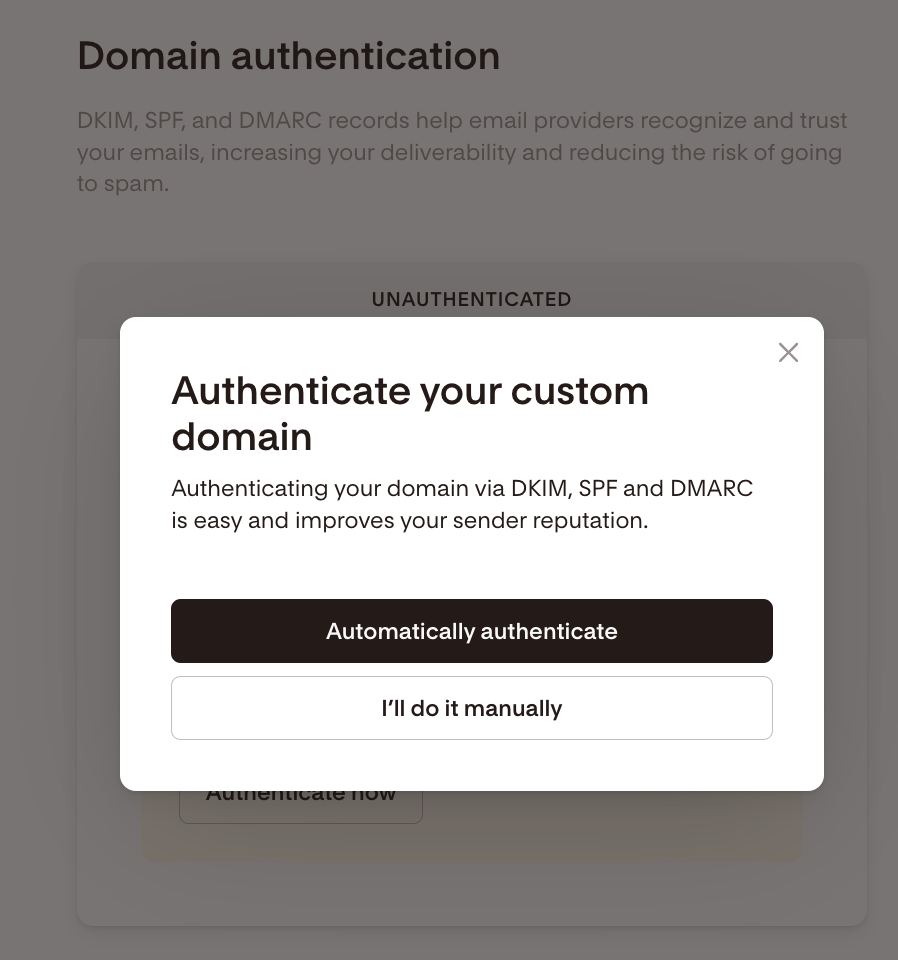
Click Authenticate now on your domain card
Select I’ll do it manually to begin the manual setup wizard
Step 3: Review Required DNS Records
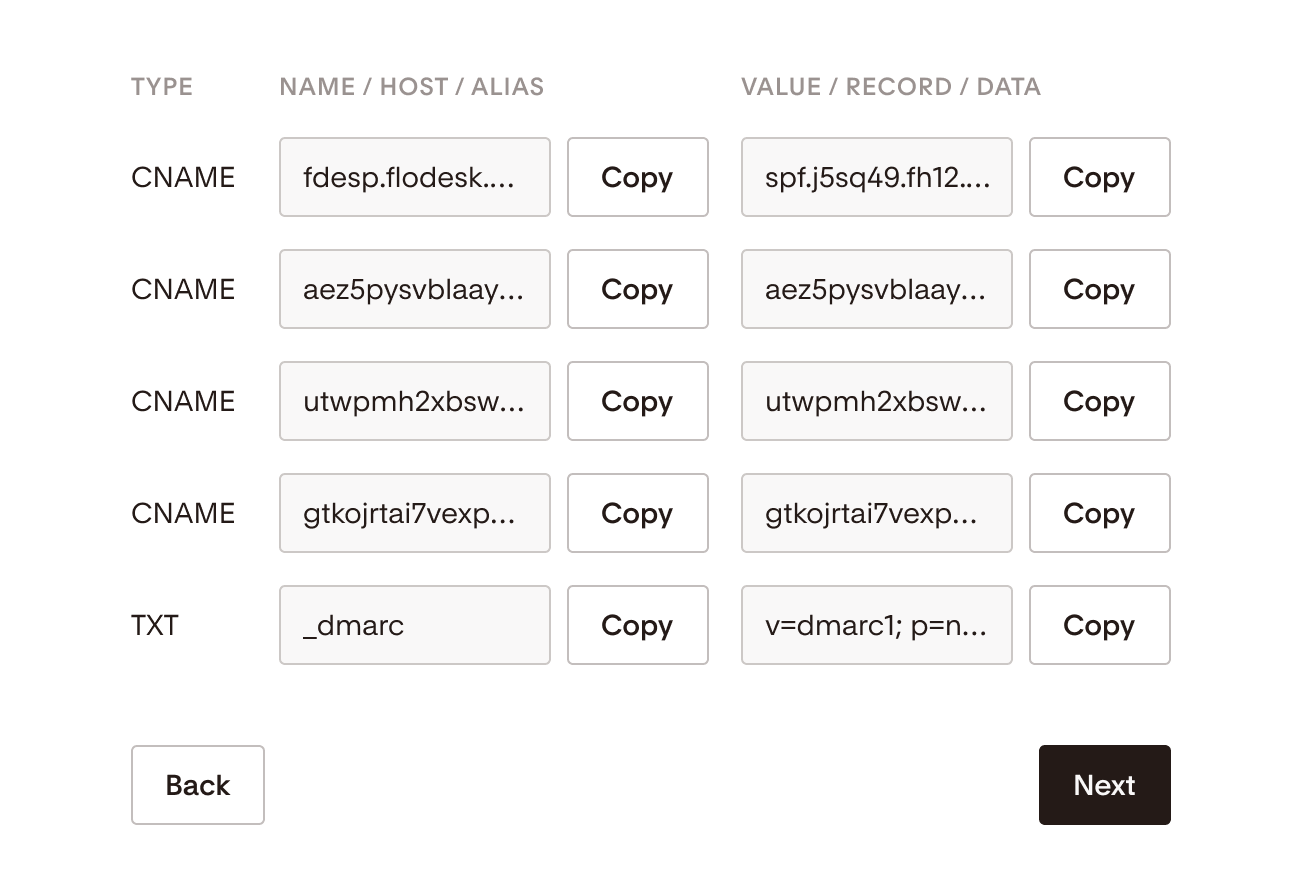
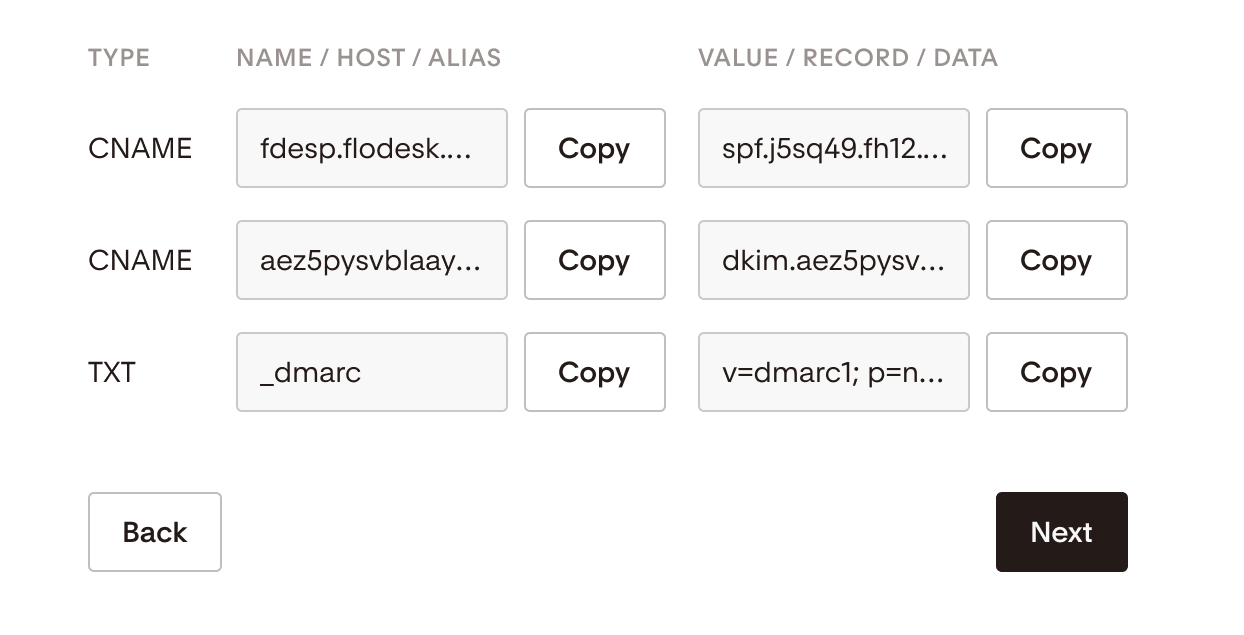
Flodesk will display all the authentication records you need to add to your DNS settings.
Depending on your account type, you’ll either see:
Option A: 5 DNS records
1 SPF record
3 DKIM records
1 DMARC record
Option B: 3 DNS records
1 SPF record
1 DKIM record
1 DMARC record
Each record has a Copy button for quick transfer to your DNS provider’s control panel. You need to add the DKIM and SPF records as CNAME records, and the DMARC record as a TXT record.
Step 4: Log In to Your Domain Provider
Open a new browser tab
Sign in to your domain provider’s dashboard (e.g., GoDaddy, Namecheap, Squarespace)
Step 5: Add DNS Records
In your DNS manager:
Add SPF and DKIM records as CNAME
Add the DMARC record as a TXT
Paste each value exactly as provided in Flodesk.
Step 6: Return to Flodesk and Complete the Process
After entering the records in your domain provider’s settings, return to Flodesk
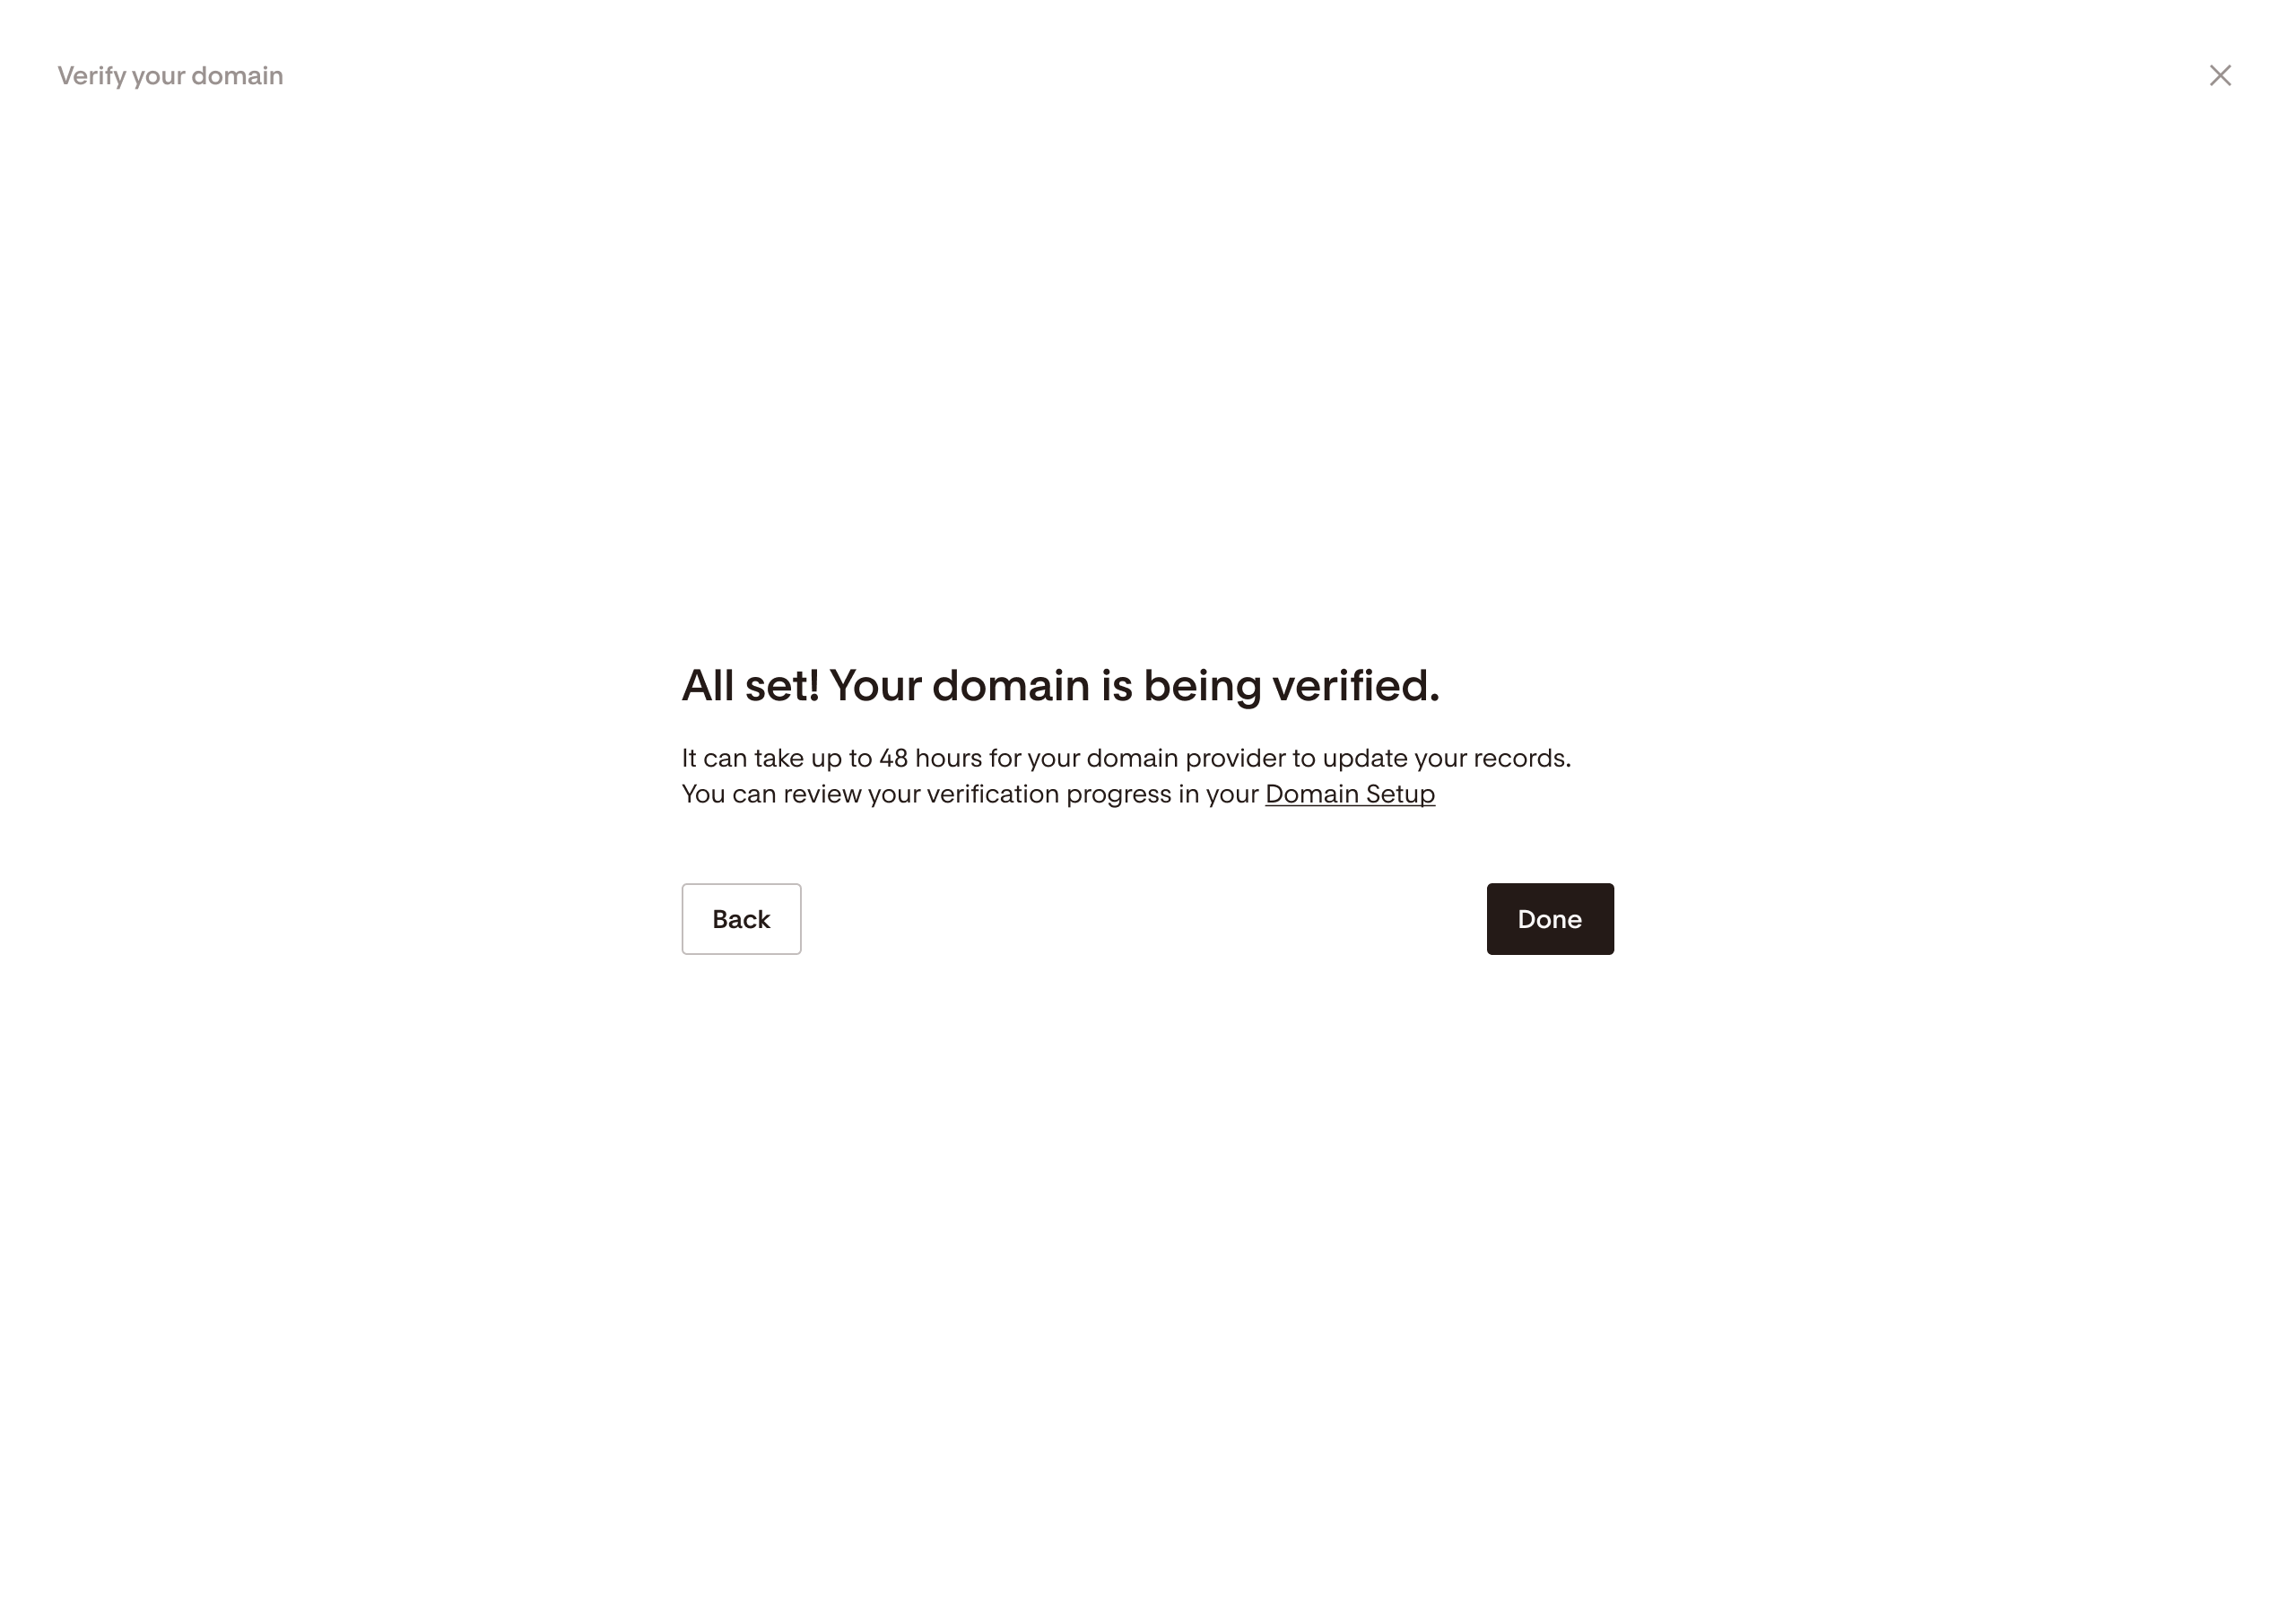
Click Next, then Done
Flodesk will begin monitoring your DNS records.
DNS Propagation Time
It may take up to 48 hours for your domain to be fully verified
During this time, your domain status will show as Pending
Partial verification (e.g., DKIM and DMARC verified, SPF pending) is normal
You do not need to re-enter or repeat the steps if records are still propagating.
Platform-Specific Video Tutorials
Need help navigating your DNS dashboard?
Watch a platform-specific video:
Video tutorial showing the domain authentication steps with GoDaddy as an example
Video tutorial showing the domain authentication steps with Shopify as an example
Video tutorial showing the domain authentication steps with Squarespace as an example
Video tutorial showing the domain authentication steps with Namecheap as an example
Summary
Manually verifying your custom domain ensures your emails reach inboxes and meet provider requirements.
To manually authenticate your domain:
Go to My Account > Domain setup
Click Authenticate now
Select I’ll do it manually
Copy and paste the provided DKIM, SPF, and DMARC records into your DNS provider
Click Done in Flodesk
Wait up to 48 hours for full verification
Using a verified custom domain is crucial for protecting your sender reputation, enhancing email performance, and meeting evolving email authentication standards.

