
How to create your first email in Flodesk Studio
Overview
Creating an email in Flodesk Studio starts with a simple description of what you want. From there, Flodesk Studio generates a designed email for you to review, refine, and make your own. This article walks you through the entire process, from starting a new email to saving, downloading, or sending your finished design.
Note: Flodesk Studio is in beta and is being built in public based on your valuable input. If you don't see a feature or functionality yet, use the Share feedback link in Studio and let us know your wishes. This article is updated regularly as new features are released.
Before you start
To create an email in Flodesk Studio, you'll need a Flodesk Studio account. If you haven't signed up yet, start here.
For best results, before creating your first email, fill in your brand details under the Brand management section.
Step 1: Start a new email
Log in to Flodesk Studio at https://app.studio.flodesk.com/sign-in
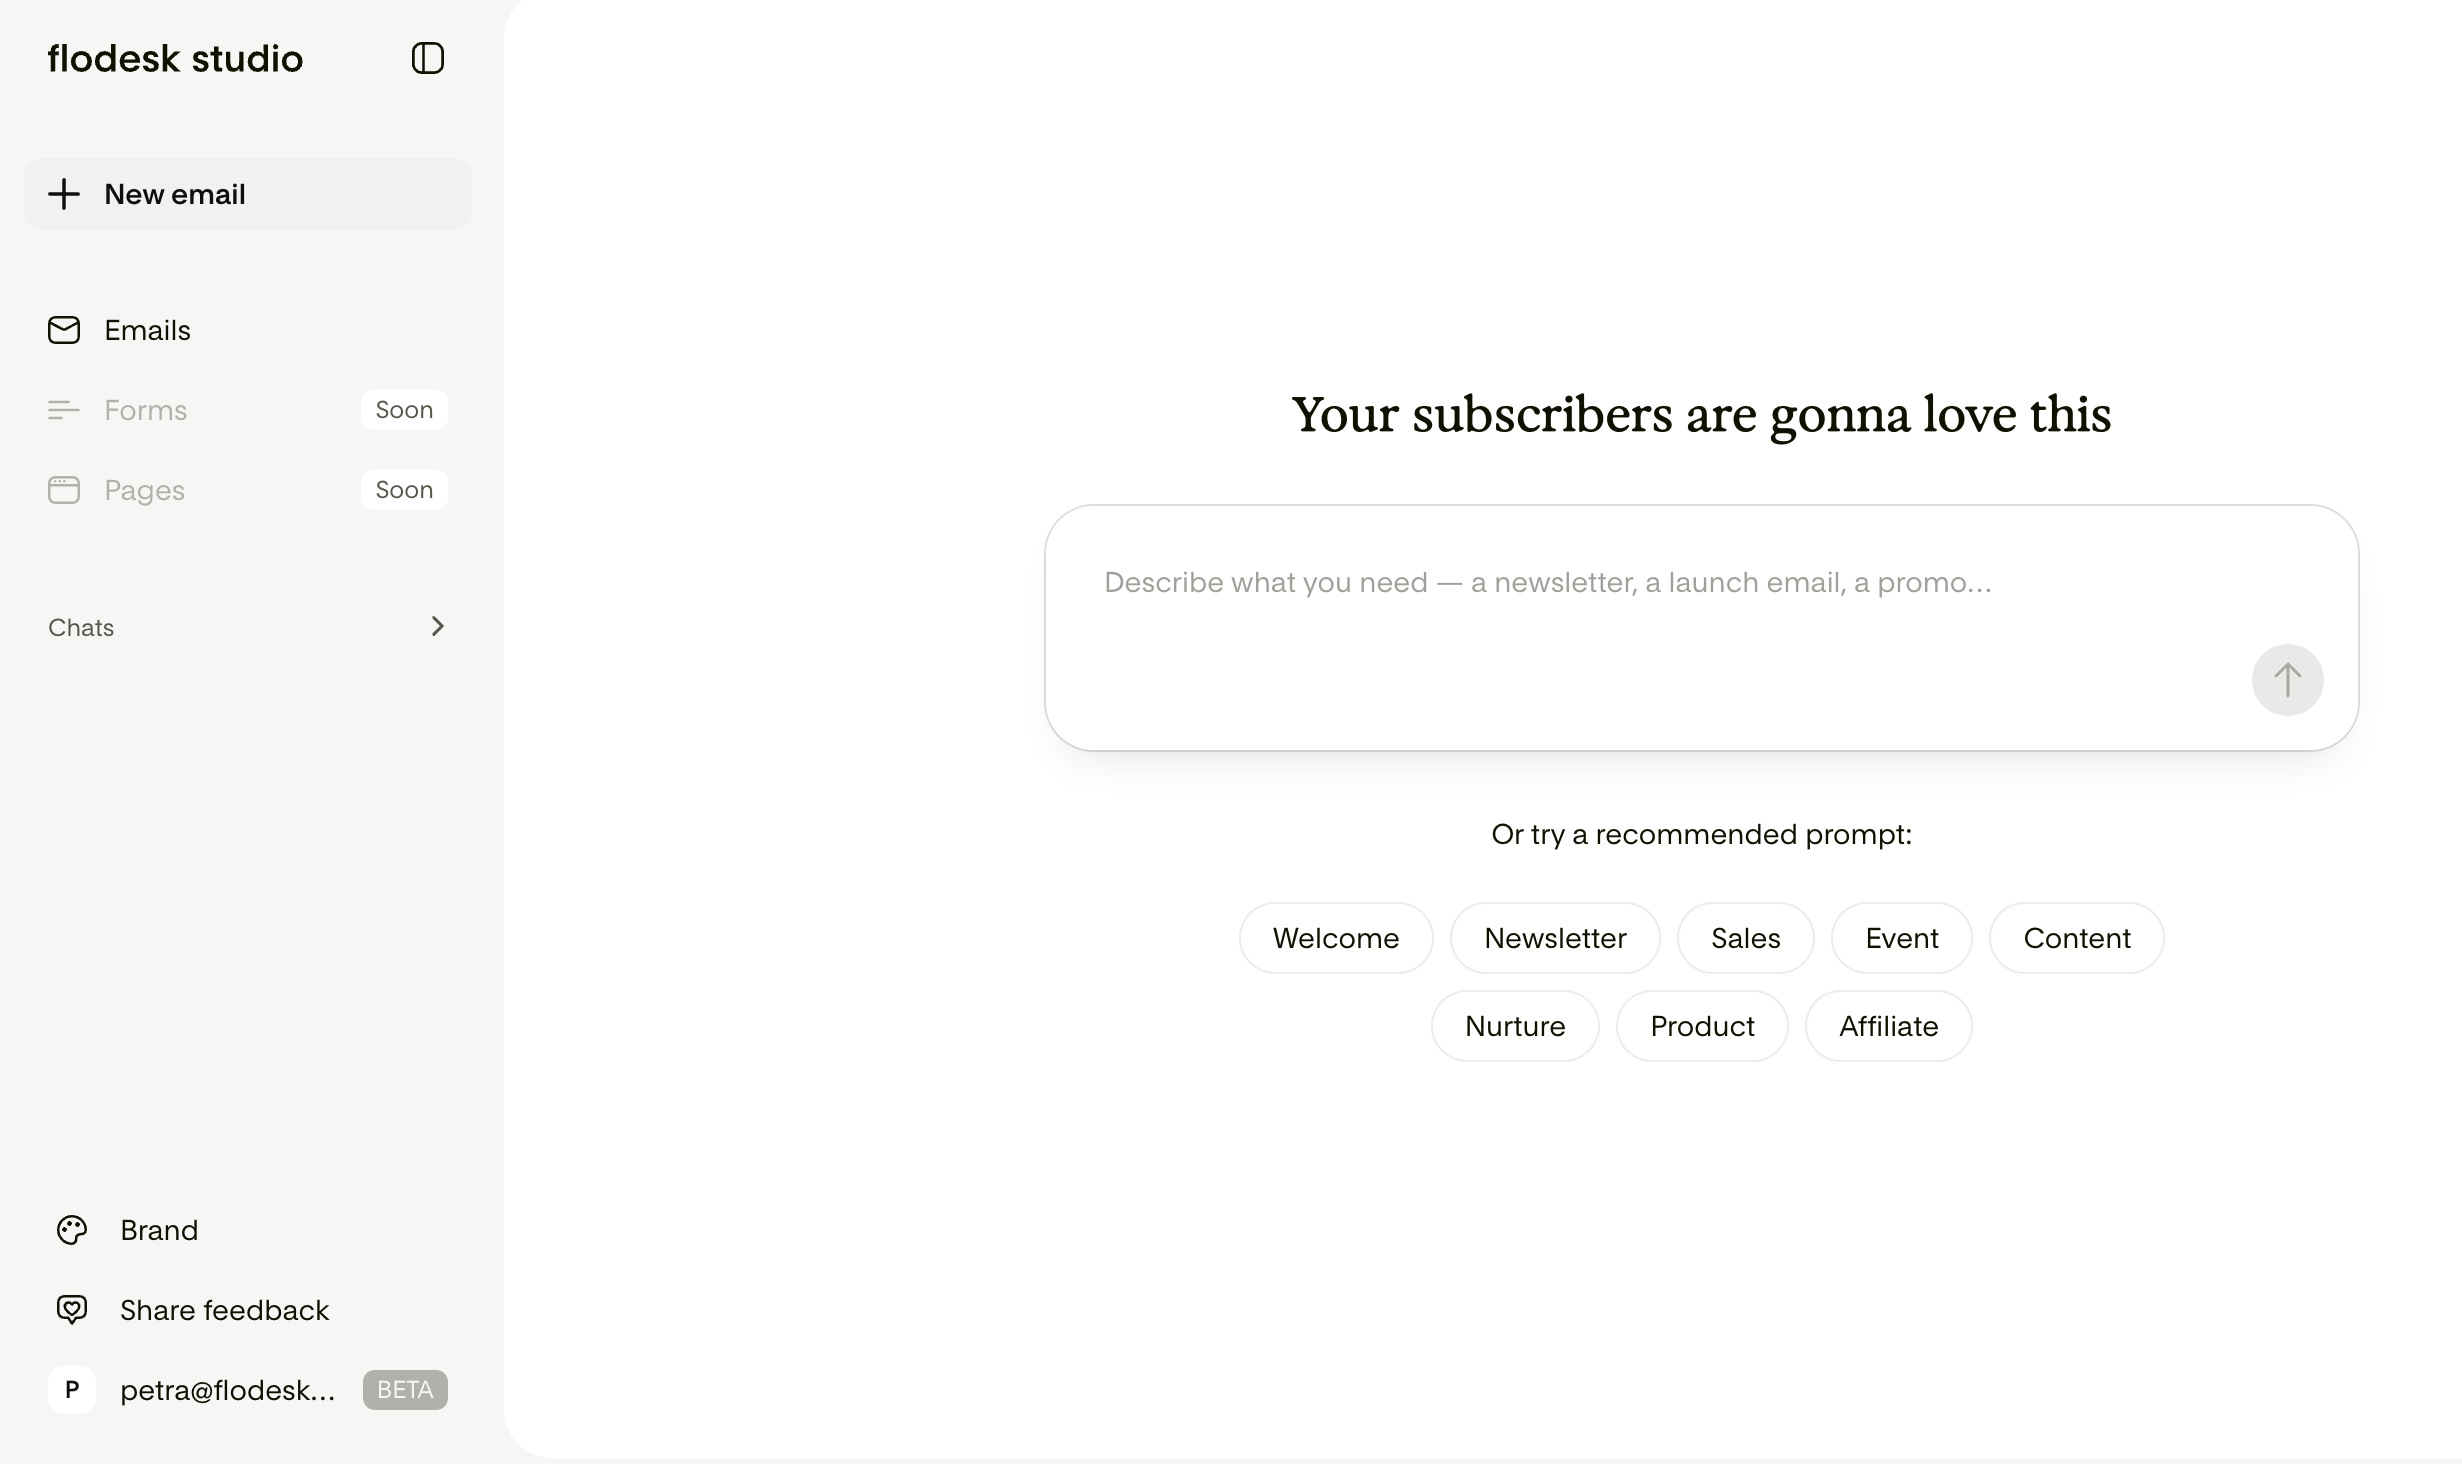
In the chat area, add your prompt by describing the email you want to create using natural language.
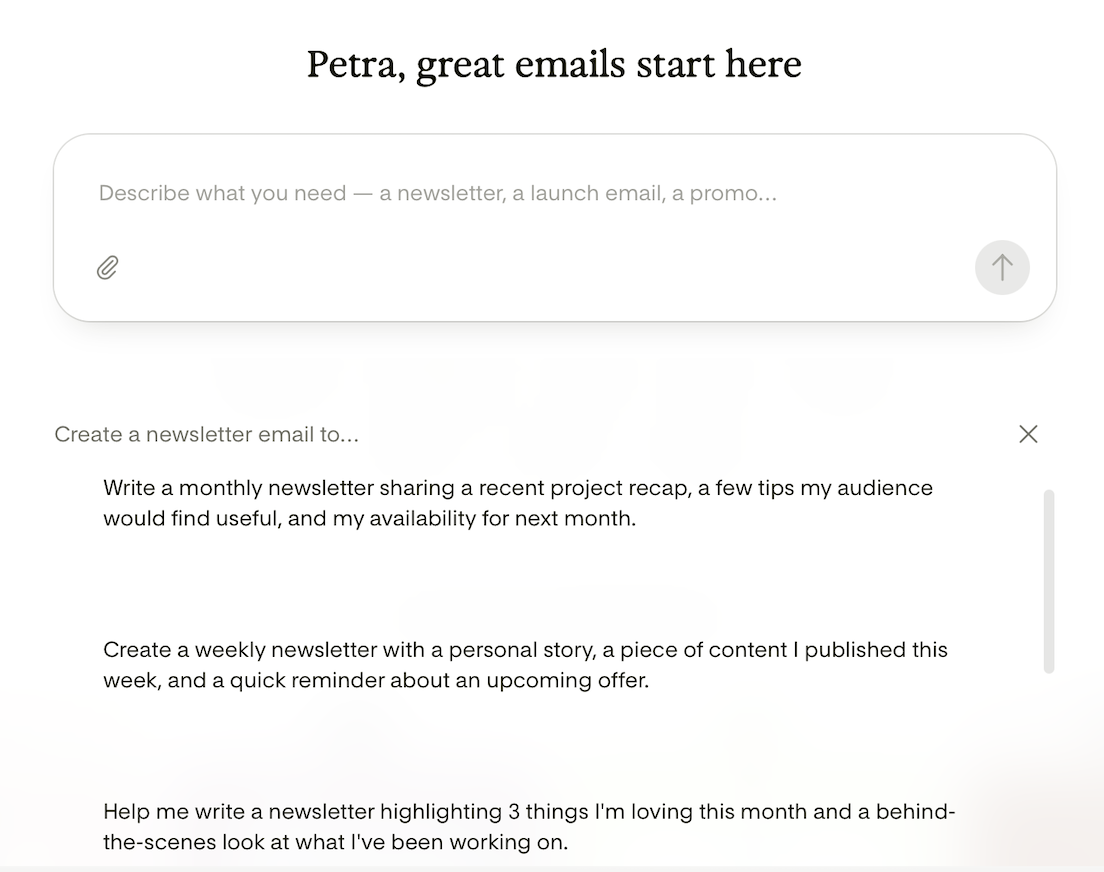
Alternatively, click on the email category pills (Welcome, Newsletter, Sales etc.) to start with an example prompt.
Step 2: Write your prompt
A prompt is a short description that tells Flodesk Studio what kind of email to generate. The more context you give it, the closer the result will be to what you have in mind.
Here's what's helpful to include in your prompt:
The purpose of the email (e.g., "a welcome email for new subscribers" or "a promotional email for a summer sale")
The tone or style you're going for (e.g., "warm and minimal" or "bold and energetic")
Any details about your audience, if relevant
Here's what you don't need to include:
Specific fonts, colors, or layouts: Flodesk Studio handles the design automatically based on your description and uploaded brand style settings.
Exact copy: Flodesk Studio will generate your email’s copy based on your prompt, business description, and brand voice and tone settings. If you wish, you can edit it later. Note: you can also tell Flodesk Studio to use your exact copy for the email if that’s your preference.
Example prompts:
Write an email promoting my upcoming free webinar. Include the date, time, and a CTA to register.
Write a nurture email sharing a personal story that ties into a lesson my audience can apply to their own business or life.
Help me write a promotional email for my signature offer. It's discounted for a limited time and I want to highlight the key benefits.
Design an email using the following, exact copy. Do not change a single word. Just give me a suitable email design for this email: [YOUR EMAIL COPY]
Step 3: Review your generated design
Once you submit your prompt, Flodesk Studio may ask you for some clarifying details depending on how detailed your prompt was and will generate three email variants for you. This may take around 30 seconds.
Take a look at the results and ask yourself:
Does the overall layout feel right for my brand?
Does the tone match what I described?
Are there sections I want to adjust, add, or remove?
If the three designs presented aren’t quite what you had in mind, don't worry. You can refine them in the next step without starting over.
Important: Flodesk Studio uses AI to suggest layouts, apply your brand colors, and generate copy. The underlying visual design, content blocks, and your brand assets are not AI-generated.
We don't train AI on your content, not your copy, not your designs, none of it. The AI provider we use, Anthropic, doesn't train its models on what passes through Studio either. It's important to us that your work stays yours.
A few things worth knowing about AI-generated copy: because it's produced by a large language model, the copy Flodesk Studio writes for you may occasionally be similar or identical to copy generated for another member. We recommend reviewing all AI-generated copy yourself before sending, to make sure it's accurate and feels right for your brand.
Step 4: Refine your design in chat
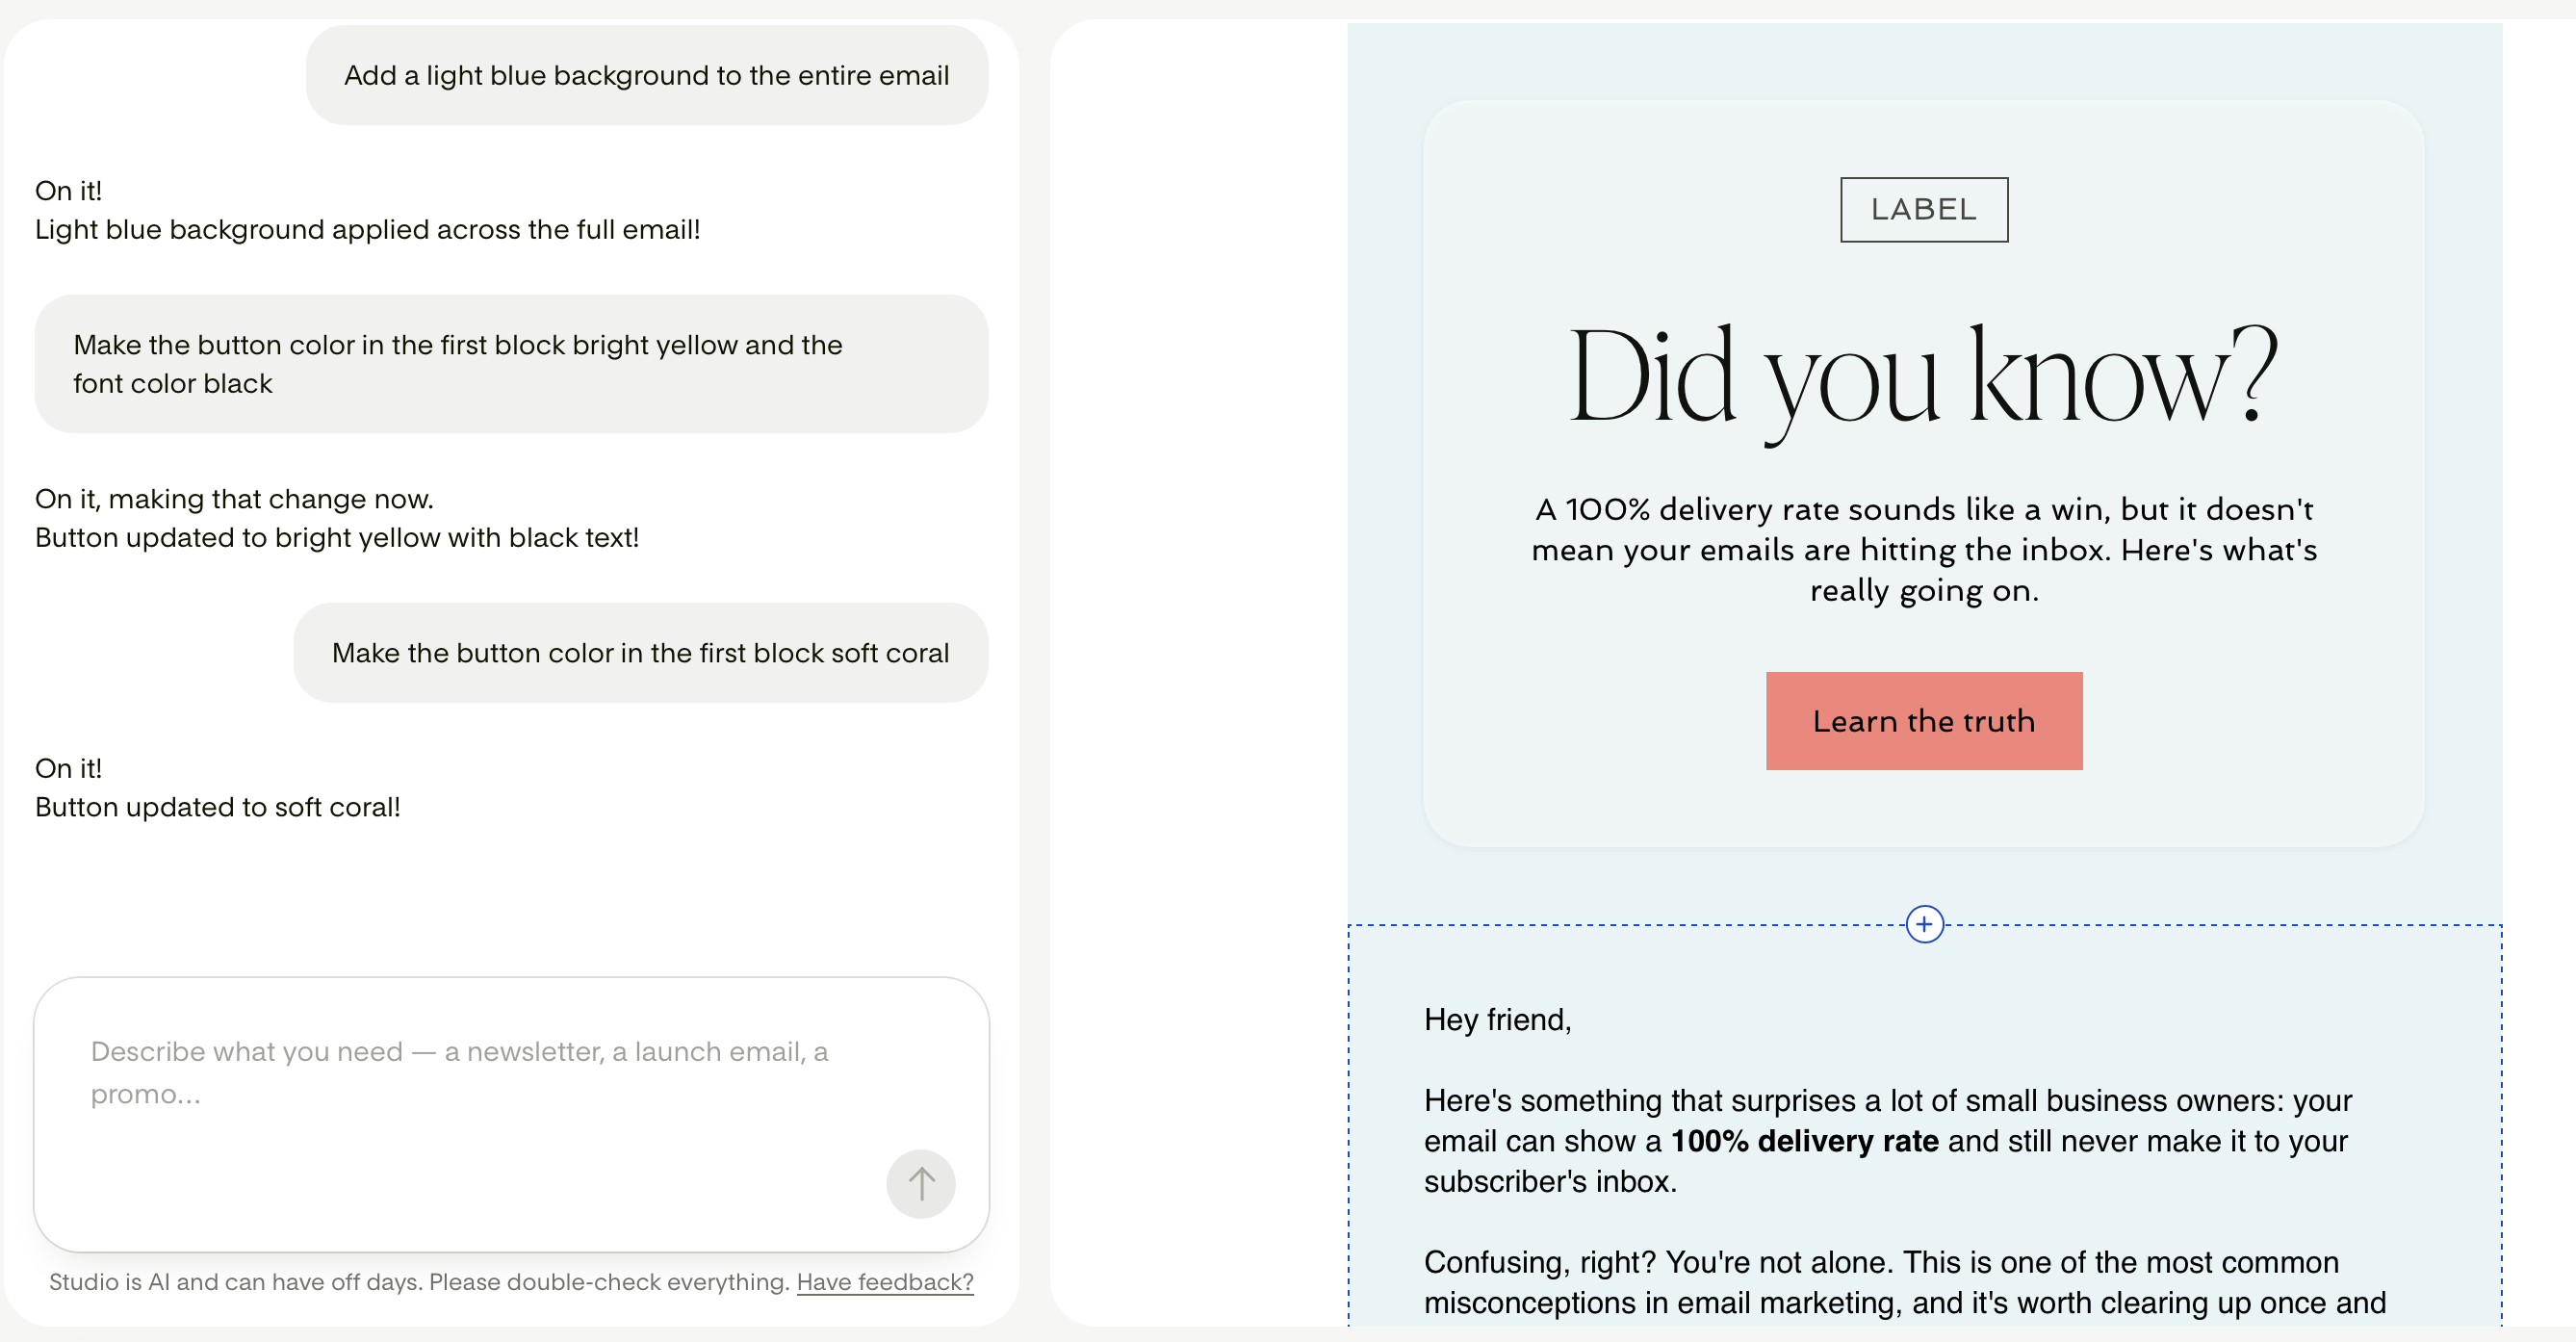
One way to make changes after your first result is to use the chat. Instead of starting over with a new prompt, you can describe what you'd like to adjust and Flodesk Studio will update the design for you.
Chat refinement works best for:
Changing the overall tone or style ("Make this feel more playful and less formal.")
Modifying specific sections ("Move the call-to-action button to the top of the email.")
Adding or removing content blocks ("Add a testimonial section below the first section.")
You can go back and forth as many times as you need. Each round gets you closer to the result you're after.
Keep refining until you're happy with the overall design.
Step 5: Make manual adjustments
Once the design is close to what you want, you can make final adjustments by hand. This is where you swap in your own copy as needed, replace/upload images, add your Video or podcasts links, and fine-tune any details.
In Flodesk Studio’s email builder, you can
Edit text and copy
Replace any image placeholders with your own images
Link to your YouTube or Vimeo videos
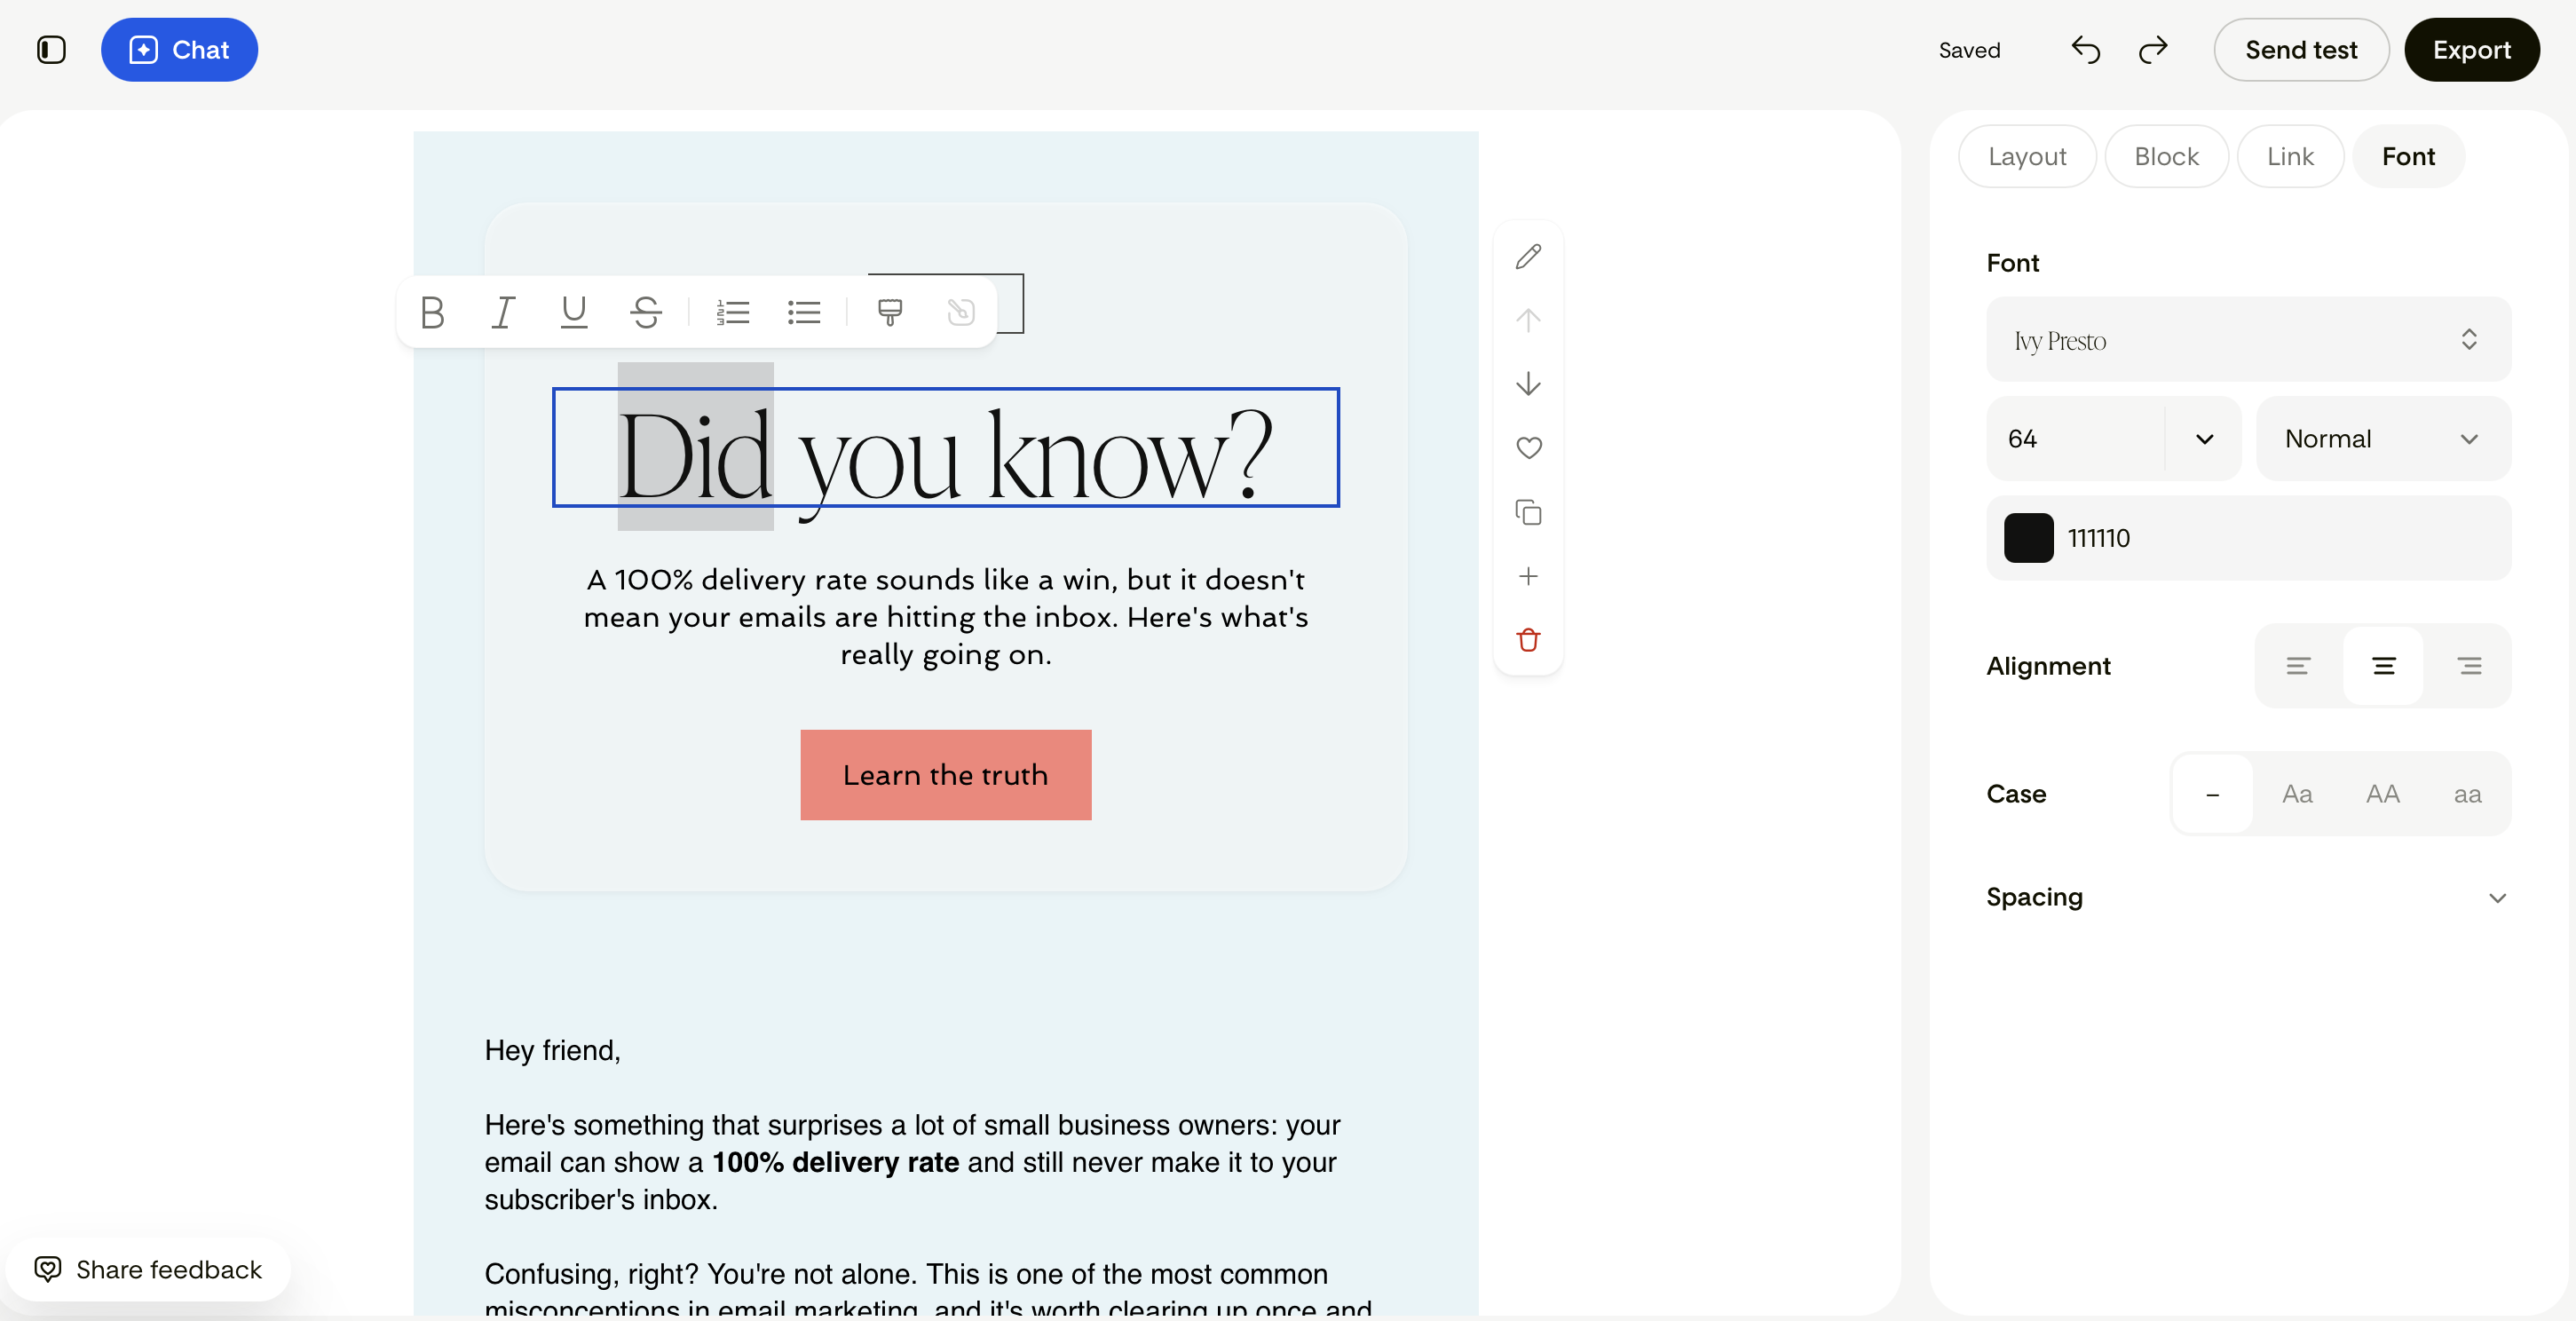
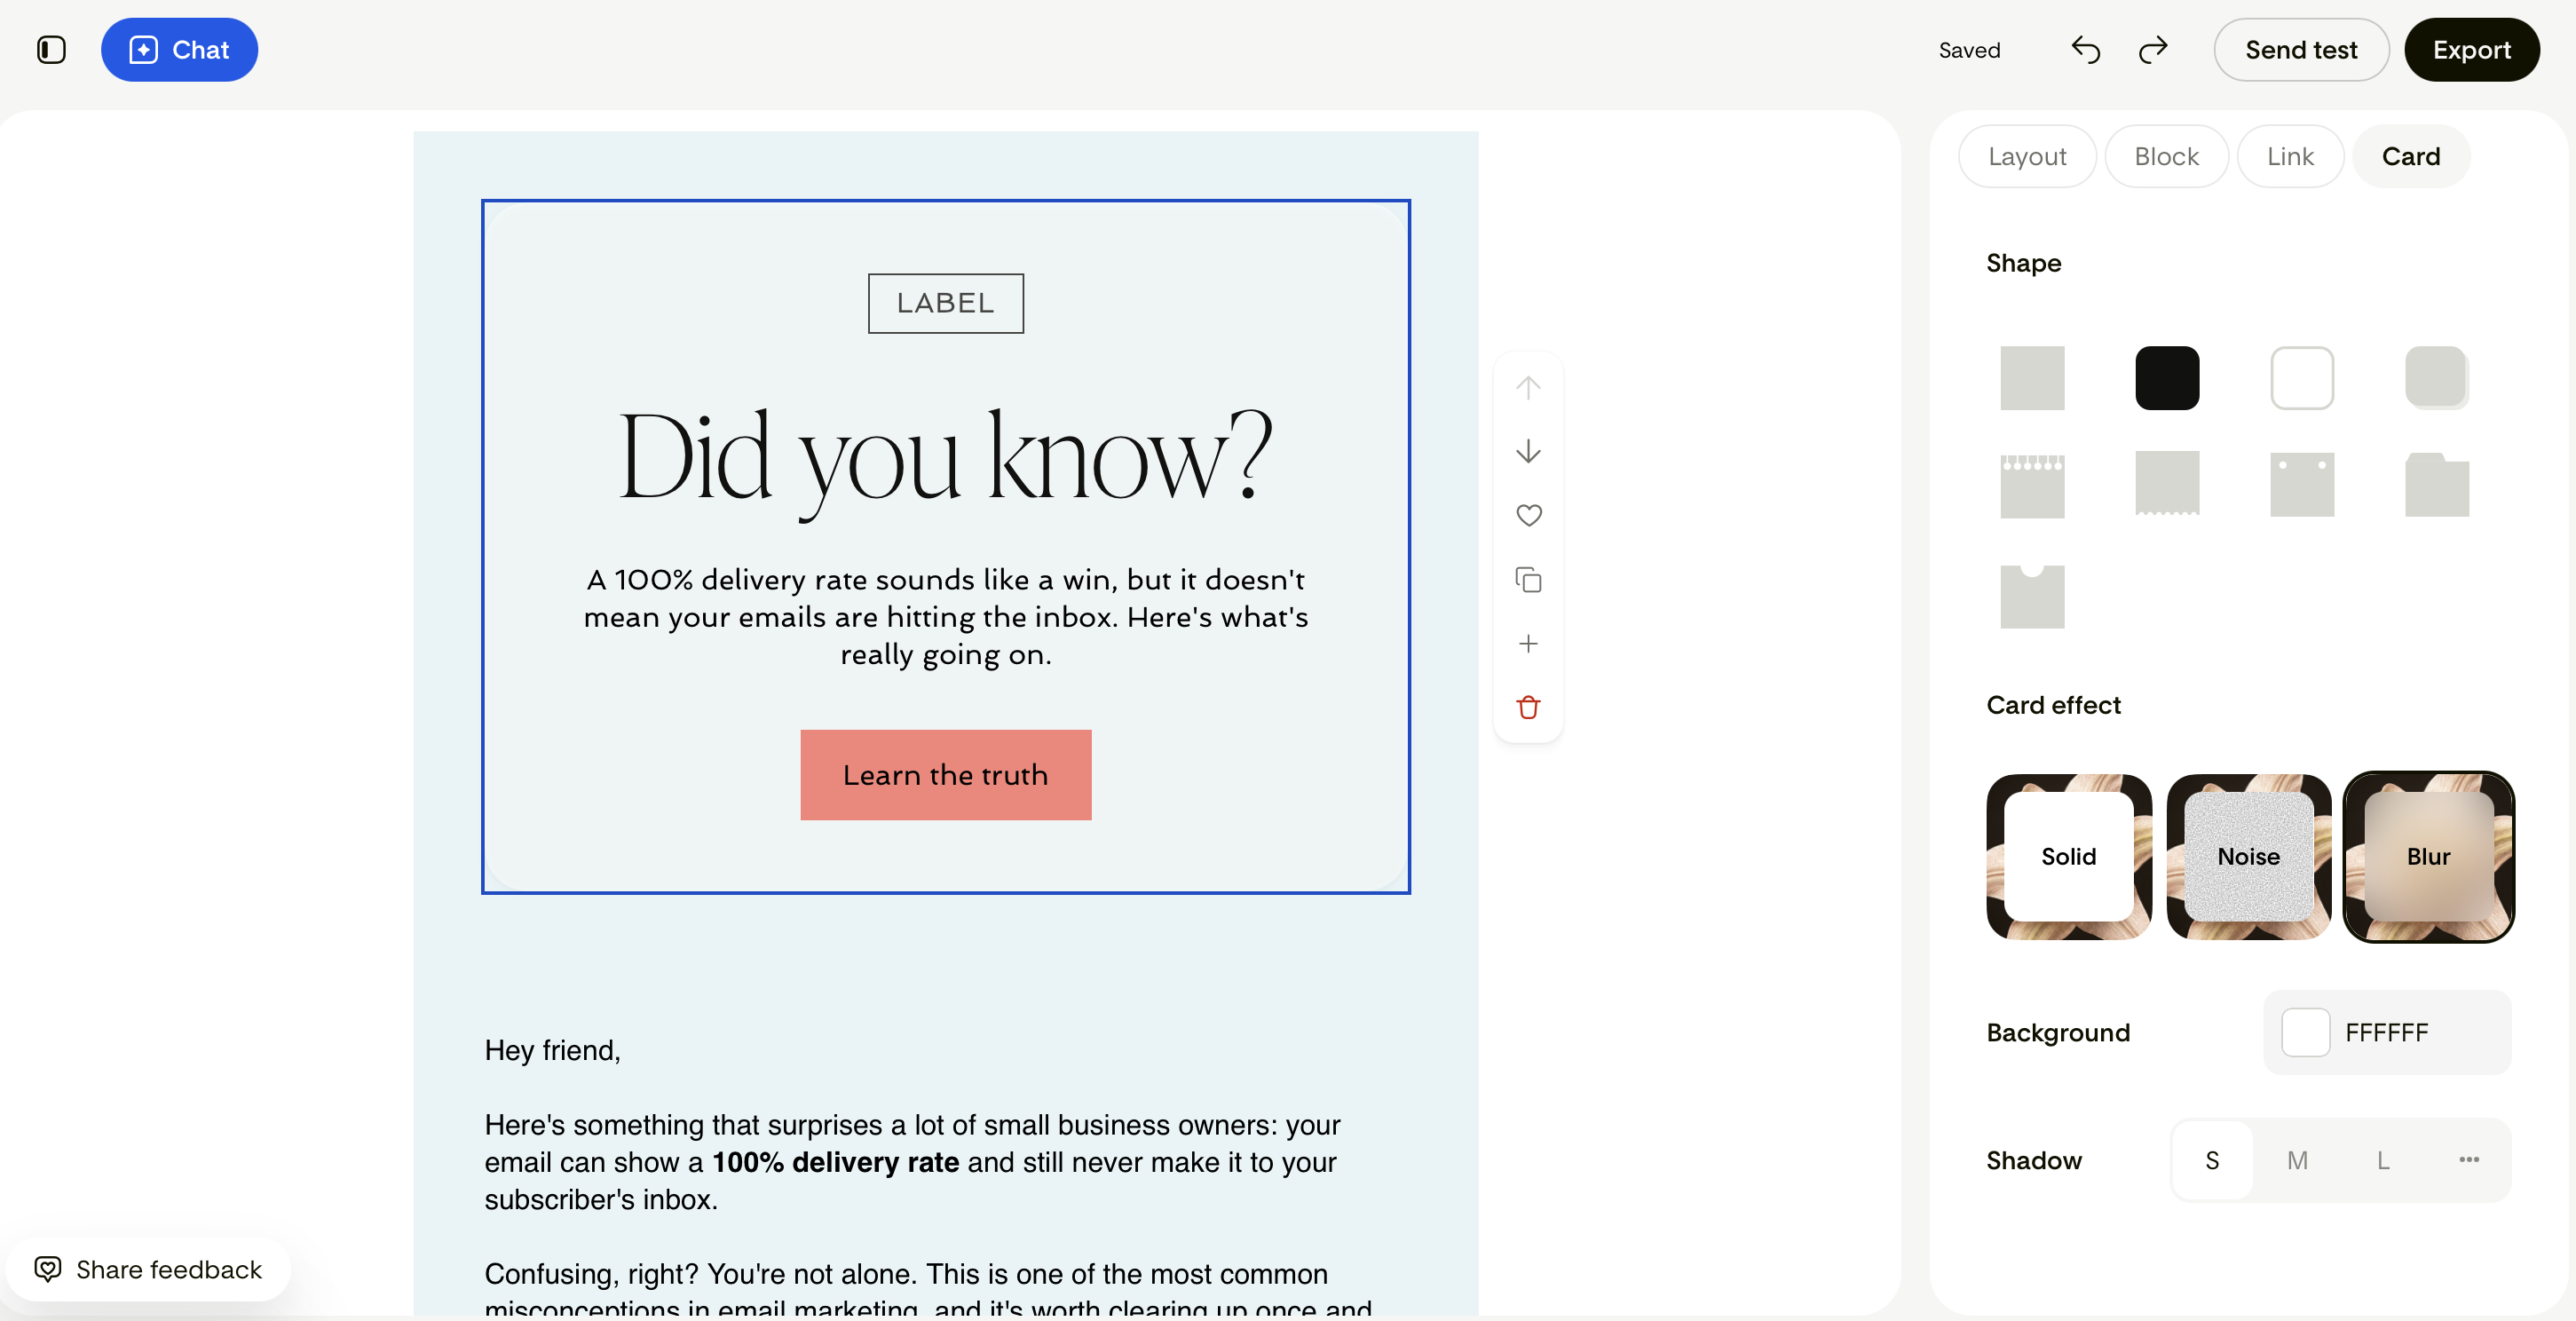
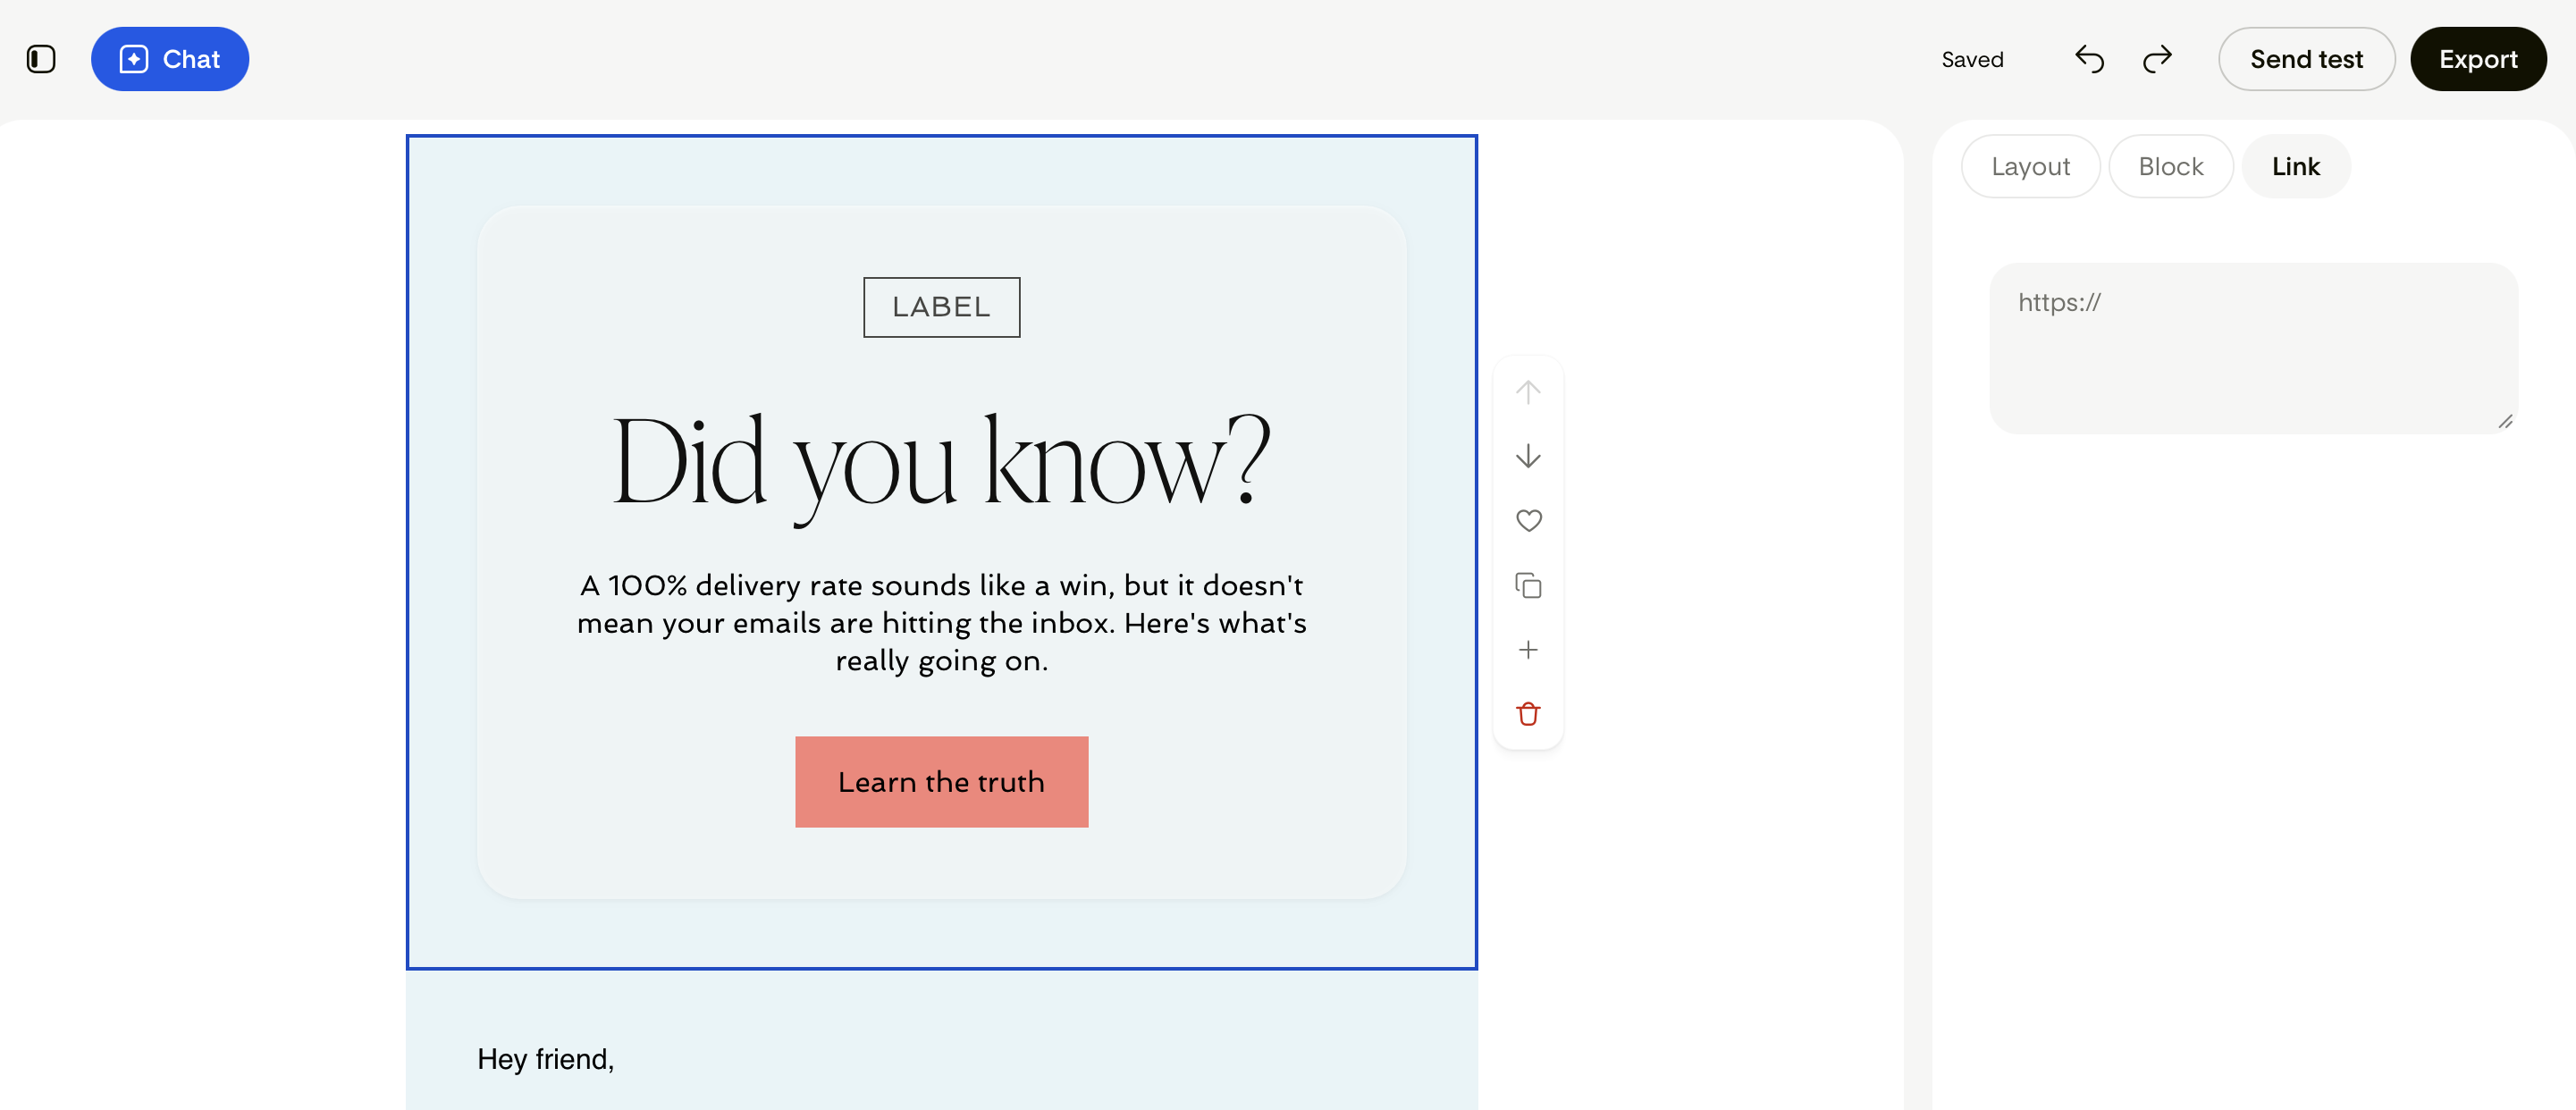
Adjust colors, buttons, labels, stickers, cards, font size and color, and add links
Browse and select different visual variations of your email sections (blocks)
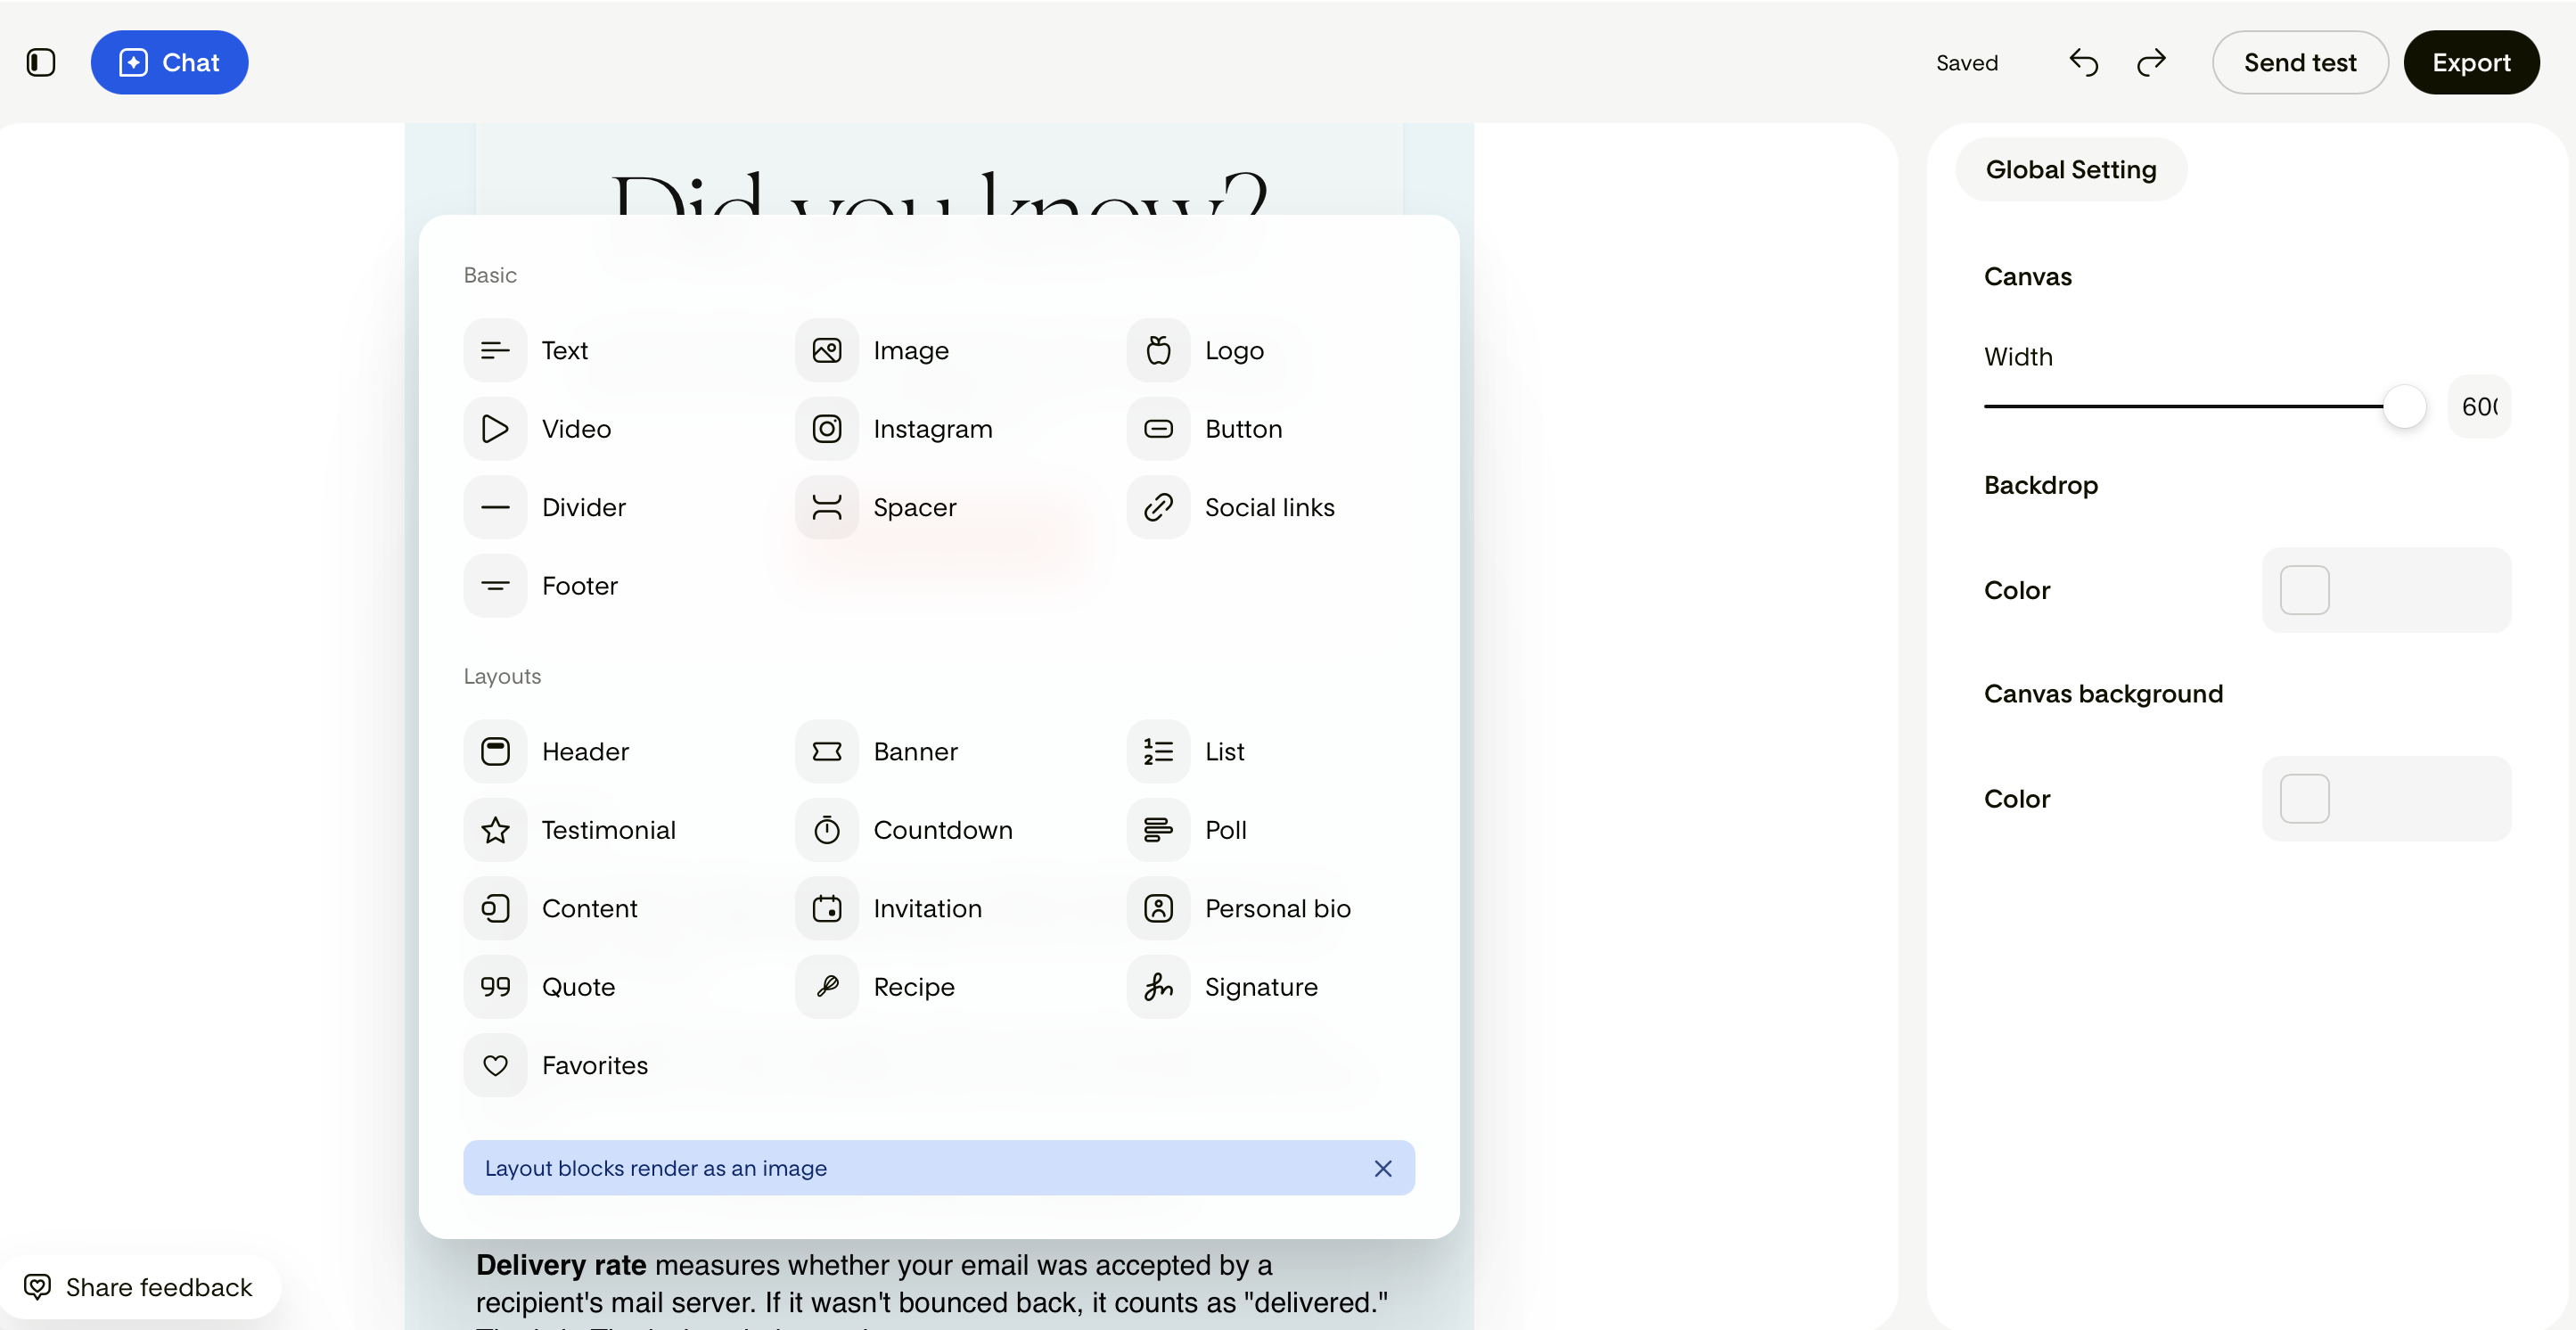
Add more building blocks to the email
Save blocks to your favorites for reuse
Click on any element in the email design, and see on the right side panel all the available editing options.
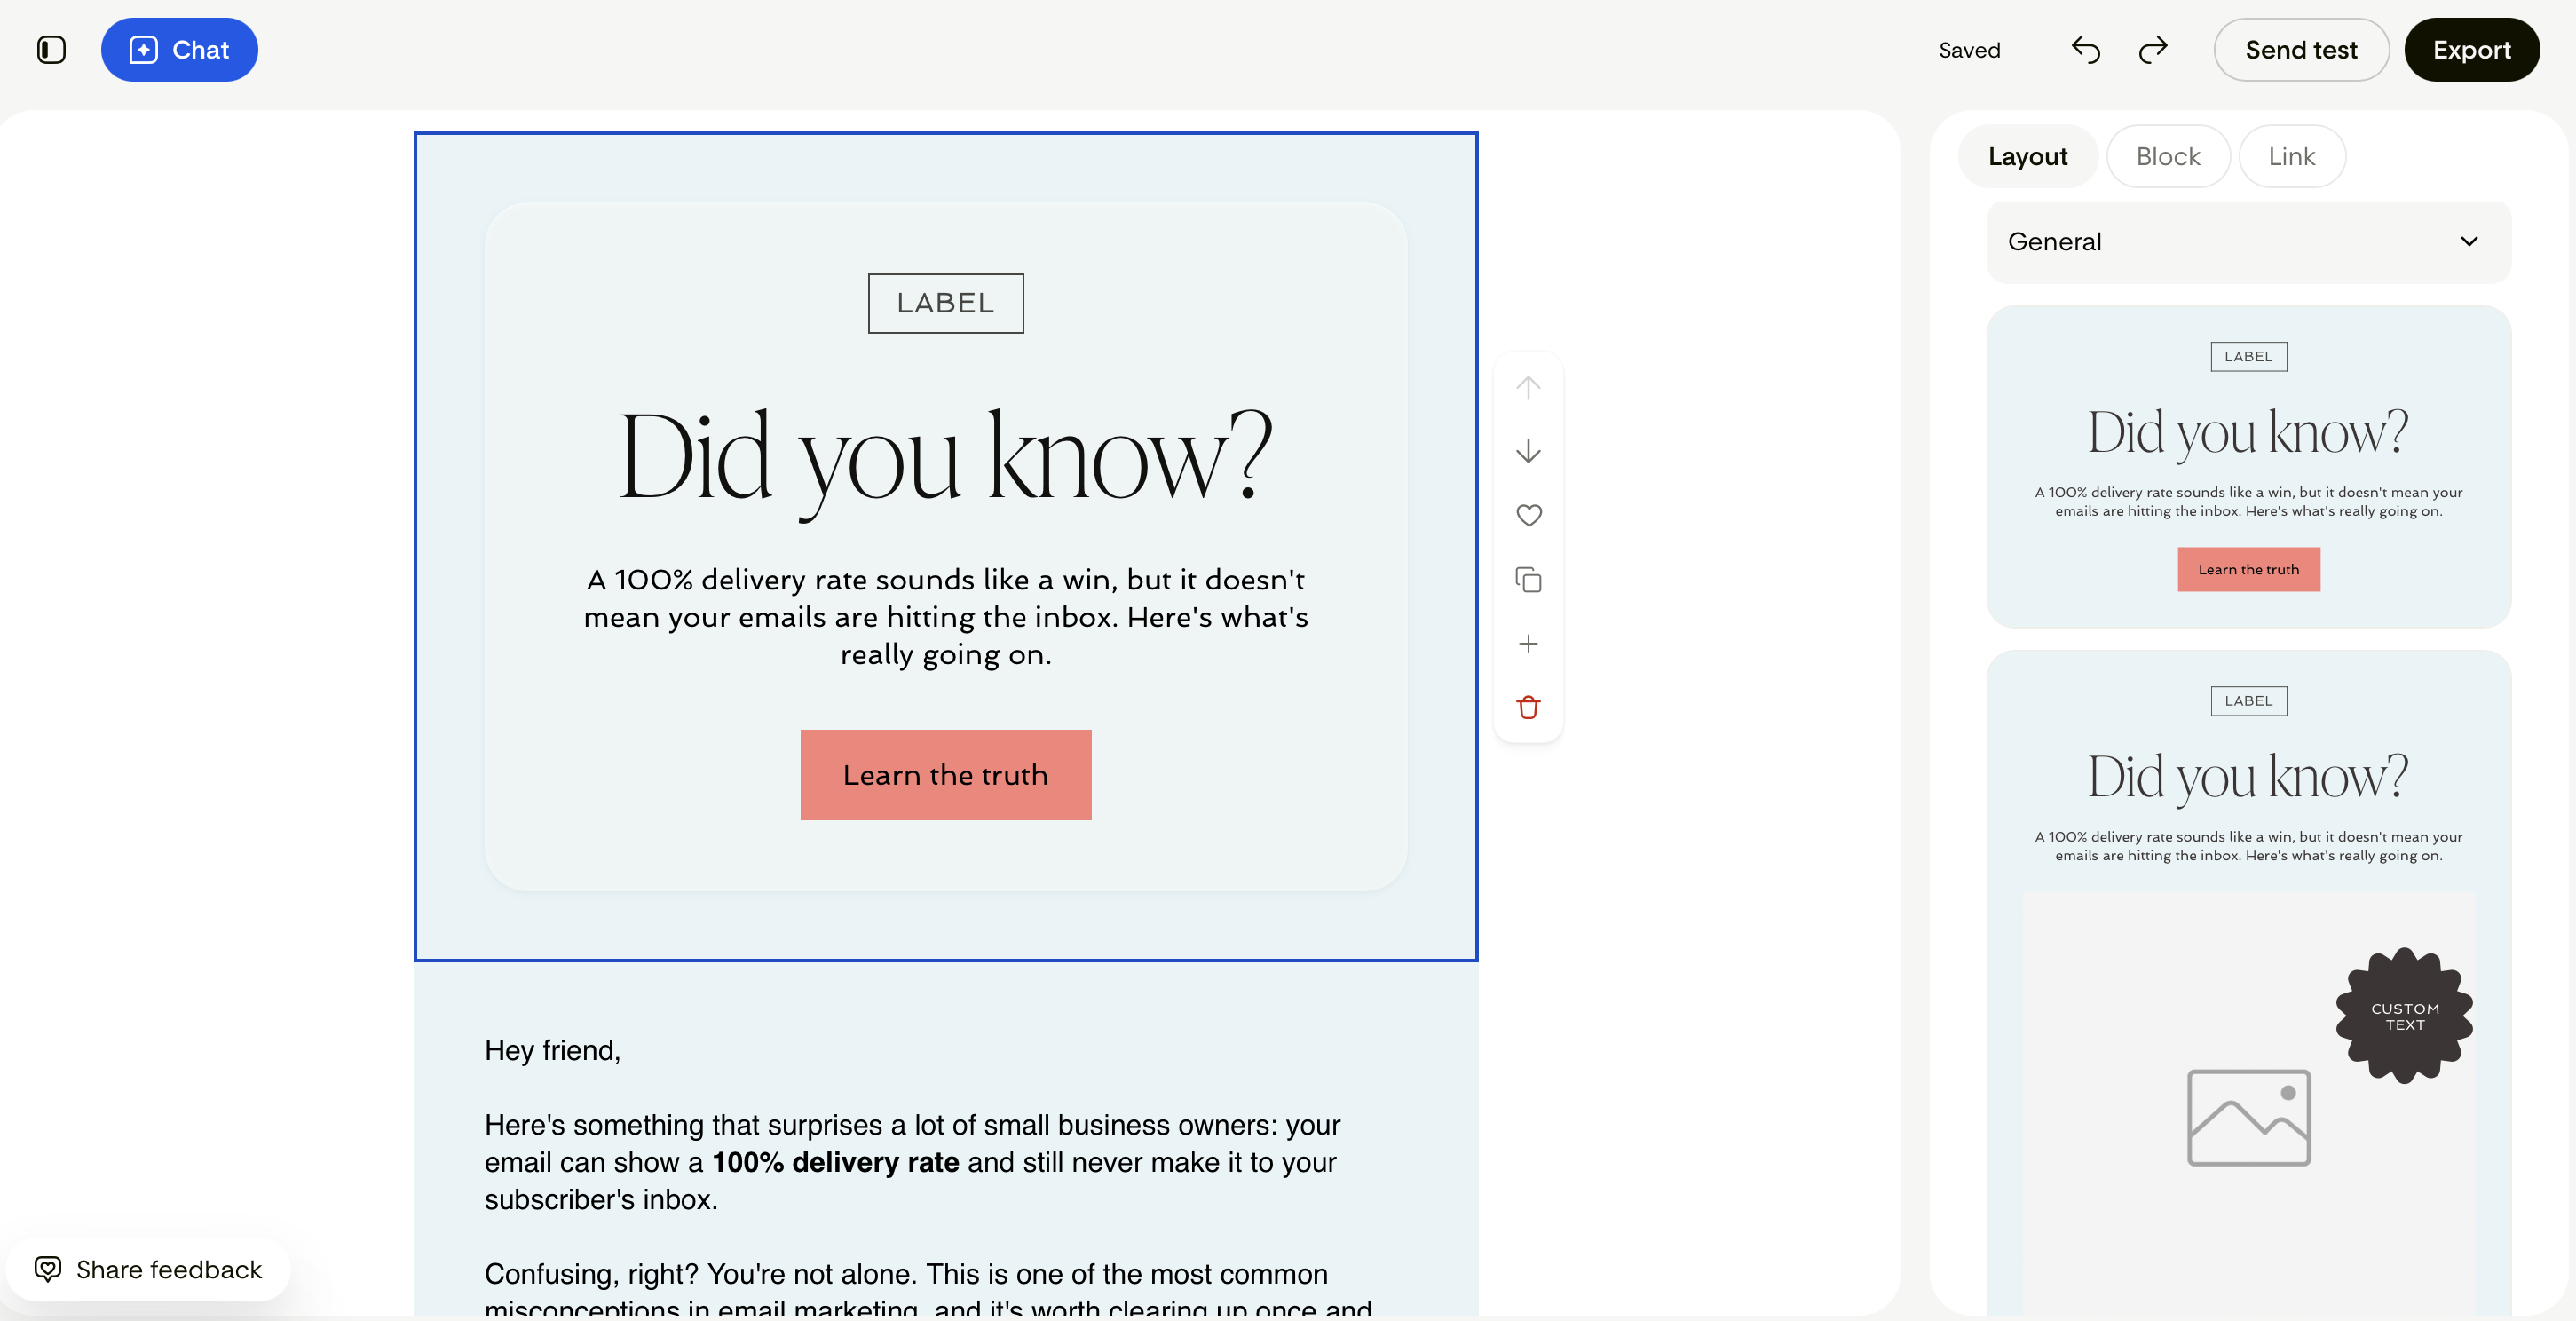
Click on the plus (+) sign to add new blocks to your email. You can also duplicate and delete blocks, and favorite (heart) any section you like using the quick access menu on the right side of an active block.
Blocks you added to your favorites will be listed under the block category called "Favorites".
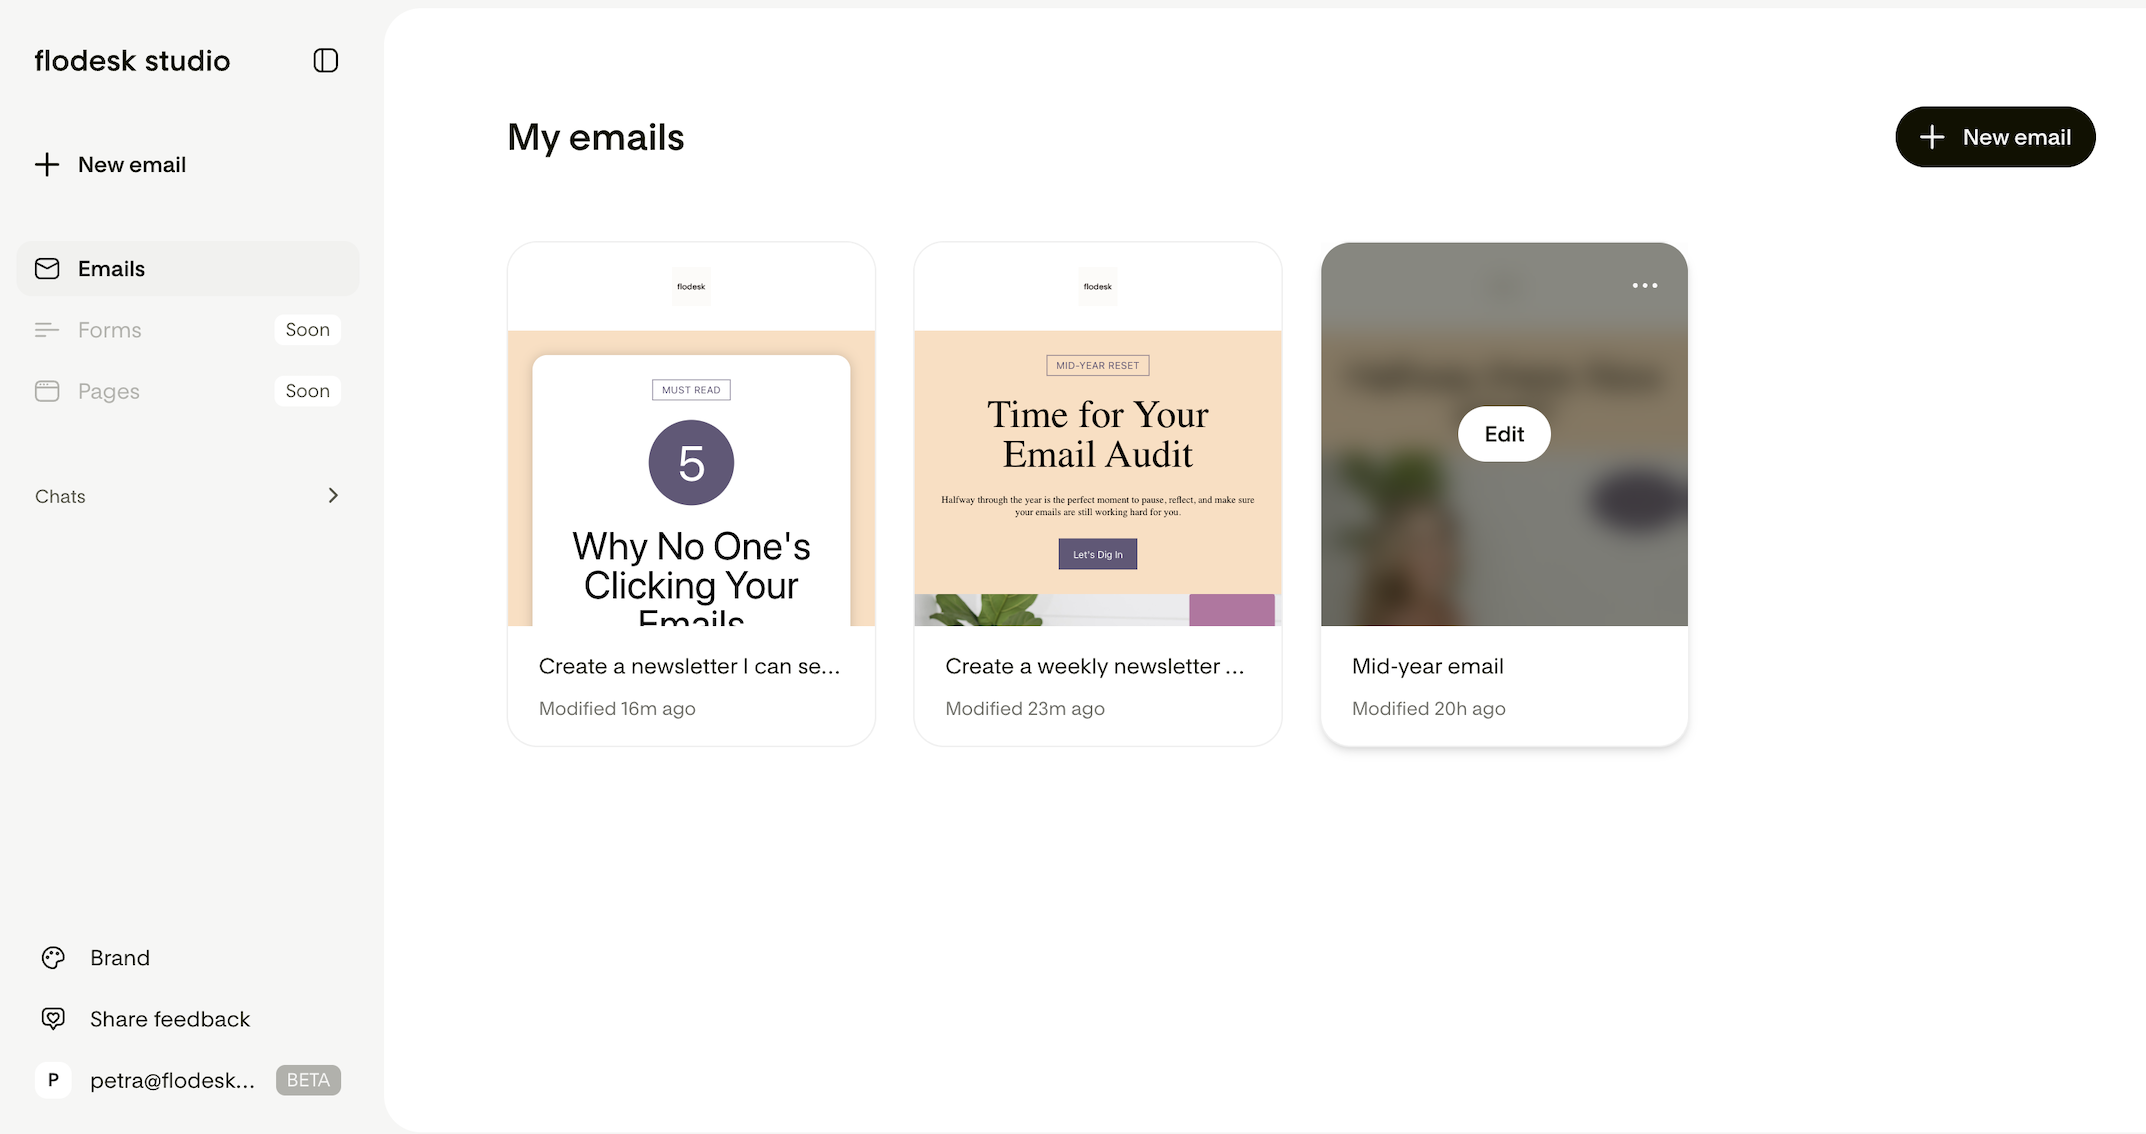
As you edit and finalize your selected email design, Studio saves your changes automatically in the background. You will find your edited emails on your My emails dashboard (Emails > My emails). If you want to come back to it at a later time to make additional adjustments, hover over the email’s card and click Edit.
You can save as many emails as you need in Flodesk Studio. There's no limit on how many designs you can keep in your account.
At beta launch, Flodesk Studio doesn’t yet include folder or tagging functionality to organize your emails. In the meantime, giving each email a clear, descriptive name is the best way to keep your library easy to navigate.
Step 6: Send your Studio email directly from Flodesk
If you're a Flodesk member, you don't need to download your design as an HTML file and upload it manually. Flodesk Studio lets you send your finished design straight into your Flodesk account with one click, so you can move from designing to sending without the extra steps.
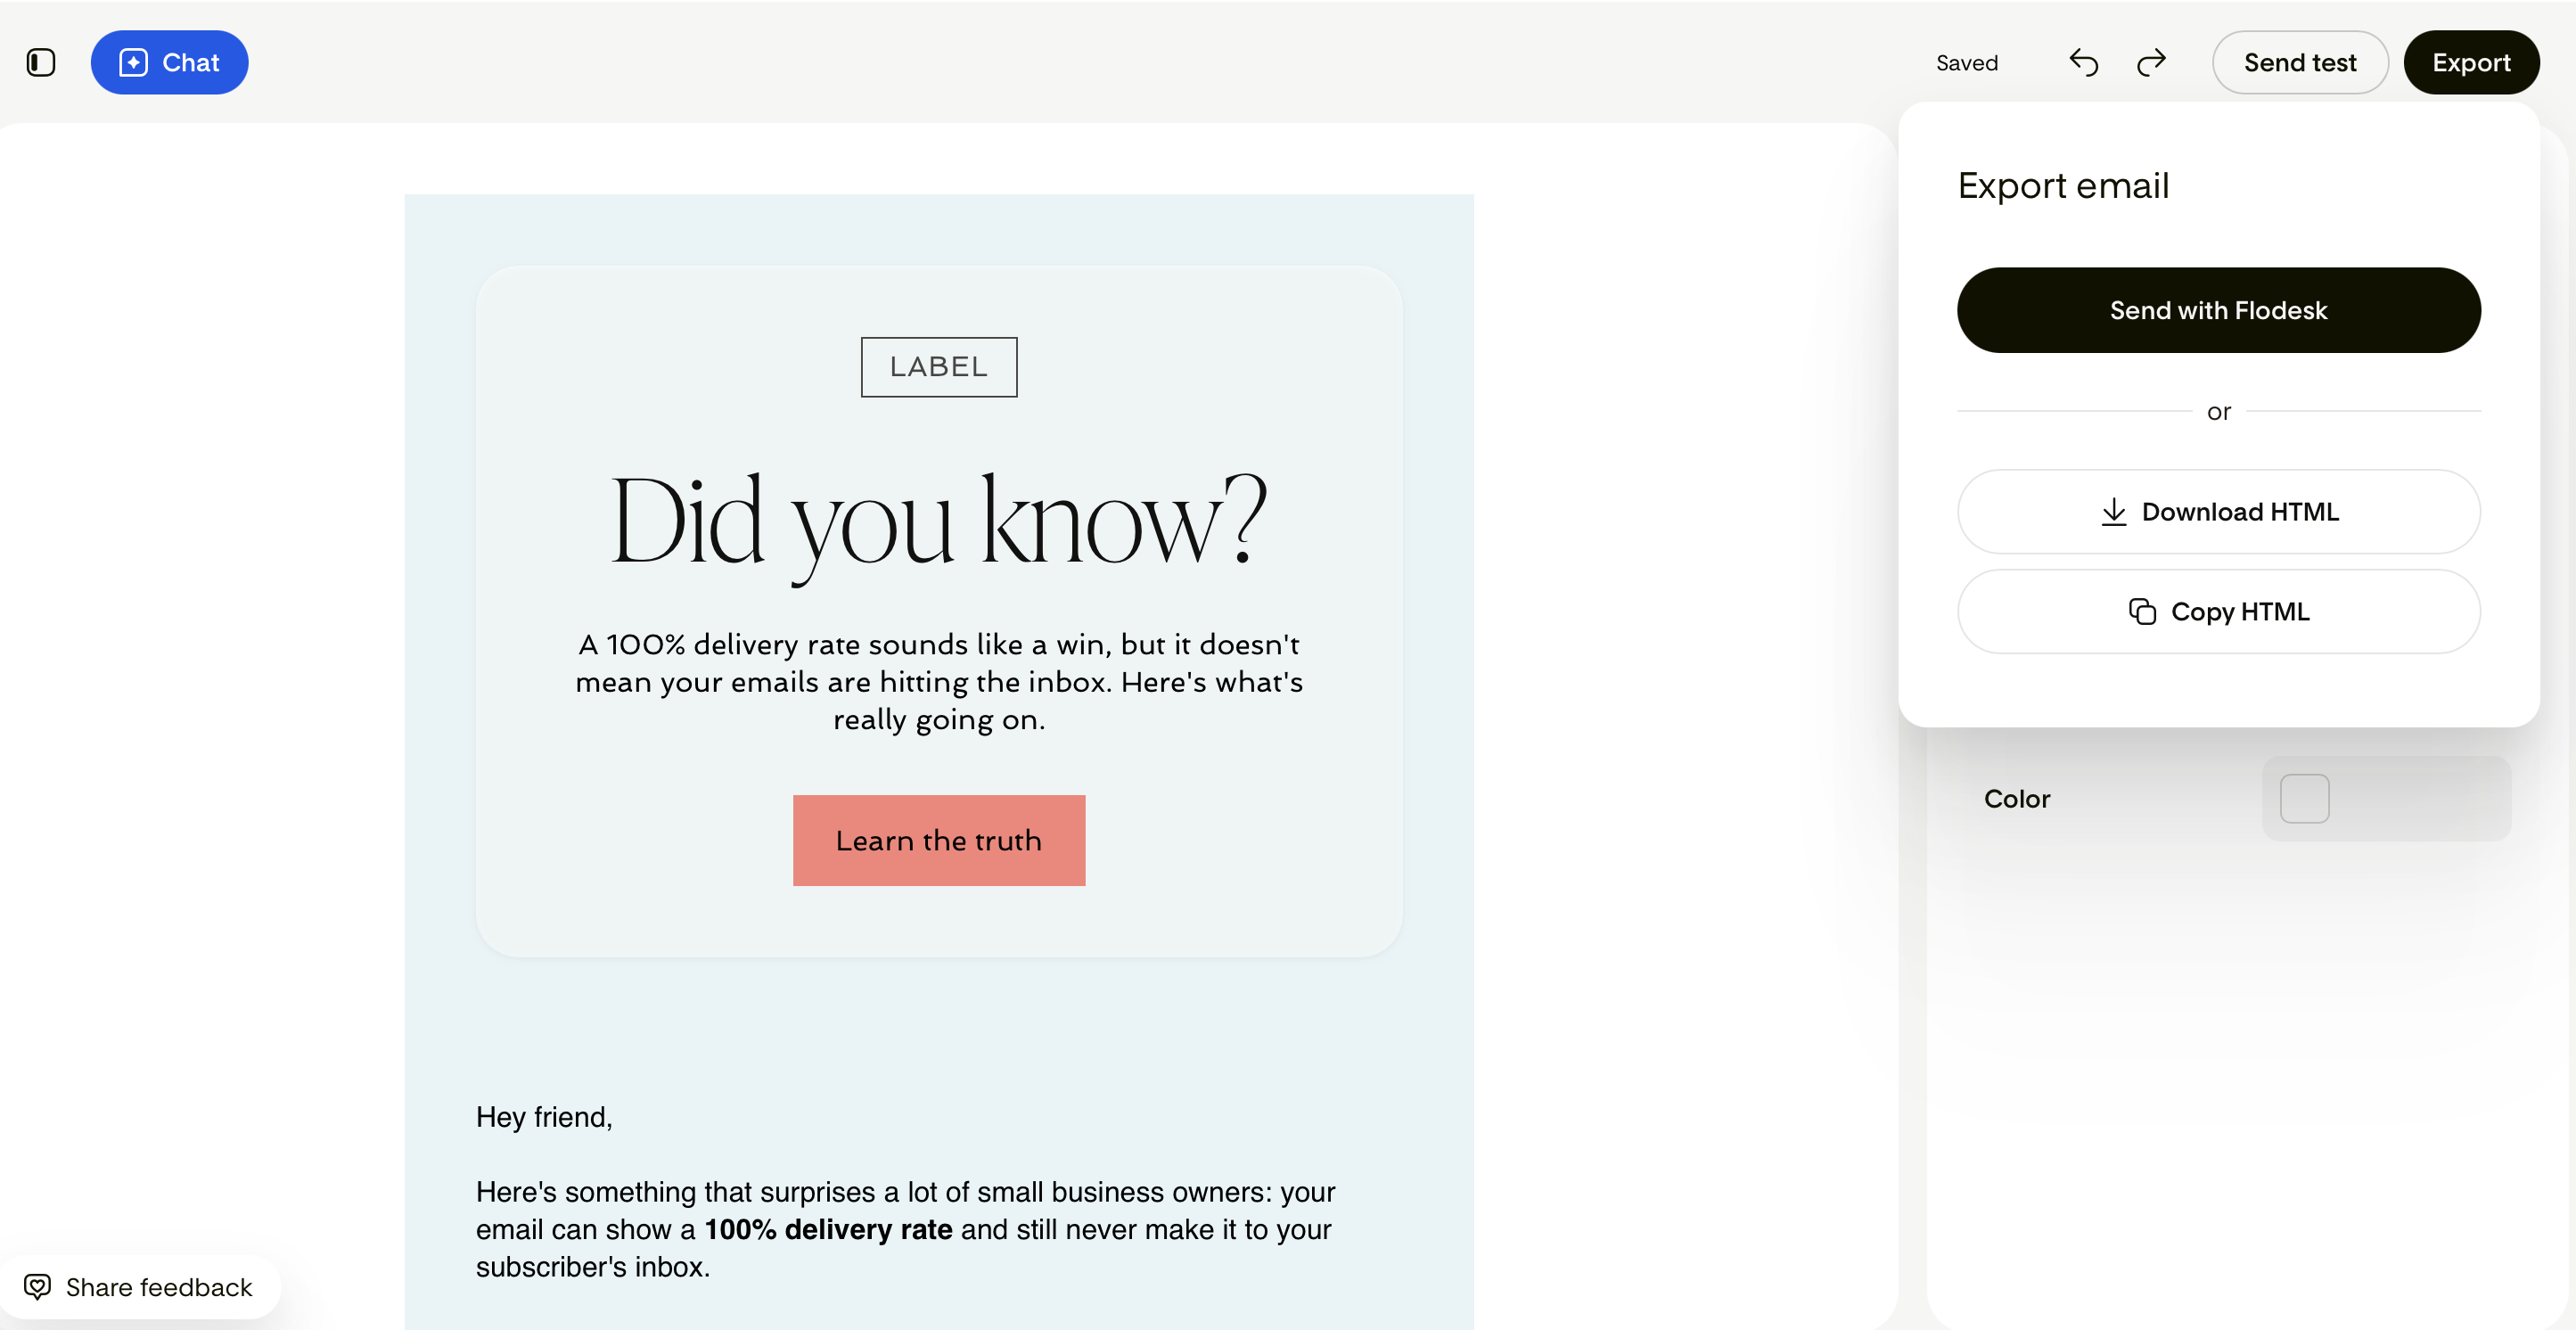
When you're happy with your design in Flodesk Studio, you can send it directly to your Flodesk account by selecting the Export button and then Send with Flodesk.
Follow the prompts to connect your main Flodesk account with Flodesk Studio, and your email will be imported as a new draft email onto your Emails dashboard. From there, you can send it to your audience via the regular send email flow as a single email, not as part of a workflow yet.
IMPORTANT: You can’t edit the email you created and imported from Flodesk Studio in the classic Flodesk Email builder. If you want to change the copy, swap any images, or rework the layout, go back to Studio for edits and reimport the updated version.
Step 7: Export the HTML to send from another ESP
If you're using a different ESP than Flodesk, click Export > Download HTML to save the HTML to your computer. Or select Export > Copy HTML.
Then log in to your ESP of choice and upload or paste the HTML file into its email builder interface.

FAQ
Does Flodesk Studio remember my brand from session to session?
Flodesk Studio uses the information you upload under Brand settings. The more detailed you are, the better results you get. Learn more about setting up your brand in Flodesk Studio here.
Can I upload my existing emails so Flodesk Studio can match my style?
While you can’t upload your existing emails from the classic Flodesk Email builder, you can add your Brand settings in Flodesk Studio as a reference. Studio will use those details to create three variations of your email that you can further customize.
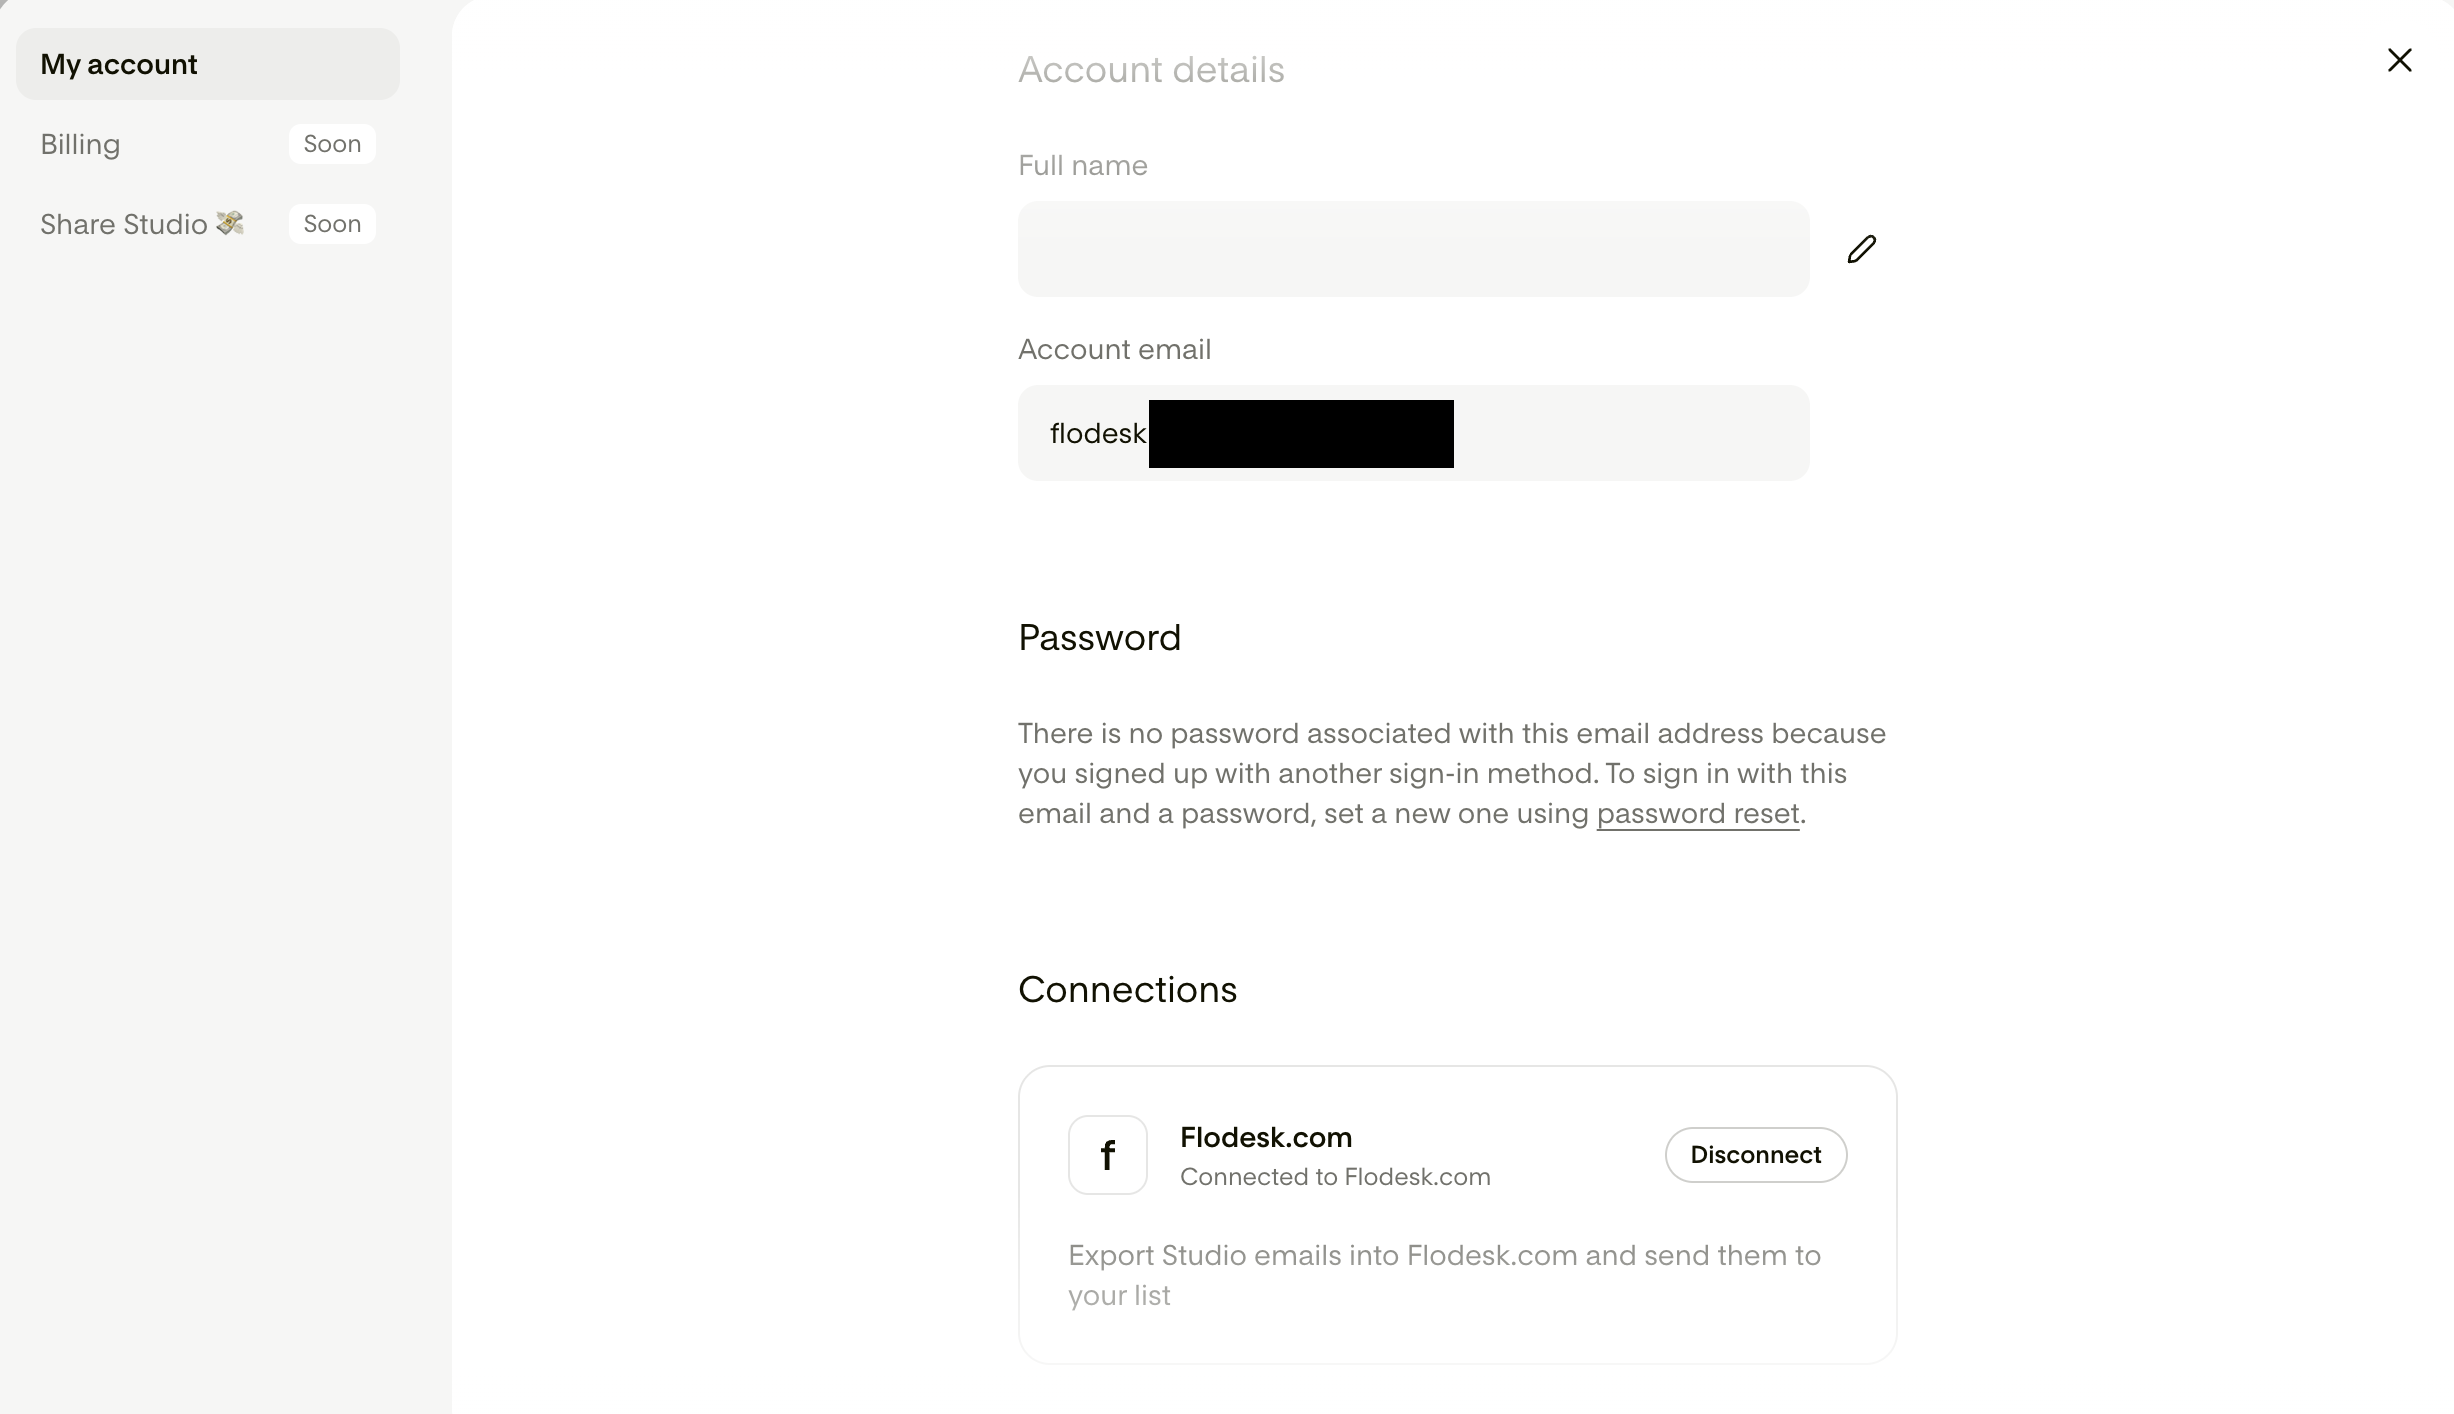
I've connected my Studio account to the wrong Flodesk account. Where can I disconnect it?
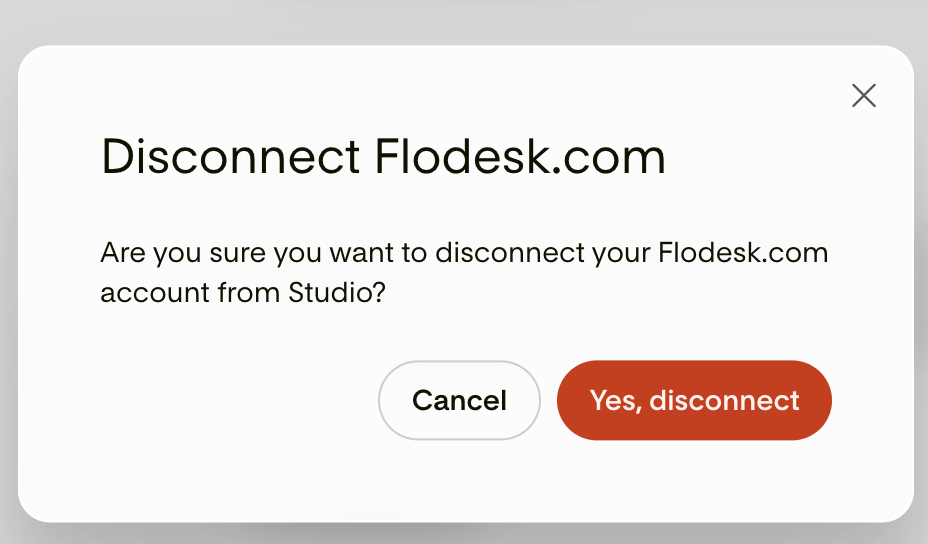
Click your account email address in the bottom-left corner to open the menu, then disconnect the Flodesk.com account under My account > Connections. Click the "Disconnect" button and confirm the action.
Is there a character limit to the prompts I can use?
No, there’s no limit. Use as much text as you need to describe the outcome you’re looking for. Then, adjust as needed in the chat or by hand in Studio’s email builder.
How specific do I need to be?
There's no perfect length for a prompt, but two to four sentences covering your business type, email purpose, tone, and audience is usually enough to get a strong first result. If the result isn't right, you can always refine from there using the chat.
The email doesn't look like what I described. What went wrong?
This usually comes down to the prompt needing a bit more detail. Try adding more context about your business, the tone you're going for, or the purpose of the email. If a specific element is off, use the chat to address it directly rather than starting over. Or adjust it manually in Studio’s email builder.
Can I change the fonts, colors, and layout after the email is generated?
Yes, you can fine-tune the initially generated email through the chat or manually via the email builder in Studio.
Can I add images, or will Flodesk Studio do that automatically?
Flodesk Studio will include image placeholders in your design automatically. You can then swap those placeholders out for your own images inside the email editor.
Do I need to download the HTML file if I'm a Flodesk member?
No. If your Flodesk account is connected to Flodesk Studio, you can send your design directly to Flodesk with one click and skip the HTML download entirely. Downloading the HTML file is only necessary if you're sending from an ESP other than Flodesk.
Can I edit the imported email in the Flodesk Email builder?
No. The email is not editable currently in the Flodesk Email builder. If you want to make any changes, go back to Studio for edits and reimport the updated version.
Can I use a Flodesk Studio email in a Flodesk workflow?
No, at this time, imported Studio emails can't be used in workflows yet. They can only be sent as single emails. But stay tuned as new features are released almost every week!
Can I organize my emails by campaign type, for example welcome emails, promos, or newsletters?
At this time, Flodesk Studio doesn't yet have folder or specific tagging functionality. In the meantime, giving each email a clear, descriptive name is the best way to keep your library easy to navigate.