
How to add a Poll block to your email
A step-by-step guide on adding and customizing a Poll block in Flodesk emails
Poll blocks are a fun way to engage and survey subscribers. Plus, you can automatically segment subscribers based on their responses so you can send more targeted (aka better performing) emails in the future.
What is a Poll block?
The Poll block is a special type of email block in the email builder that introduces a new way to collect data and engage with your subscribers.
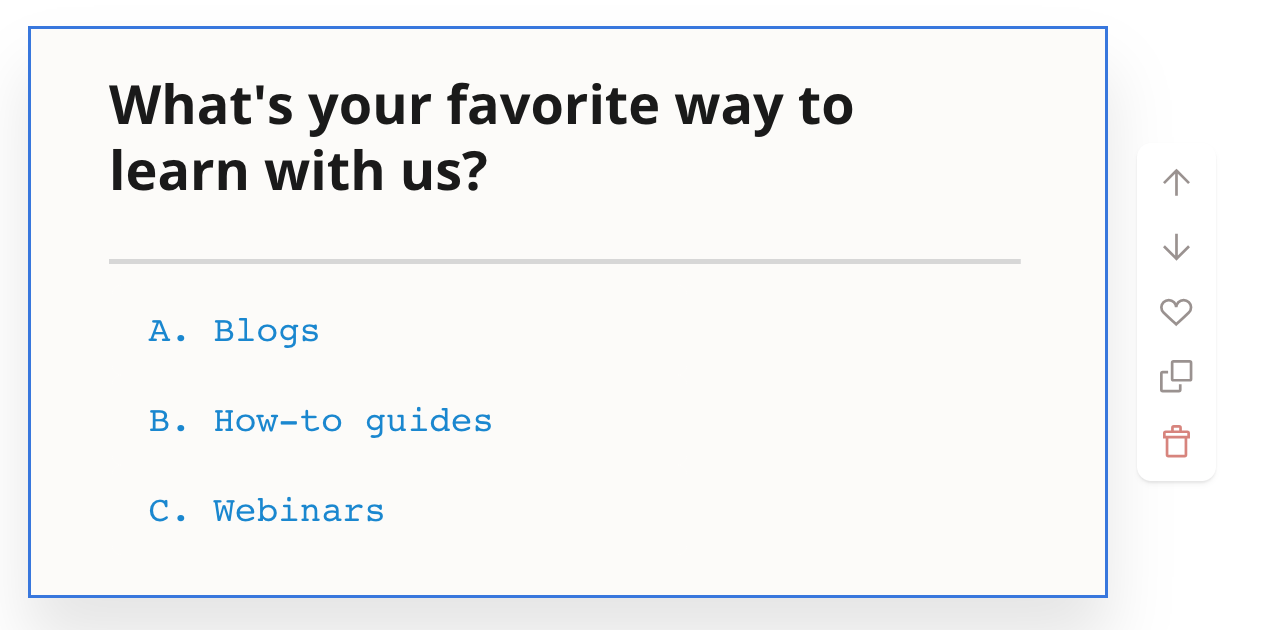
Polls can have 2-12 answer options, and you can customize them with fonts, colors, and styles. When your subscribers make their selection, they will be automatically shown the poll results on a new page. This can't be turned off. If you don't want results to be shown, consider using link actions instead to poll your audience.
Not only are polls fun and easy to participate in, but this email block also allows you to segment your list further.
In just a few simple clicks, you can connect poll responses to a segment or custom field. When subscribers select an answer on the poll, they will be automatically added to that selection, allowing for more robust and targeted email campaigns.
How to add a Poll block to your email
Step 1. In your Flodesk account, create a new email or open an existing one to edit it
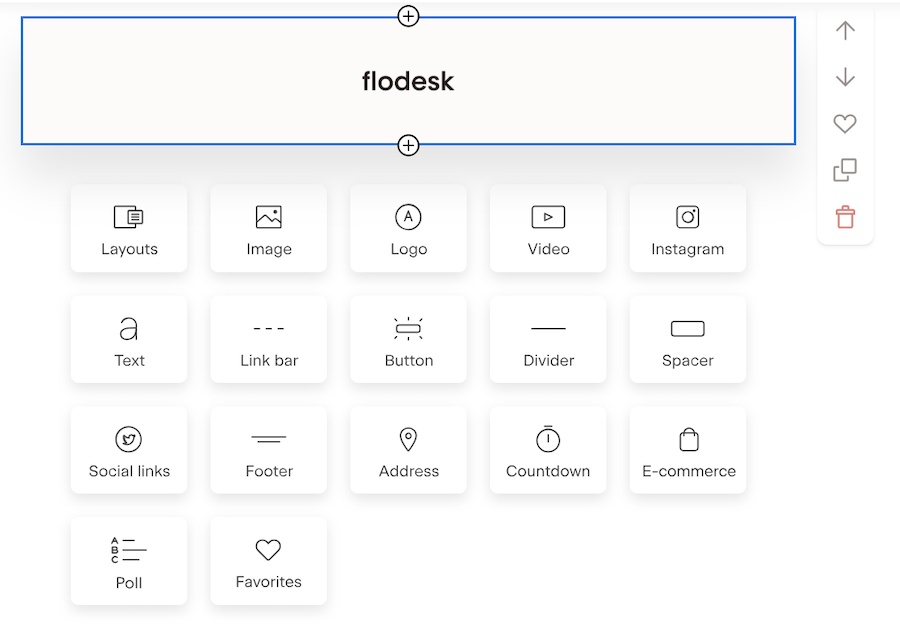
Step 2. Hover over an existing block in the email builder until you see the plus sign (+). Click it and select the Poll option.
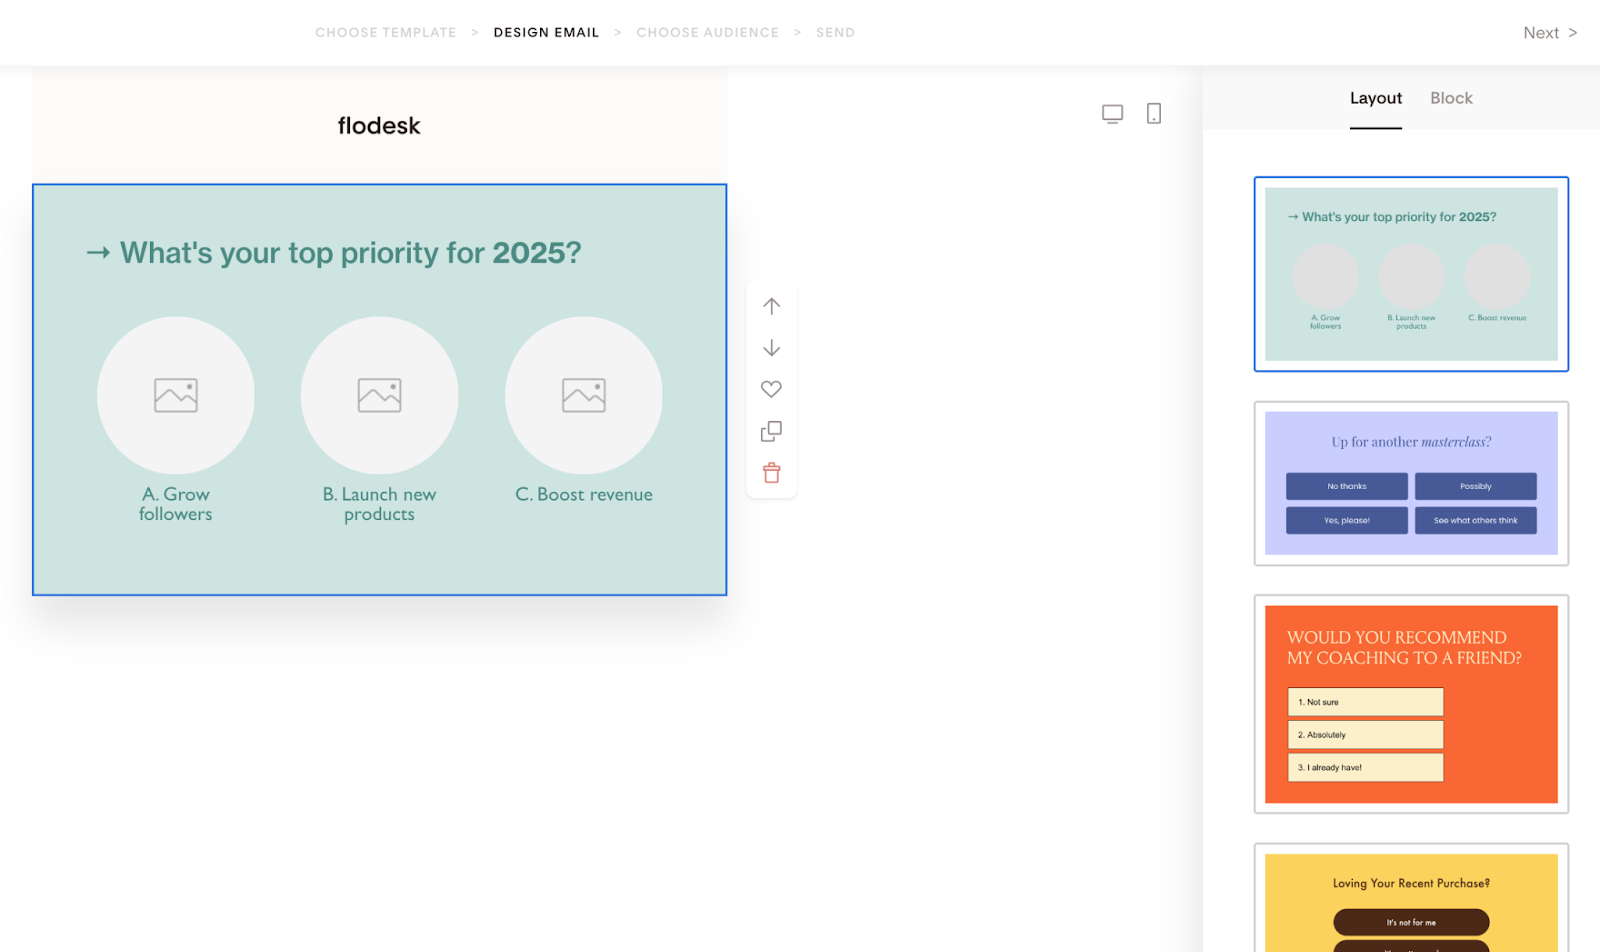
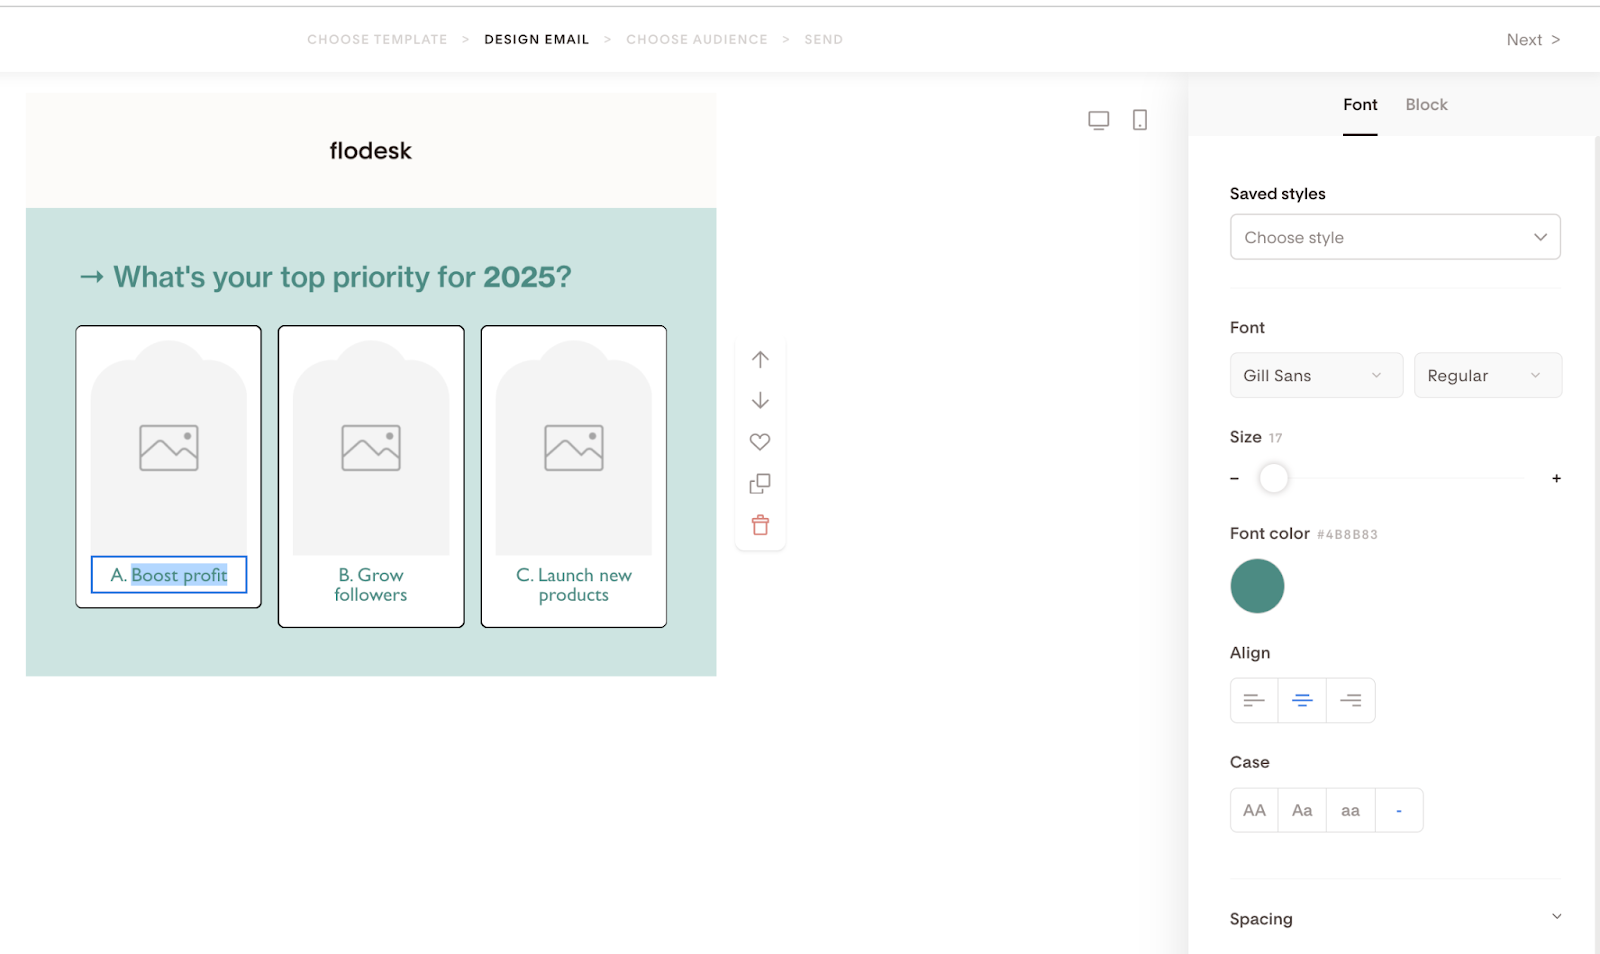
Step 3. On the right sidebar, under the Layout tab, you can choose from various pre-designed poll layouts and start customizing them to match your brand’s look and feel.
How to customize the Poll block
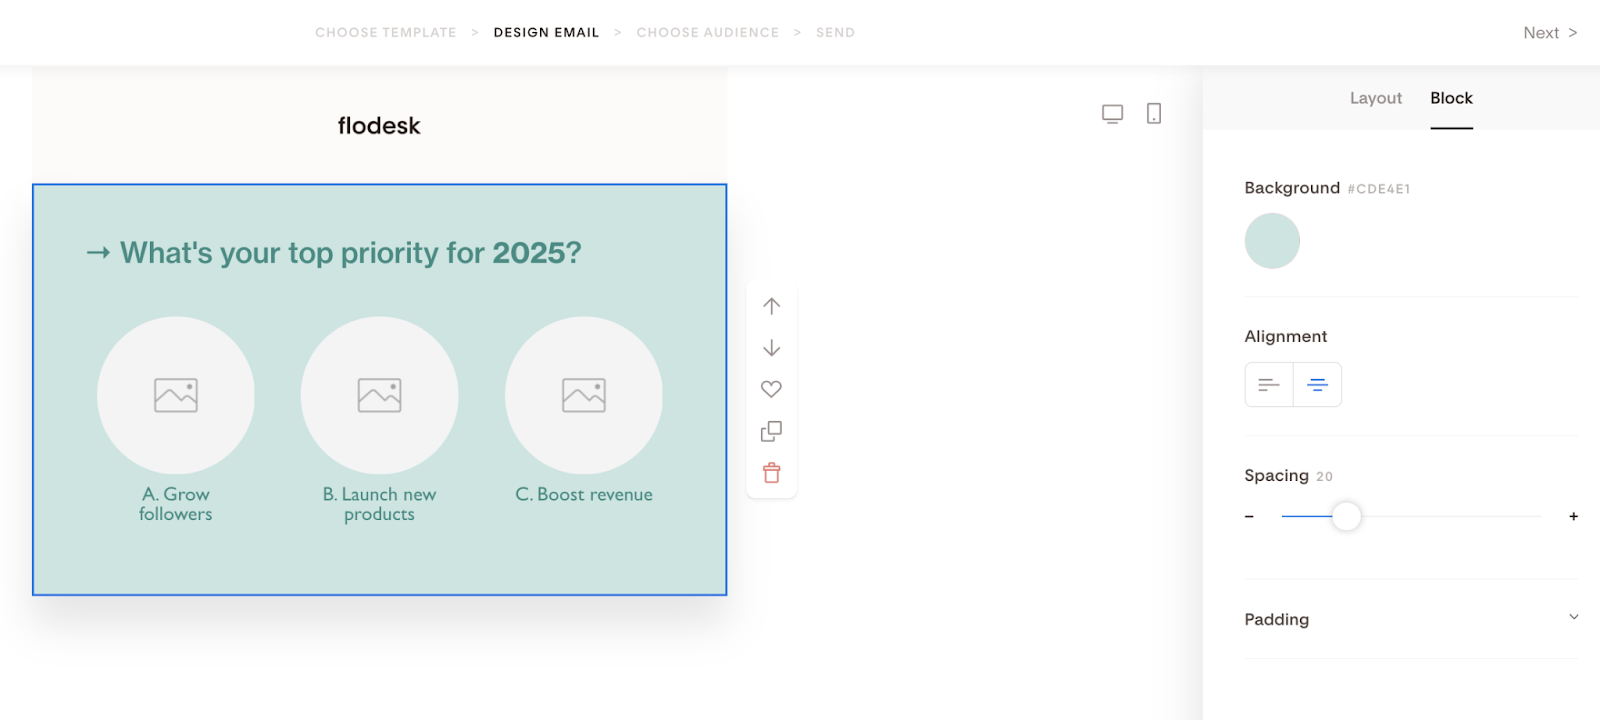
Step 1. Once you select the Poll layout you want to use, click on the Block settings tab. Here, you can control the block’s:
Background color
Alignment
Spacing
Padding
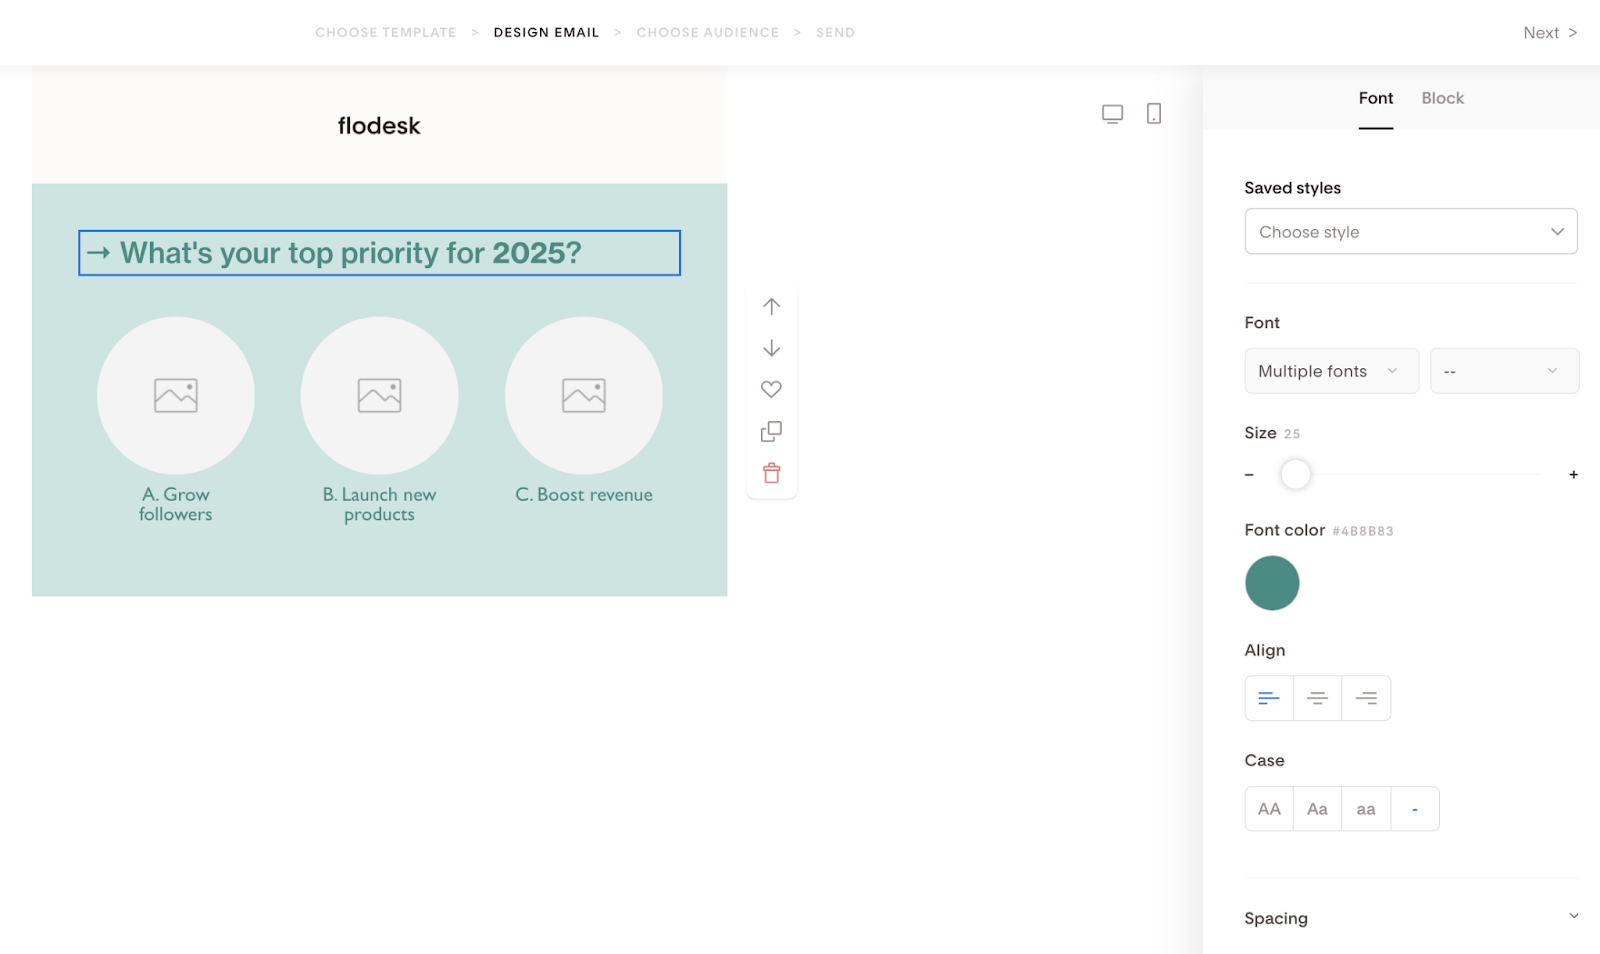
Step 2. Click the block’s headline to select and overwrite it with your copy. Then, use the Font tab to style the text according to your needs.
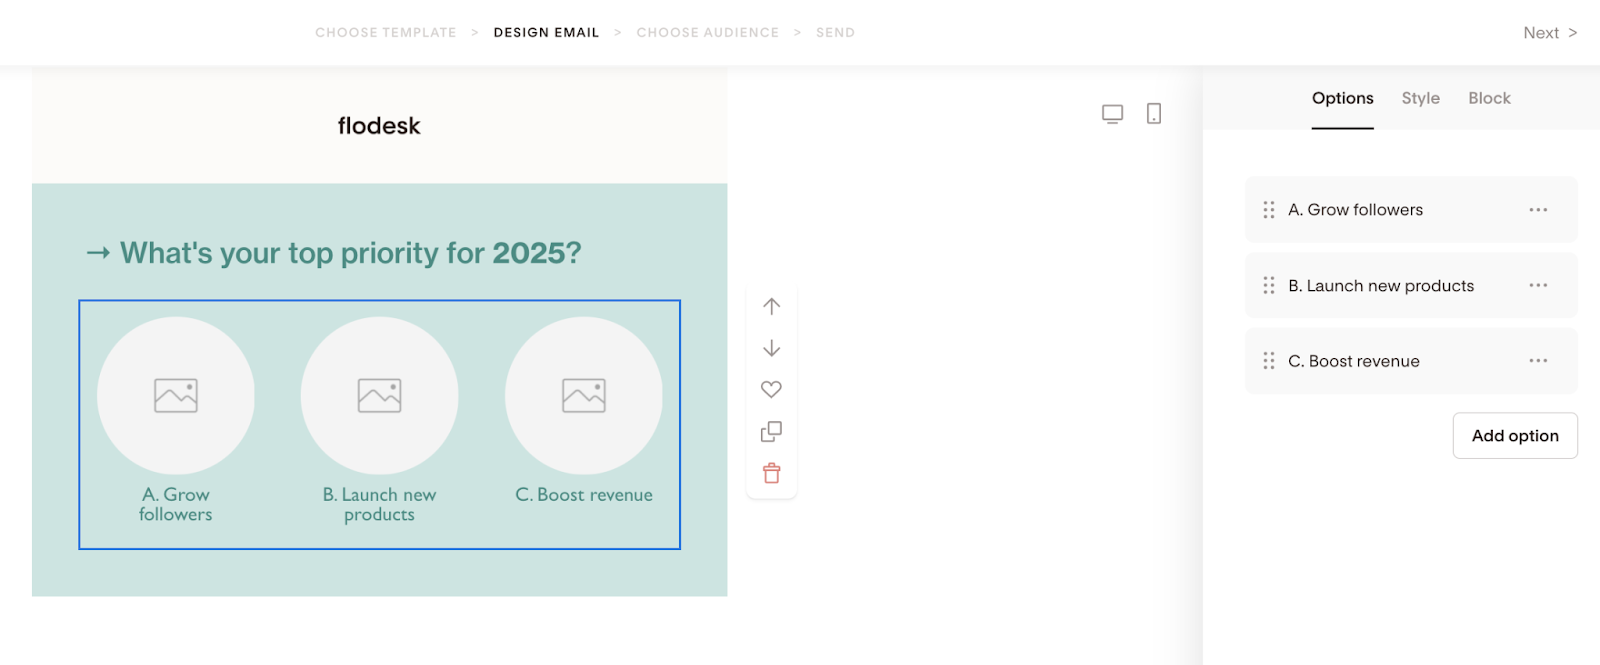
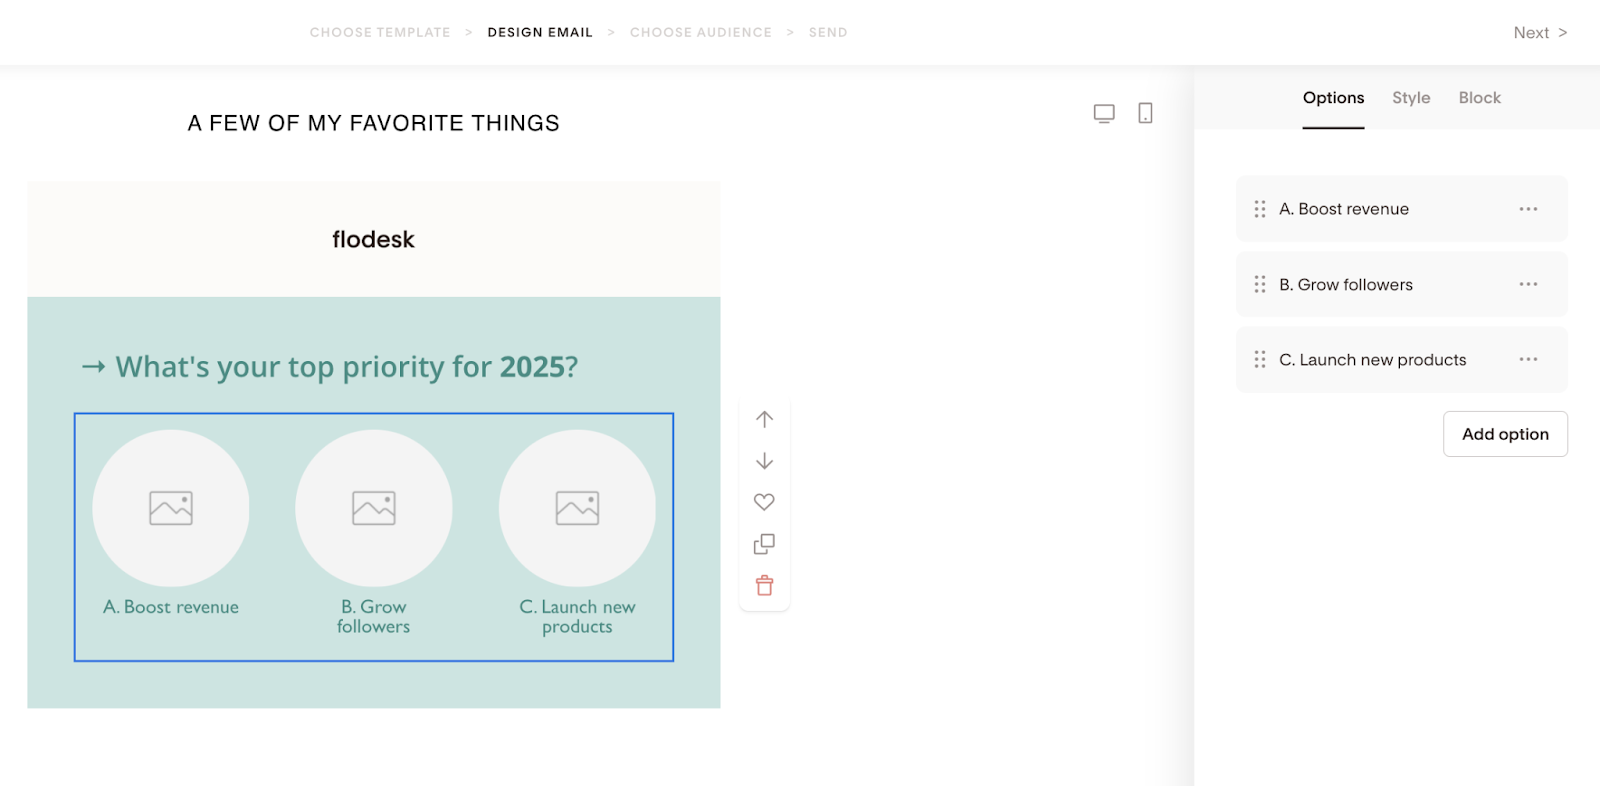
Step 3. Click the Poll section to highlight it. You can add up to 12 poll answer options under the Options tab by clicking the “Add option” button.
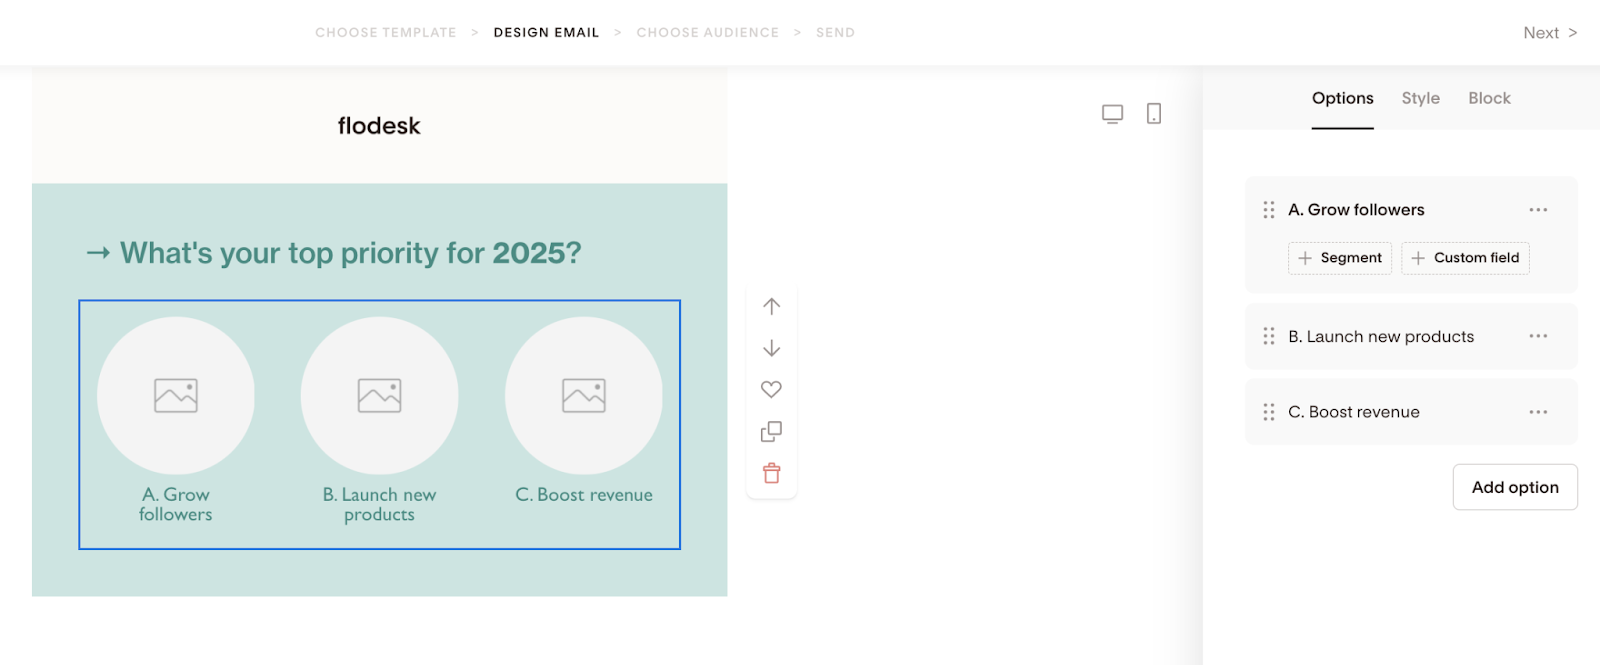
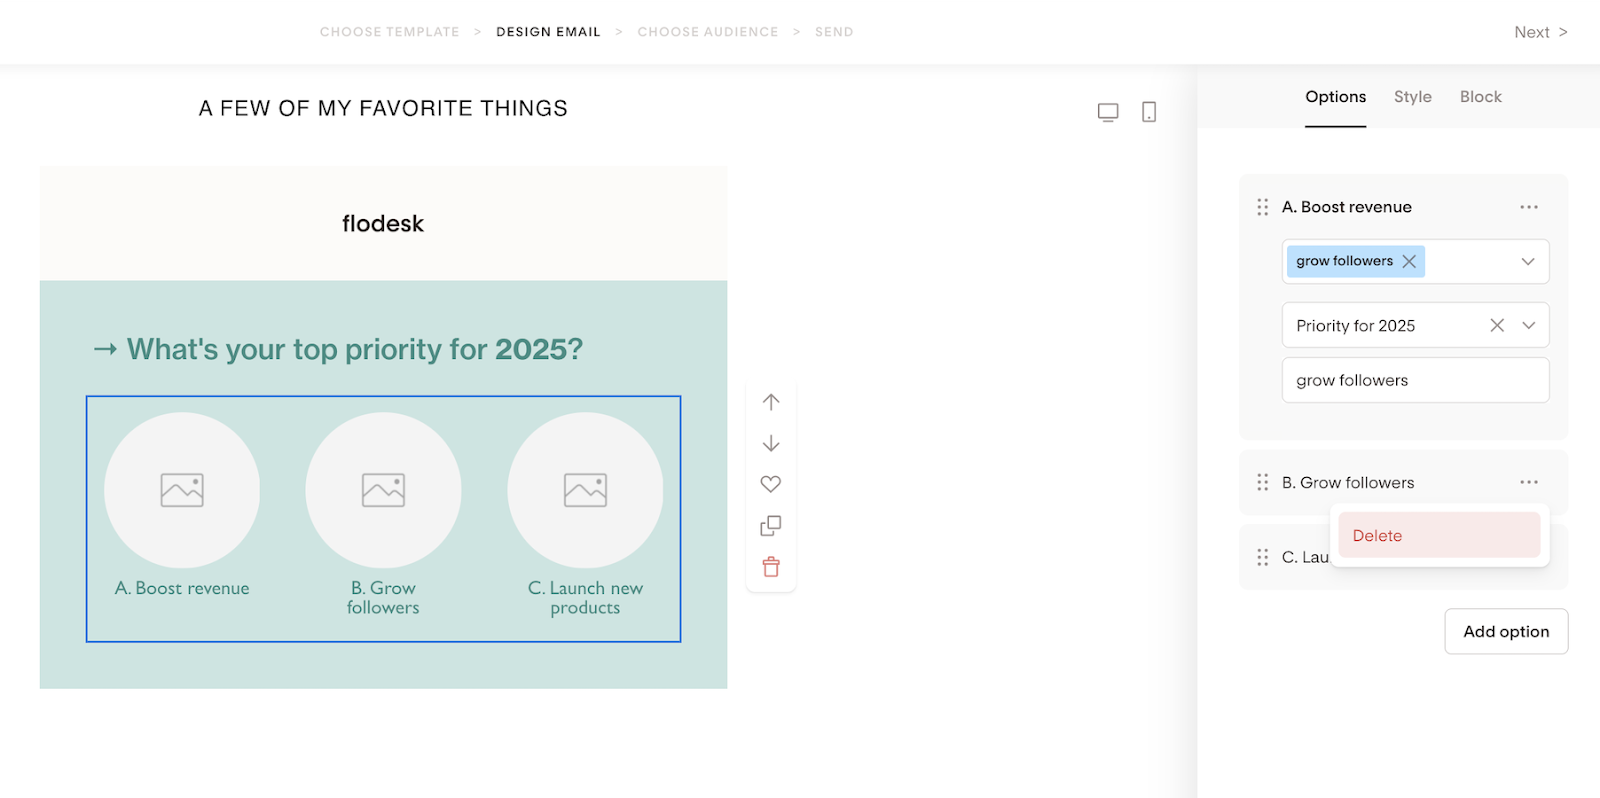
Step 4. You can define a “Segment,” a “Custom field,” or both for each poll option! When someone selects that poll option, they are added to the defined segment or tagged with that custom field value.
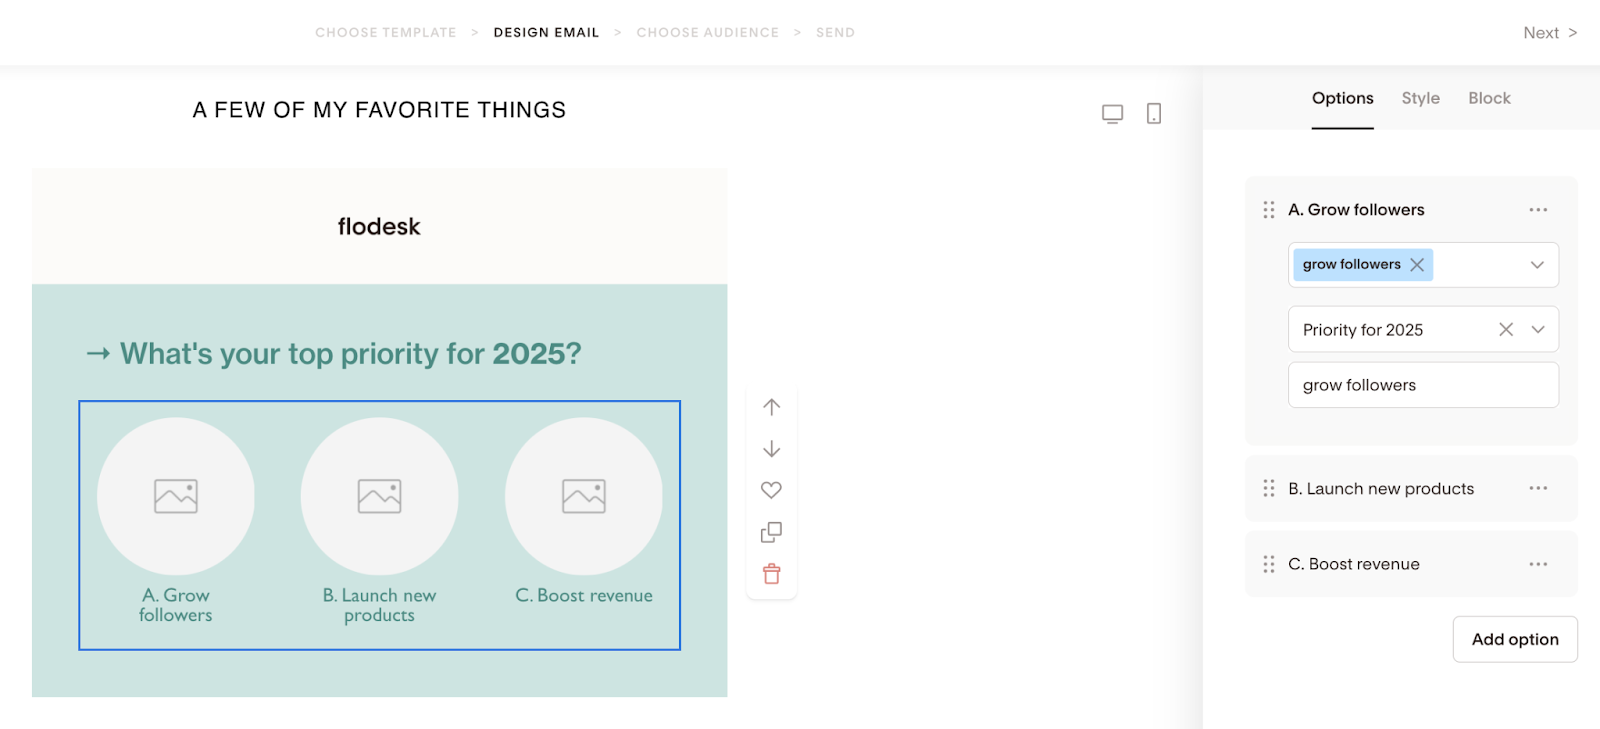
In the example below, we selected the “Grow followers” segment, to which we want to add poll voters.

Additionally, we decided to tag them with the value “grow followers” under the “Priority for 2025” custom field.
You can change the order of the poll options by grabbing and dragging them around on the right sidebar. Here, we moved the “Boost revenue” option to the first place.
If you want to delete a poll option, click the three dots (...) and select “Delete”.
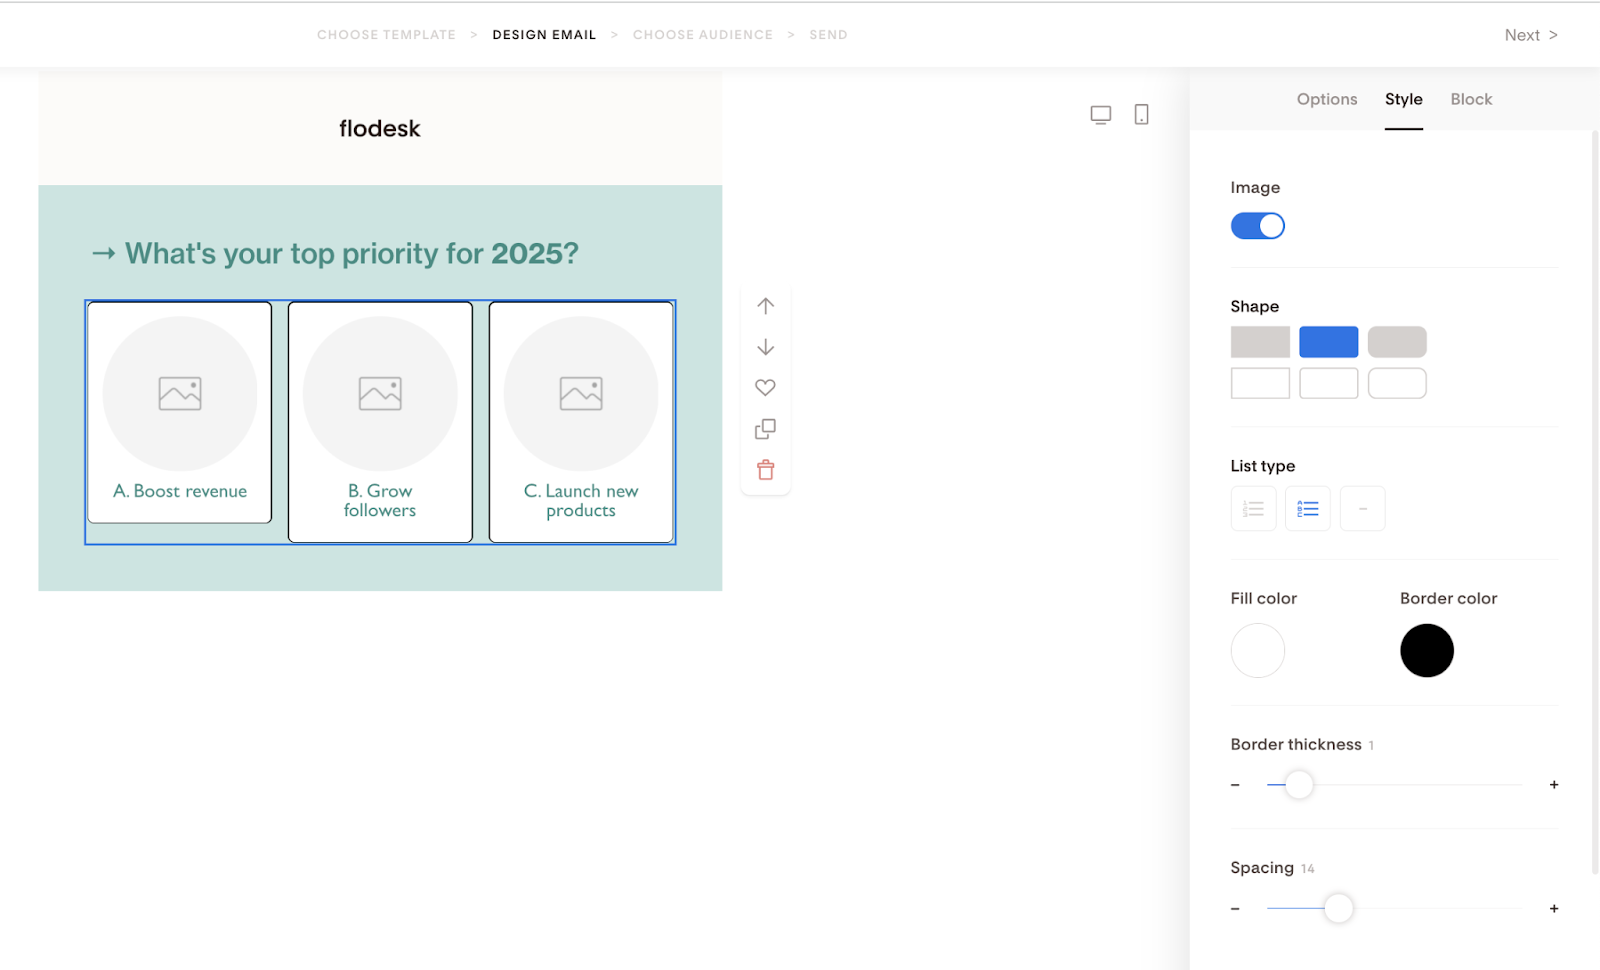
Step 5. The Style tab gives you various ways to give your poll section a unique look that suits your needs, including:
Image
Shape
List type
Fill color and Border color
Border thickness
Spacing
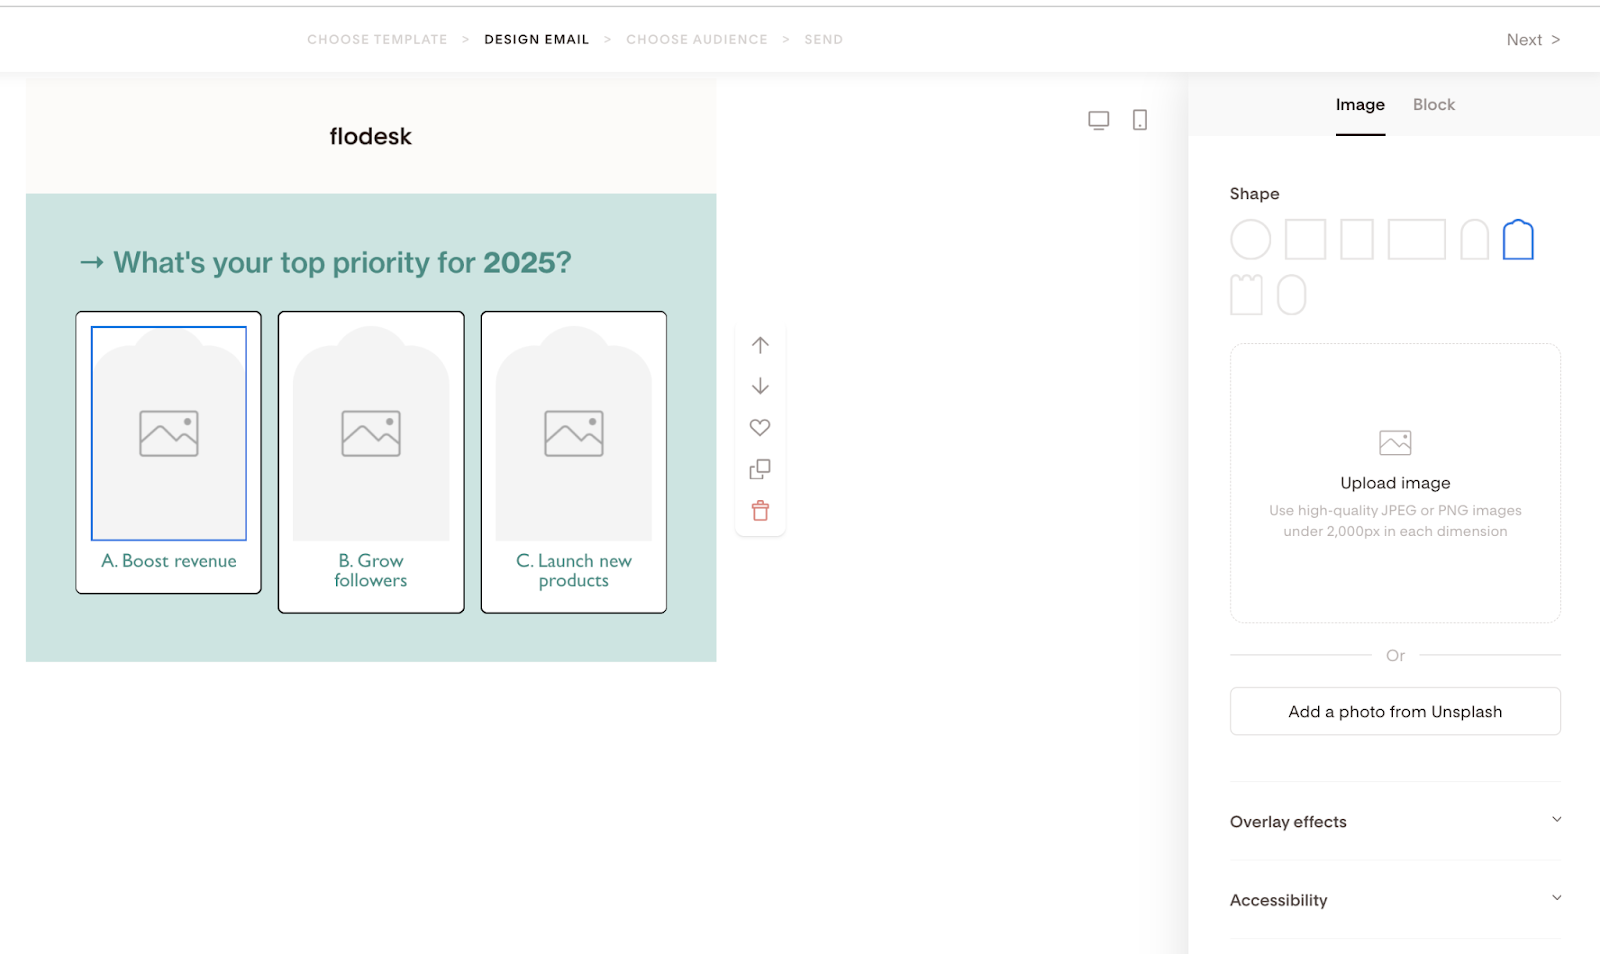
As you click the image placeholder, you can
Upload an image from your device or add a photo from Unsplash
Select a shape
Use overlay effects (color and opacity)
Add an alt text for accessibility
Step 6. Click the poll option’s body text to select and overwrite it with your copy. Then, use the Font tab to style the text according to your needs.
Once you finish customizing the rest of your email, send it or schedule it to send it.
Note: Poll votes only count from sent emails, not from the email preview link or test emails.
Poll block FAQs
What happens when a subscriber clicks on a poll option to vote?
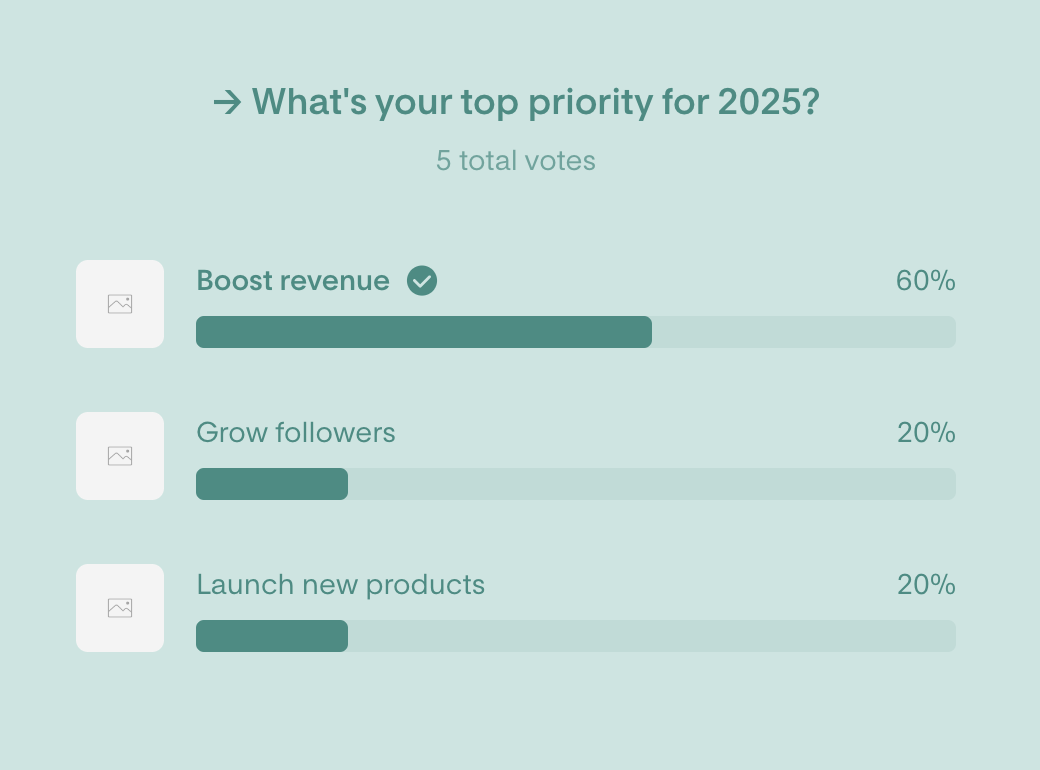
When your subscribers open the email and click on a poll option to vote, they will be redirected to a poll results page, which will look similar to the screenshot below. This page will display the current state of the poll results.
Note: You cannot directly edit the poll results page. It will inherit the color and font settings from the actual poll block you added to the email.
If a subscriber votes multiple times on the same poll, only their most recent vote will be shown on the poll results page. However, they will remain in the segment associated with their original vote and will also be added to the segment(s) corresponding to their subsequent votes.
Also, as your subscribers start clicking on the poll option, you will see the poll results in your individual email report. You can click the export icon to download a CSV of the poll results. The CSV export will include these columns:
Subscriber email address: email
Poll title: pollTitle
Poll vote (Text of poll option): pollVote
Timestamp of vote: votedAt
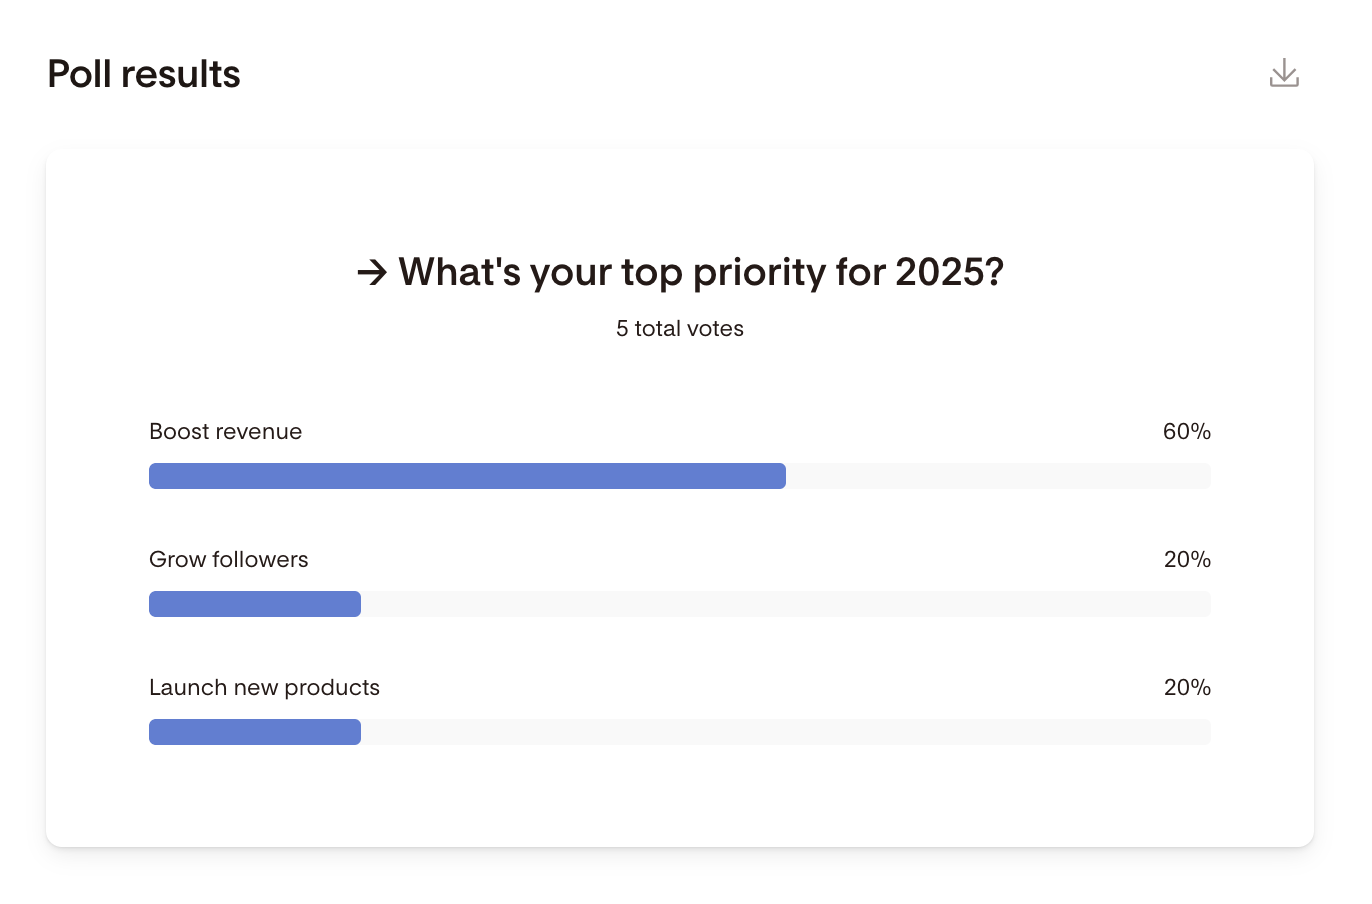
Important: The ”Poll results” section within email analytics only appears if a poll is present in the email send. Additionally, poll votes will not be counted as email clicks, and will not appear in email analytics outside of the poll block specific analytics.
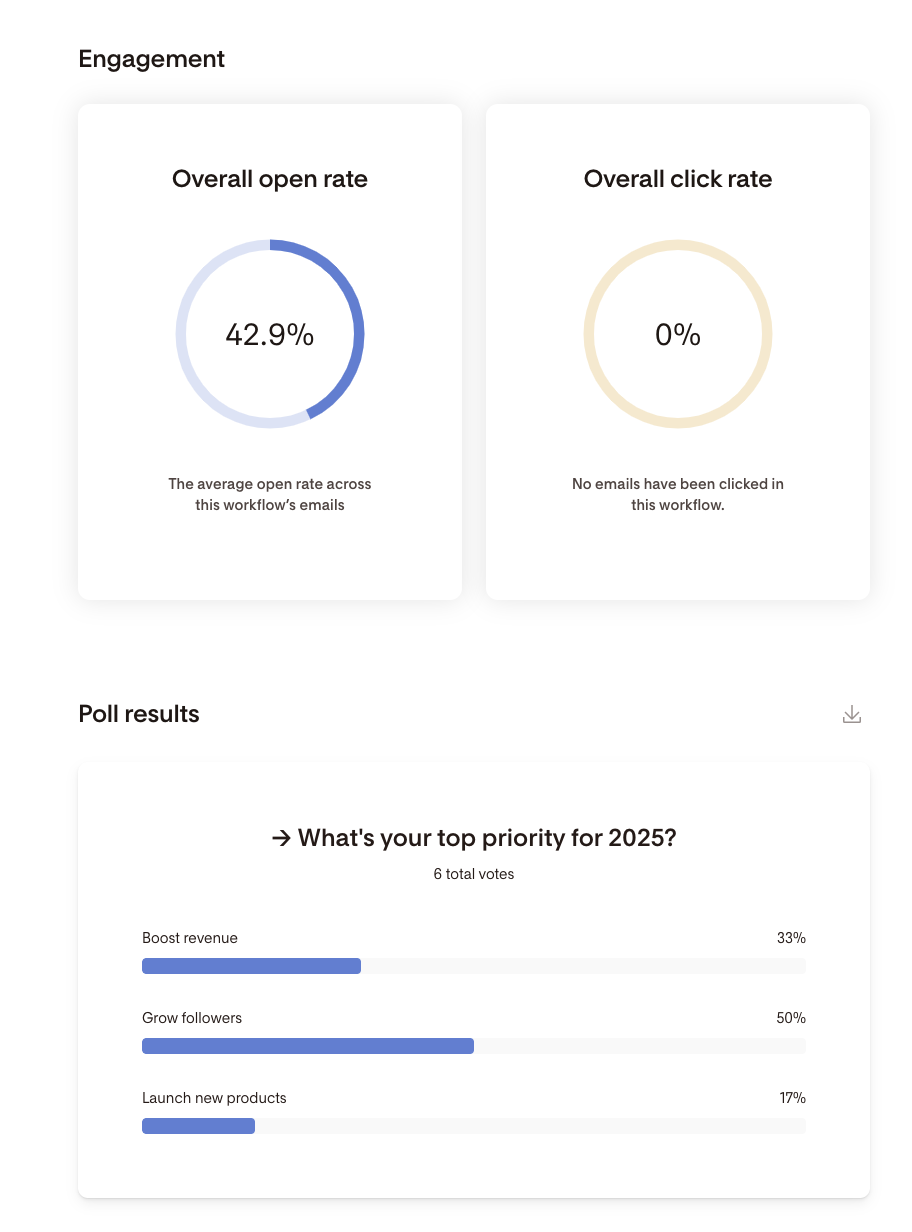
For workflow emails, poll results for all emails within the workflow will be included in the Workflow Overview page below the “Engagement” section.
Can I use custom fonts in Poll blocks?
No, you can only use the standard web-safe fonts when editing copy in the Poll blocks.
What happens when I duplicate or favorite an email or a poll block?
If you Duplicate or Favorite an email or block with a poll block, it will retain all settings, including set segments + custom fields.
What happens when I share an email with a poll block as a template?
If you share an email with a poll block as a template, all poll settings will be included in the shared template, but member-specific data, like the attached segments and custom fields, will not be transferred to the imported email.
Summary
You can add a Poll block to your email by
Hovering over an existing block until you see the plus sign (+),
Clicking it, and
Selecting the Poll option
After you customize your Poll block, you can add subscribers to a specific segment or tag them with a custom field value based on their submitted vote.