
All about Spinner Forms
Learn what Spinner forms are, where to find them and how to customize them to your brand.
Overview
Spinner Forms are interactive opt-in forms that feature a spin wheel. They’re designed to make subscribing to your email list more fun and engaging.
Visitors enter their email address to spin the wheel and reveal a reward (like a discount or special offer). Spinner Forms can help increase conversions by adding a playful incentive to your sign-up experience.
You can use Spinner Forms as:
Popup forms embedded on your website
Full page forms with a shareable URL (great if you don’t have a website)
What are Spinner Forms?
Spinner Forms are a type of opt-in form that includes a spin wheel with reward options.
Here’s how they work:
A visitor sees your Spinner Form (popup or full page).
They enter their email address.
They spin the wheel.
The wheel lands on a reward.
The reward is revealed in the success message.
You can customize the design of the wheel, the reward text, and the overall form styling to match your brand.
Where can I find Spinner Forms?
Go to your Forms dashboard.
Click + New form.
In the template gallery, choose the Spinner category.
Select a template (Popup or Full page).
Click Customize it.
How to customize your Spinner Form
Follow these steps inside the form builder.
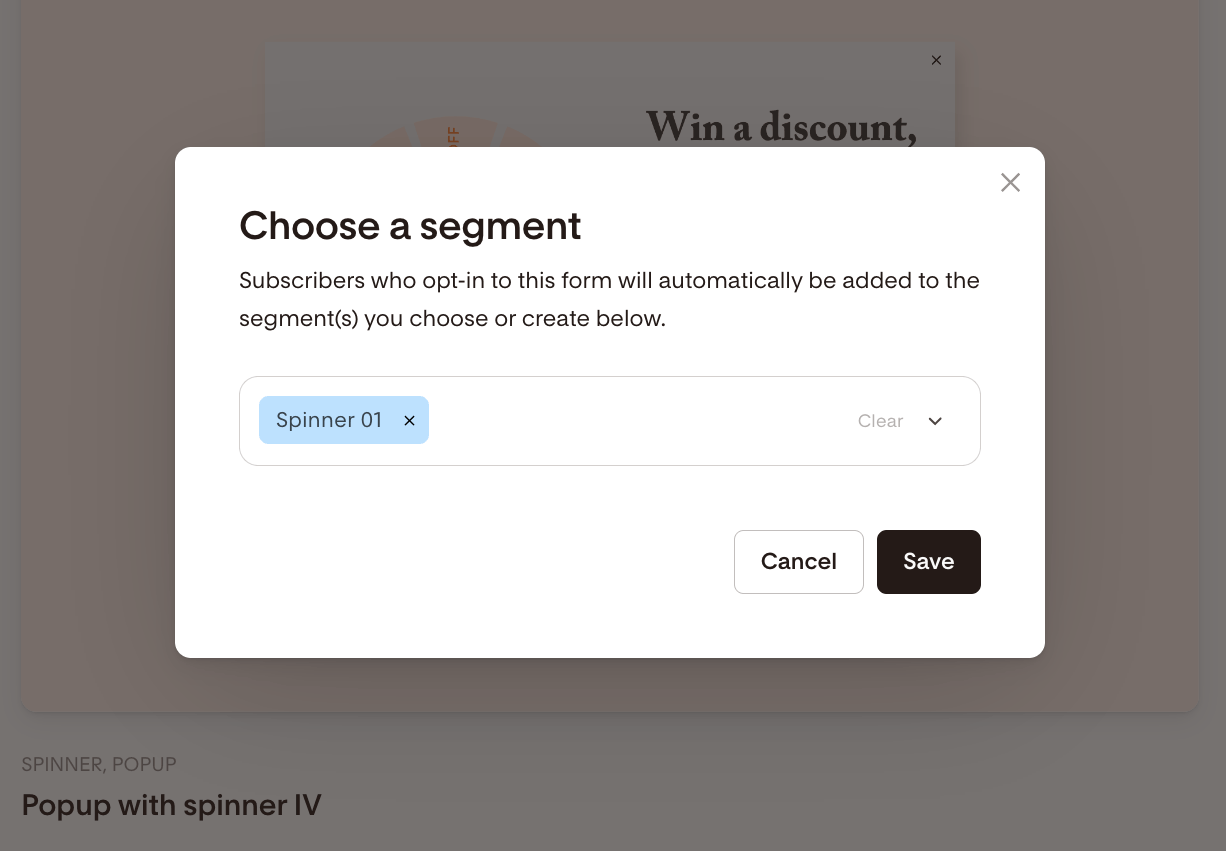
Step 1: Choose a segment
Select the segment(s) where new subscribers should be added.
You can choose an existing segment.
Or create a new one.
All subscribers from this form will automatically be added to the selected segment(s). Save your changes.
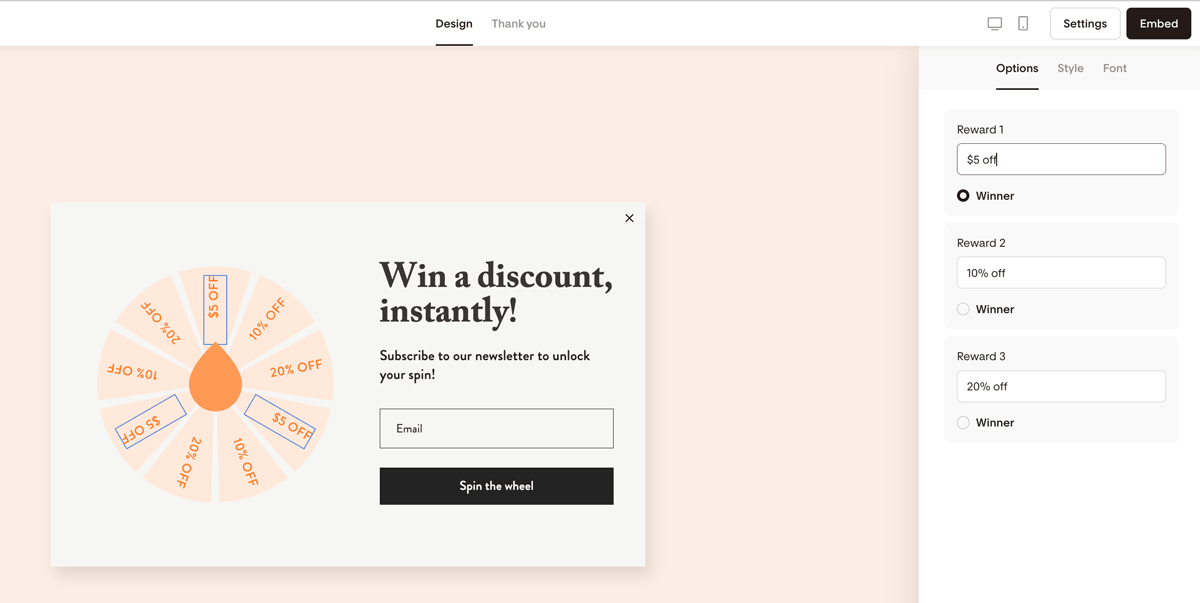
Step 2: How Spinner rewards work
You can define three reward options for your spin wheel.
Important limitations to know:
You must choose one winning option manually.
You cannot make the outcome fully random.
You cannot change the number of reward options.
You cannot adjust the probability of winning.
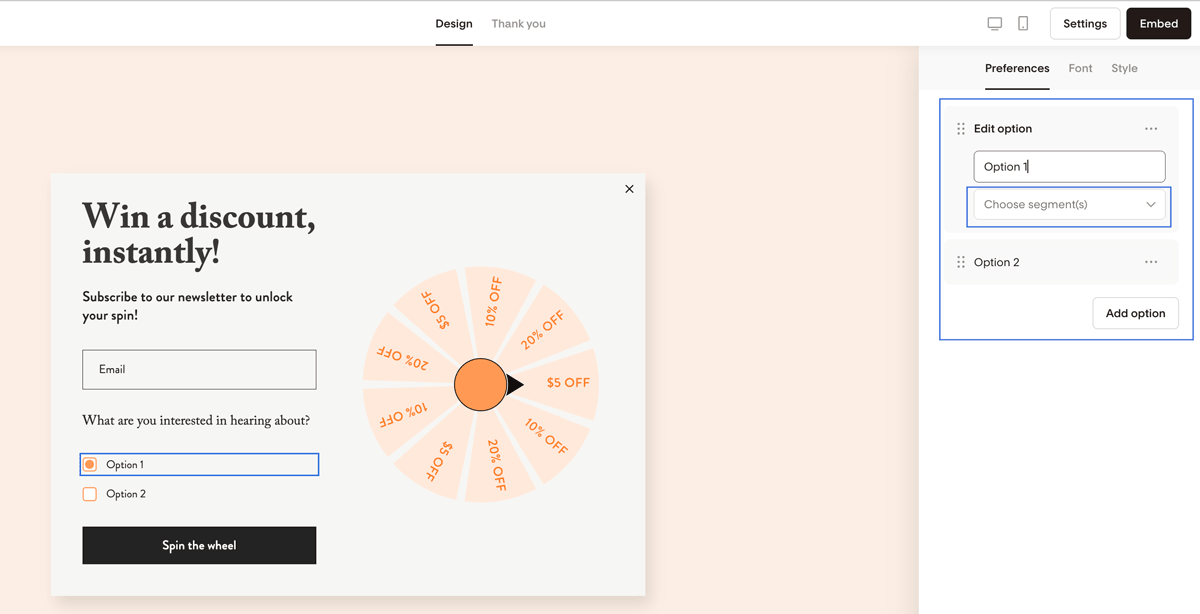
To choose the winner:
Click the spin wheel.
Go to the Options tab.
Add or edit your three reward options.
Select the Winner radio button next to the reward you want displayed.
The selected reward will appear after the visitor spins.
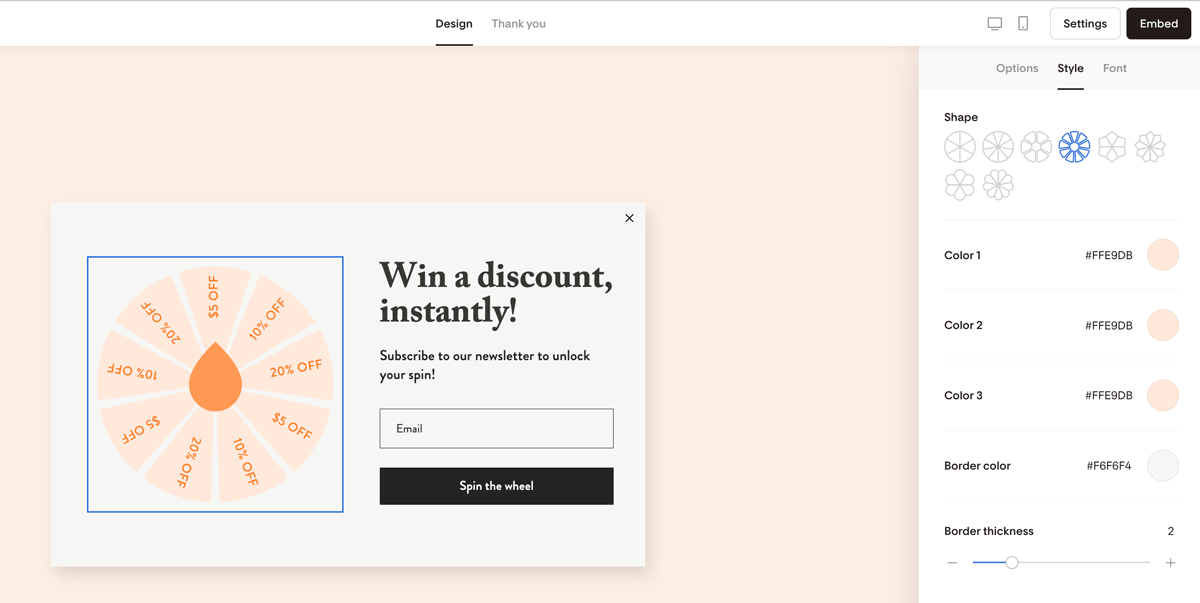
Step 3: Customize the spin wheel (Style tab)
Click the wheel to edit:
Shape (6 or 9 slices)
Slice colors
Border color
Border thickness
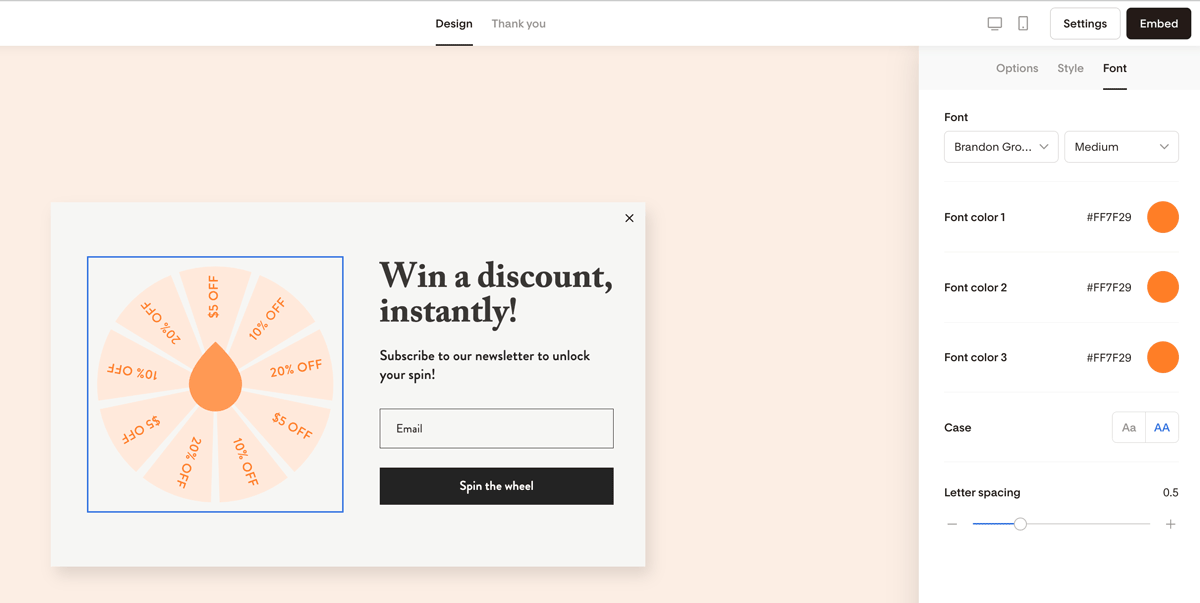
Step 4: Customize fonts (Font tab)
Adjust:
Font family
Font style
Font color
Letter spacing
Text case
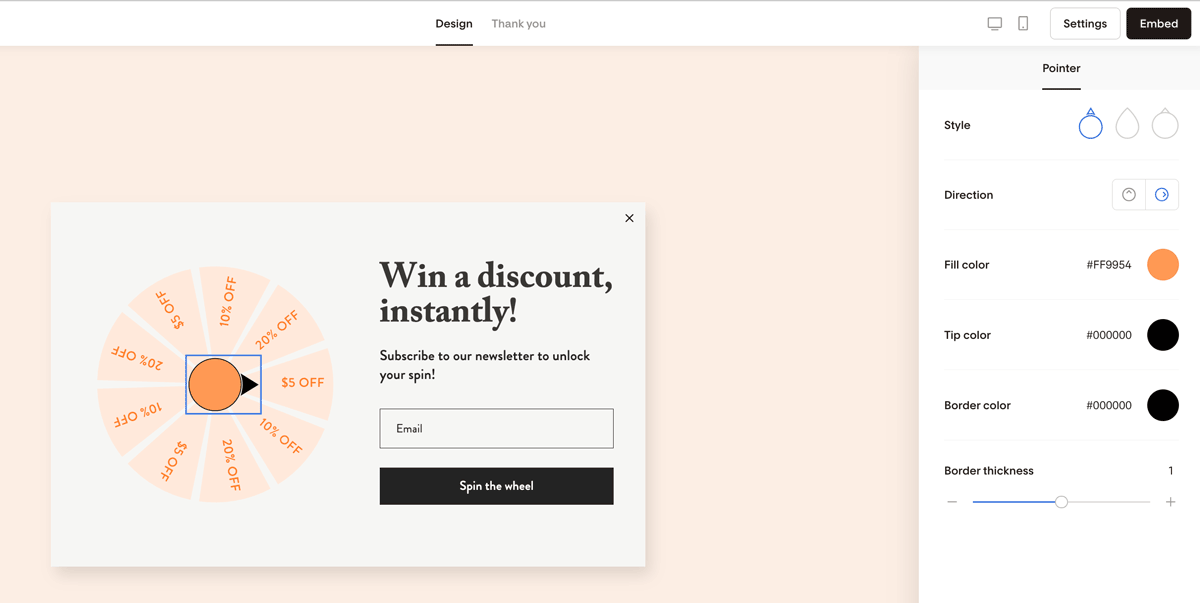
Step 5: Edit the pointer of the wheel
Click the pointer to customize:
Pointer style
Direction
Fill color
Tip color (if applicable)
Border color
Border thickness
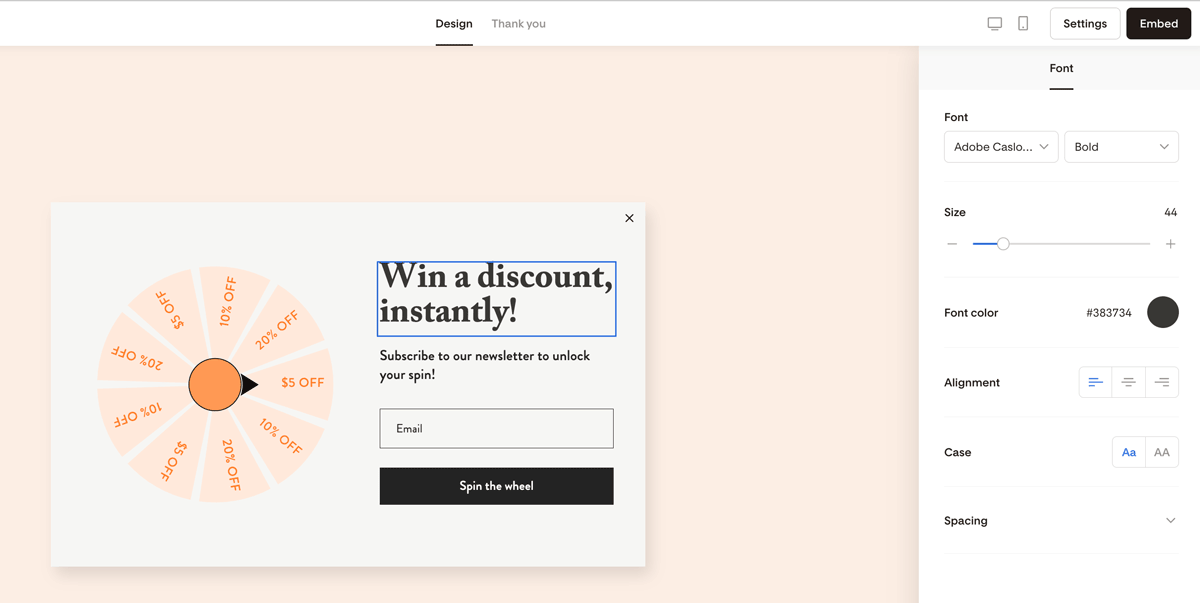
Step 6: Edit headline and form copy
Click directly on the text blocks to update:
Headline
Description text
Offer details
Use the Style and Font tabs to adjust formatting.
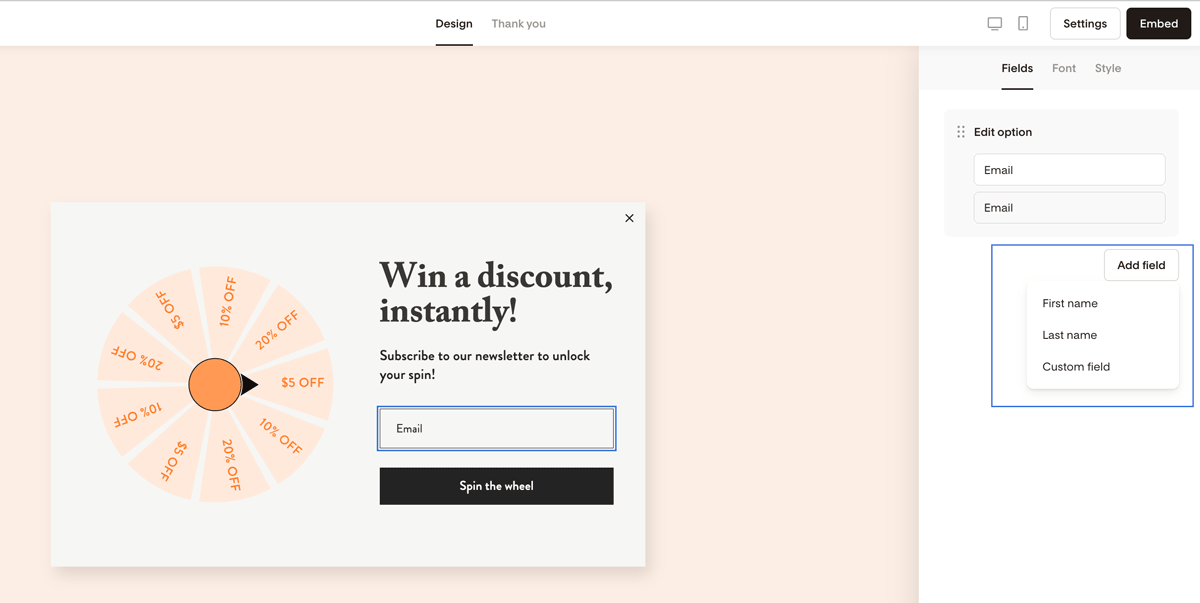
Step 7: Add additional custom fields (optional)
To collect more information:
Click Add field.
Choose or create a custom field.
Mark it Required if needed.
Make sure the field is mapped to a data field.
Important: If you don’t map the field, the subscriber’s input will not be saved.
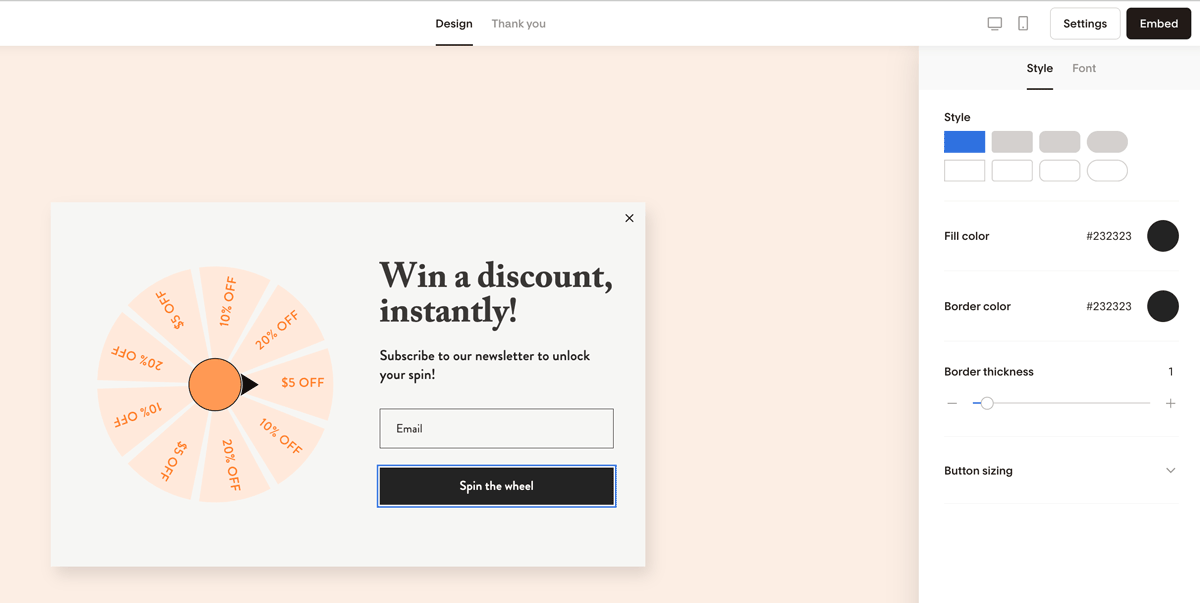
Step 8: Edit the button
Click the button to:
Update the button text (for example: “Spin to win”).
Adjust color, font, and styling.
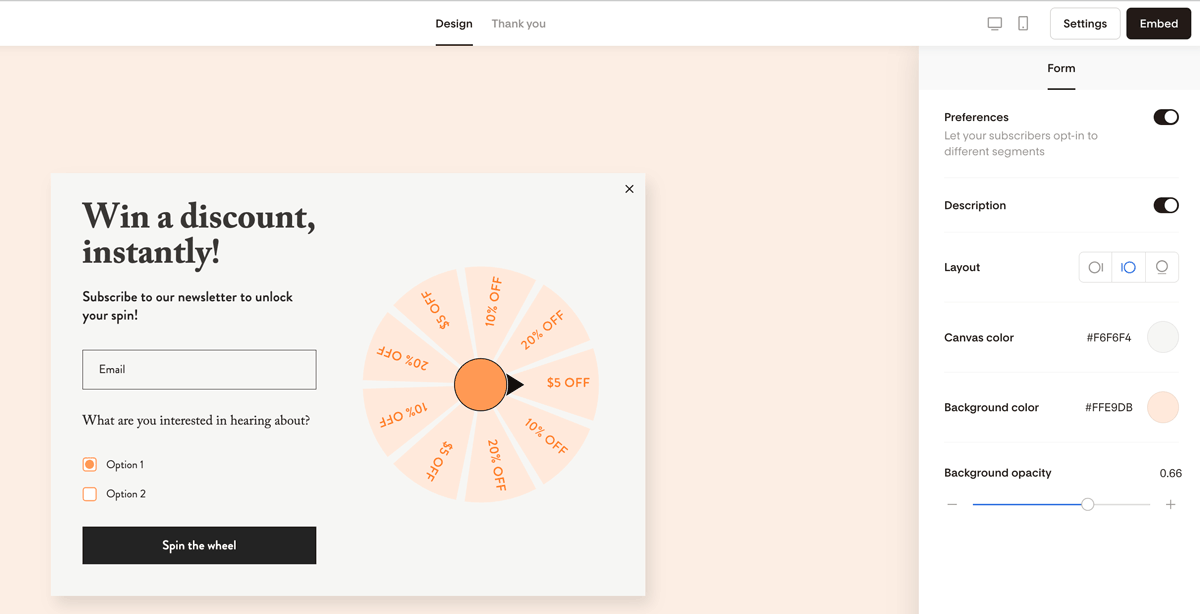
Step 9: Customize form layout and background
Click outside the form area to access:
Preferences: When turned on, preferences let your subscribers opt-in to different segments.
Description: You can turn the form description on/off. (See "Subscribe to our newsletter to receive a free coupon" in the below example.)
Layout: This allows you to switch the spin wheel to the left, right, or top of the form
Canvas color: Select a color for your form background here. In the below example, the form’s background color is white.
Background color and Background opacity
If using preferences:
Each preference must be mapped to a unique segment.
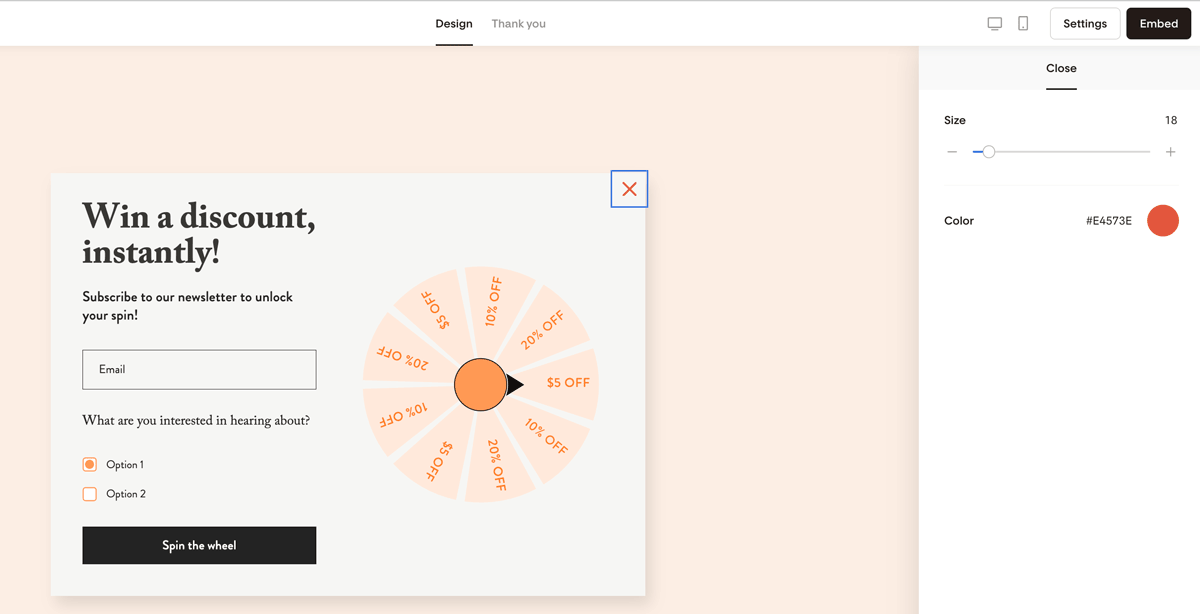
Step 10: Edit the popup close button (Popup forms only)
Click the X in the top right corner to adjust:
Size
Color
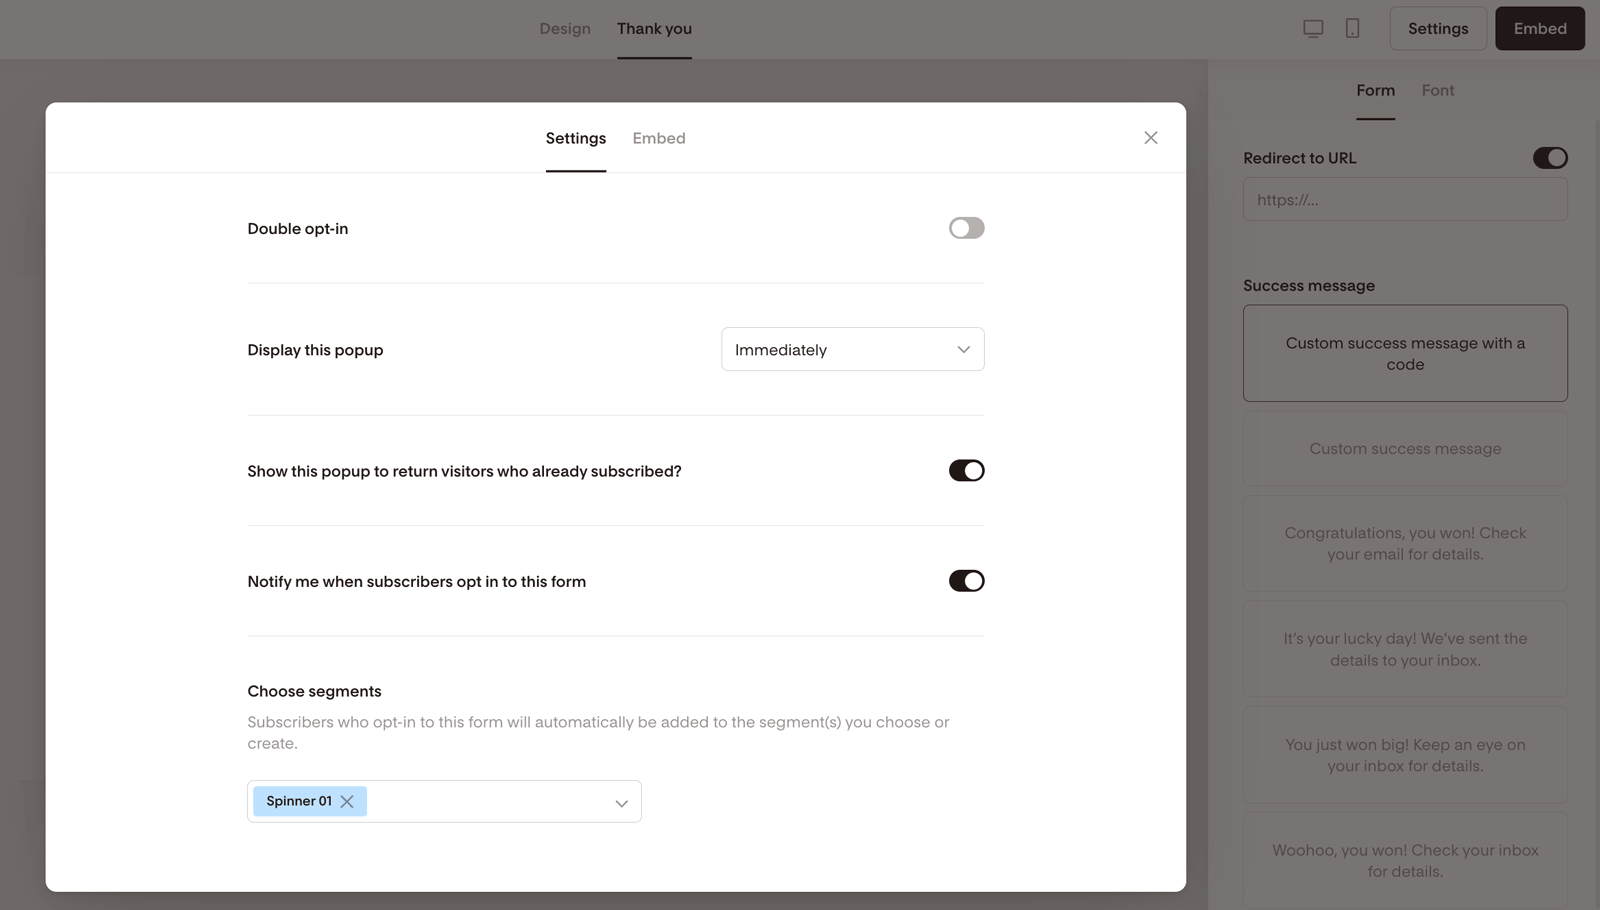
Thank you message and reward delivery
Once your design is complete, click the Thank you tab.
You can choose:
Redirect to a URL
A pre-written success message
A custom success message
A custom success message with a code
If using a reward code:
Add the code directly into the success message.
Also send the code via a workflow email for backup.
To edit the success message styling, use the Font tab.

Spinner Form settings and embed code
When your form is ready:
Click Settings (top right).
Choose whether to:
Enable double opt-in
Control popup display timing
Show the form to existing subscribers
Receive subscriber notification emails
Confirm the connected segment(s).
To embed a Popup Spinner Form:
Go to the Embed panel.
Copy the Header code.
Paste it into your website before the closing
</head>tag.
If you’re using an AI website builder, you can use the AI-friendly prompt provided in the Embed section. Learn more about it here.
Full page Spinner Forms include a shareable URL, so no embed code is required.

When should I use a Spinner Form?
Spinner Forms work well when you want to:
Offer a discount code
Promote a limited-time offer
Increase conversions on product pages
Make your opt-in experience more interactive
They’re especially effective for ecommerce brands and promotional campaigns.
FAQs
Are Spinner Form rewards random?
No. You must manually select the winning reward. The result cannot be made fully random, and you cannot change the number of reward options.
Can I change the number of slices on the wheel?
You can choose between 6 or 9 slices, but you cannot change the number of reward options (there are always three).
Can I use a Spinner Form without a website?
Yes. Create a Full page Spinner Form to get a shareable URL that you can use on social media, in your bio, or in ads.
Do subscribers automatically get added to a segment?
Yes. All subscribers who opt in through the Spinner Form are automatically added to the segment(s) you selected in the form settings.
Can I send the reward automatically by email?
Yes. The best practice is to:
Display the reward in the success message.
Trigger a workflow email that sends the reward again.
This ensures subscribers don’t miss it.
Can I enable double opt-in with Spinner Forms?
Yes. You can enable double opt-in in the Settings panel of the form.
Can I collect more than just email addresses?
Yes. You can add custom fields. Just make sure each field is properly mapped so the data saves correctly.
Summary
Spinner Forms are interactive opt-in forms that use a spin wheel to incentivize signups.
You can:
Create them from the Forms dashboard
Use them as Popup or Full page forms
Customize wheel design, rewards, layout, and styling
Embed popup forms on your website
Deliver rewards via success message and workflow emails
They’re a fun and effective way to grow your list while offering something valuable in return.