
How to send a newsletter in Flodesk
Overview
Sending regular newsletters, whether weekly, fortnightly, or monthly, is one of the most effective ways to stay connected with your audience and build trust over time. This article walks you through every step of creating, customizing, and sending a newsletter in Flodesk.
Step 1: Create a New Email
Go to the Emails tab in your Flodesk account
Click + New email
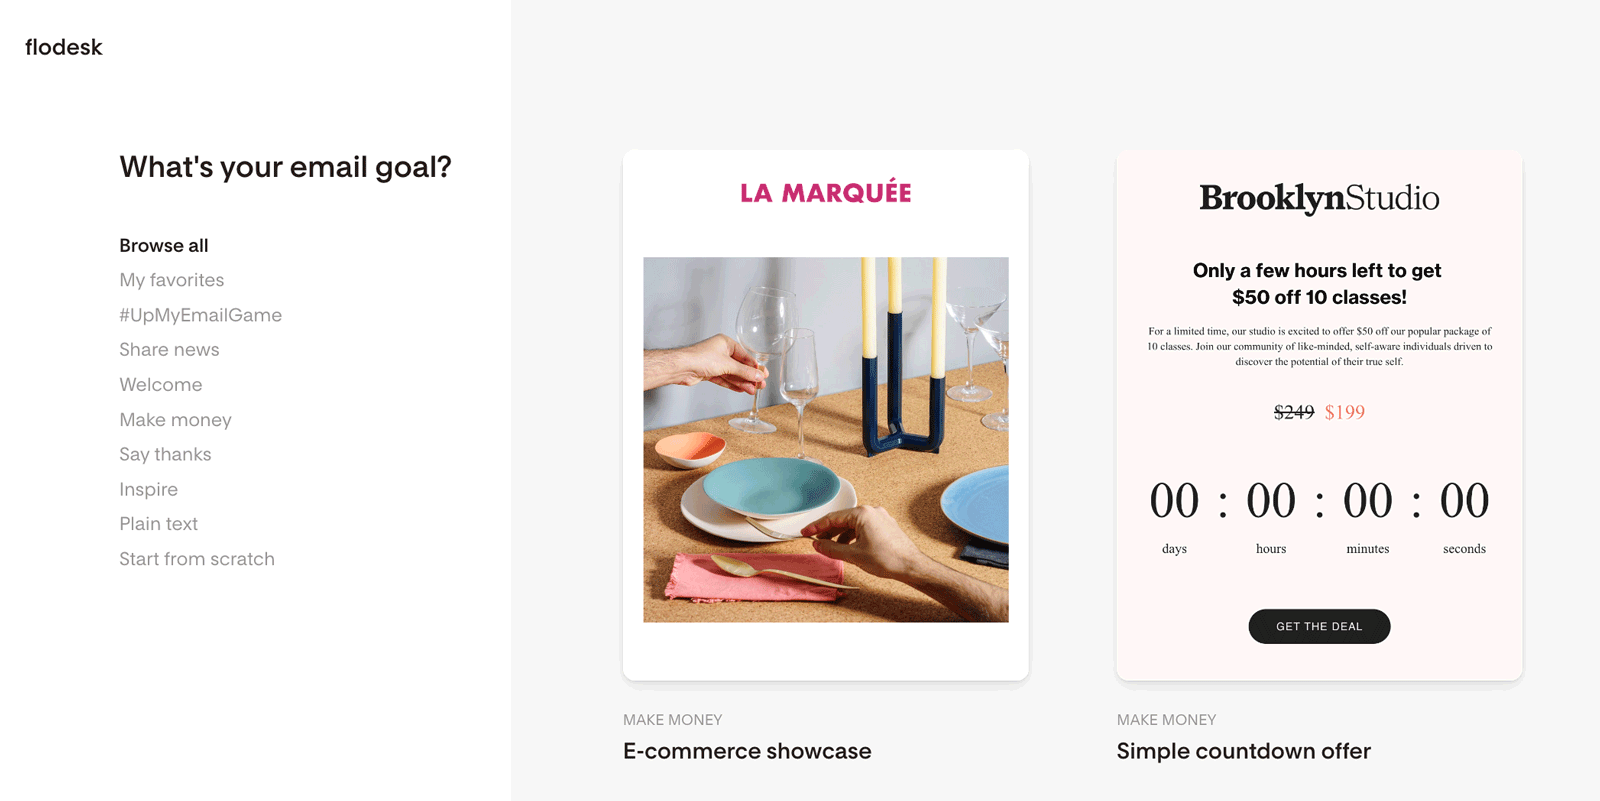
This opens the email template gallery.

Step 2: Choose a Template (or start from scratch)
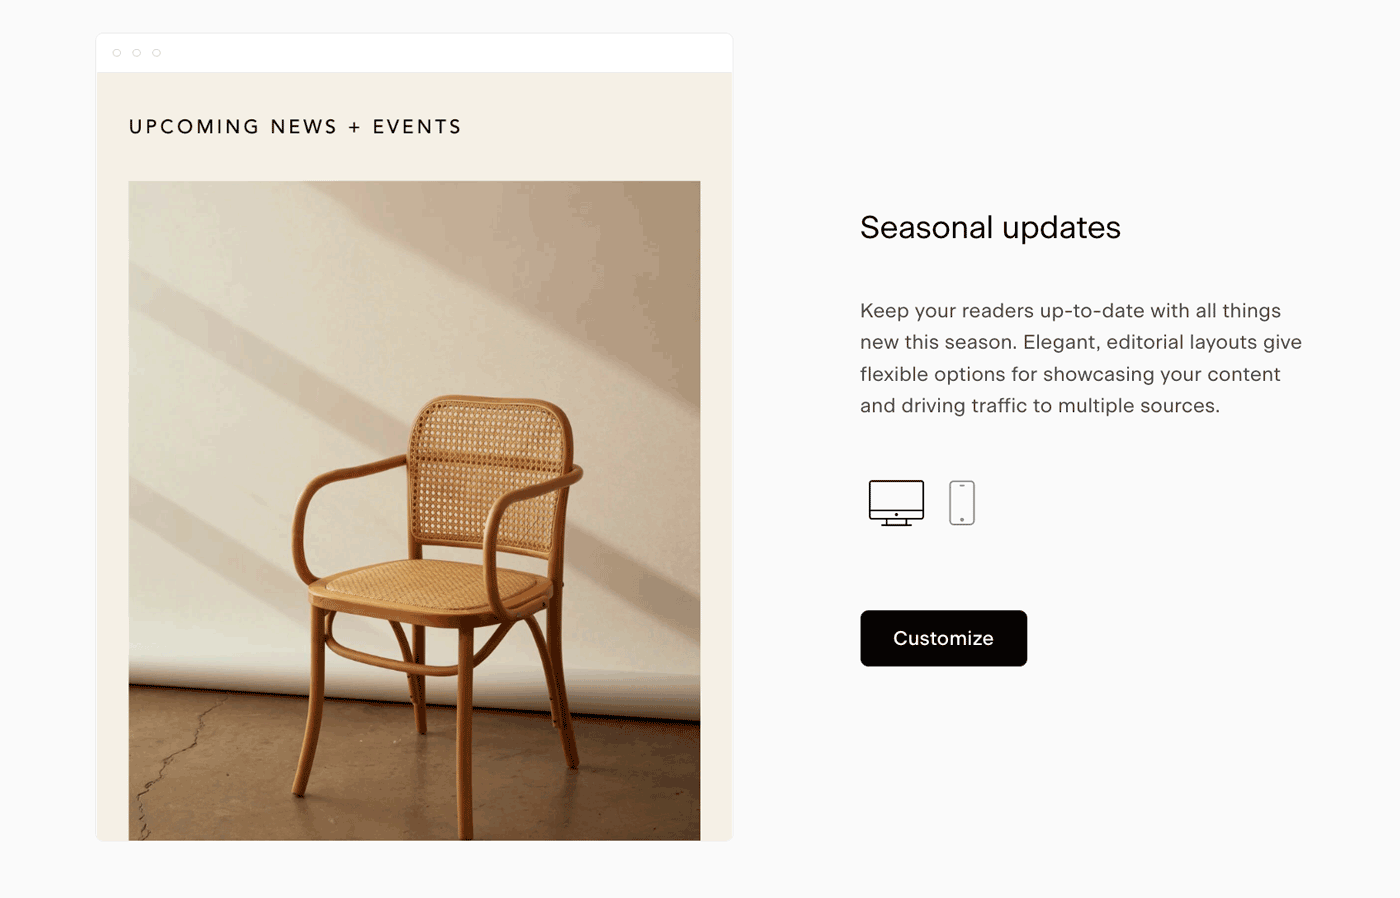
Browse templates by category or scroll through all available options. Click any template card to preview how it looks on desktop and mobile. When you find one you like, click Customize to start editing.
Prefer a blank canvas? You can also start from scratch.
Step 3: Customize your email
In the email builder, click on any text, image, or layout block to edit it. Options for that block will appear in the right-hand panel.
A few things you can do:
Change fonts, font size, and color
Insert links
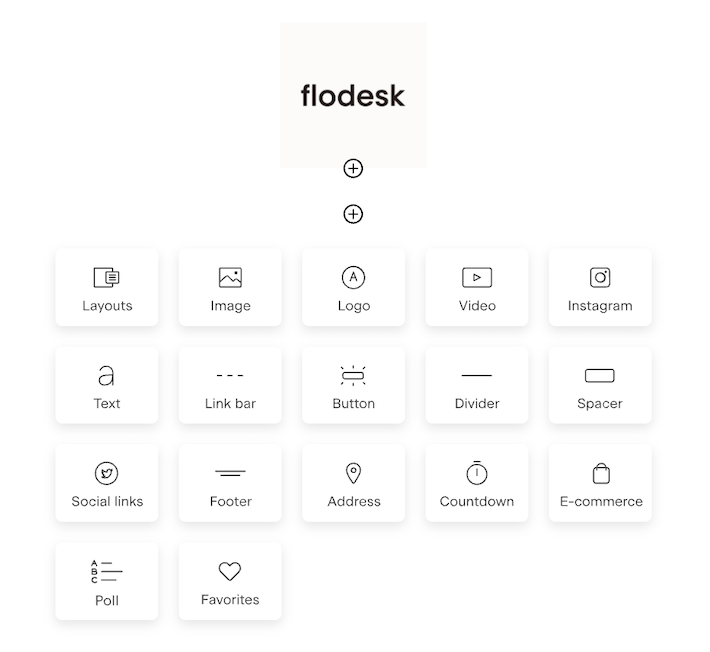
Add new blocks (text, image, video, button, and more) by hovering between sections until the + icon appears, then clicking it
Delete a block by selecting it and clicking the trash icon
Reorder blocks by hovering until the grab hand appears and dragging, or using the arrows next to the selected block
Important: Avoid dragging and dropping images into the email builder. Use the upload feature instead to ensure proper saving and formatting.

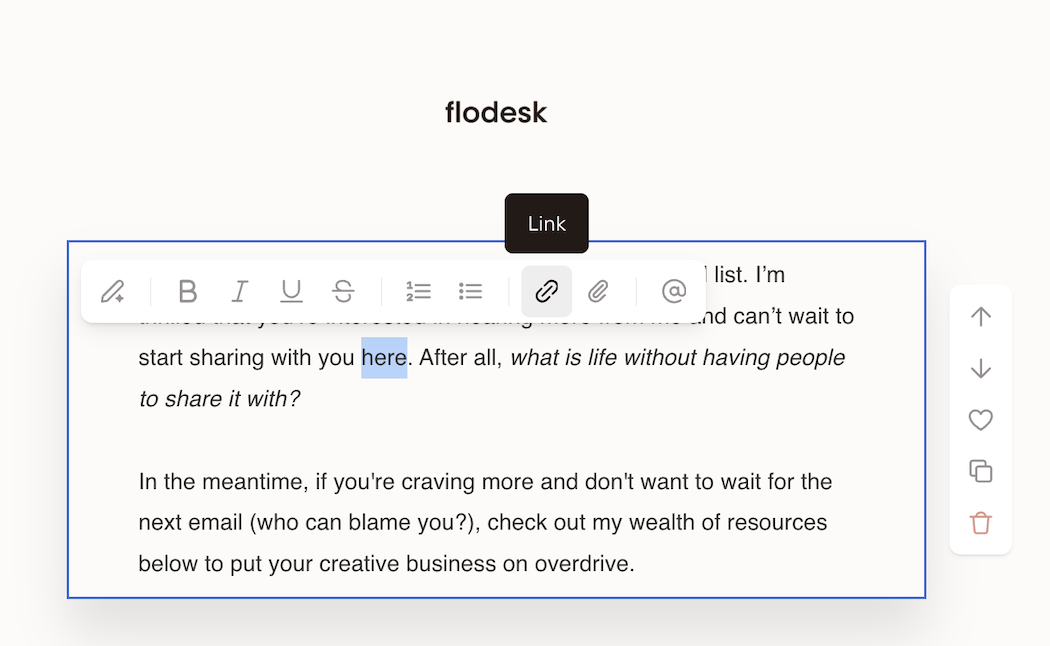
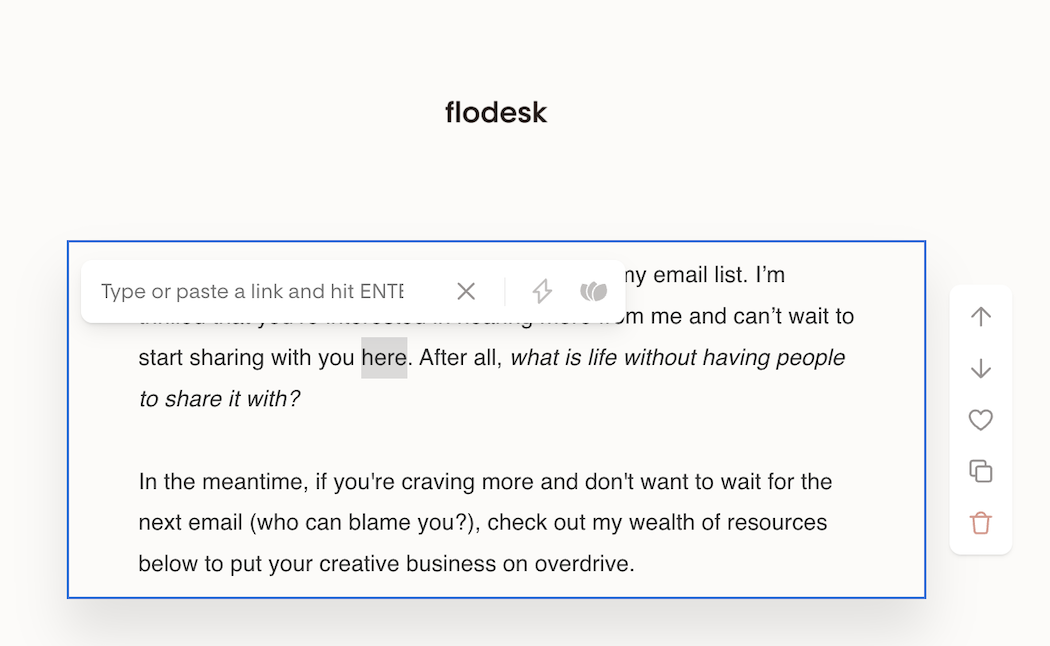
How to add a link to text in your email body
Highlight the text you want to link (like a word, or phrase).
In the toolbar that appears, click the link icon.
Paste or type the website URL, then hit Enter.
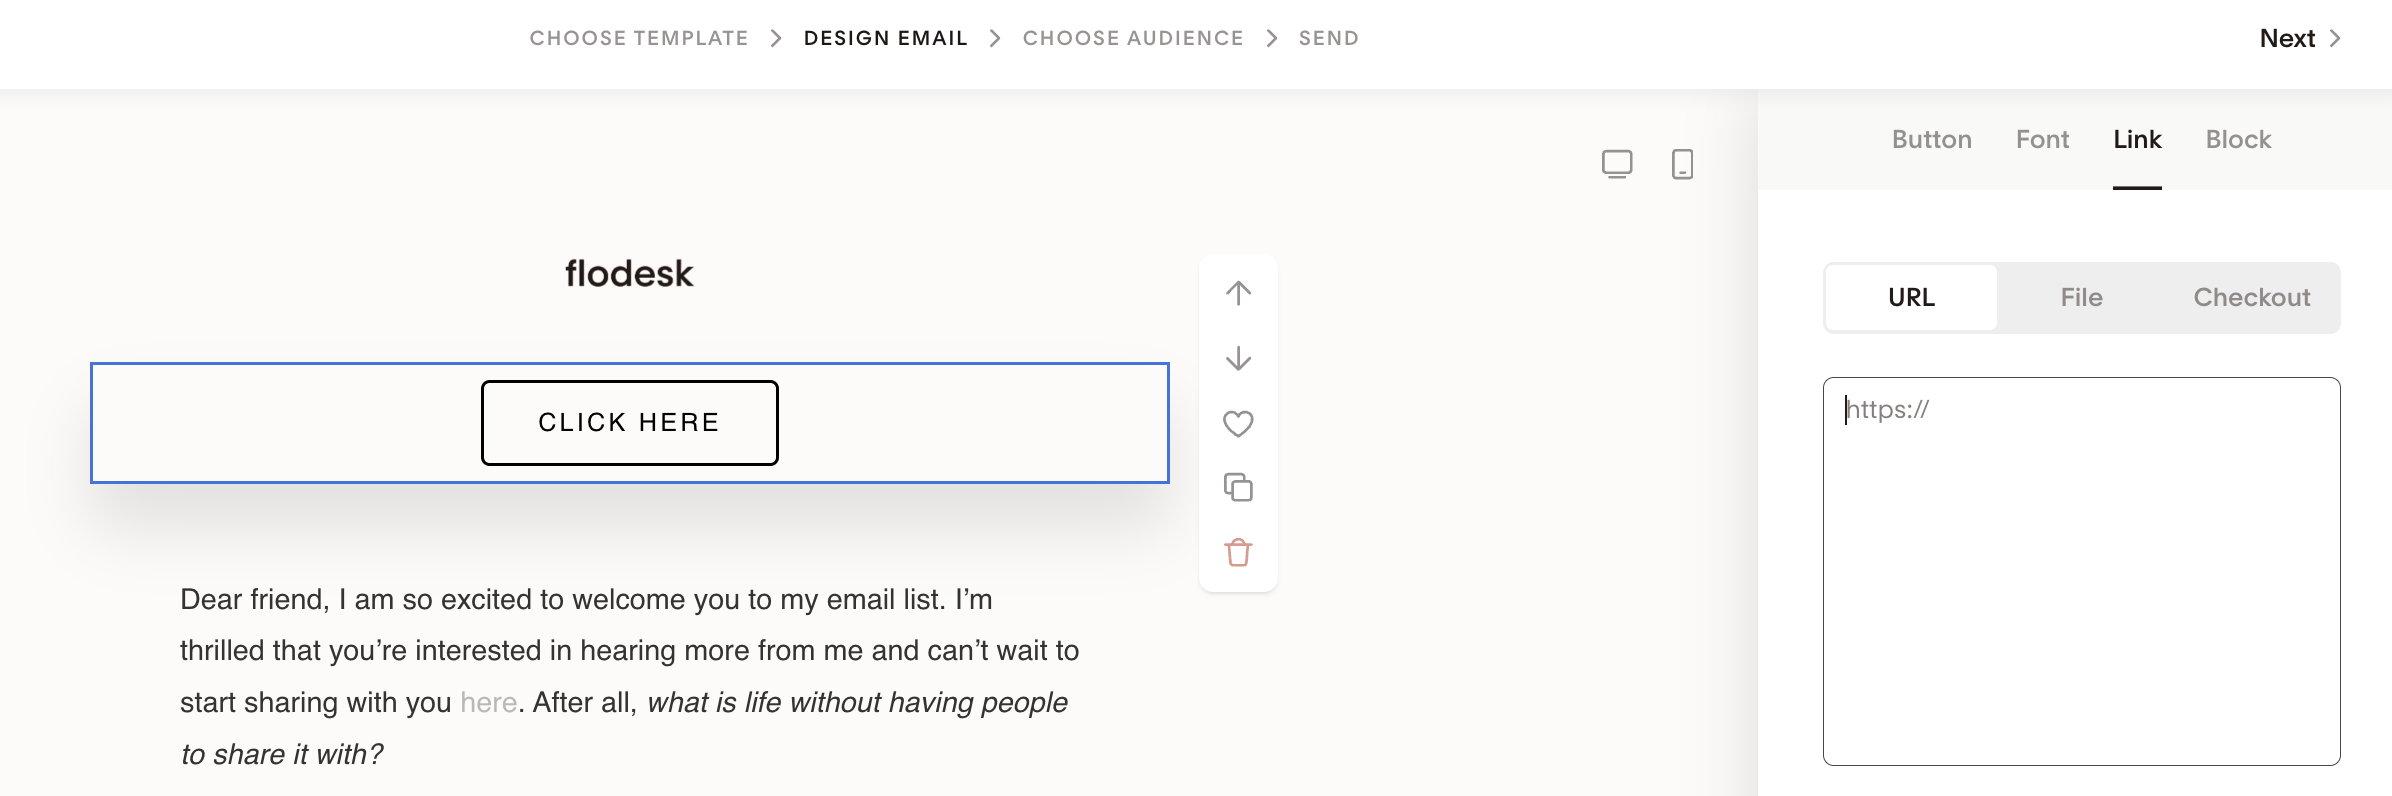
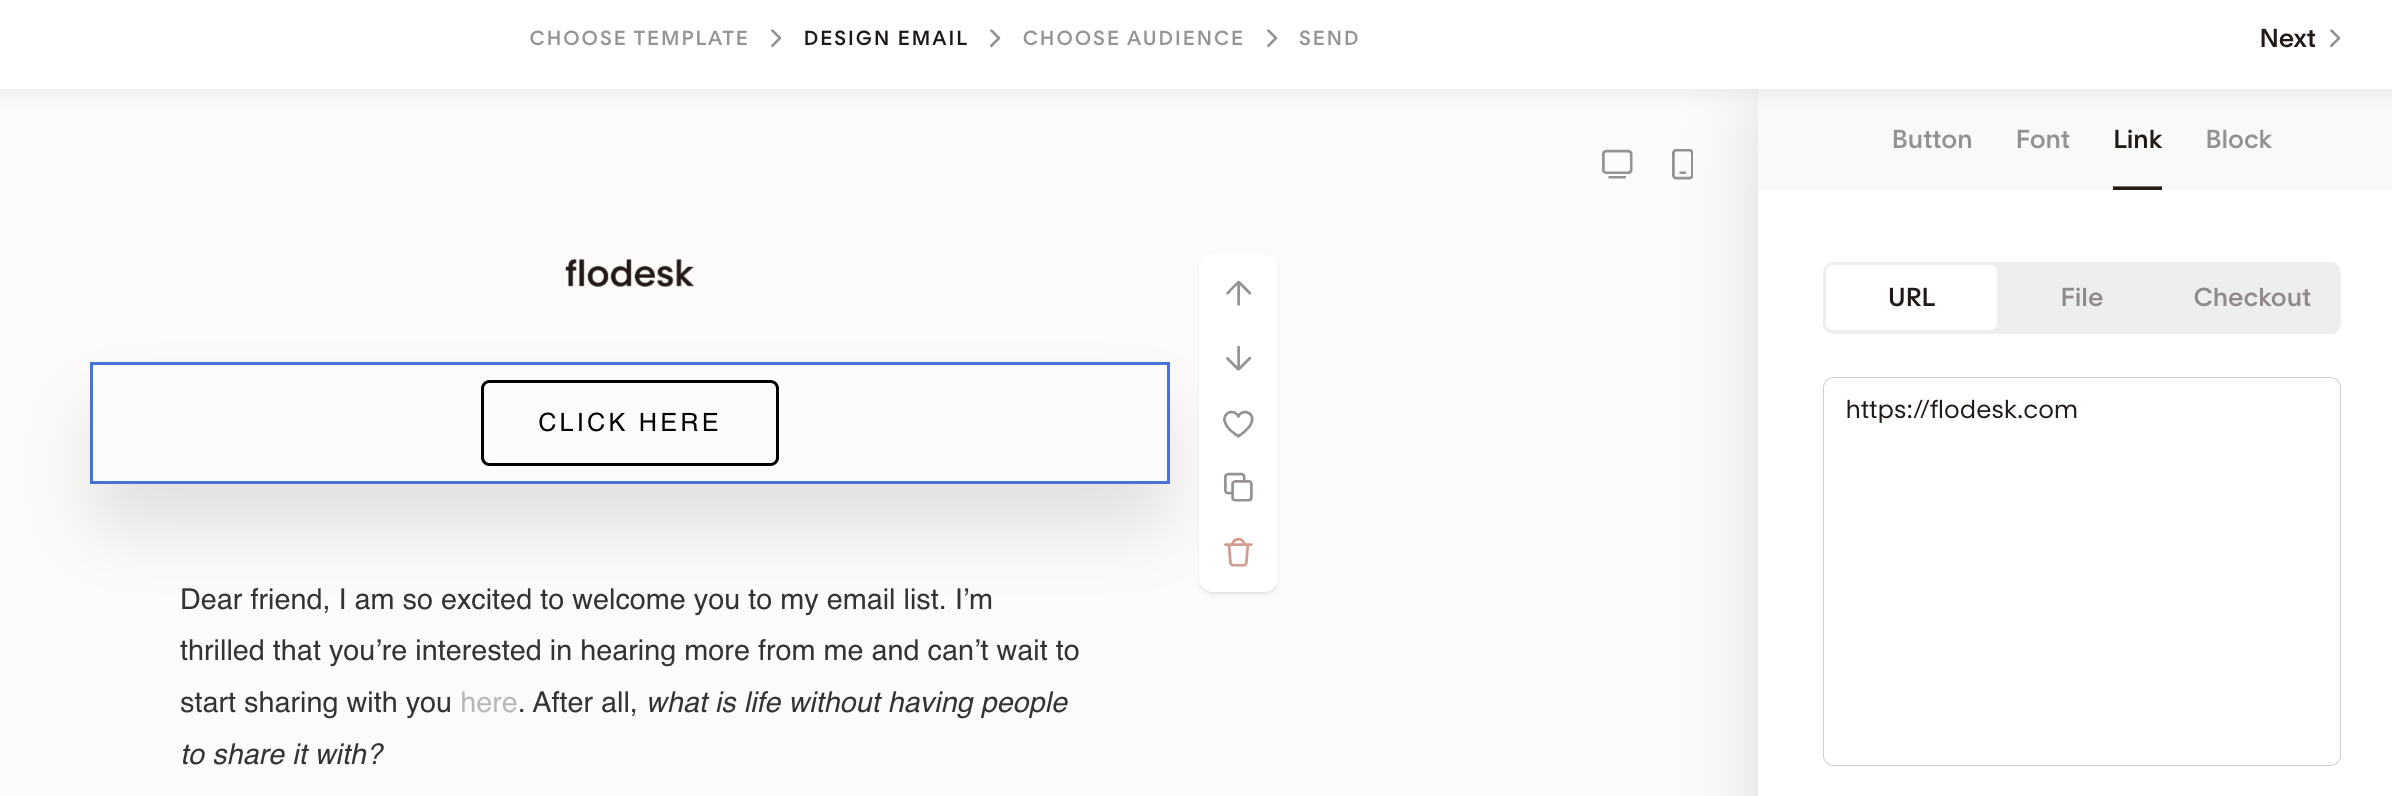
How to add a link to buttons, images, layout blocks
Click the button, image, layout block.
On the right sidebar, click the Link tab.
Under the URL option, paste or type the website URL.
Good to know: Flodesk automatically wraps every link with a tracking URL before sending. This lets you see click data in your analytics later, so if the link looks different after you add it, that's expected: it's still pointing to your original destination.
Step 4: Set your global styles
Click on the background area (below the desktop and mobile preview icons) to open the Global style tab. From here you can:
Change the background, canvas, and link colors
Add a border with your preferred thickness and color
Global styles apply across the entire email, so this is a quick way to keep everything visually consistent.

Step 5: Save your changes
After editing, click into the white space below your email and wait for the label in the bottom-right corner to change from "Saving" to "Saved."
If you're working across multiple tabs or browsers at the same time, you may see an alert about editing conflicts. Stick to one tab to avoid this.

Step 6: Add a "View in browser" link (optional)
A "View in browser" link lets subscribers open your email in a web browser, which is helpful if images or formatting don't display correctly in their email client. Here's how to add one:
Finish editing and saving your email, then go back to the Emails dashboard
Hover over the email card (the three-dot menu is hidden by default and only appears on hover)
Click the three-dot menu (...) in the upper-right corner of the card
Select Get preview link
Copy the preview link
Open your email again and add a text block with the words "View in browser" (or your preferred phrasing)
Link that text to the preview link you copied
That's it. Subscribers who click the link will be taken to a browser version of your email.
Step 7: Set up your email details
Click Next in the top-right corner. You'll be asked to:
Choose your sender profile
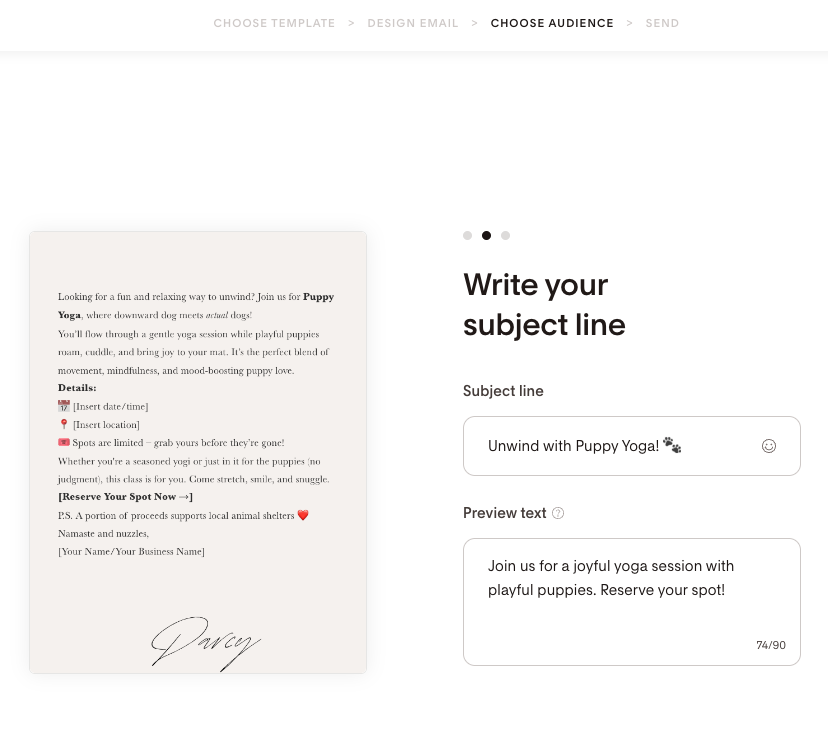
Enter your subject line and preview text
Flodesk will suggest a subject line and preview text based on your email content when you create from a template, from scratch, or from your favorites (not duplicated emails or shareable templates). This suggestion is generated once and you can edit or replace it.
Important: Your data is not being used to train any models. If you'd prefer to disable the AI subject line auto-suggestion feature entirely, email our team at support@flodesk.com with your account details to disable it for your account.
Step 8: Test your email
Before sending, use the Send a test feature to preview how your email looks in a real inbox.
A couple of things to know about test emails:
Preview text won't appear in test emails, it only shows in the live version
Links in test emails expire after a few hours for security reasons. If you click an expired link, you'll see a
“The page you are looking for could not be found or no longer exists.”error. This only applies to test emails: links in your live sent emails won't expire.Your test email may end up in spam. Make sure to check all your email inbox folders and try test sending to a free email address like gmail.com or similar.
Links look different in your email?
Flodesk automatically wraps every link with a tracking URL before sending, whether you're sending a test or a live campaign. When a subscriber clicks a link, they're briefly redirected through Flodesk's tracking system (which records the click), and then they land on your original destination. This is what makes your click data in Analytics possible. Your links are working exactly as they should.
Step 9: Schedule or send
Choose to send immediately or schedule for a later date and time.
If you schedule the email, it will be sent to everyone who is in the selected segment at the time it sends, not just those who were in the segment when you scheduled it. So if new subscribers join between now and the send time, they'll receive it too.
What to do if you make a mistake
Once an email has been sent, it can't be recalled or edited. If you notice a mistake after sending:
Go to your Emails dashboard and duplicate the original email
Make your corrections in the duplicate
Send it to your audience with a subject line like "Oops, here's the correct version" or "A quick correction from us"
Troubleshooting
The email won't send or schedule
Check whether your selected segment has any subscribers. If the segment is empty, you won't be able to send or schedule. Add subscribers to the segment first, or choose a different segment.
Also, check that you're sending to verified subscribers who have consented to receive marketing emails from you. Flodesk can't be used to send to individual email addresses outside your audience.

Error: "Custom field snippet with missing character"
This usually means there's a formatting issue with a variable in your email, such as {first_name}.
"Your email contains custom field snippet(s) with missing character or invalid syntax and cannot be sent. Please return to the design step and re-insert them"

If you see this message, go back to the design step and remove any curly brackets {} from your email copy, and try again.
FAQ
How do I send a newsletter in Flodesk?
Go to the Emails tab, click + New email, choose a template or start from scratch, customize your content, click Next to set your subject line and recipient segment, test it, and then send or schedule.
How can I send an email again if it was in a workflow?
There's no button to resend an email directly from within a workflow. Instead, you'll save the email as a favorite, then send it as a single email:
Duplicate the workflow that contains the email.
Open the duplicate and find the email you want to send again.
Click the heart icon to save it to your favorites.
Go to your Emails dashboard and click + New email.
Open the My favorites tab and select the saved email.
Choose your recipients, then send or schedule it, just like any other single email.
Once you send it this way, it's a standalone email: it's no longer connected to the workflow, so any changes you make to one won't affect the other.
Can I schedule a newsletter to send at a specific date and time?
Yes. On the send screen, choose Schedule for later and select your preferred date and time. The email will be sent to everyone in the selected segment at the time it sends, including any new subscribers who join between scheduling and sending.
How do I add a "View in browser" link to my email?
After finishing and saving your email, go to your Emails dashboard and hover over the email card. Click the three-dot menu (...) and select Get preview link. Copy that link, then open your email and add a text block with the words "View in browser" linked to that URL.
Can I unsend or edit an email after it's been sent?
No. Once an email is sent, it can't be recalled or edited. If you made a mistake, duplicate the original email, make your corrections, and send the updated version with a subject line that acknowledges the correction.
Why isn't my preview text showing up in test emails?
Preview text only appears in the live version of your email, not in test sends. Send the email live to a real address (or use a test segment with your own address) to see how preview text appears in an inbox.
Why can't I send my email?
The most common reason is that your selected segment has no subscribers. You need at least one subscriber in the segment before you can send or schedule. Also, check that you're sending to subscribers who have consented to receive marketing emails from you and are part of your audience.
What does the "custom field snippet with missing character" error mean?
It means there's a formatting issue with a personalization variable in your email, such as {first_name}. Go back to the design step and look for any curly brackets { }, remove them and try itnagain.
Can I use the same email design I created for a newsletter again in the future?
Yes. Click the heart icon in the email builder to save it to your favorites. You can then access it from the My favorites tab in the template gallery next time you create a new email.
Why does dragging and dropping images cause issues in Flodesk?
Dragging and dropping images into the builder is not supported at this time. Use the upload feature instead to ensure your images are saved correctly and display properly in your email.