How to automatically remove a new client from a sales workflow in Flodesk
A step-by-step guide on how to use Zapier to automatically remove a new client in your CRM from a sales workflow in Flodesk
You just received an email that a new client has signed their contract and paid their first invoice. Congratulations! 🎉
Everything is set up in your CRM and you’re ready to start working with them. There’s just one more task to complete—removing them from your sales workflow now that they converted to a paying client.
Of course, you can manually remove a subscriber from a workflow, but what if we told you that you can automate this step?
In this article, we’re going to show you how to remove a subscriber from a workflow after they become a paying client.
Things you’ll need for the integration
Flodesk account
Zapier account
HoneyBook account
At least one segment and workflow in Flodesk
In this article, we’re using HoneyBook as our Customer Relationship Management (CRM) example. You can use an iteration of this zap with several other CRMs such as Dubsado, Bonsai, and Keap.
Connecting HoneyBook (your CRM) and Flodesk via Zapier
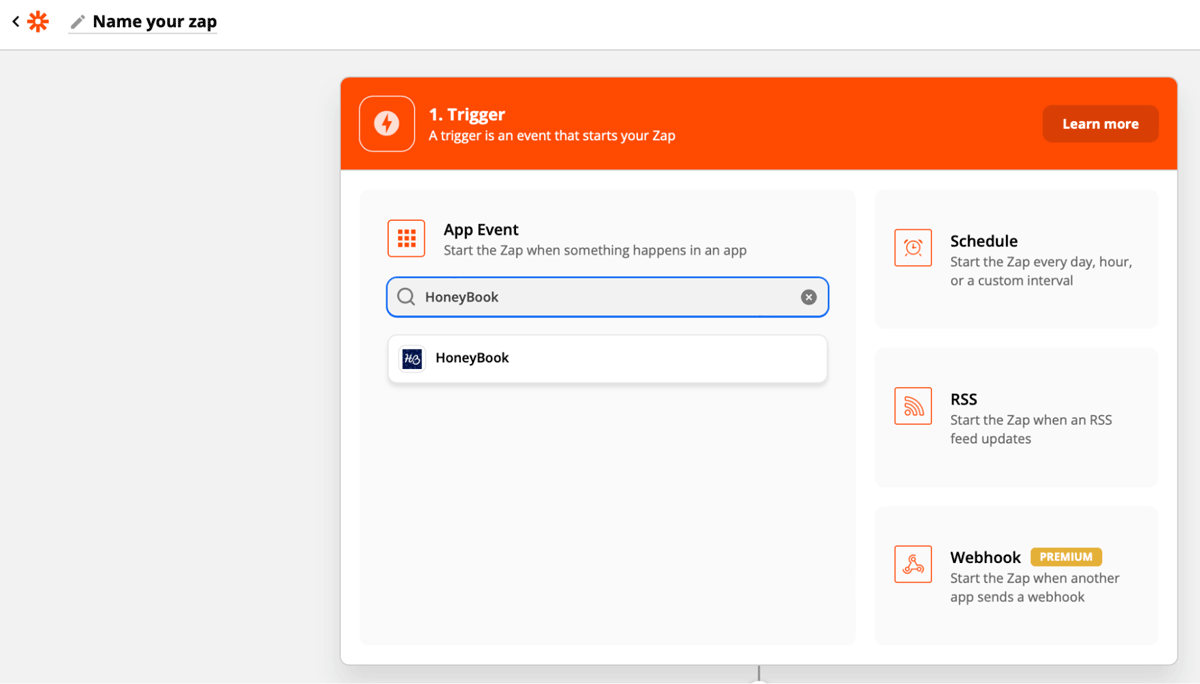
Step 1. Create a new zap and give it a name.
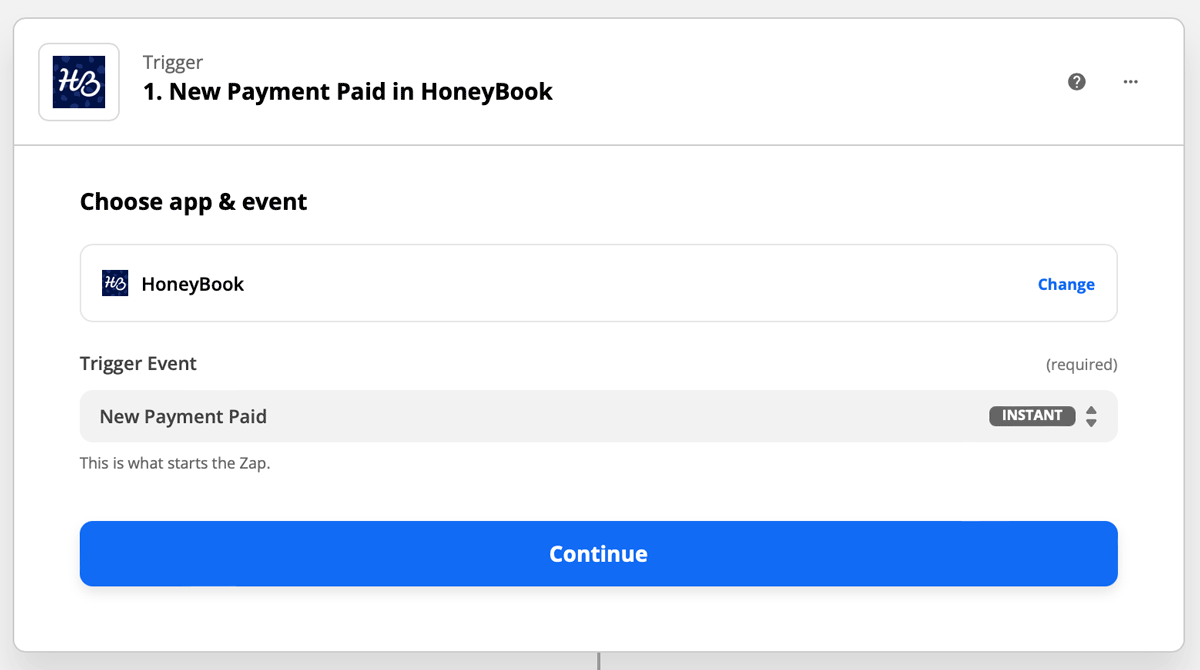
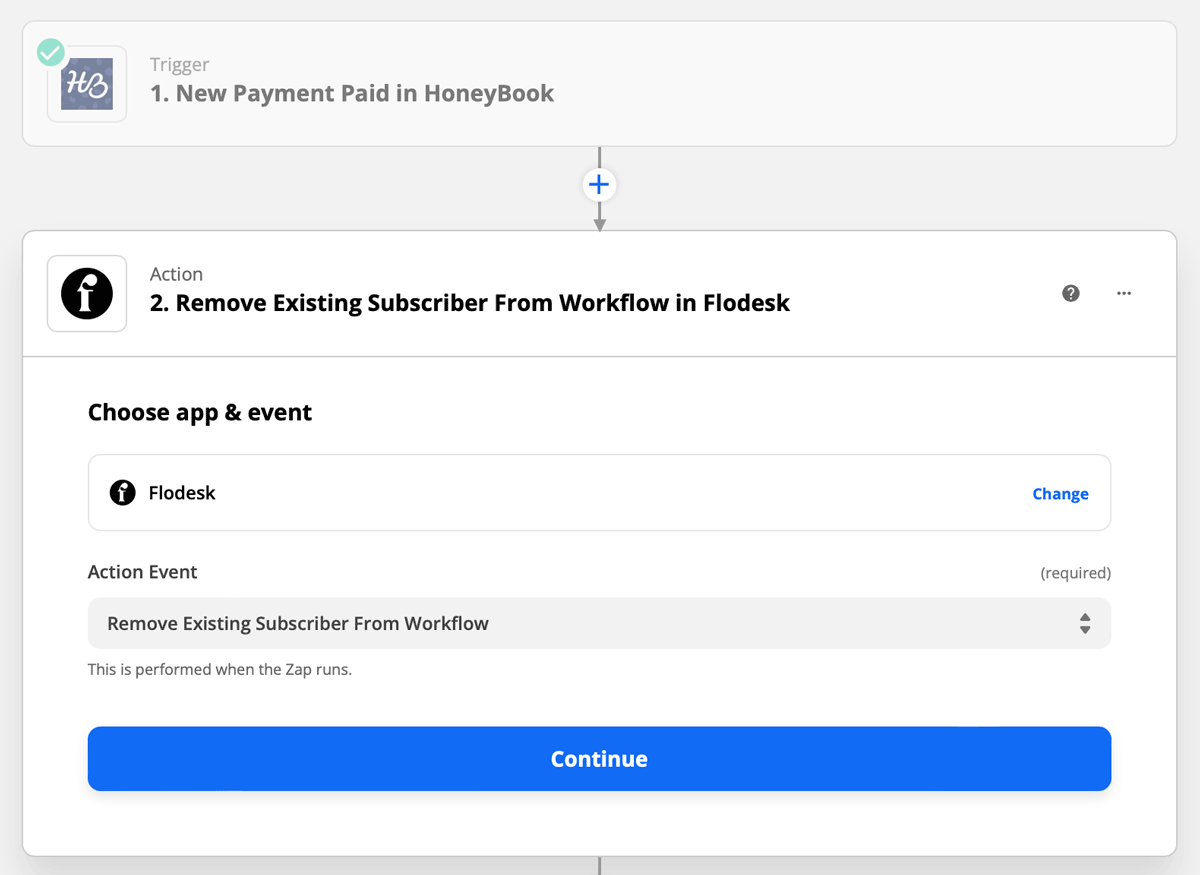
Step 2. Select HoneyBook as the Trigger and choose an Event.
For this example, we will use “New Payment Paid” as the event that starts the zap.
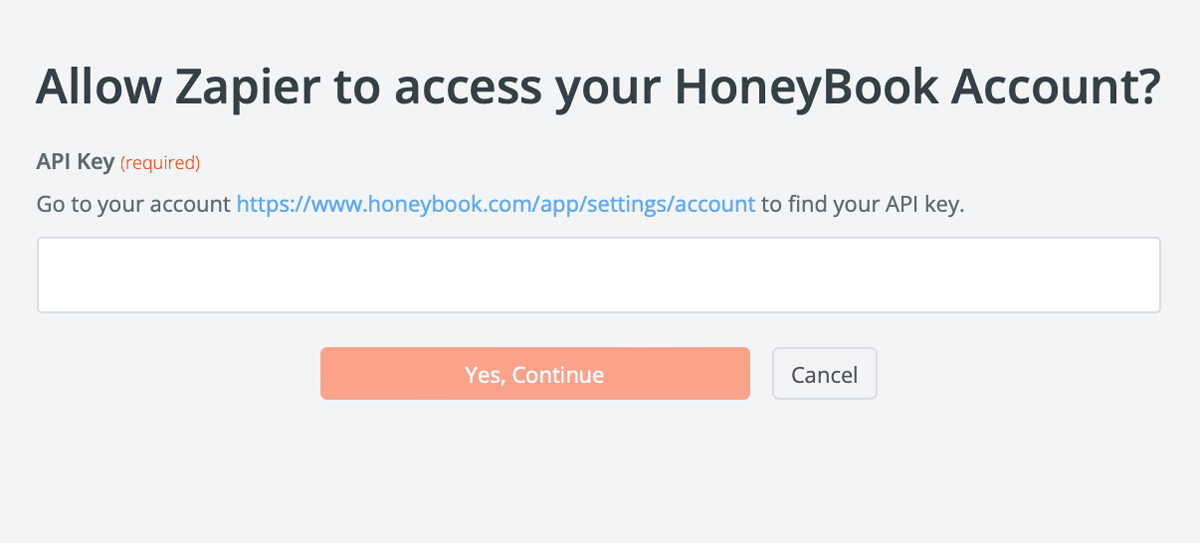
Step 3. Zapier will redirect you to connect your account to HoneyBook. If you're connecting HoneyBook to Zapier for the first time, you will be asked to enter an API Key.
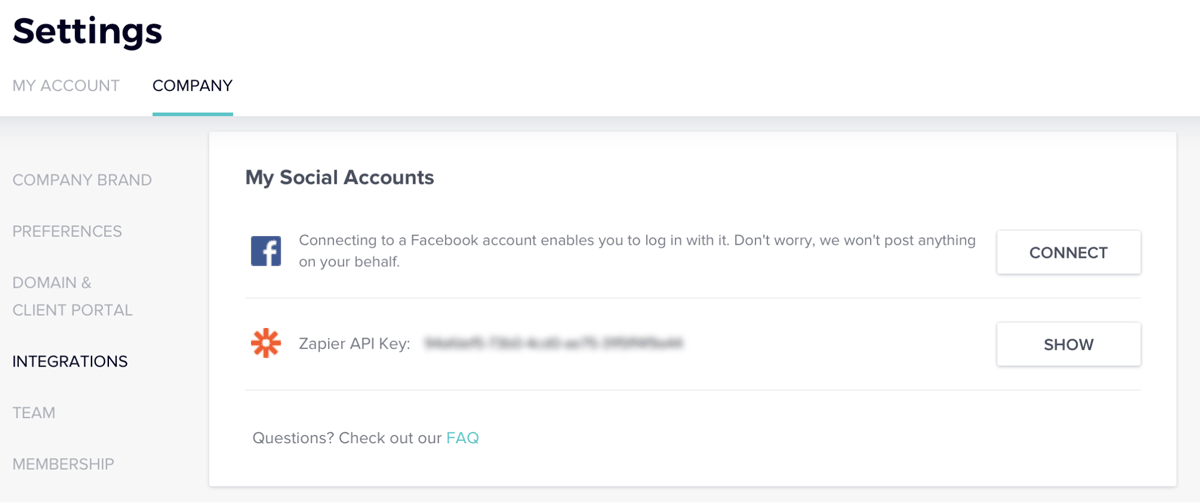
You can access your API Key by clicking on your profile picture in the top right corner and selecting Company Settings.
Click on the Integrations tab. Under the Social Accounts section, click on “Show” next to Zapier.
Copy and paste that in Zapier. Click the “Yes, Continue” button to complete the process.
Step 4. Zapier will test the trigger to make sure it works properly. This step is optional.
Step 5. Create a new Action.
Select Flodesk as the Action and choose the Event.
For this example, we will use “Remove Existing Subscriber from Workflow” as the action that happens when the zap runs.
Step 6. If this is your first time connecting Flodesk and Zapier, you’ll be prompted to log into your Flodesk account.
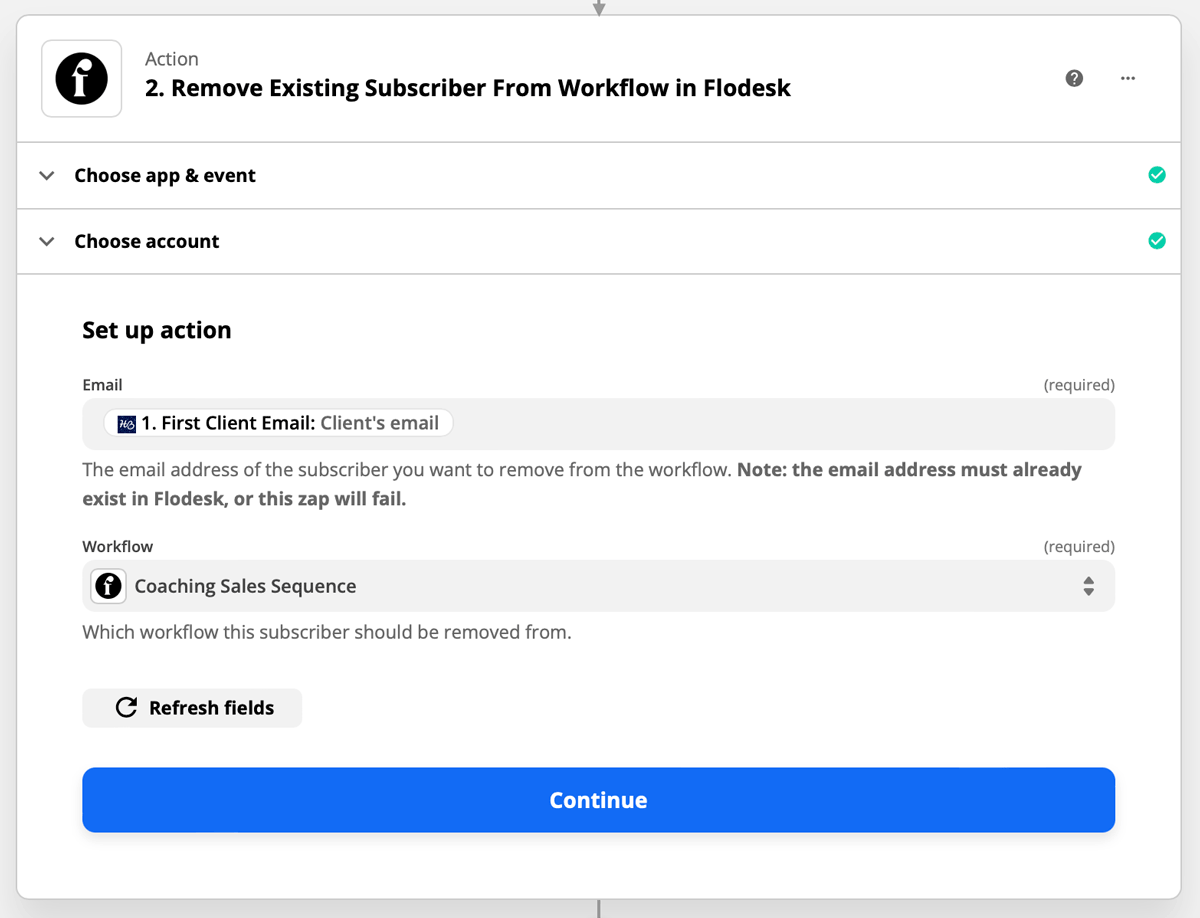
Step 7. Finish setting up the action.
Add the Client’s email from HoneyBook to the email data field. Then select the sales workflow that the subscriber is currently in.
Note: In order for this zap to work, we assume two things:
The client’s email address in HoneyBook is the same address they opted in with in Flodesk.
The subscriber is already in your audience and currently in your workflow.
The zap will not work if these two conditions are not true.
Step 8. Test your zap.
Step 9. After the test is successful, you can review the zap or turn on the zap so that it’s live.
Summary
When you book a new paying client, you may decide that you don’t want them to receive emails that promote the services you offer. You can use Zapier to connect your Customer Relationship Management (CRM) software to Flodesk and automate that process!
With Zapier, you can create a zap that removes a new client from a sales workflow, or from a leads segment. When you’re building the zap, use your CRM as the Trigger app and Flodesk as the Action app.

