How to send new subscriber notifications to multiple addresses
Learn how to use Zapier to email multiple people when a new subscriber opts in through a Flodesk form
What’s cooler than getting an email telling you that you have a new subscriber? Well, we could think of a few things, but new subscribers are definitely in the top 3. 🌟
When you customize your opt-in forms, you have the option to turn on subscriber notifications. This means that Flodesk will automatically send an email to your default sending email address when a new subscriber opts in via one of your Flodesk forms.
Note: This Flodesk subscriber notification email will only show subscribers in the “active” status.
If you ever wondered how to send new subscriber notifications to multiple people, look no further. In this tutorial, you will learn how to use Zapier to create a subscriber notification and send it to multiple email addresses.
If you would like to receive a daily, weekly, or monthly email with a count of how many new subscribers you receive, follow this tutorial to create an automated email digest via Zapier.
Things you’ll need for the automation
Flodesk account
Zapier account
One supported email or communication account (for example, Gmail, Outlook, or Slack)
There is one small limitation when setting up this zap. The zap will not carry segment data from Flodesk to Zapier. Below, you can set up your zap to deliver the subscriber’s name and address, but not the segment they were added to.
In order to include the segment the subscriber opted into, customize your form in Flodesk to turn on subscriber notifications.
Setting up subscriber notifications for multiple email addresses
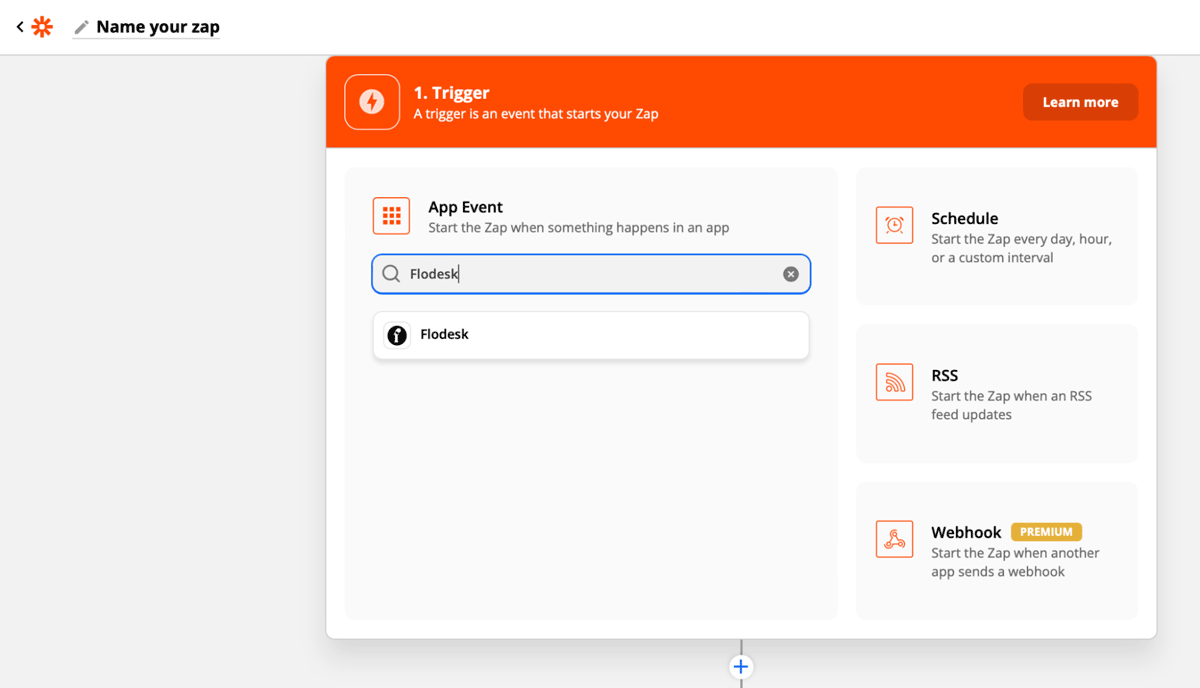
Step 1. Create a new zap and give it a name.
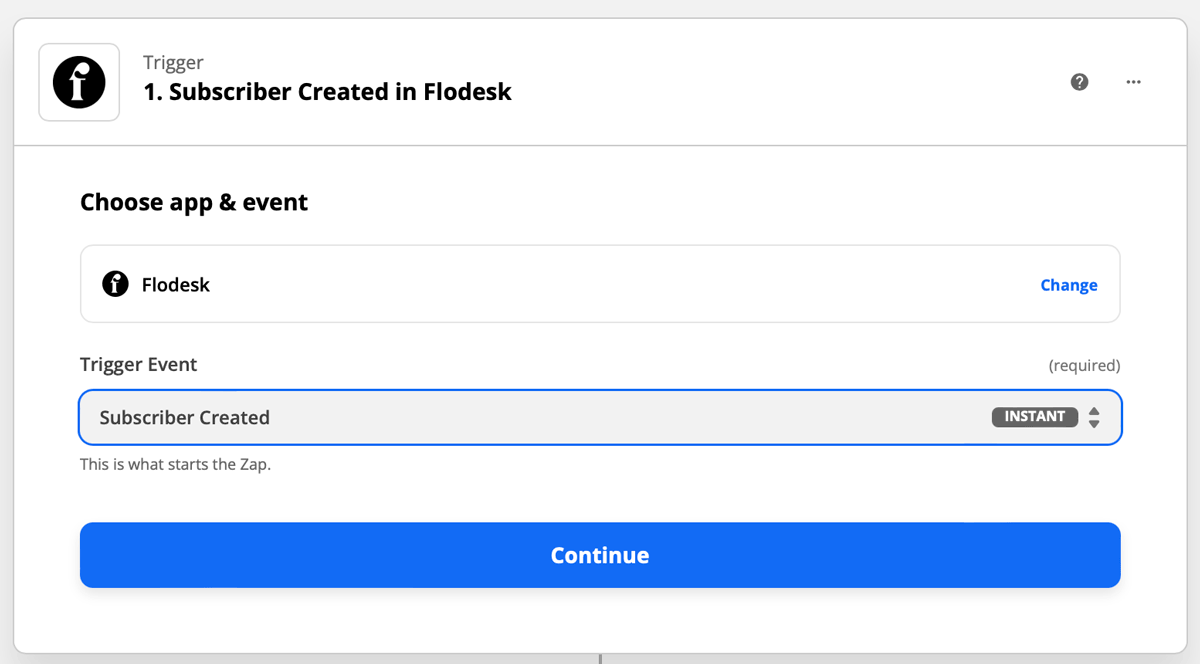
Step 2. Select Flodesk as the Trigger and choose an Event.
For this example, we will use “Subscriber Created” as the event that starts the zap. This means that the zap will start when a new subscriber is created in your Flodesk account.
Alternatively, you can choose “Subscriber Unsubscribed” for a notification each time an address unsubscribes from your audience.
Step 3. If this is your first time connecting Flodesk and Zapier, you’ll be prompted to log into your Flodesk account.
Step 4. Zapier will test the trigger to make sure it works properly. This step is optional.
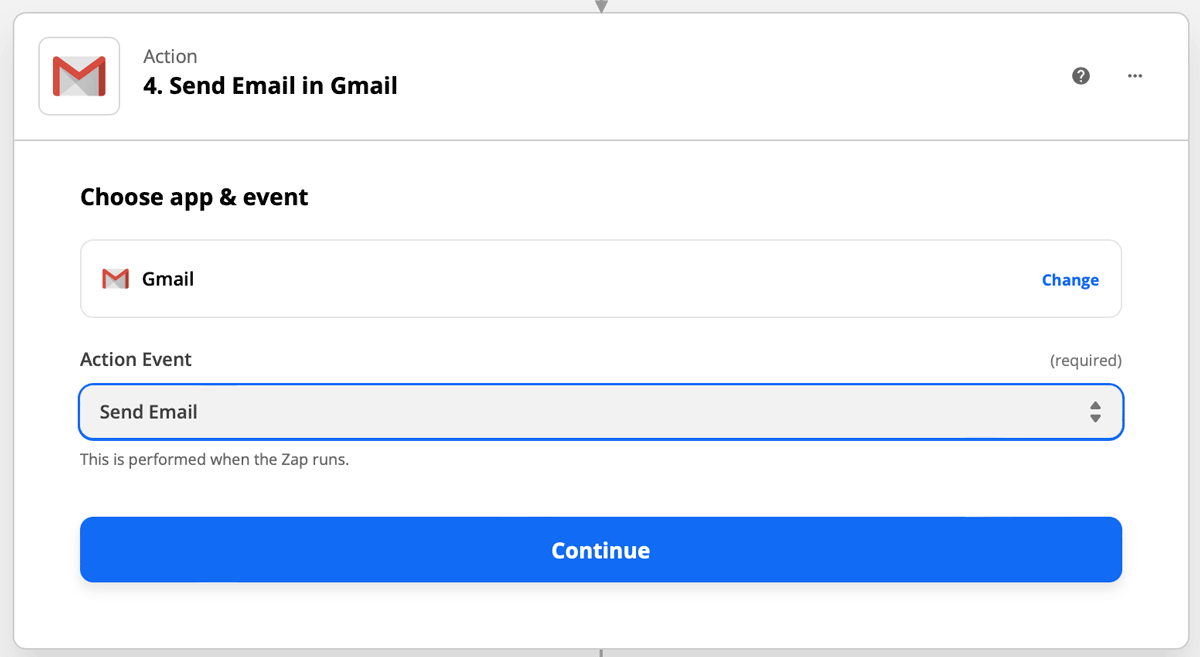
Step 5. Add Gmail as your action and choose "Send Email" as the action event.
Step 6. Connect your Gmail account to Zapier. If you’re connecting to Gmail for the first time, you’ll be prompted to add your Gmail credentials or select one of the Gmail accounts that you’re already logged into from that browser.
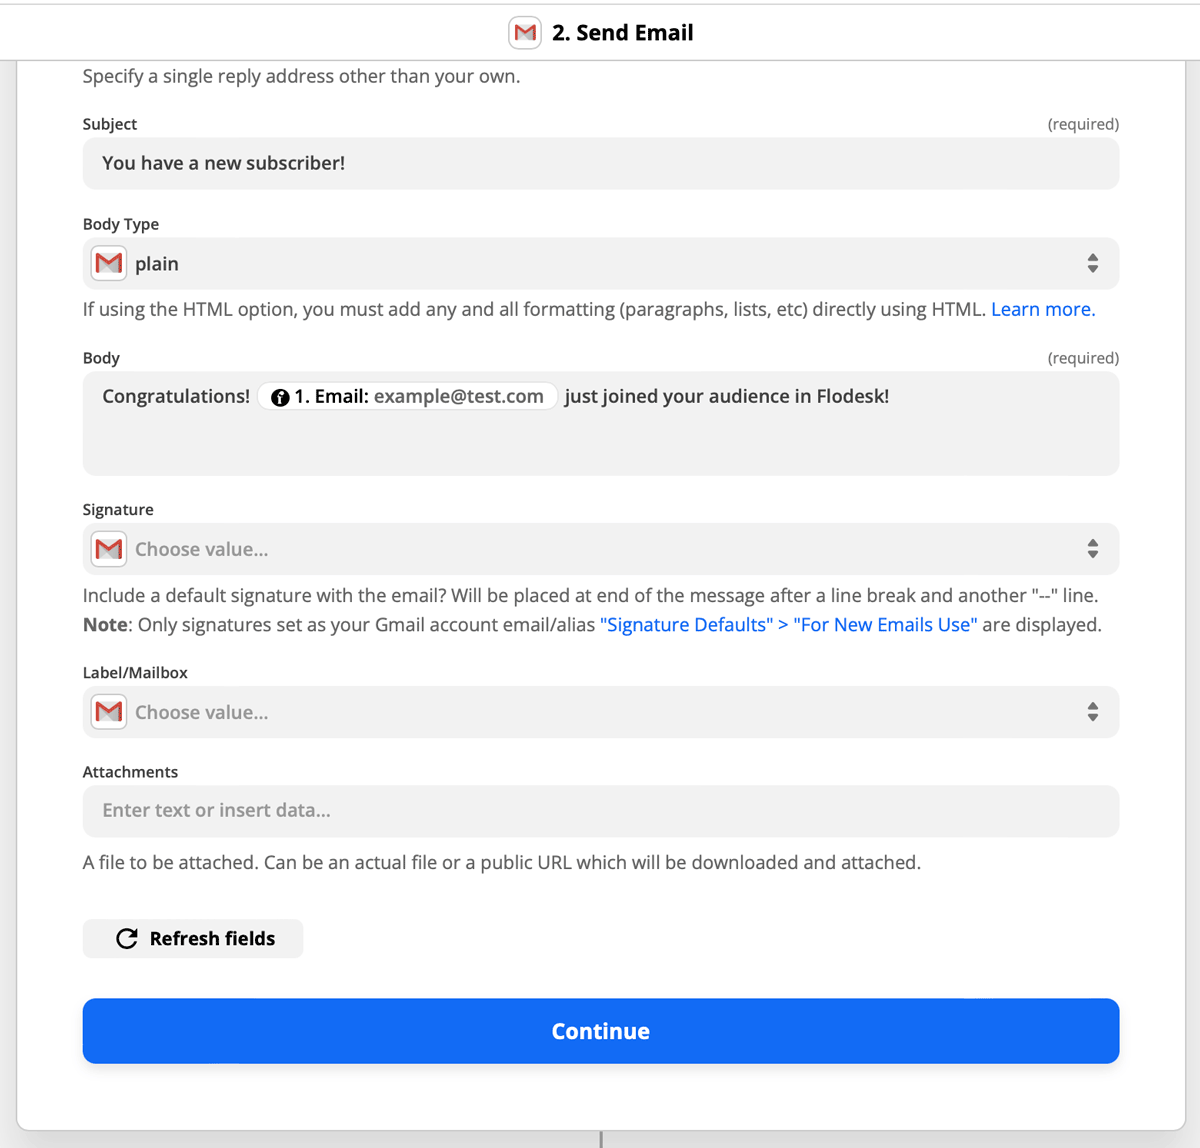
Step 7. Finish setting up the action.
Add your preferred email address to the To field, and any additional email addresses to the CC field.
If you need to send to more than one address, separate each address with a comma and space. For example, hello@flodesk.com, support@flodesk.com
Make sure that the Body of the email contains at least one data field from Flodesk, such as the email address. That is how the subscriber’s name and address are pulled into your email notification.
Note: If you don’t want Flodesk to send the new subscriber notification to your default sender address, you can turn that feature off when customizing your opt-in forms. This will not impact the zap sending the new subscribers to the email address you add to the To field or CC field below.
Step 8. Test your zap.
Step 9. After the test is successful, you can review the zap or turn on the zap so that it’s live.
Summary
When you customize your opt-in form, you can choose to be notified when you have a new subscriber. That notification is sent to the default sending address in your account and only shows subscriber numbers in the “active” status.
If you ever wanted to send new subscriber notifications to more than one address, you can use Zapier!
Use Flodesk as the app that triggers the zap, then add your preferred communication channel (Gmail, Outlook, Slack, etc) as the Action App.
There is one small limitation when setting up this zap. The zap will not carry segment data from Flodesk to Zapier. For this, make sure that you go into Flodesk and turn on the subscriber notifications for your opt-in form.


