How to automate a new project in Dubsado when you get a new subscriber in Flodesk
A step-by-step guide that shows you how to use Zapier to create a new project in Dubsado when someone joins your Flodesk Audience
Dubsado is a business management solution designed to cut out busywork. Build relationships, schedule appointments, and create workflows to streamline your projects from start to finish.
If you’re using Flodesk to market your services, you can automatically create new projects in Dubsado when a subscriber expresses interest in becoming a client.
For this article, we will assume that you already have a Flodesk form that asks subscribers to opt-in if they’re interested in working with you.
Alternatively, you can add a form preference to your opt-in form and let subscribers check that preference when opting in.
Things you’ll need for the integration
Flodesk account
Zapier account
Dubsado account
At least one opt-in form and one segment in Flodesk
At least one workflow in Dubsado
In this article, we’re using Dubsado as our Customer Relationship Management (CRM) software.
You can use an iteration of this zap with several other CRMs such as HoneyBook, Bonsai, and Keap.
Connecting Dubsado and Flodesk via Zapier
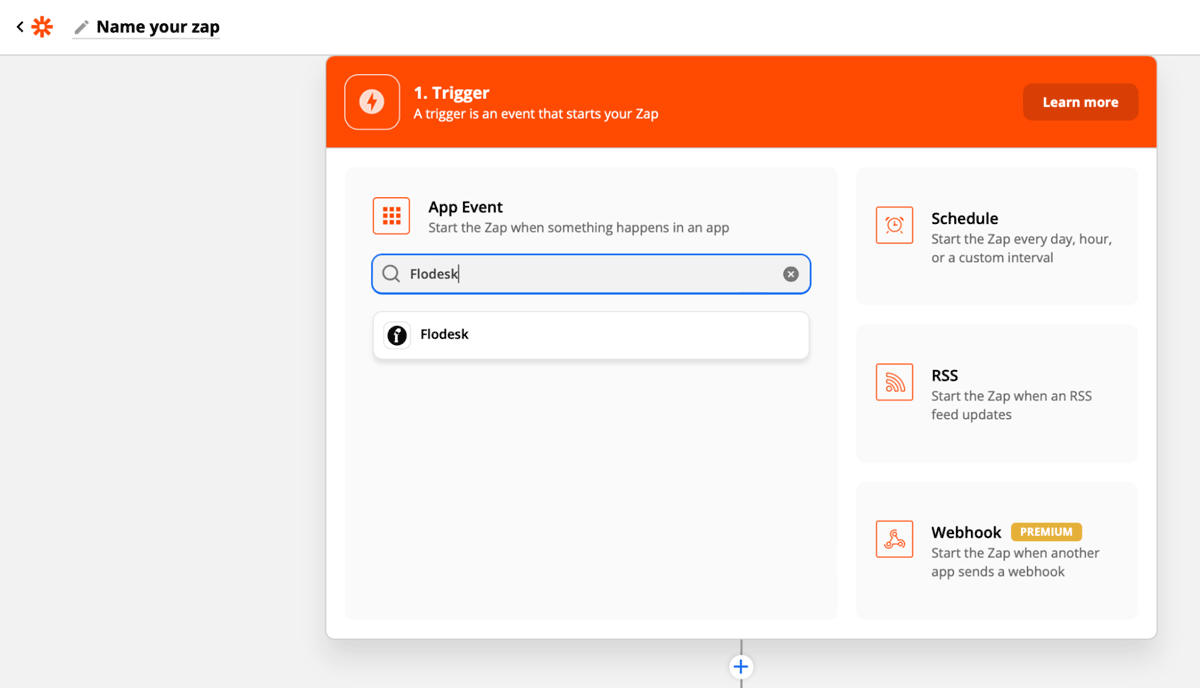
Step 1. Create a new zap and give it a name.
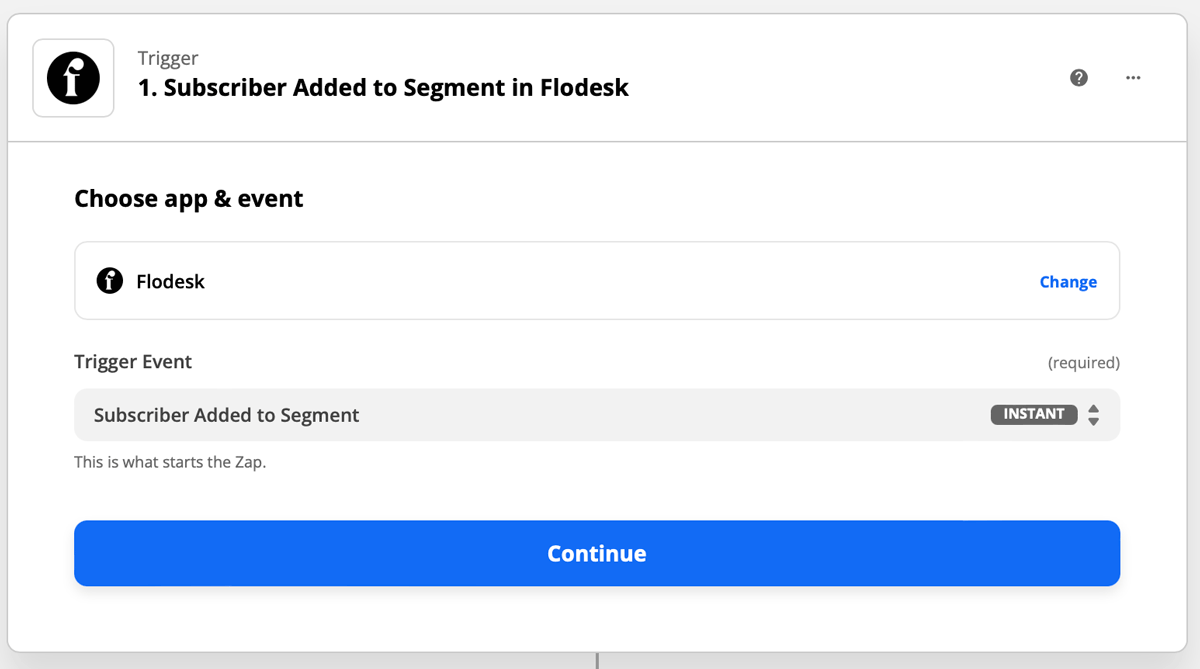
Step 2. Select Flodesk as the Trigger and choose an Event.
For this example, we will use “Subscriber Added to Segment” as the Event that starts the zap. This means that the zap will start when someone is added to a specific segment.
We will choose the segment in another step.
Step 3. If this is your first time connecting Flodesk and Zapier, you’ll be prompted to log into your Flodesk account.
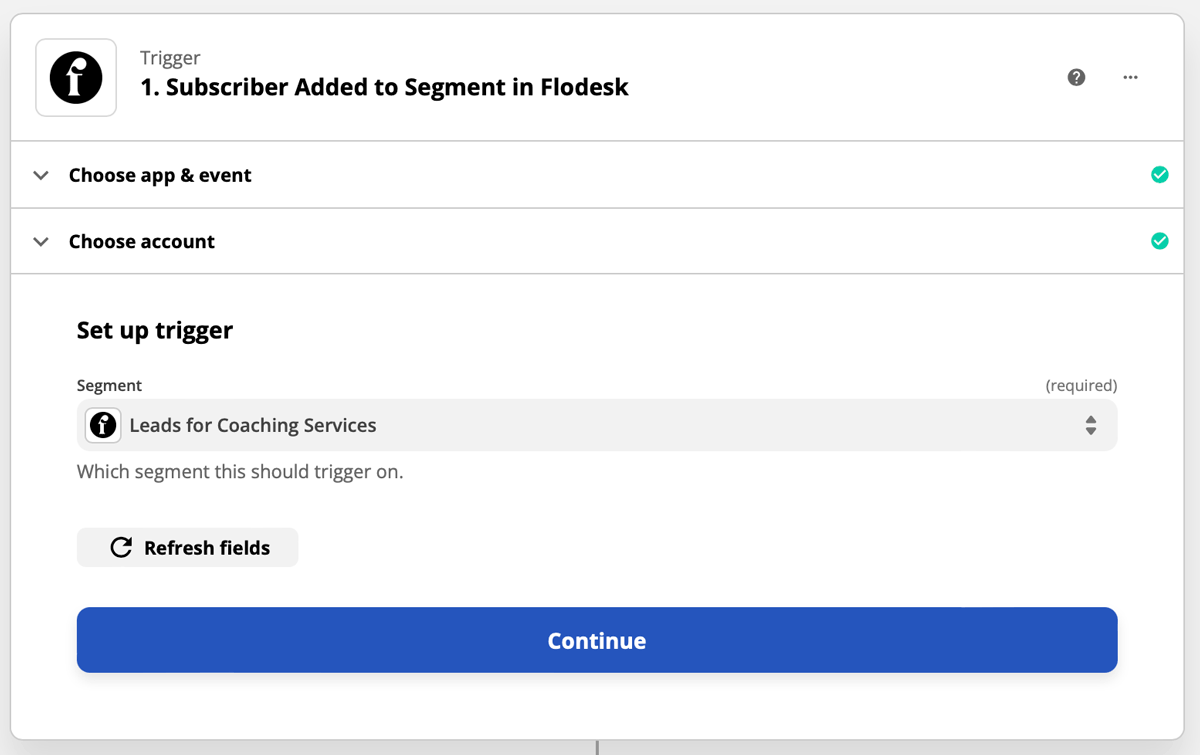
Step 4. Finish setting up your trigger.
Choose the segment that you want to trigger the zap. If you haven’t created the segment in Flodesk yet, you’ll need to do that before you can complete the setup in Zapier.
Step 5. Zapier will test the trigger to make sure it works properly. This step is optional.
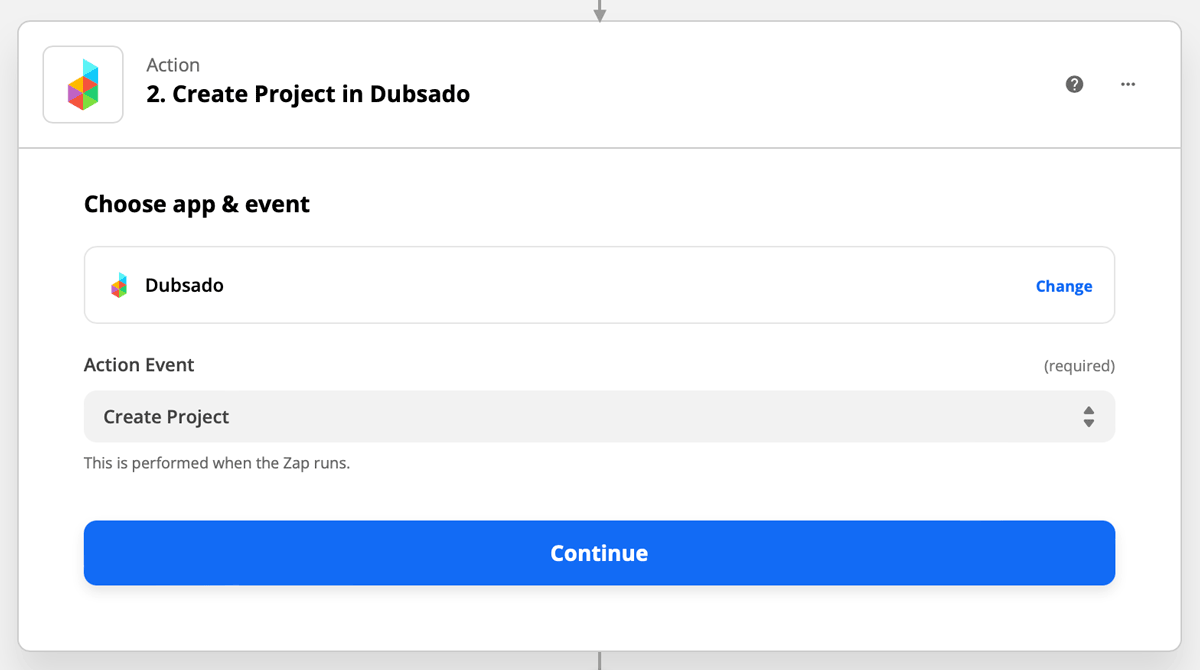
Step 6. Create a new Action.
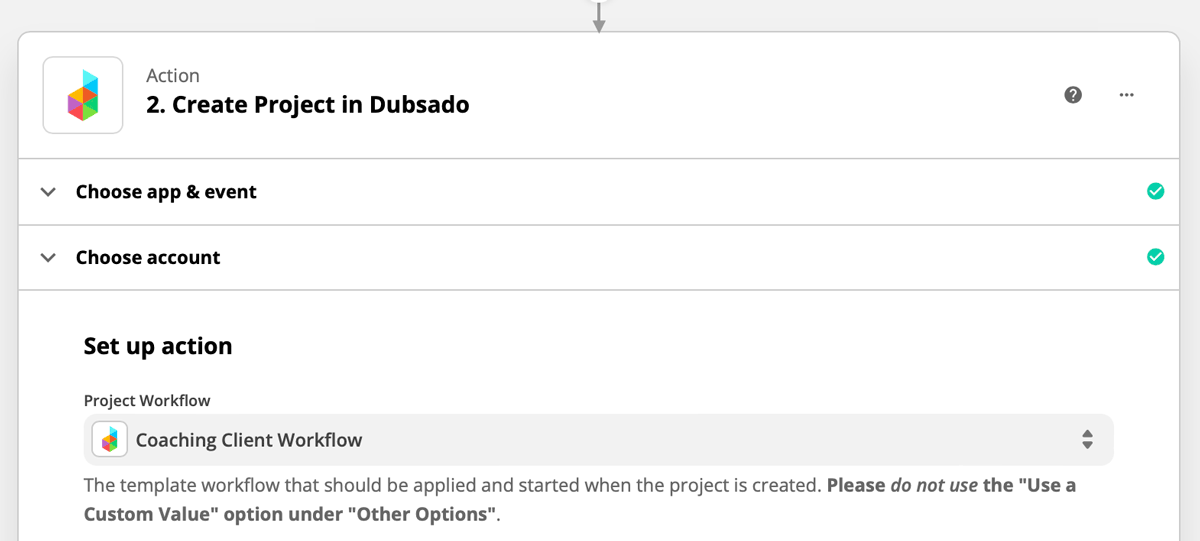
Select Dubsado as the Action and choose the event. For this example, we will use “Create Project” as the action that happens when the zap runs.
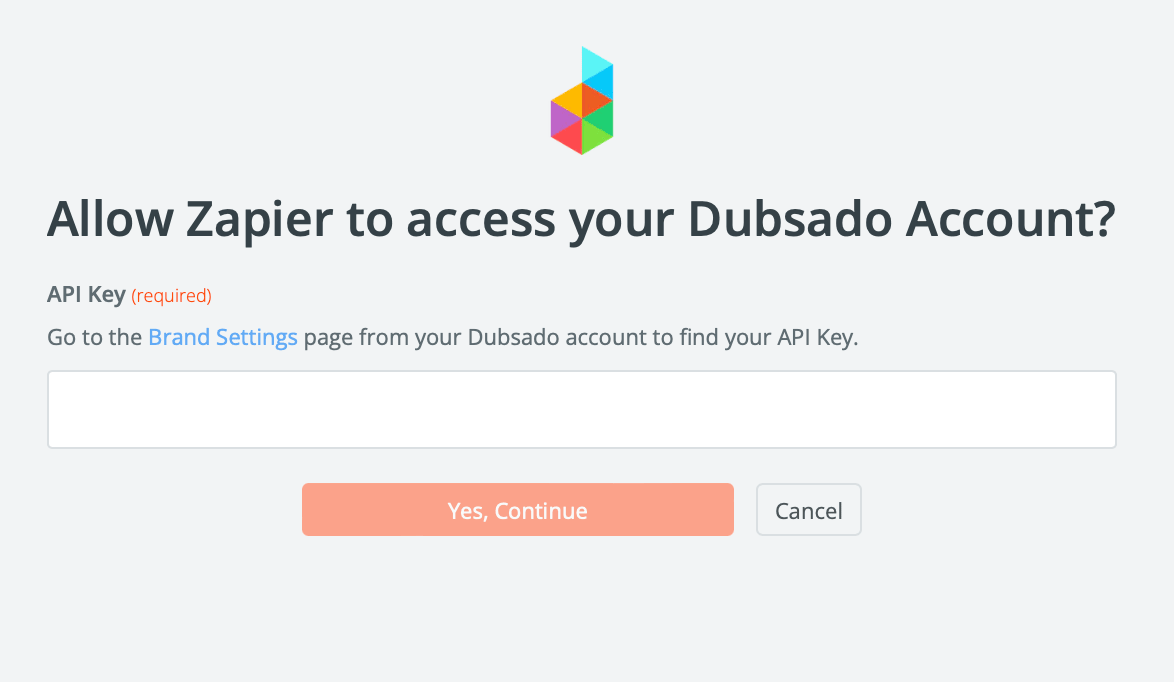
Step 7. Zapier will redirect you to connect your account to Dubsado. If you're connecting Dubsado to Zapier for the first time, you will be asked to enter an API Key.
From your account dashboard, go to Settings → Integrations → Zapier → Generate Tokens → Generate New Token to retrieve your API Key.
Make sure that you copy and paste your API Key right away because Dubsado will not show you the key again.
Step 8. Finish setting up the action with these required fields:
Project Workflow: Select one of your workflows in Dubsado
Title of the created project: First Name (Last Name optional) from Flodesk’s data fields
Client Email: Email from Flodesk’s data fields
The remaining fields in the action setup are optional to complete.
Step 8. Test your zap.
Step 9. After the test is successful, you can review the zap or turn on the zap so that it’s live.
Summary
You can automatically start a new project in your Customer Relationship Management (CRM) tool when you gain a new subscriber. This eliminates the need to manually add new leads to your CRM when they opt-in using a Flodesk form.
Make sure that you already have the Project Workflow for your leads set up in your CRM before building the zap. Then in Zapier, Flodesk will be the app that triggers the zap and your CRM will be the action zap.


