
How to Personalize Emails With Your Subscriber’s Name (or custom details) in Flodesk
Adding a subscriber’s name or custom details to your emails makes your message feel more human—and more effective. With Flodesk, personalizing your emails is fast, simple, and can help boost open and click rates.
Why personalize your emails?
Personal touches help build trust and connection. Imagine how these subject lines land:
I'd love to get your thoughts on this, Kate
Toya—I wish more people asked me this
Your next steps, Mike
Hit reply and let me know if you’re here for it, Tasha.
How personalization works in Flodesk (at a glance)
To personalize emails, you’ll:
Collect subscriber data (like name or custom info) using forms. You can also add these details when uploading a CSV file of subscribers.
Insert that data into your email content using personalization fields by typing the
@-sign into a plain Text blockAdd fallback values to ensure emails still read well if data is missing
Step 1: Collect subscriber names (or other custom info)
You must collect subscriber data before you can use it in emails.
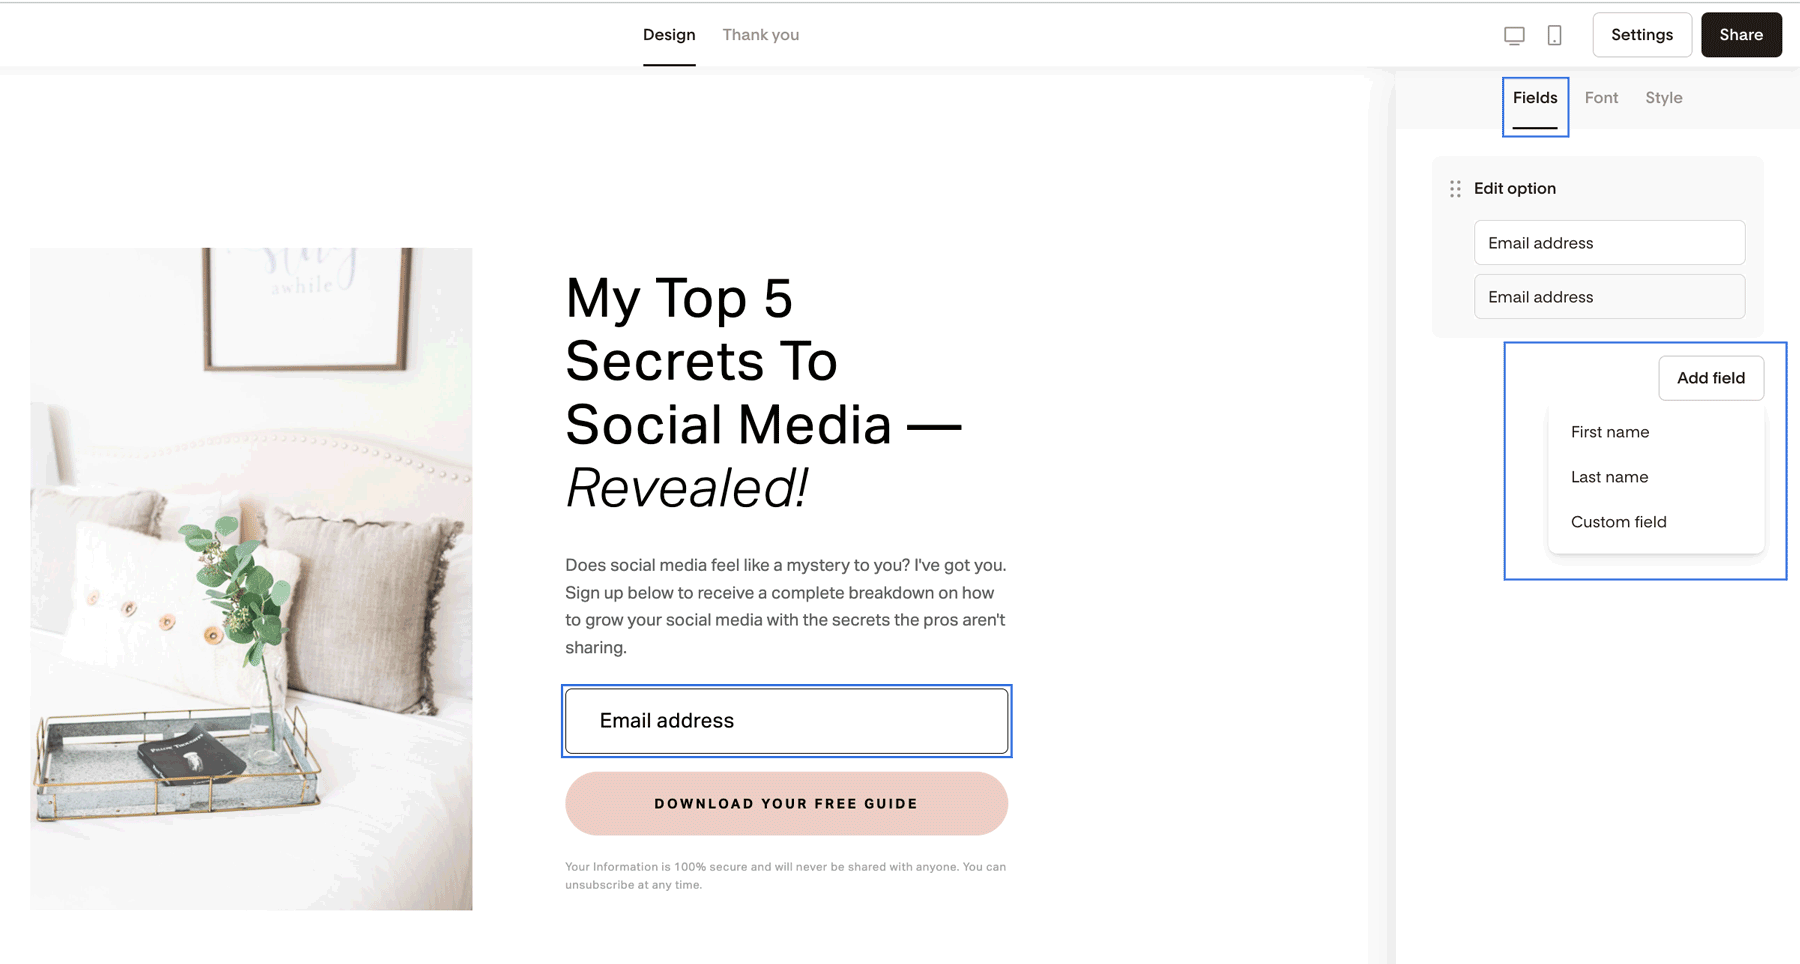
To add name fields and custom fields to your form:
Go to Forms > + New form
Choose your form type: Popup, Inline, Full page, or Link in Bio
In the form editor, click into any form field to open the Fields tab on the right
Click + Add field and choose:
First name and/or Last name
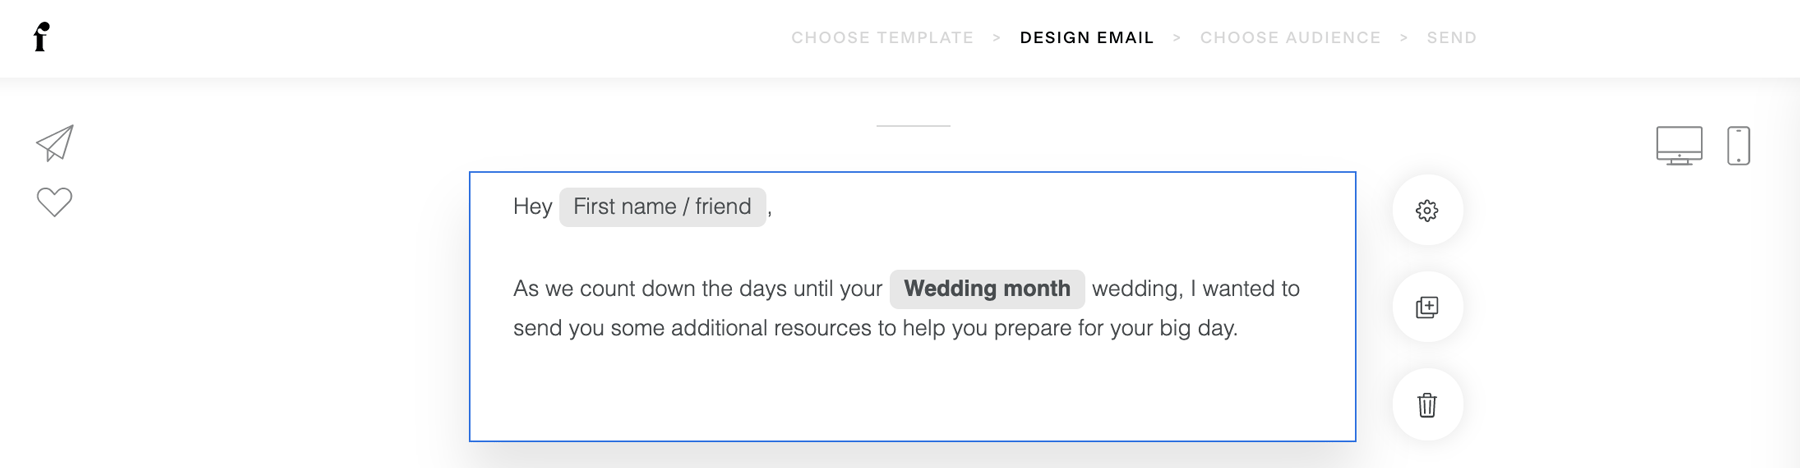
Or select Custom field to collect something unique (like Wedding Month, Pet's Name)
Step 2: Add a name or custom field data to your email body
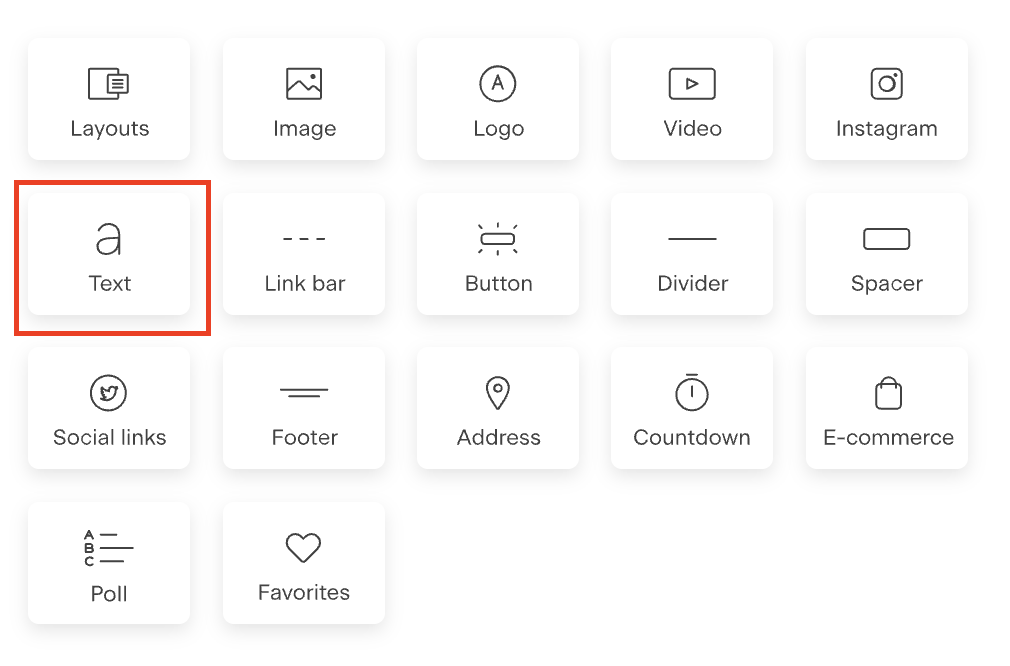
Personalization fields can only be added to plain Text blocks.
Important: Personalization does not work inside Layouts. Layouts are converted into images, and images can’t read personalization code.
To insert personalization into your email body:
Add a plain Text block to your email
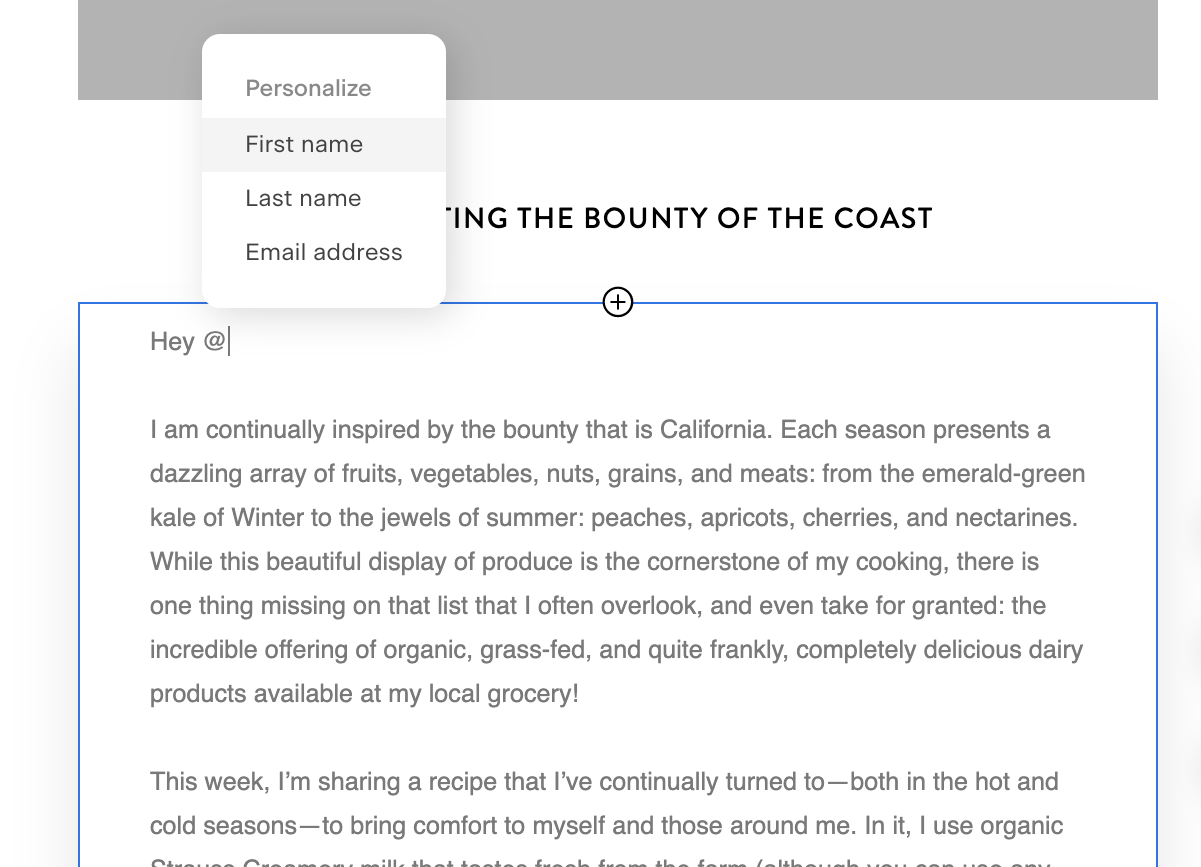
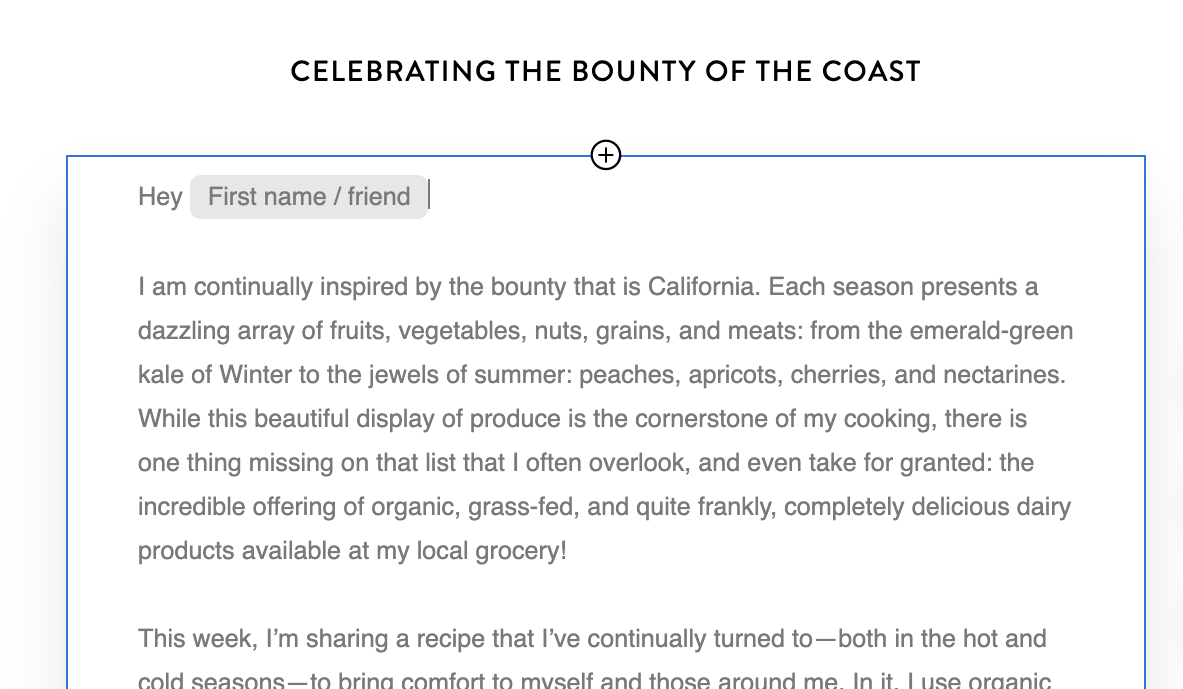
Click where you want the personalization (for example: after “Hey”)
Type
@to open the personalization menuSelect the field (for example: First name)
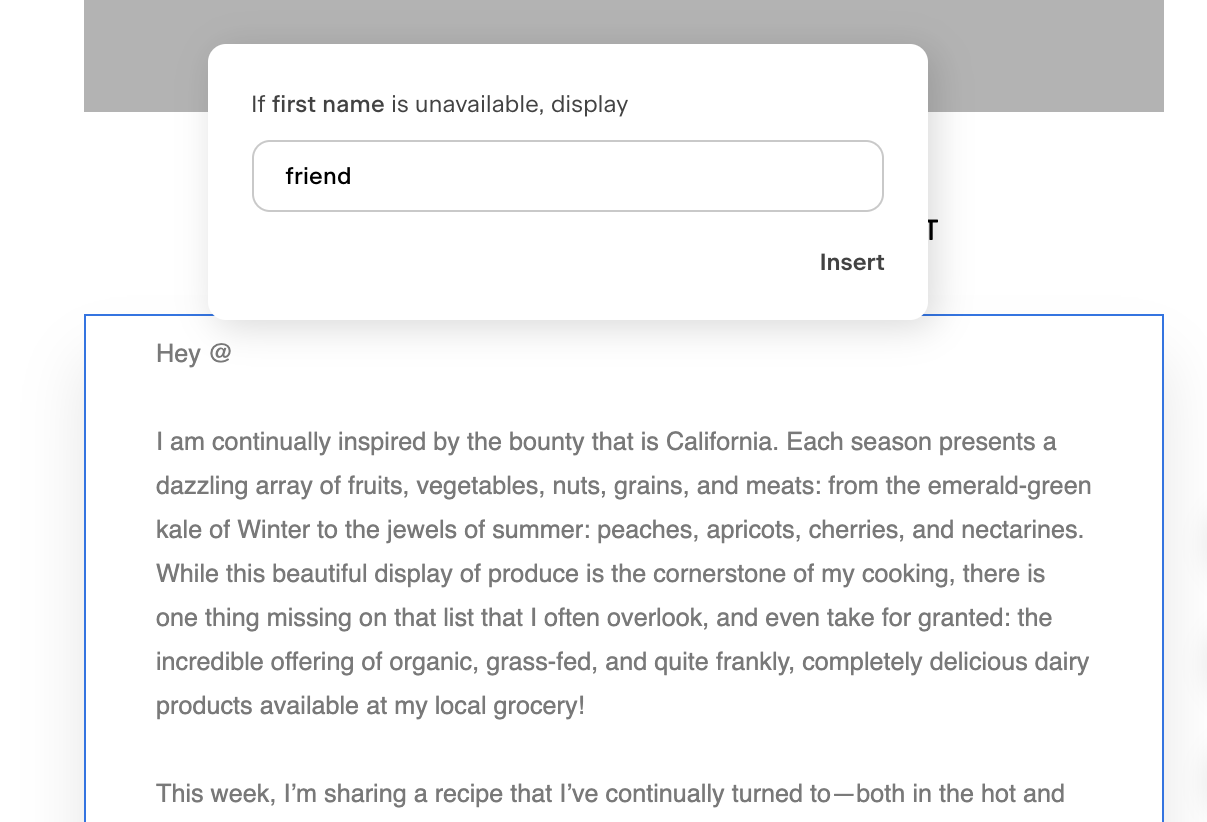
Add a fallback value (highly recommended)
Click Insert field
Example:Hey @FirstName →
Displays as Hey Amy if a name exists
Displays as Hey friend if no name exists
You can repeat this anywhere inside the same Text block.
Pro tip: Use custom fields for deeper personalization
Custom fields work the same way as first names.
If you’ve collected data like:
Wedding Month
Business Name
Pet’s Name
Simply type @ in a Text block and select the matching custom field.
Step 3: Personalize your subject line or preview text
You can also personalize before your email is opened.
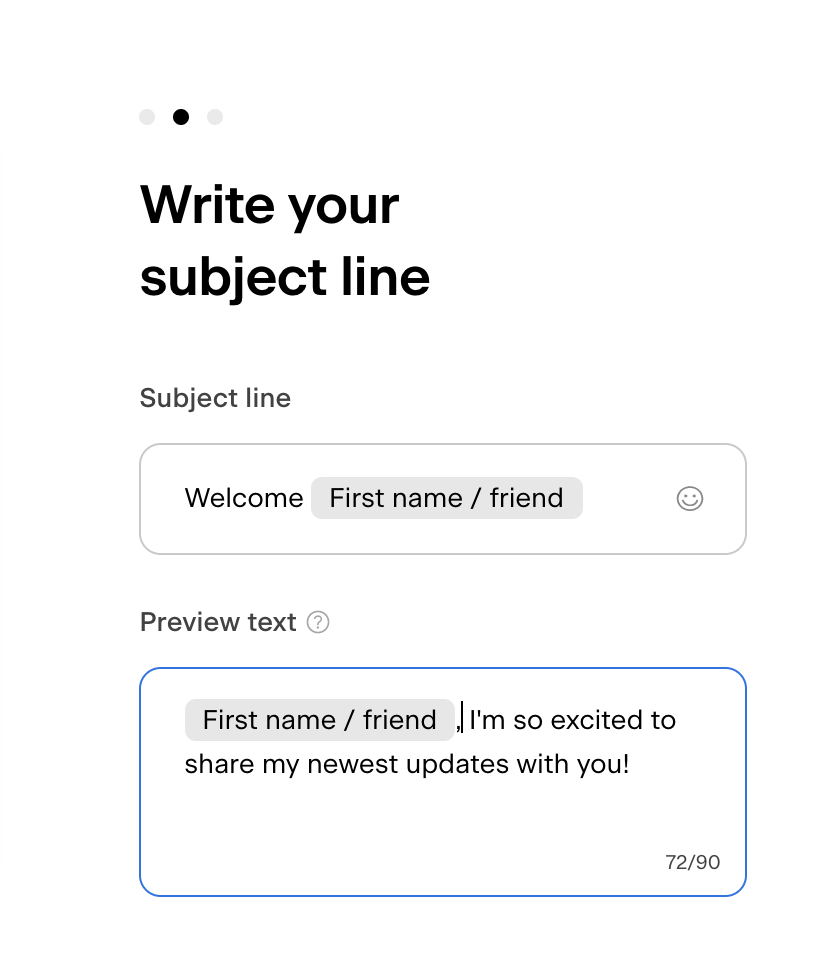
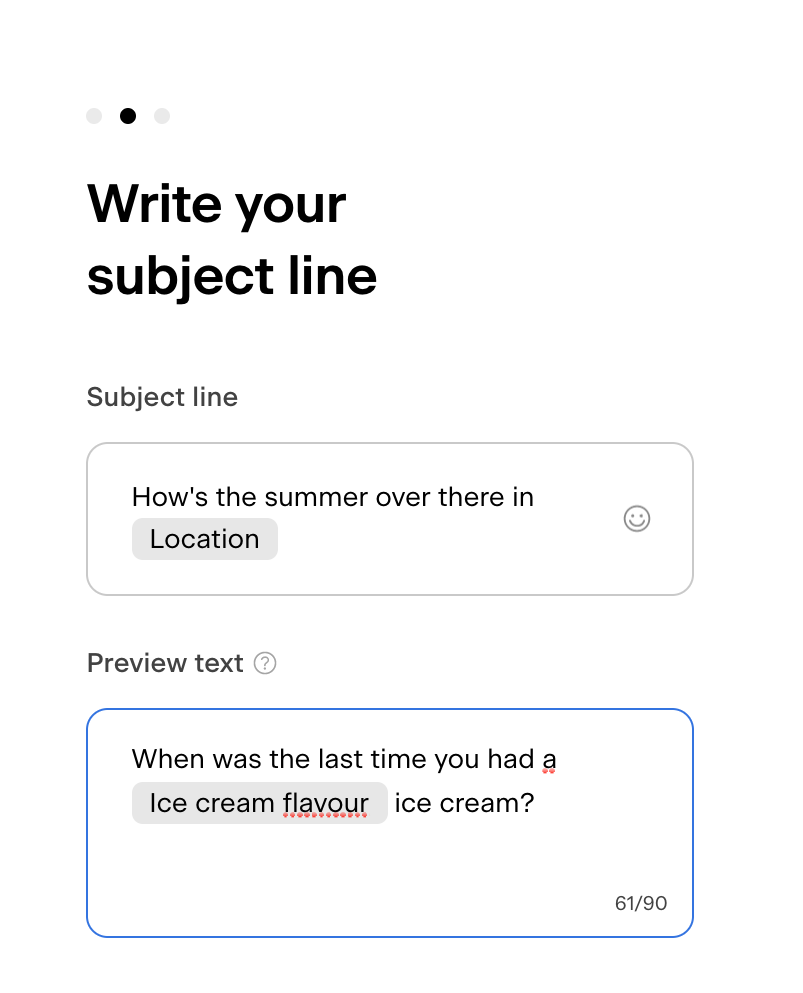
To personalize subject lines or preview text:
Click into the Subject line or Preview text field
Type
@and choose a personalization fieldAdd a fallback value
This creates an instant personal connection in the inbox.
The same way, you can pull in data from custom fields that you collected from your subscribers.
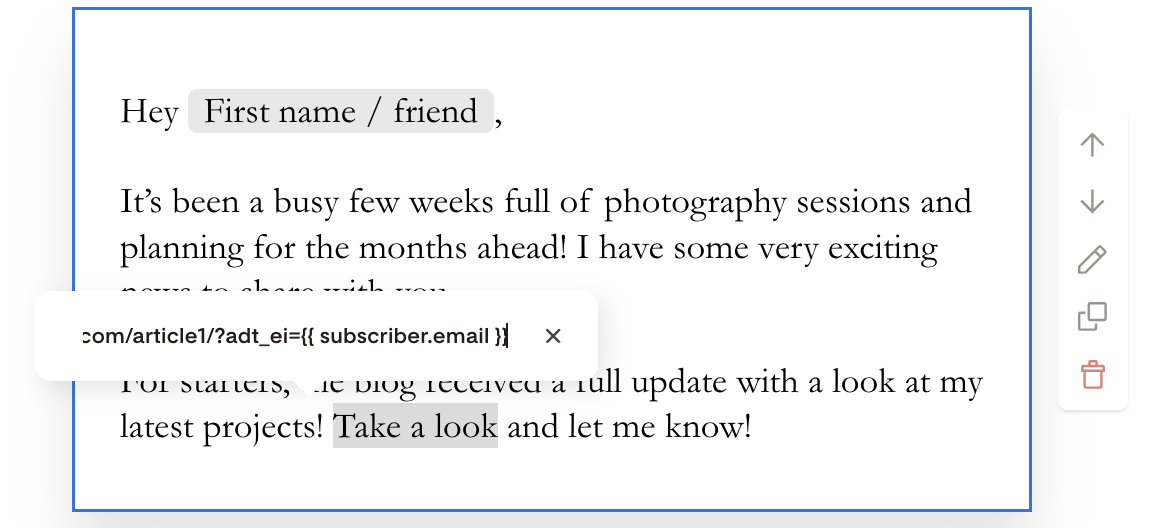
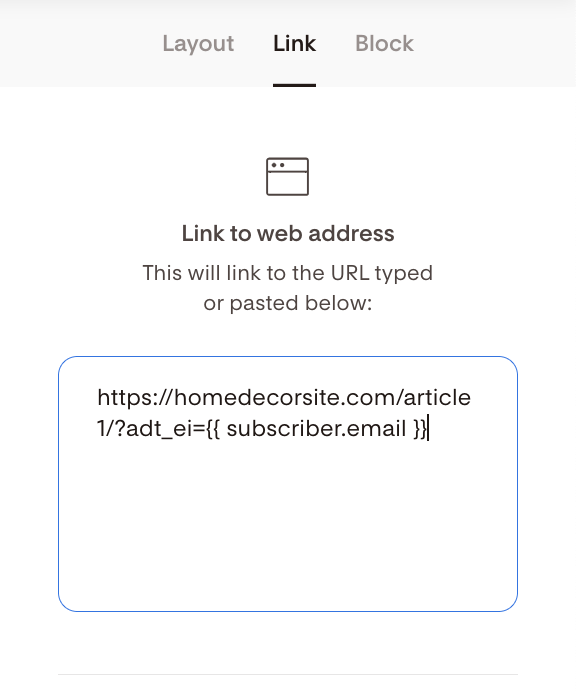
How to Use Email Address Snippets in Links
Flodesk supports a code snippet within email links that allows you to insert your subscribers’ email addresses into your email URL parameters, enabling them to be captured by third-party sites.
This is important if you're a Raptive user, for example, and want to set up Newsletter Identity Capture via clickthrough URLs in your email newsletters to capture your subscribers’ email addresses.
To utilize this functionality, simply add this to the end of the clickthrough URL for all of your Flodesk email newsletters and sequences:
?adt_ei={{ subscriber.email }}
Example:
https://homedecorsite.com/article1/?adt_ei={{ subscriber.email }}
Summary
Collect names or custom data using form fields
Use personalization in plain Text blocks, subject lines, and preview text
Type
@to insert personalization fieldsAlways add fallback values
Used thoughtfully, personalization makes your emails feel more relevant, more human, and more likely to earn a reply—or a click.
FAQ
Can I personalize emails in Flodesk?
Yes. You can personalize emails using subscriber names or custom fields in plain Text blocks, subject lines, and preview text.
Why isn’t personalization working in my email layout?
Personalization doesn’t work inside Layouts because Layouts are converted into images, which can’t read personalization data.
What happens if a subscriber doesn’t have a name?
If you add a fallback value (like “friend”), Flodesk will display that instead of leaving the space blank.
Can I use custom fields for personalization?
Yes. Any custom field you collect (such as Wedding Month or Business Name or Instagram handle) can be inserted using the @-symbol into a plain Text block.