
Design and send a welcome email automatically with a workflow
Use a workflow to automatically send a welcome email when someone joins your audience. This is the best option if you want every new subscriber to receive the same welcome message without having to send it manually.
This guide covers automated welcome emails only. To send a weekly or regular newsletter, visit: How to send weekly emails in Flodesk
When to use a workflow-based welcome email
Use this method if:
You want new subscribers to receive a welcome email automatically
You don’t want to manually select recipients or send times
You’re building a consistent onboarding experience
Part 1: Design your welcome email
Step 1: Open the email template gallery
Go to Emails in the top menu and click + New email.
Step 2: Filter by Welcome templates
Click the Welcome category on the left.
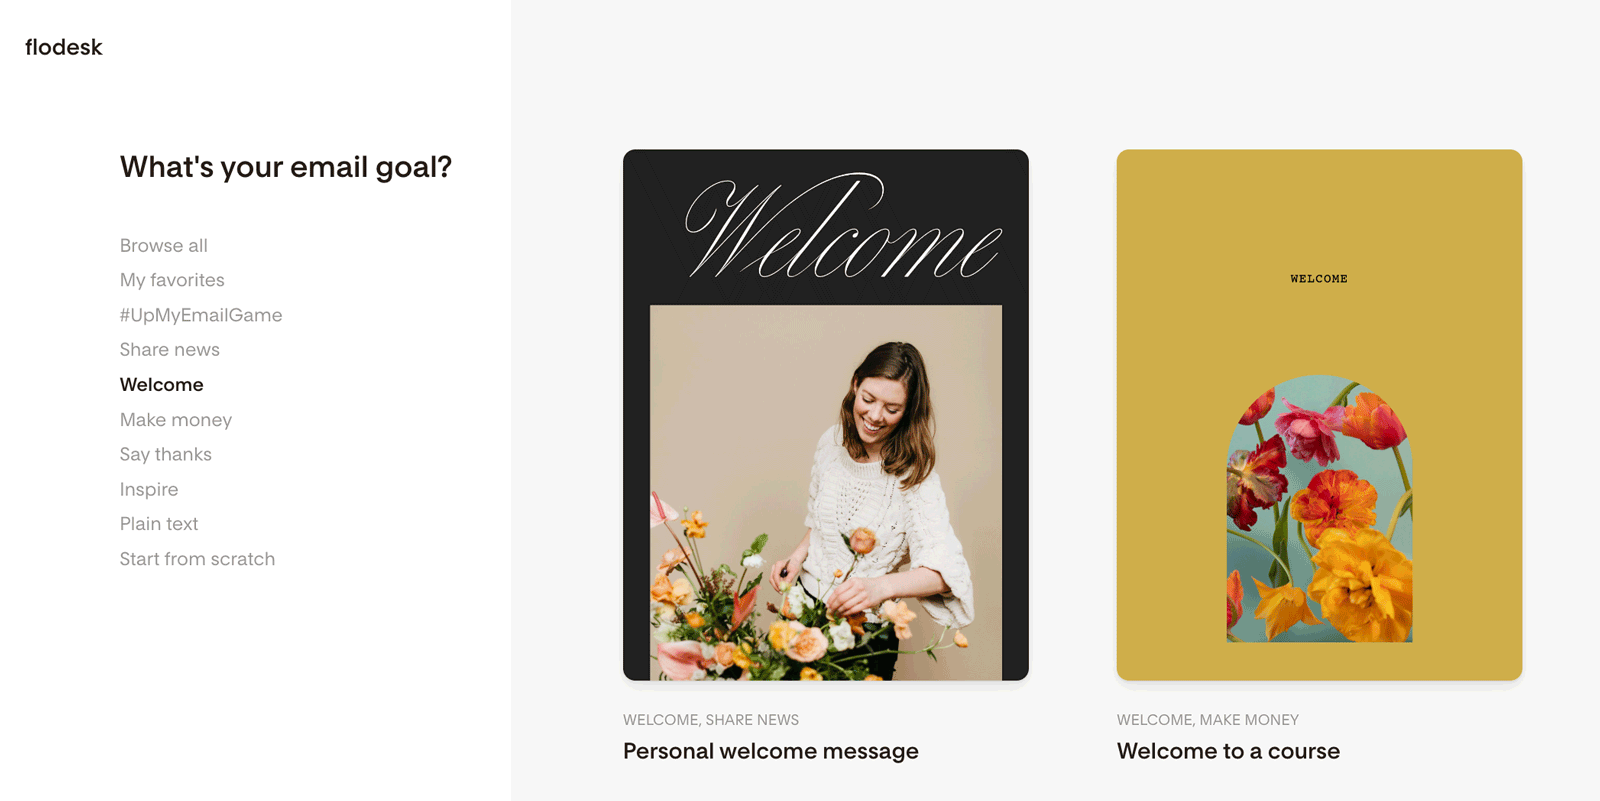
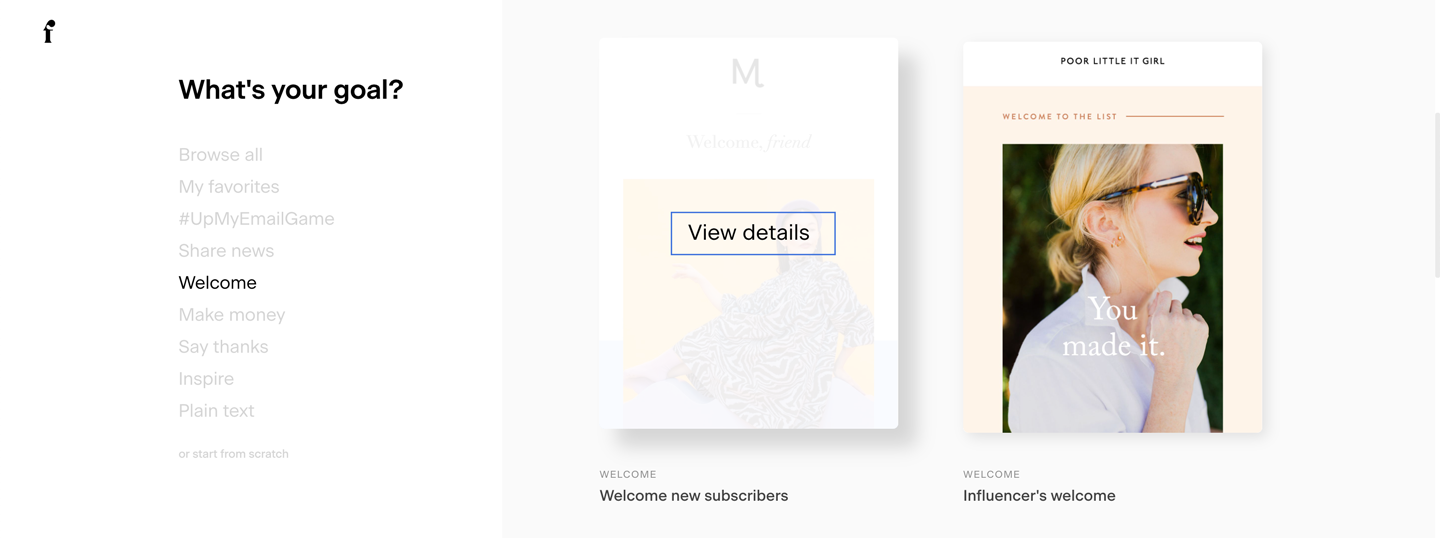
Step 3: Choose a template
Select a welcome email template and click View details to learn when it works best.
Step 4: Preview on mobile and desktop
Use the preview toggle to check both views.
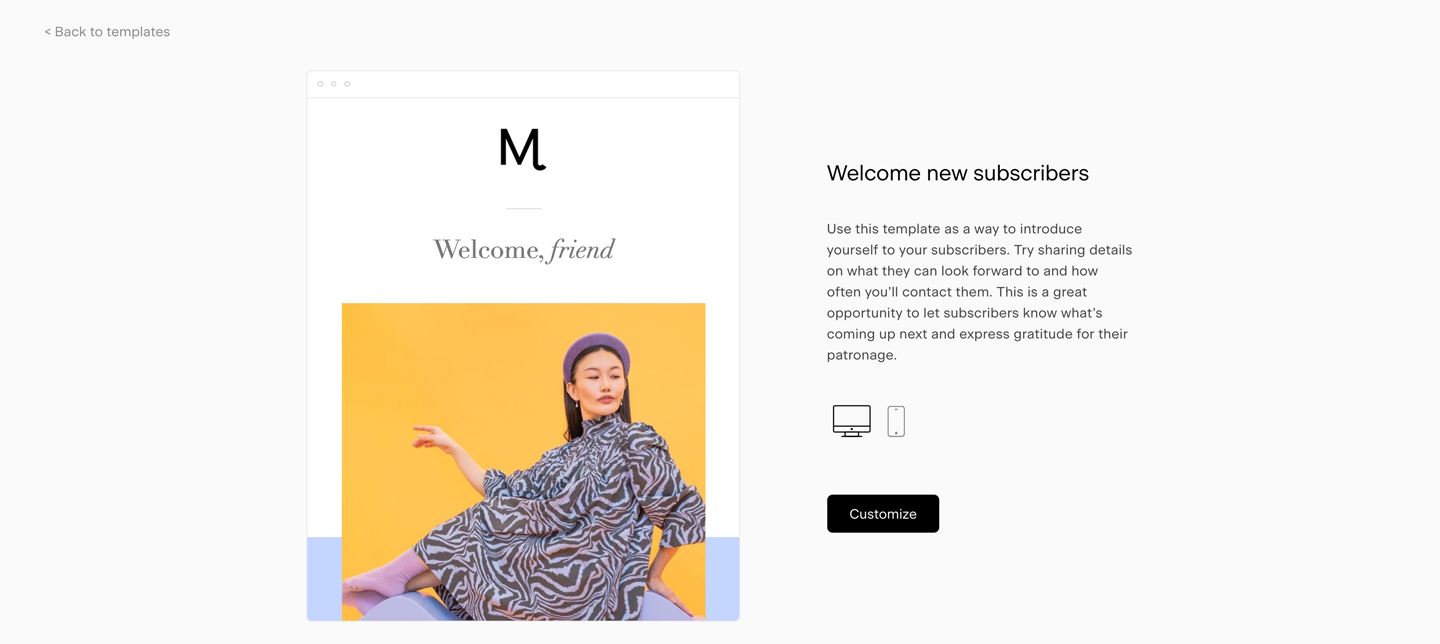
Step 5: Customize your email
Click Customize to open the email builder.
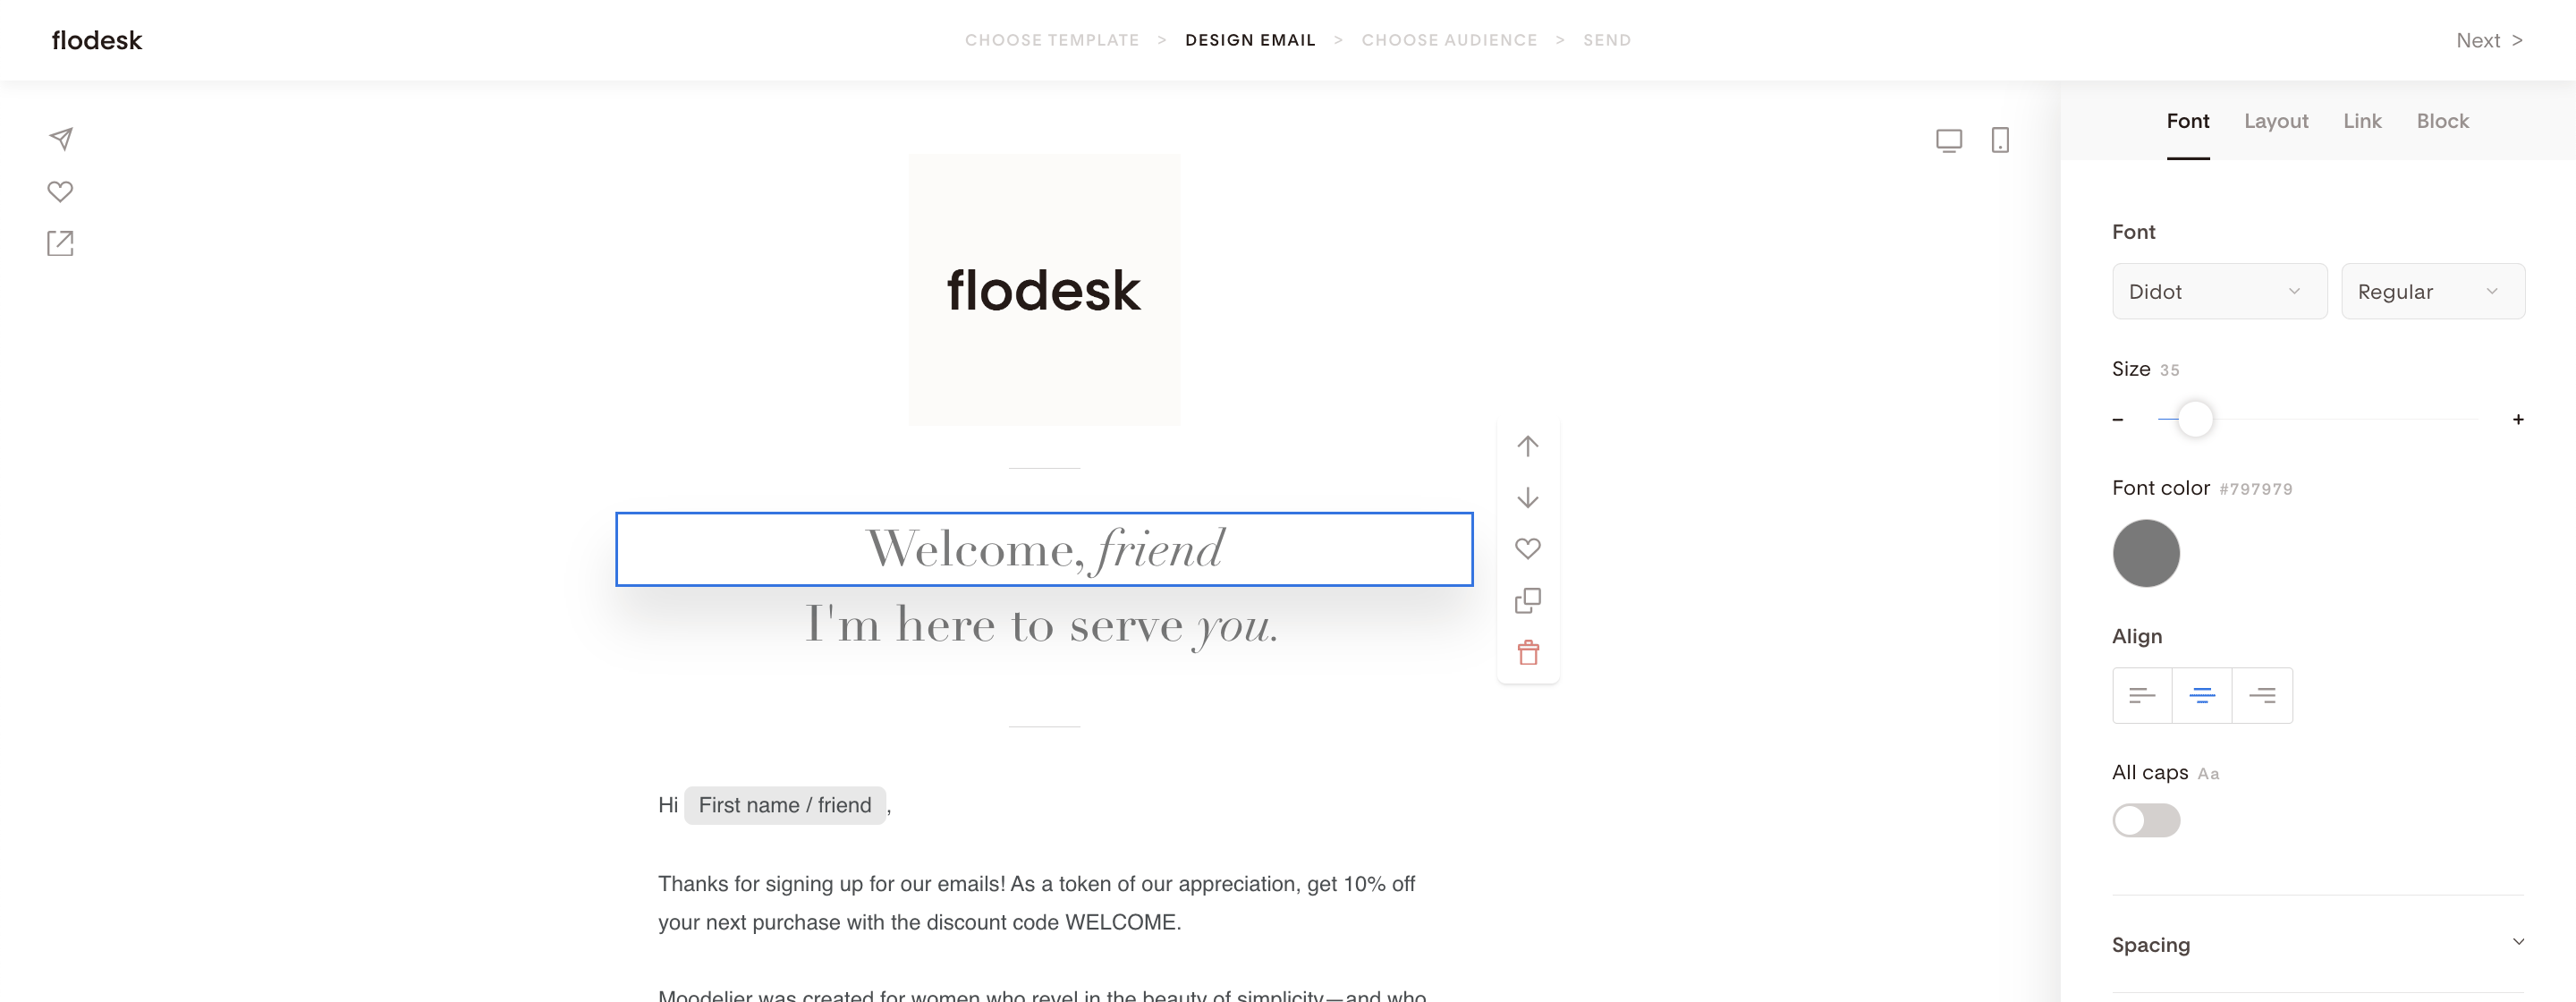
Step 6: Edit content and layout
Click any section to edit text, images, or buttons
Use the right sidebar to adjust styles and settings
Use block icons to move, duplicate, save, or delete blocks
Pro tip: Upload your custom brand fonts to use them across email layouts, forms, and checkouts.
Part 2: Create a workflow with your welcome email
Step 1: Go to Workflows
From the top menu, click Workflows and select + New workflow.
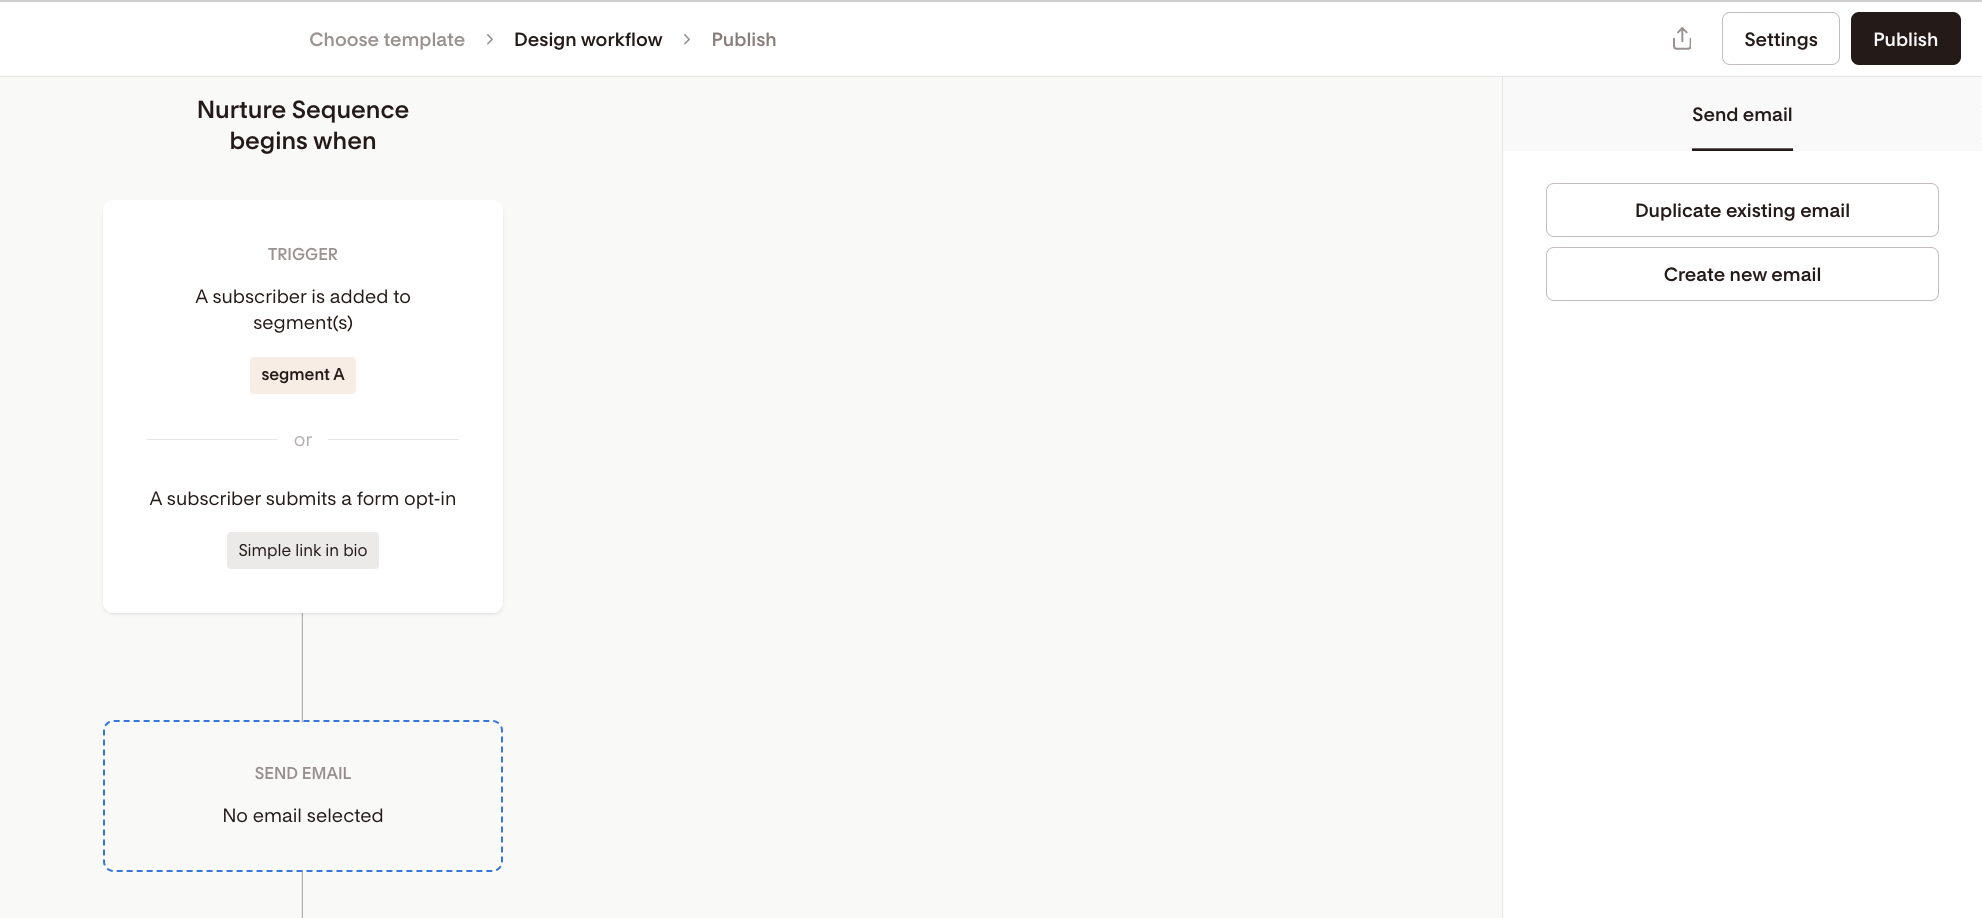
Step 2: Choose a trigger
Select how subscribers enter the workflow, such as:
When someone is added to a segment
When someone completes a form
This determines when the welcome email is sent.
Step 3: Add an Email step
Click + and add an Email step.
Step 4: Select your welcome email
Choose Duplicate an existing email, then:
Select the welcome email you created
Click Make a copy to add it to the workflow
Important notes about email copies
You’re pulling in a copy, not the original
Edits in the workflow email do not affect the original email
Edits to the original email do not update the workflow copy
You can edit the workflow version by clicking Edit on the email thumbnail
Step 5: Review sender and subject settings
Below the email preview card in the right sidebar, review and set:
Sender email address
Subject line
Preview text
These settings work the same way as manual emails.
Step 6: Activate your workflow
Publish the workflow.
Your welcome email will now send automatically when someone meets the trigger conditions.
Important notes about workflow-based welcome emails
Workflow emails cannot be unsent once triggered
Only subscribers who meet the trigger conditions will receive the email
Changes affect future subscribers only, not past recipients
Manual send vs workflow send
Feature | Manual email | Workflow email |
Sent automatically | No | Yes |
Requires selecting recipients | Yes | No |
Best for one-time sends | Yes | No |
Best for onboarding | No | Yes |
Workflow welcome email FAQs
Do I need to design the email first?
No. You can design it inside the workflow or select an existing email.
Can I design a welcome email from scratch?
Yes. You can start from a template, a favorite, or from scratch.
Can I use the same welcome email in multiple workflows?
Yes. Each workflow sends independently based on its trigger.
Can I edit the welcome email after the workflow is live?
Yes. Updates apply to future sends only.
Is this the same as sending a newsletter?
No. Workflow emails are automated and trigger-based.
Can I add emojis to my email?
You can add emojis directly inside your email content using your computer’s emoji menu.
Click into the email body where you want the emoji
Open your system emoji menu:
Mac: Control + Command + Space
Windows: Windows key + . (period)
Select an emoji to insert it into your text
Emojis work the same way in workflow emails as they do in one-off emails.