
How to Create an Opt-in Form in Flodesk
Overview
Opt-in forms help you grow your email list by collecting subscriber information directly from your website, blog, or social media. Whether you have a website or not, Flodesk offers flexible form types to match your brand and marketing goals.
This guide walks you through the types of opt-in forms in Flodesk and how to create, customize, and embed or publish them.
Important: For new members who joined Flodesk after April 2, 2025, double opt-in is turned on by default for opt-in forms. Be sure to review and customize your double opt-in email and confirmation page under Account settings > Opt-in setup.
Learn more about double opt-in here.
Types of Opt-in Forms
You can choose from four form types depending on how and where you want your form to appear:
Form Type | Description |
|---|---|
Popup form | Appears over your website content. Great for attracting attention with offers or freebies. It comes with an embed code. |
Inline form | Embedded within your website or blog content. Ideal for seamless integration across key pages. It comes with embed codes. |
Full page form | Standalone landing page with its own URL (link), no embed codes. Perfect if you don’t have a website or want a no-code setup. You can add a Meta Pixel ID to Full page forms. |
Link in bio form | Flodesk-exclusive. Designed for social media bios with extra customization blocks like logo, image block, link list, and more. It comes with a shareable URL (link), no embed codes. You can add a Meta Pixel ID to Link in bio forms. |
Please note: if you’re on the free plan, your form can only collect subscriber data and move this data into a segment you specify in Flodesk.
To trigger a freebie email send or a welcome sequence once your subscribers are moved into the segment associated with your form, you'll need to upgrade to a plan that includes workflows.
Step-by-Step: Creating Your First Form
Step 1: Start a New Form
In your Flodesk account, go to the Forms tab
Click + New form
Step 2: Choose a Form Type
Select:
Popup – for overlaid forms on your website, comes with embed code
Inline – for embedded forms, comes with embed codes
Full page – standalone URL, no embed codes
Link in bio – ideal for social media landing pages, comes with standalone URL, no embed codes
Not sure which one to choose? You can always go back and start a different form type later.
Step 3: Choose a Template
Hover over any template
Click Customize it to open the builder
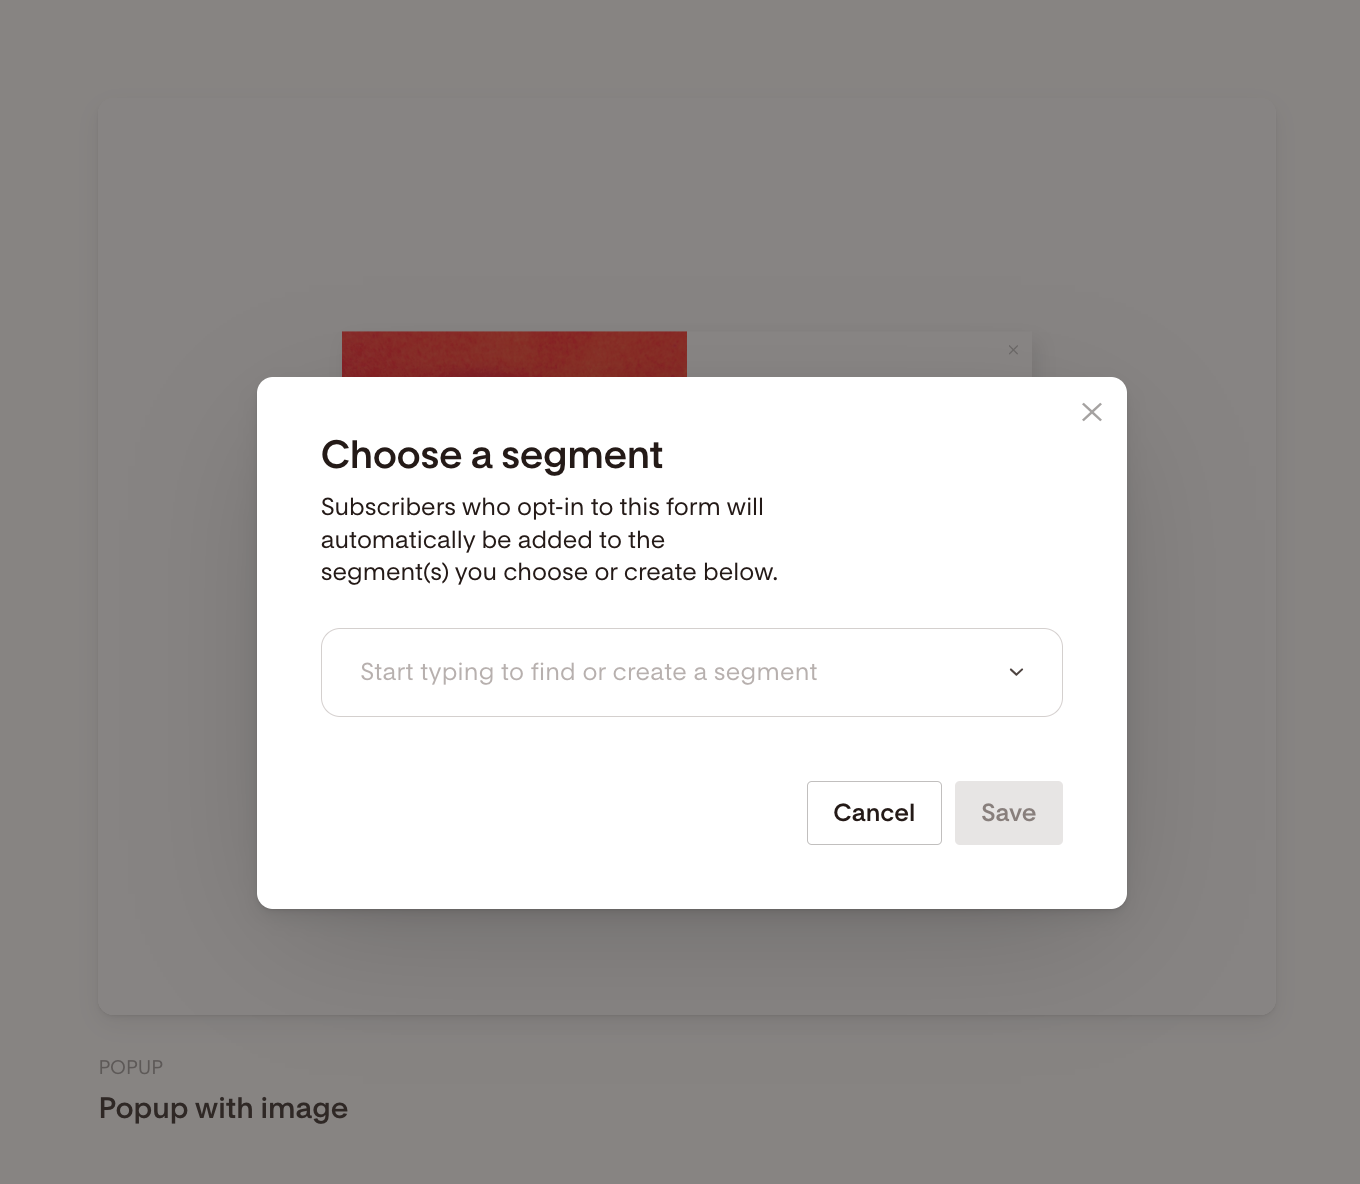
Step 4: Assign or Create a Segment
Select an existing segment or create a new one. This is where new subscribers from your form will be stored.
Tip: Use a dedicated segment for each form to keep your audience organized and power automations.
Customizing Your Form
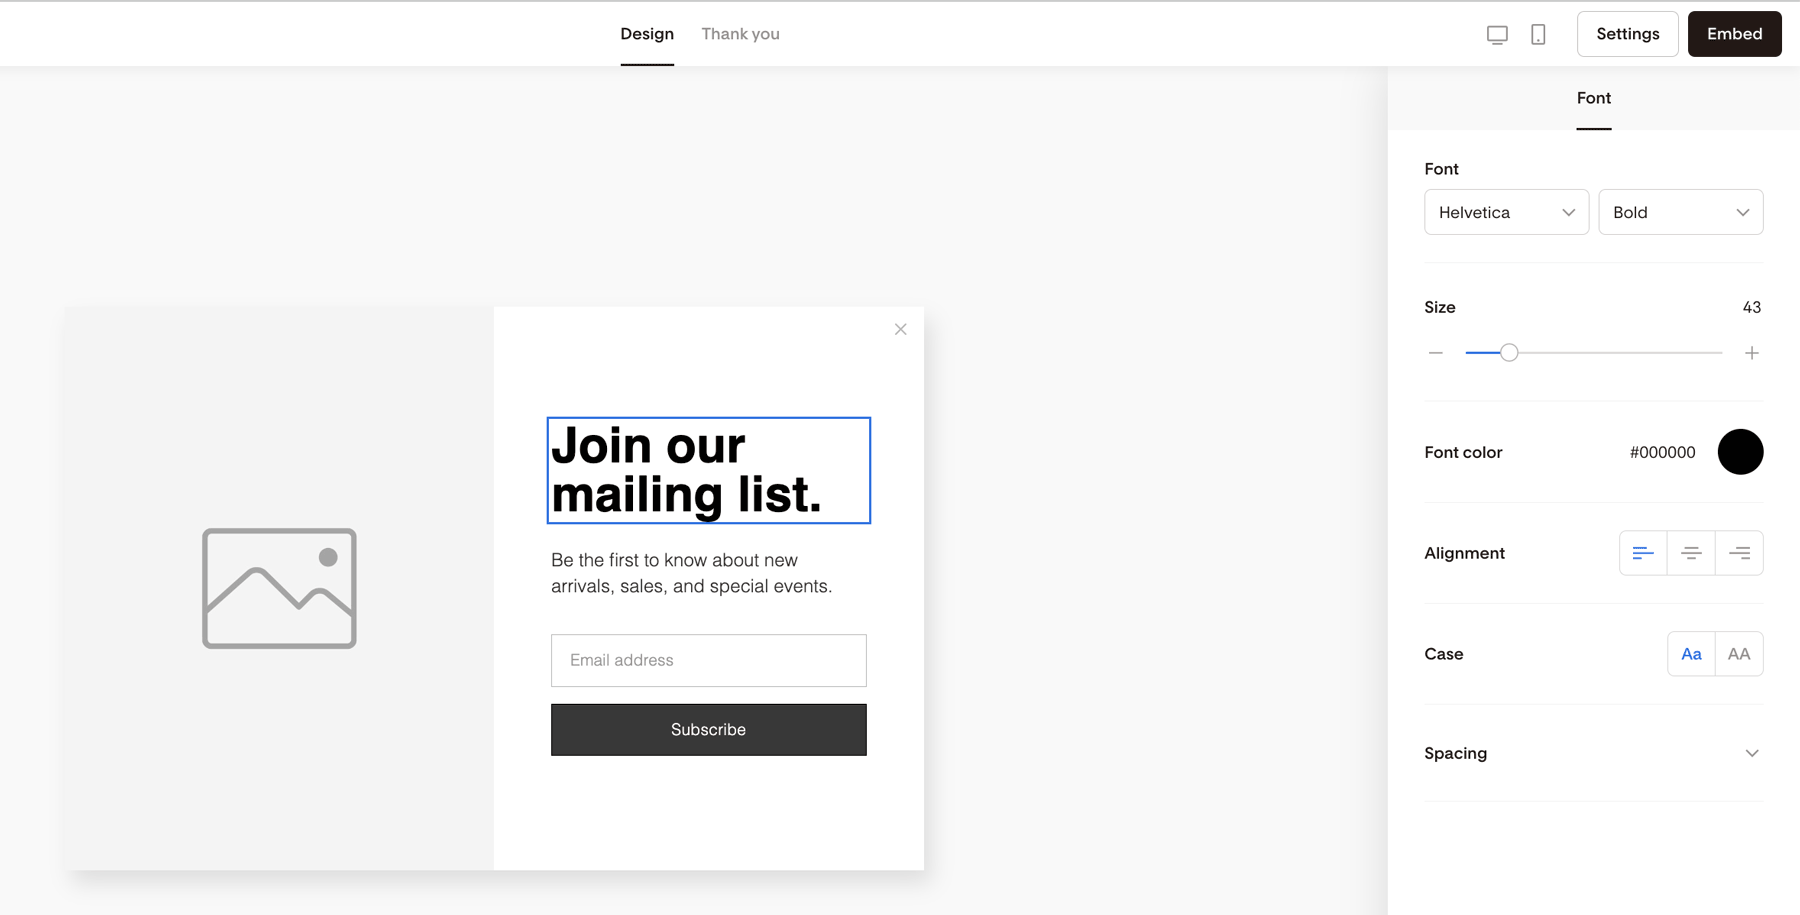
Step 5: Edit Form Content
Click directly on any block (text, image, button) to start editing.
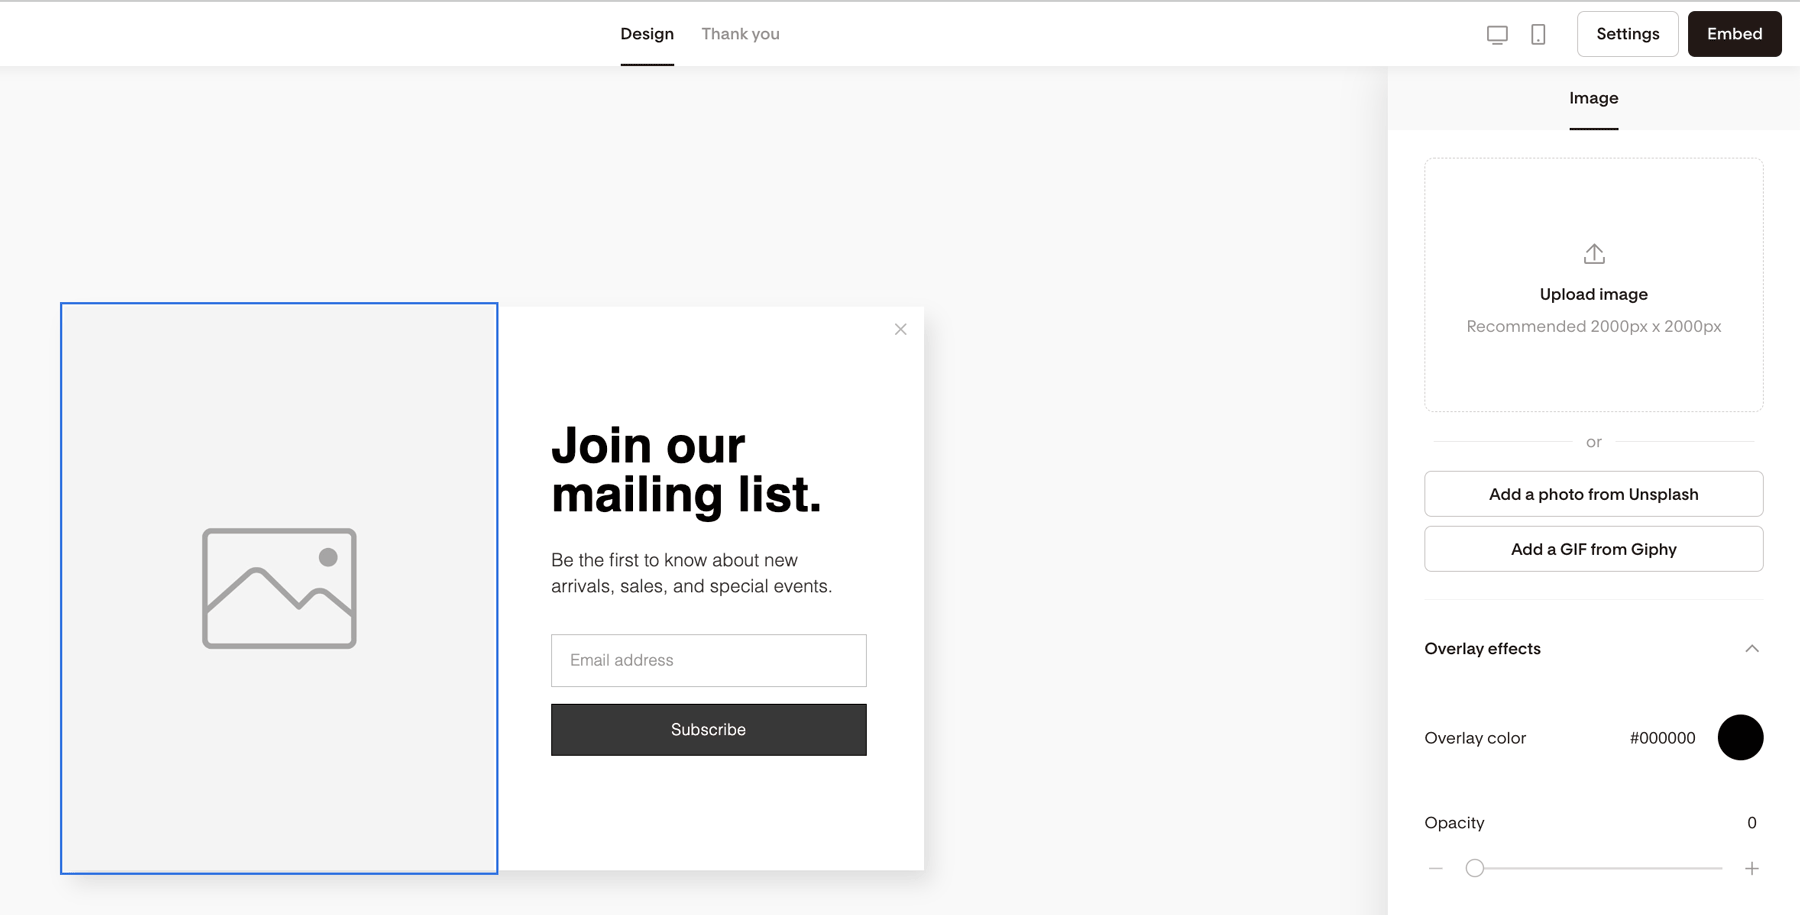
To add a photo to the form, click on the image placeholder to:
Upload a photo from your computer via the Upload image box
Pull in a photo from Unsplash via the Add a photo from Unsplash button, or
Add a GIF from Giphy
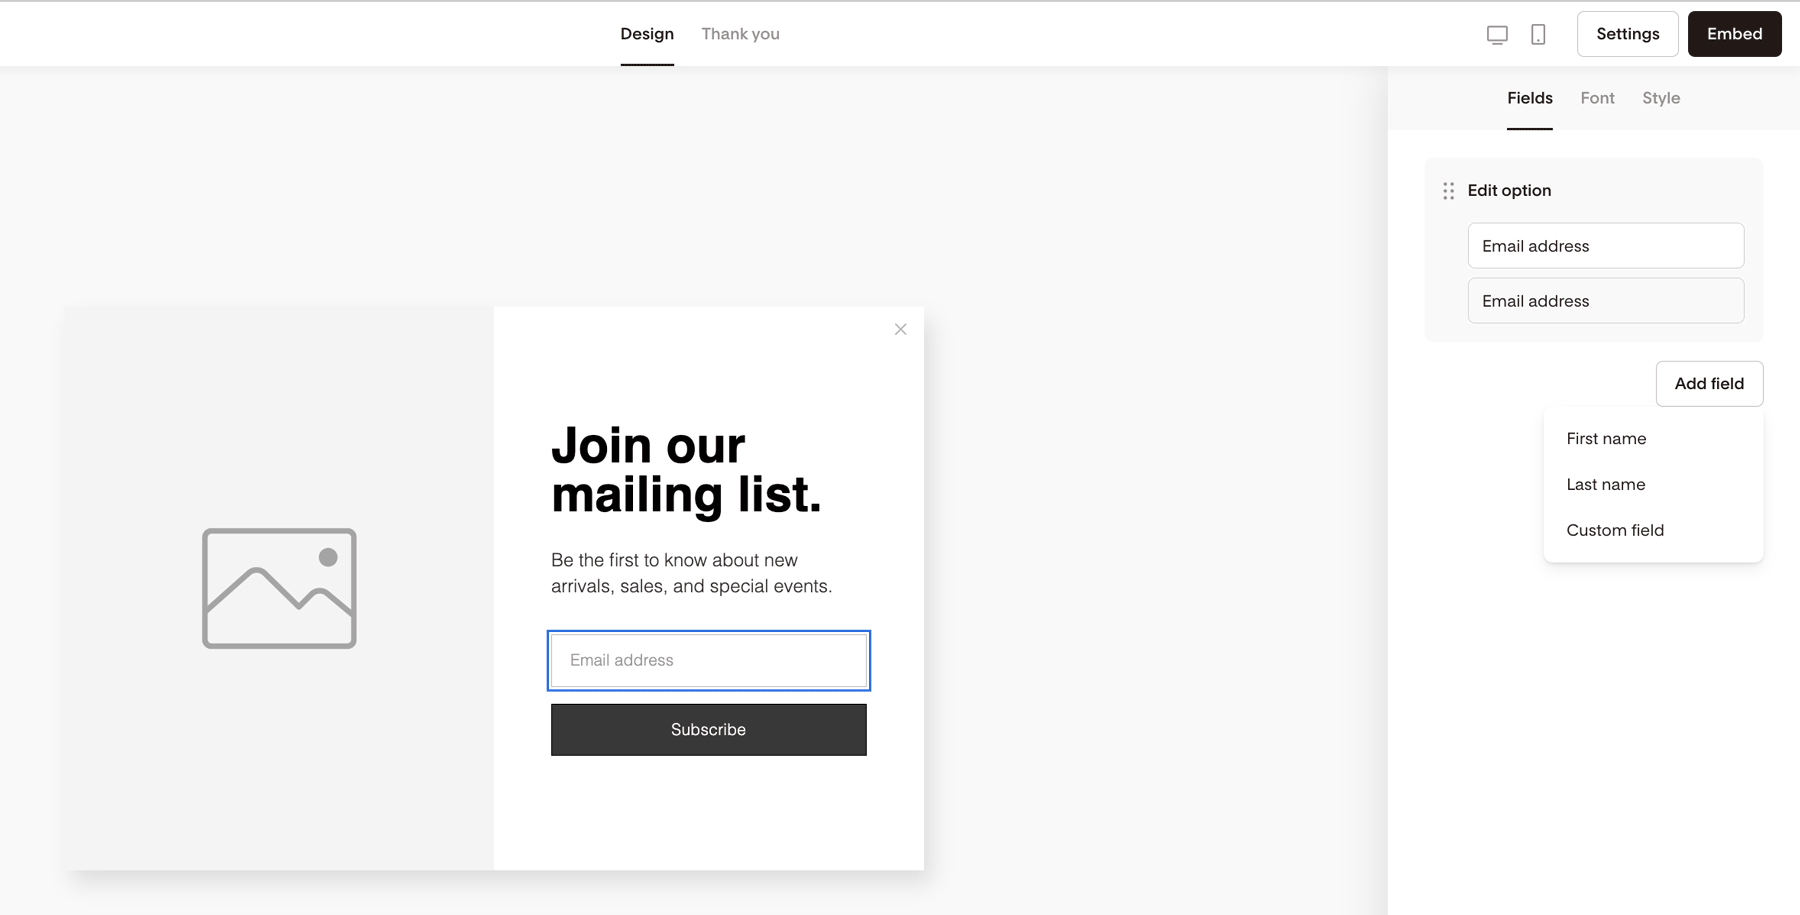
Step 6: Add or Edit Fields
Click into a form field to open the Fields tab
Click + Add field to include:
Default fields: First name, Last name
Custom fields: For collecting any additional info
Learn more about custom fields here.
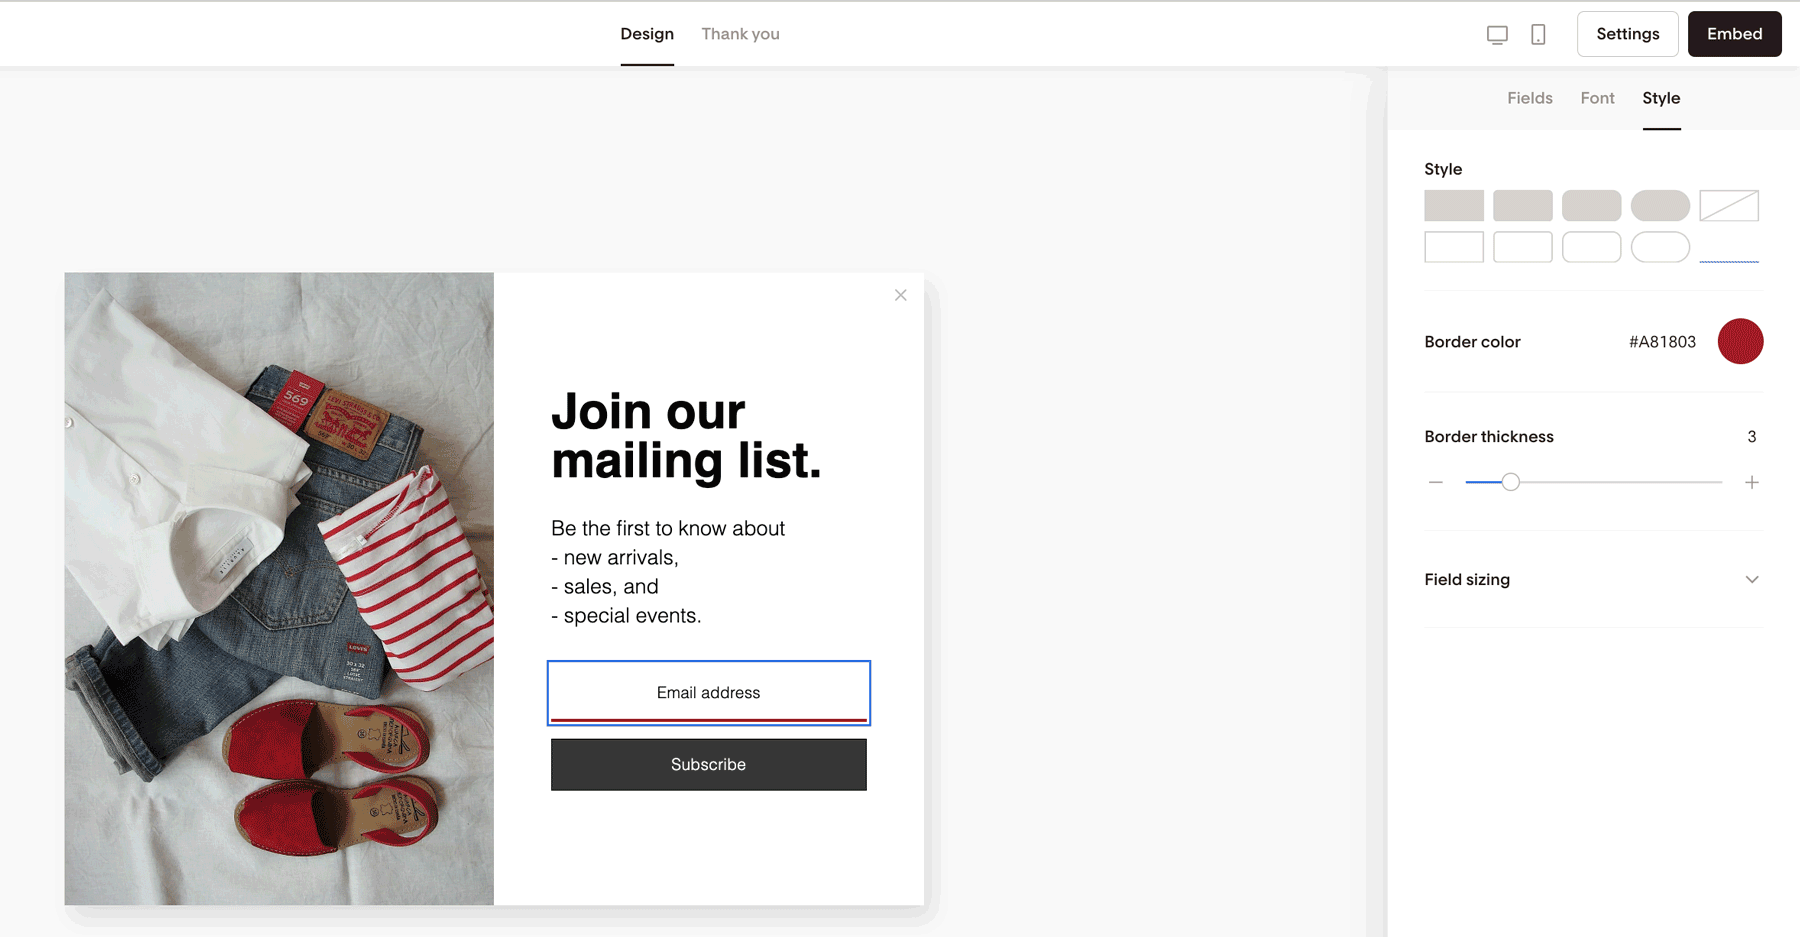
You can style the fields using options like underline or no border under the Style tab.
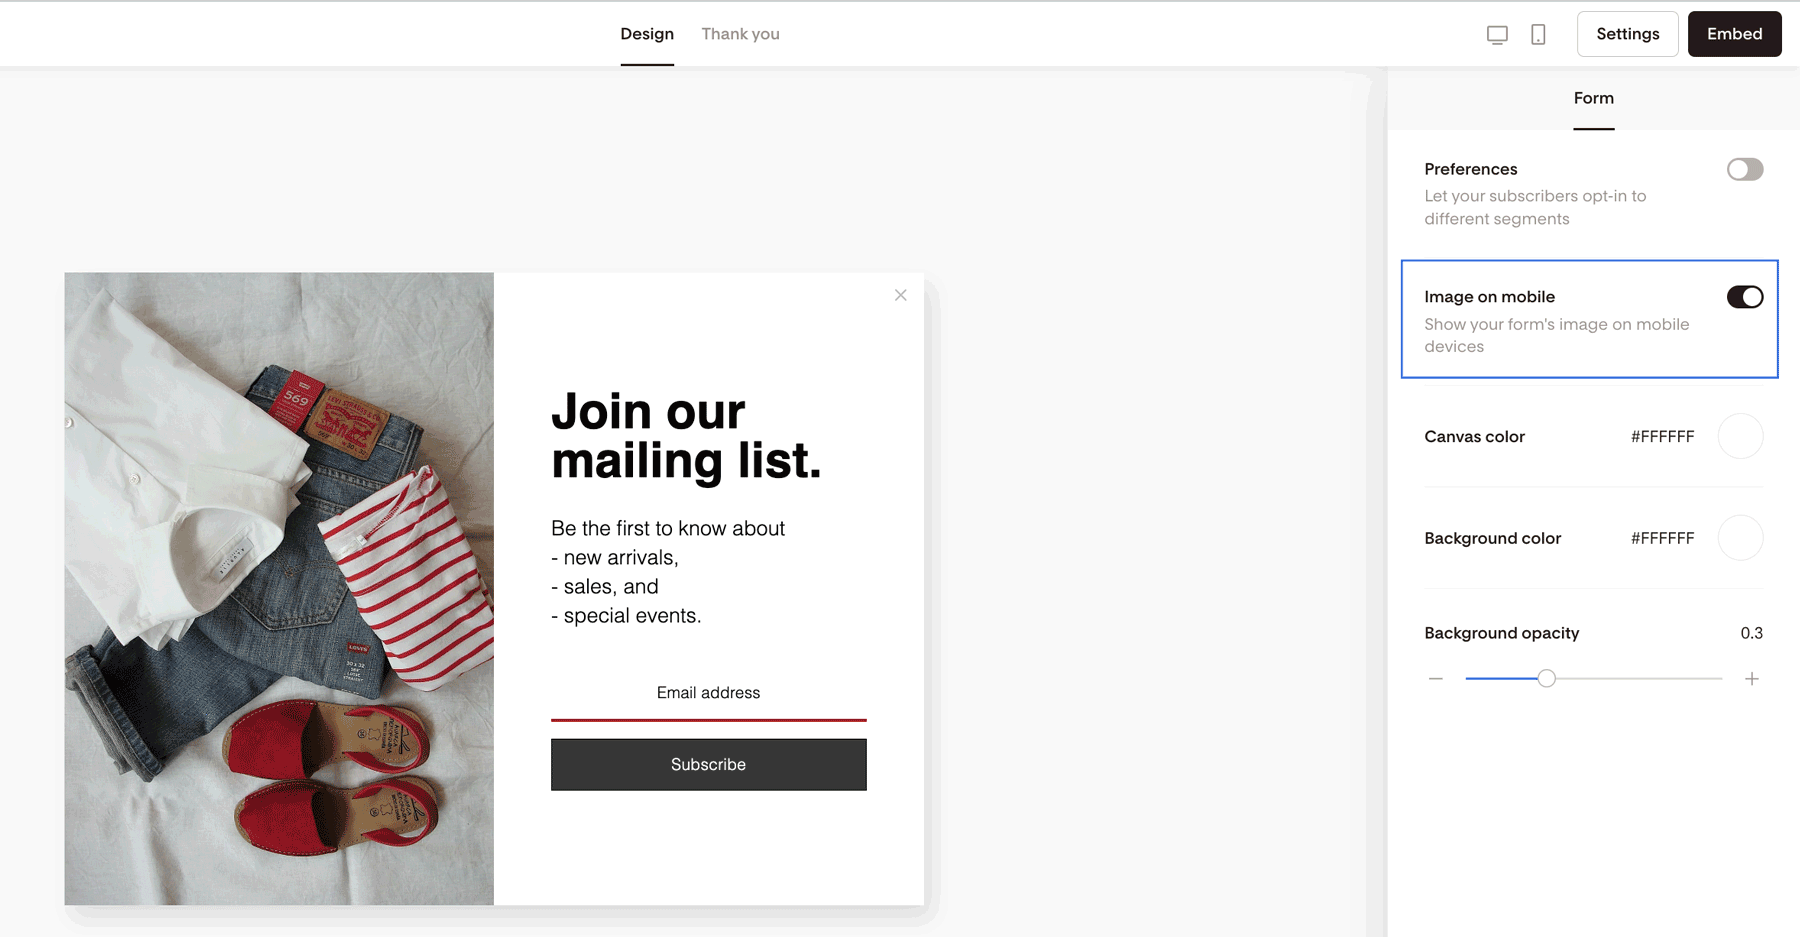
Step 7: Adjust Mobile Display
To ensure the image displays on mobile devices:
Click on the form background
In the right sidebar under the Form tab, toggle Image on mobile to ON
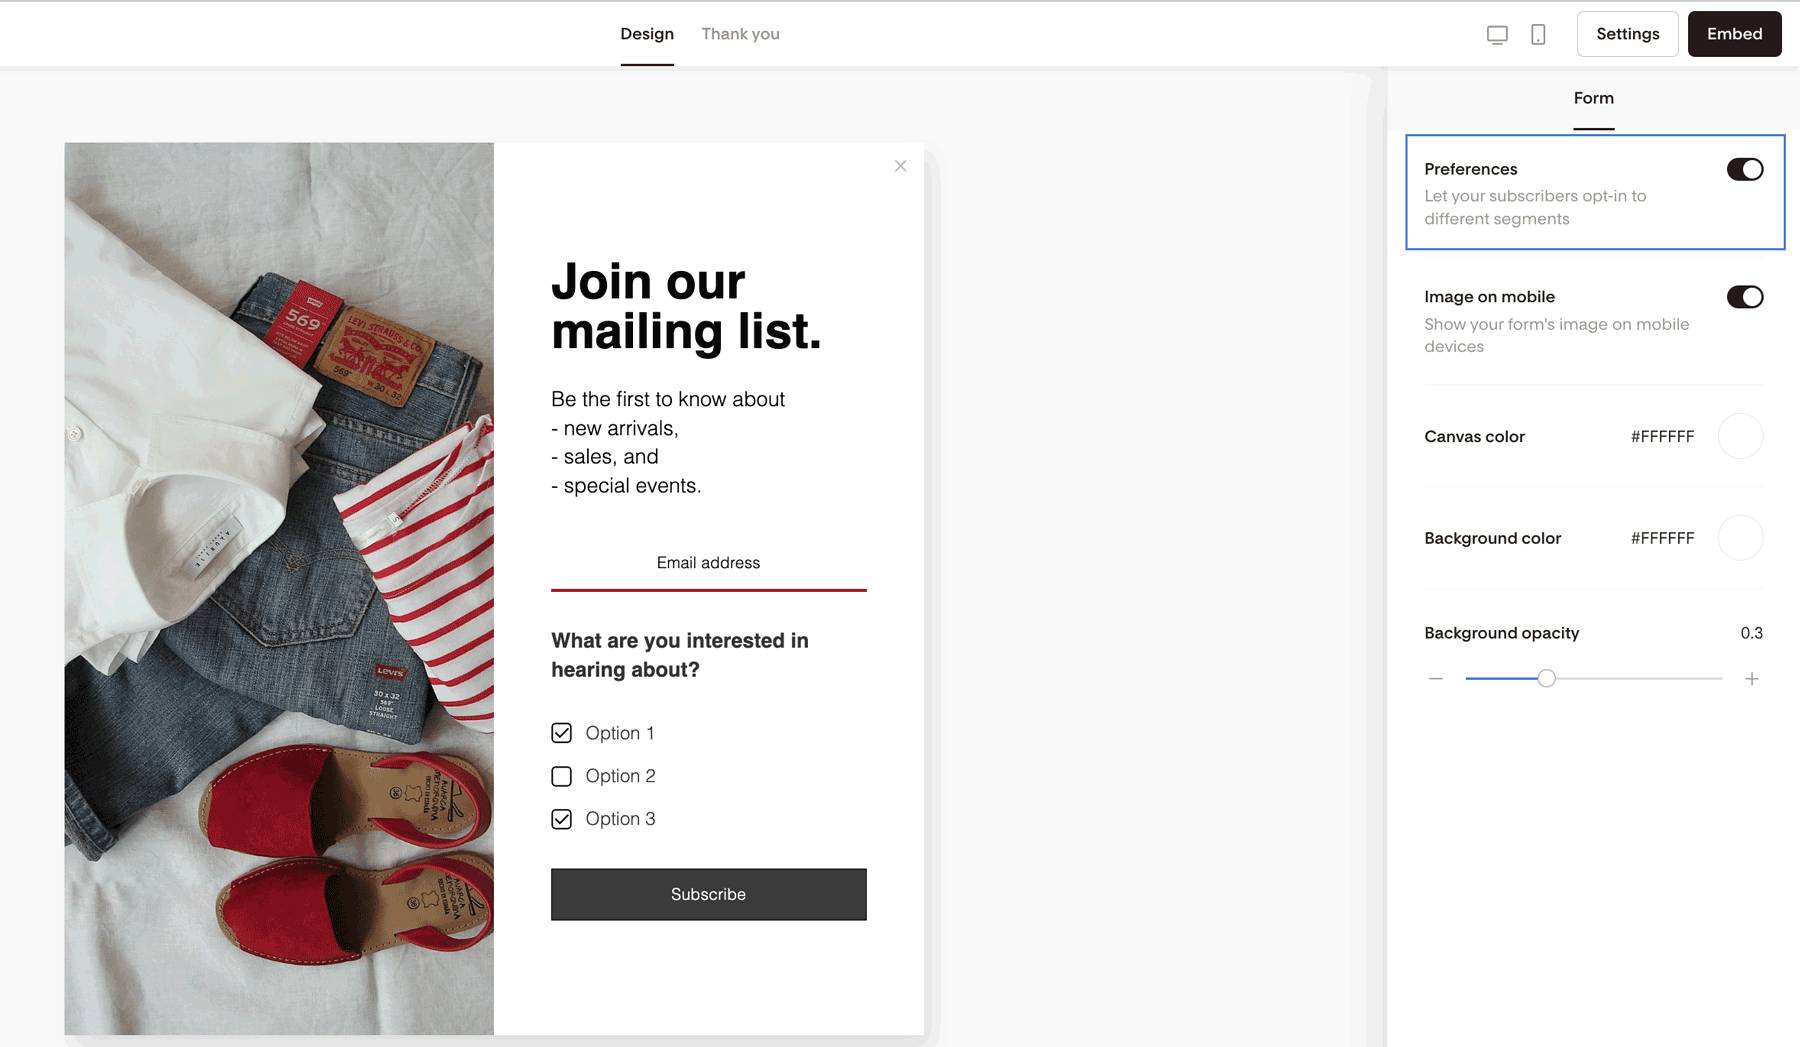
Step 8: Enable Preferences (Optional)
Turn on Preferences if you want subscribers to choose additional segments.
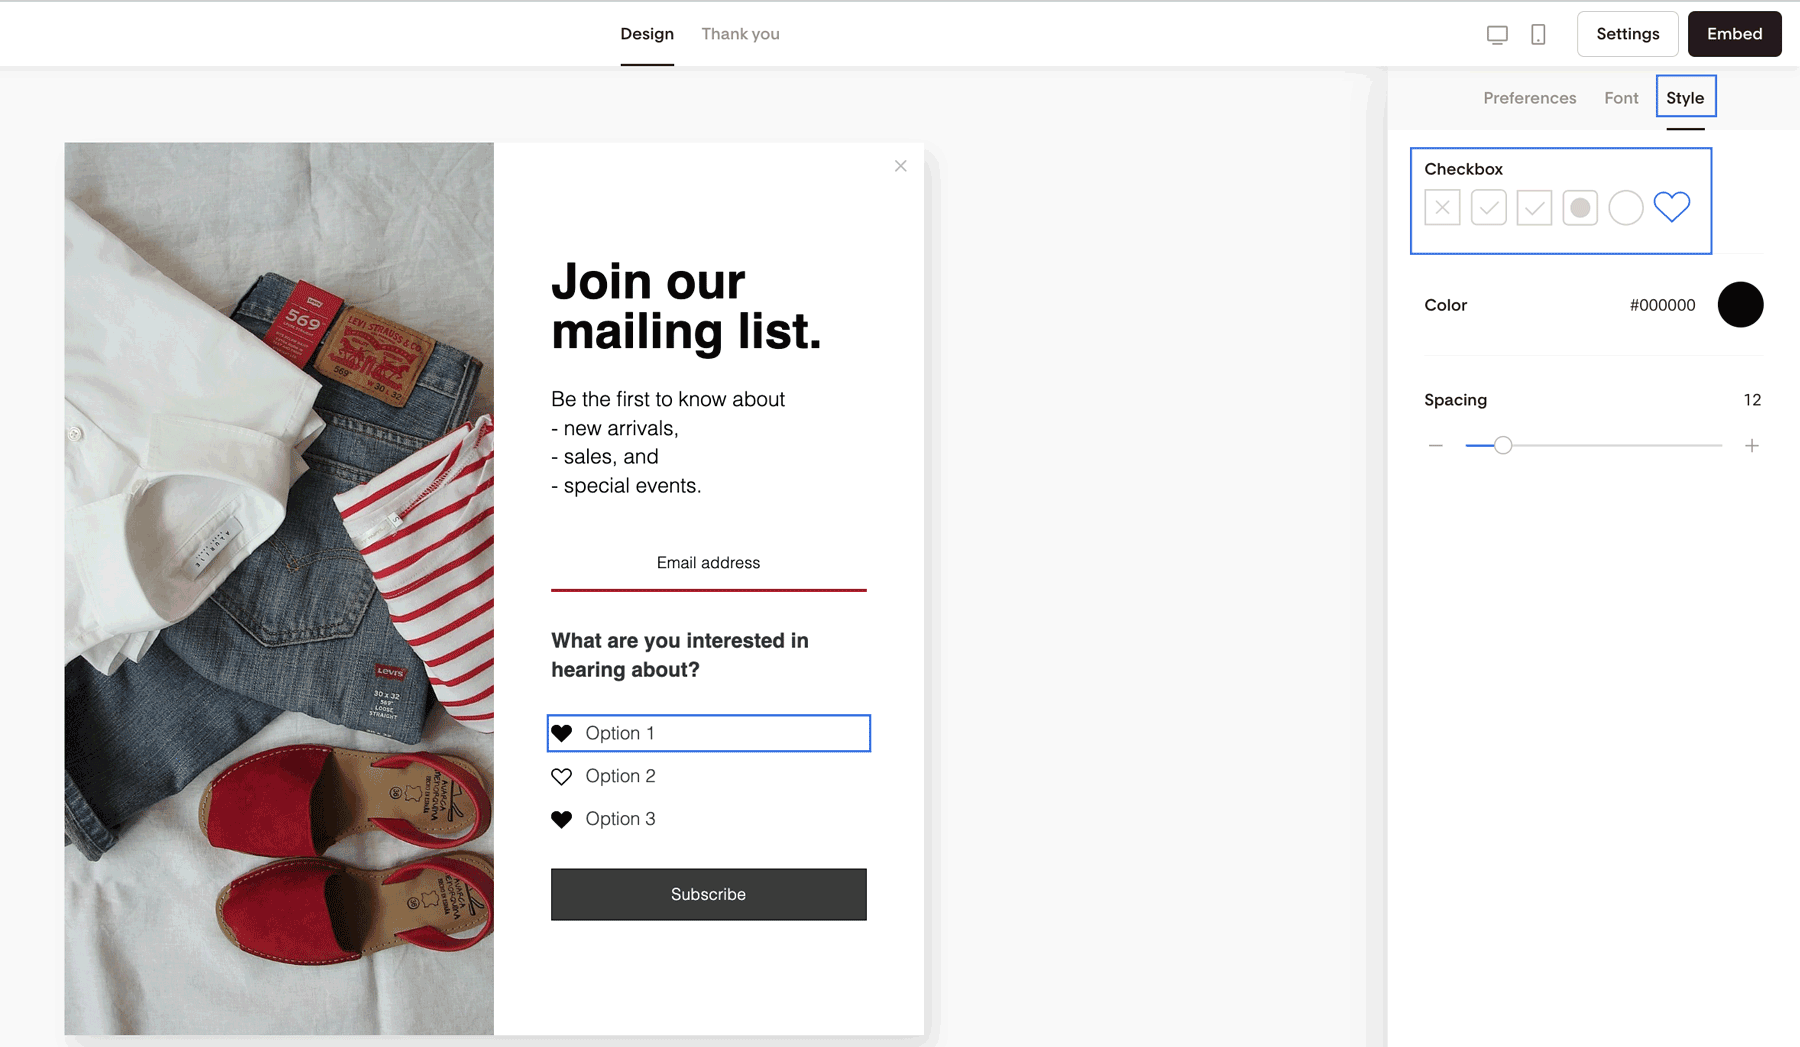
You can customize the checkbox style—square, circle, or heart.
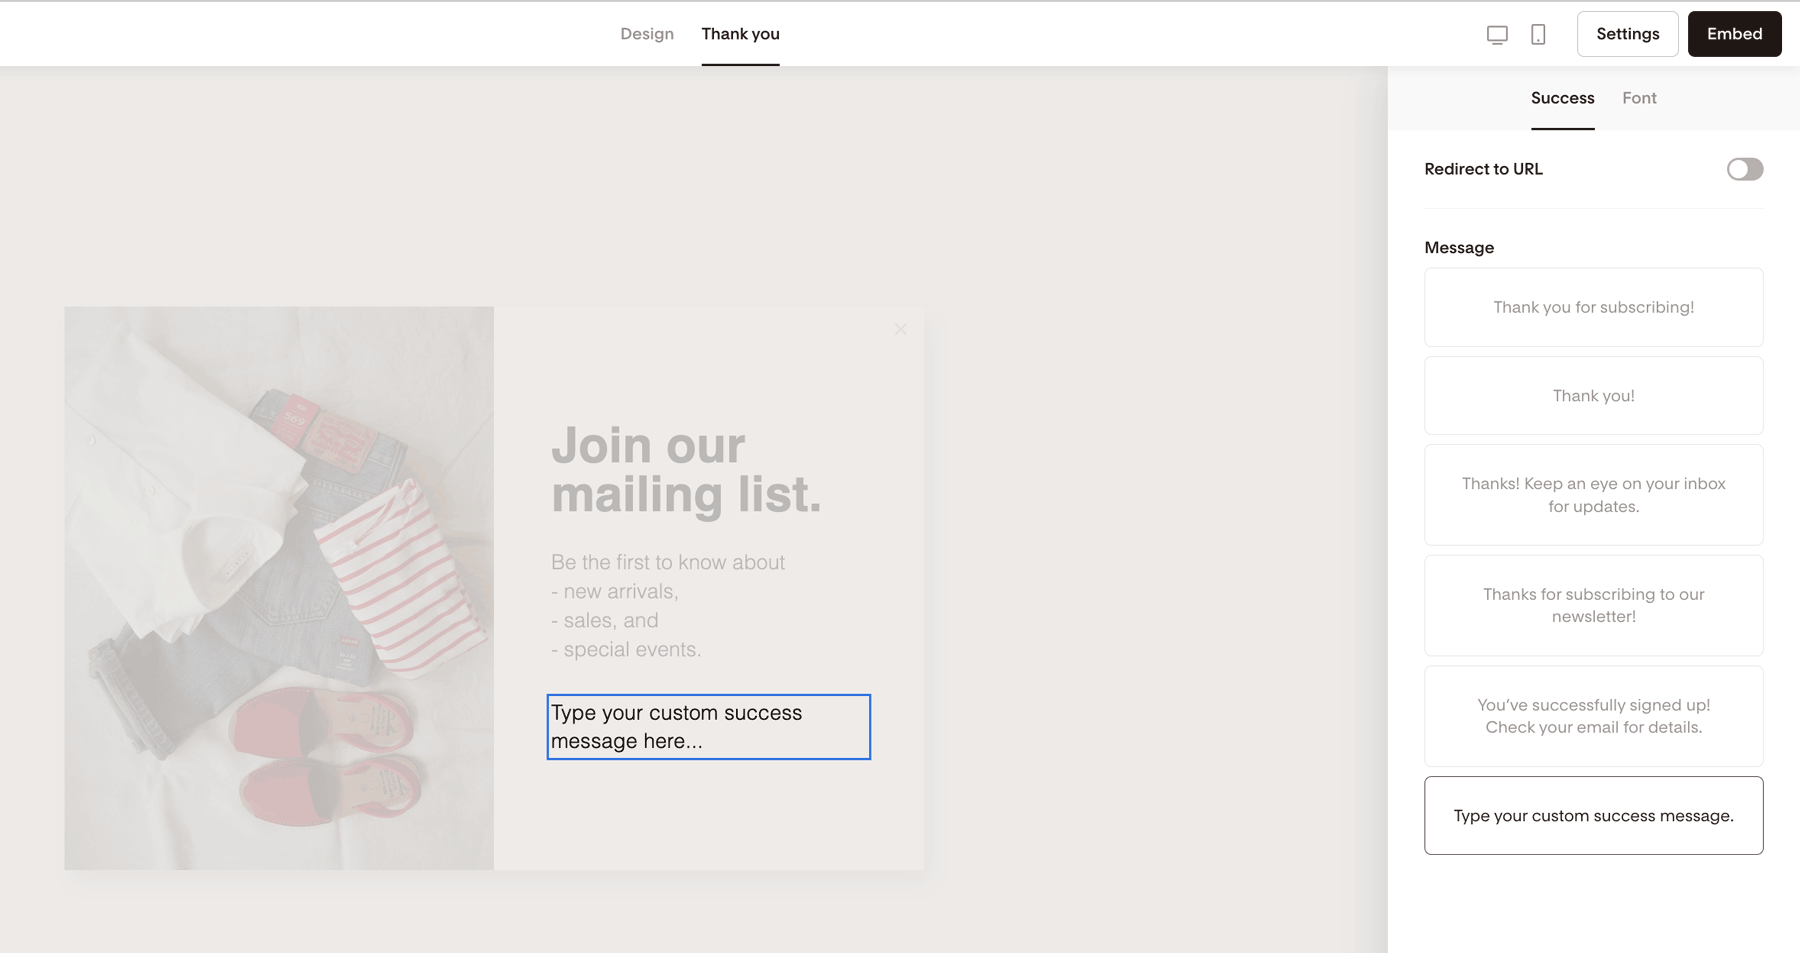
Step 9: Customize the Thank You Message
Go to the Thank you tab:
Edit the form success message. This is the text displayed after someone subscribes to your form.
Optionally toggle Redirect to URL to send subscribers to a custom landing page (e.g., a tripwire or offer). After subscribers opt-in to your form, they will be redirected to the URL you specify here.
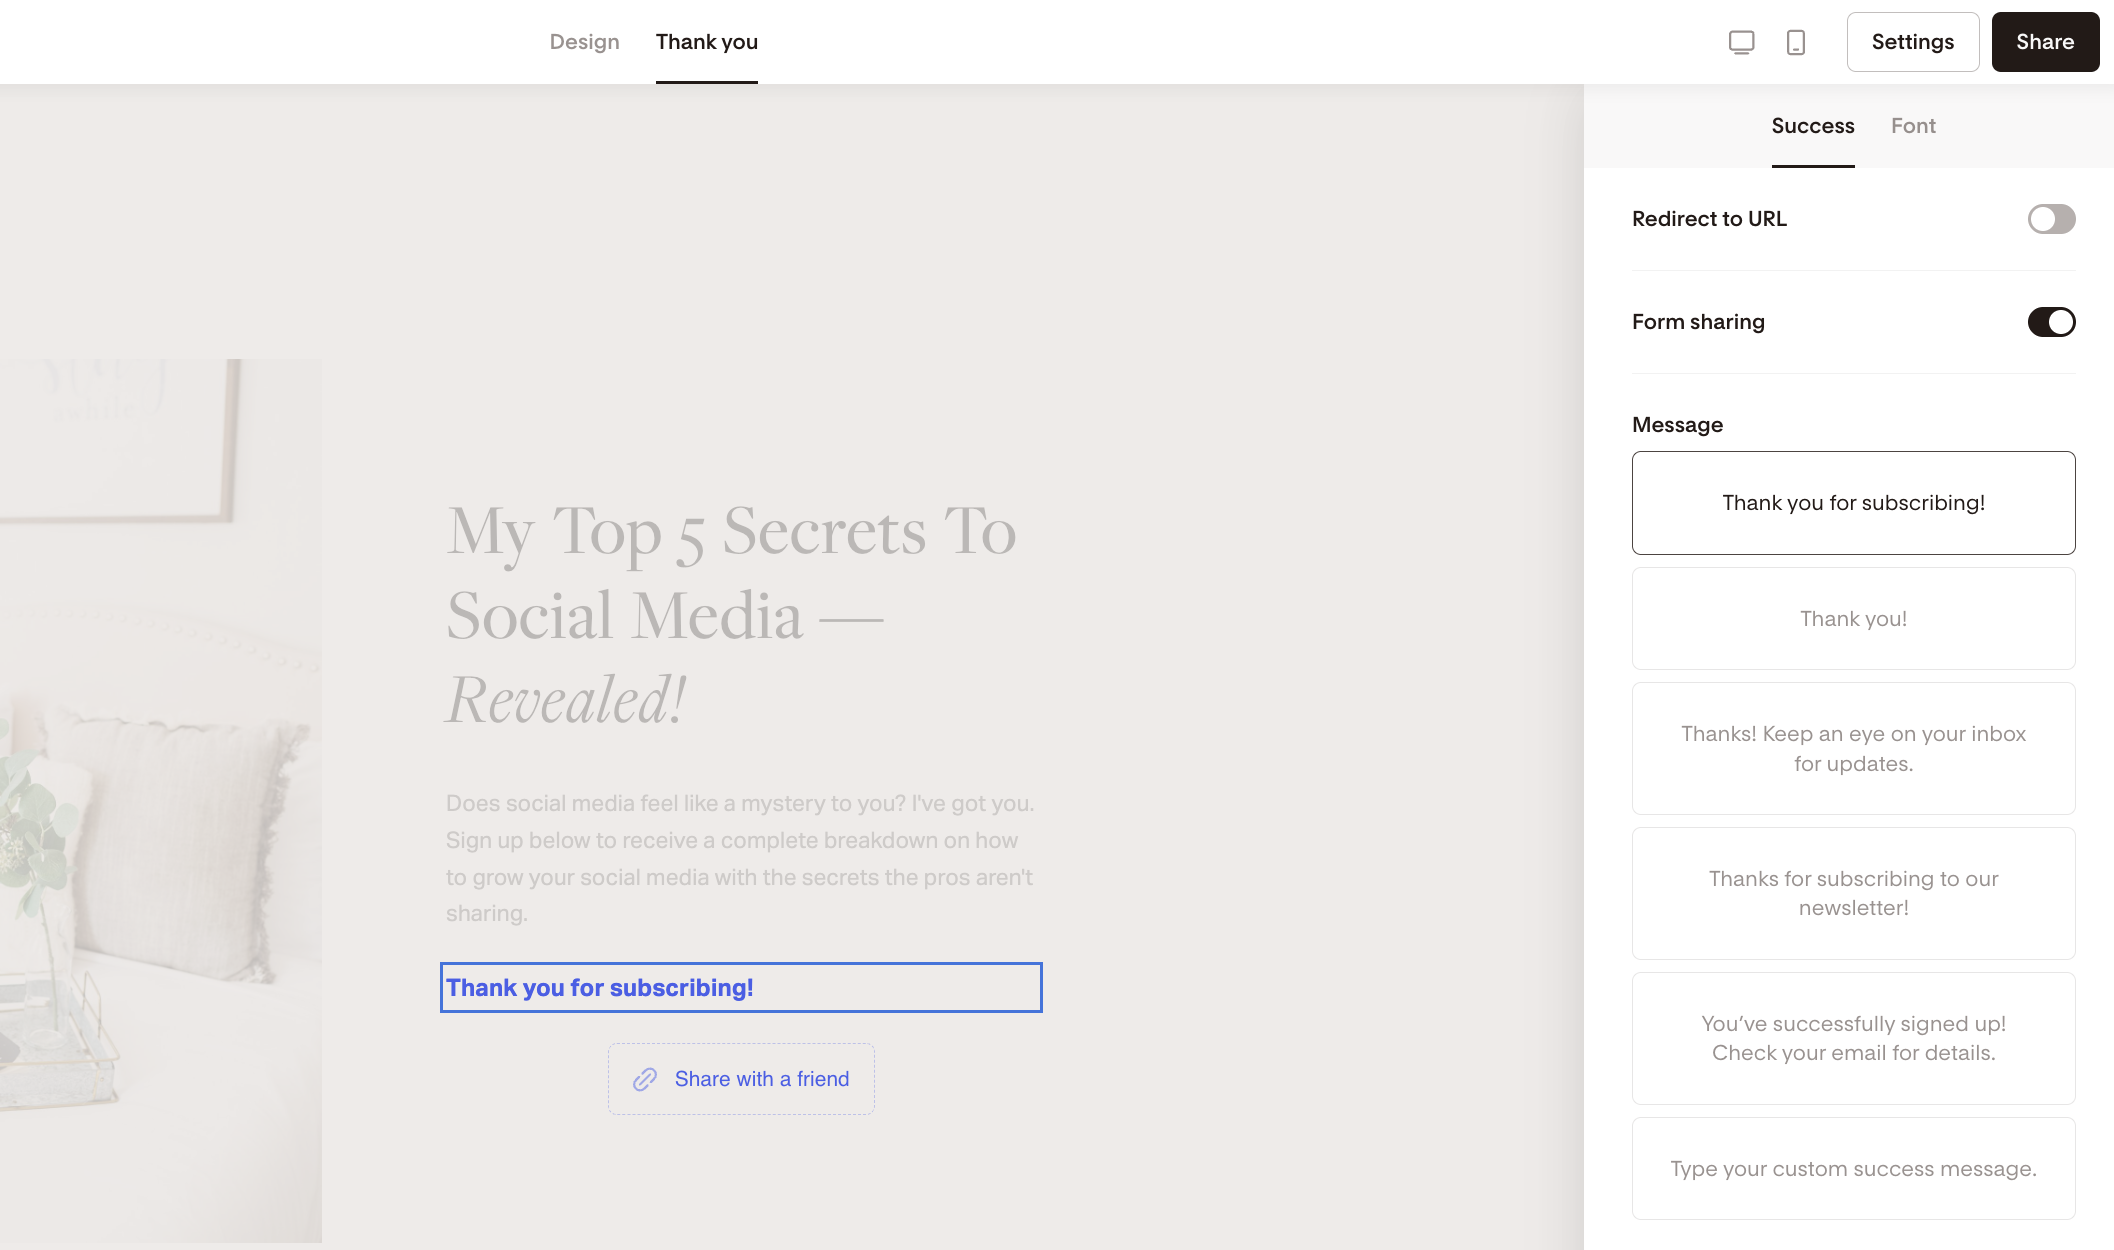
If using a Full page form, you can enable Form sharing so subscribers can share the form link with others. When turned on, the "Share with a friend" button will be visible. The button will inherit the font color that you choose for your thank you message. The font style cannot be edited and will always be Helvetica /Arial.
Note: Redirect to URL and Form sharing cannot be enabled at the same time.
Finalizing Settings and Publishing
Step 10: Configure Form Settings
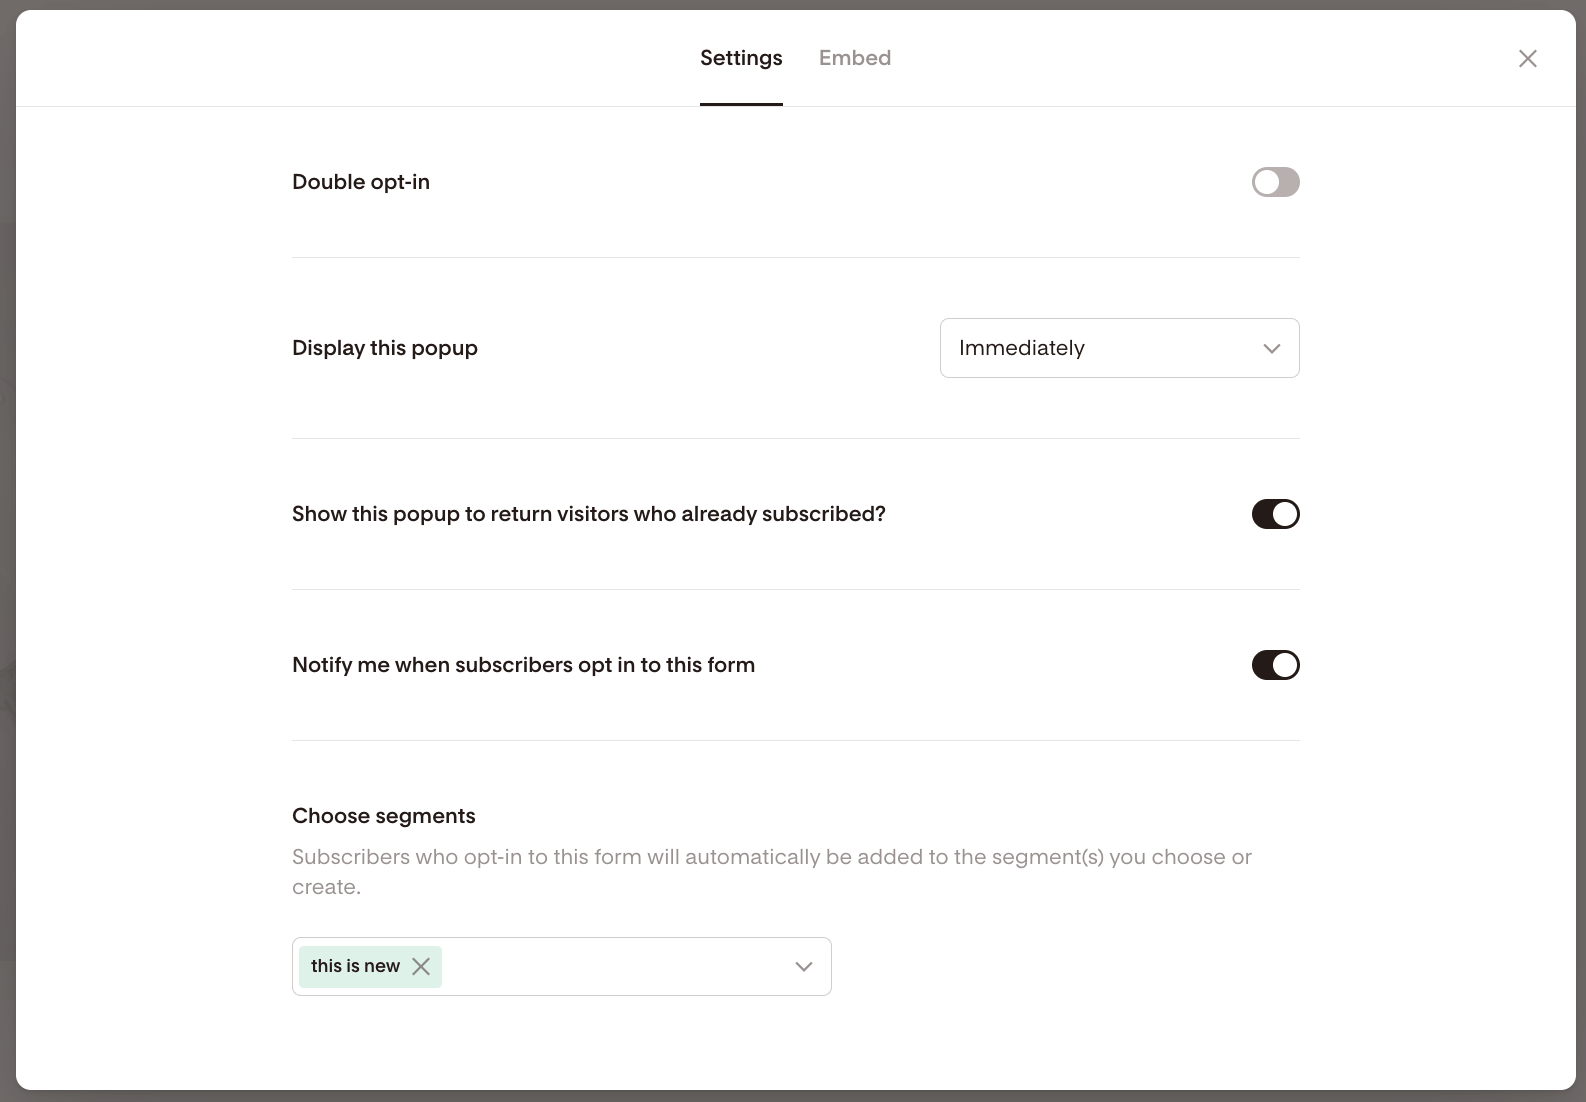
Click the Settings button in the top-right to:
Enable/disable Double opt-in
Set popup display behavior
Show/hide popup for to return visitors who already subscribed
Turn on subscriber notification alerts: Flodesk will send you a subscriber notification email, including the number of your active subscribers
Confirm or edit your assigned main form segment
Step 11: Embed or Share Your Form
For Popup and Inline forms:
Go to the Embed tab
Copy the HTML code(s)
Paste them into your website where needed
If you work with AI website builders, use the AI-friendly prompt. Do not use this for regulat websites, like WordPress, or Wix etc.
For Full page and Link in bio forms:
No embed required—just copy the unique URL
Share it anywhere: your social media, emails, or blog
Important Notes
On the free plan, forms can collect subscribers into a segment only. To send automated emails, upgrade to a paid plan with workflow support.
All form types can be customized with your branding and shared or embedded based on your goals.
Summary
Creating a Flodesk opt-in form is easy and flexible:
Choose from Popup, Inline, Full page, or Link in bio
Customize the design, fields, and thank you message
Assign a segment for subscriber organization and automation
Embed on your site or share the link—depending on form type
Use forms to turn visitors into subscribers and grow your list with confidence.