How to set up a Registration Confirmation Workflow
A step-by-step guide on how to set up and customize the Registration Confirmation workflow template
The Registration Confirmation workflow template helps you share important details about your upcoming event and get your audience excited to attend.
What you need:
A segment
A registration confirmation workflow
An event registration signup form
By combining these three elements, you can set up the following scenario:
When someone visits your event registration opt-in form and signs up, they get added to the segment you connect to the opt-in form.
By being added to this segment, your registration confirmation workflow gets triggered, and they will receive the workflow email.
Let’s set it up together, starting with the segment, then the workflow and lastly, the opt-in form.
Create a new segment
Step 1. On your Audience > Segments dashboard, click the create +New segment button.
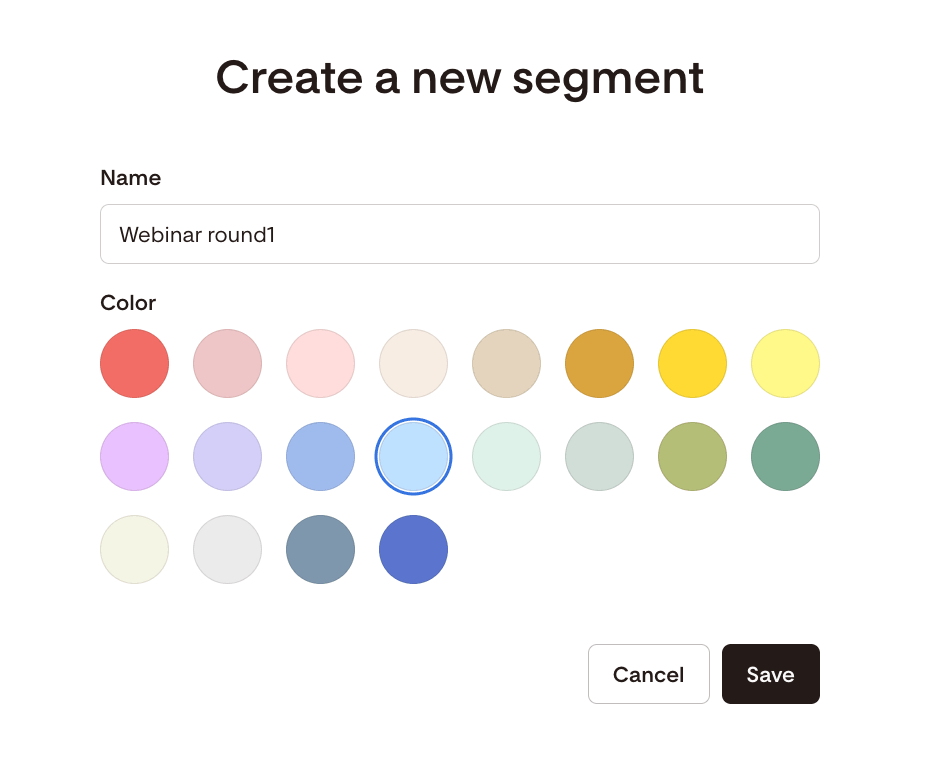
Step 2. Give it a meaningful name, pick a segment color, and hit save. In the example below, we named the segment “Webinar round1.”
In the following steps, we will connect this segment to the registration confirmation workflow and the event registration opt-in form.
Important: do not add any subscribers to this segment yet.
Customize the Registration Confirmation workflow template
Step 1. On your Workflows dashboard, click the create +New workflow button.
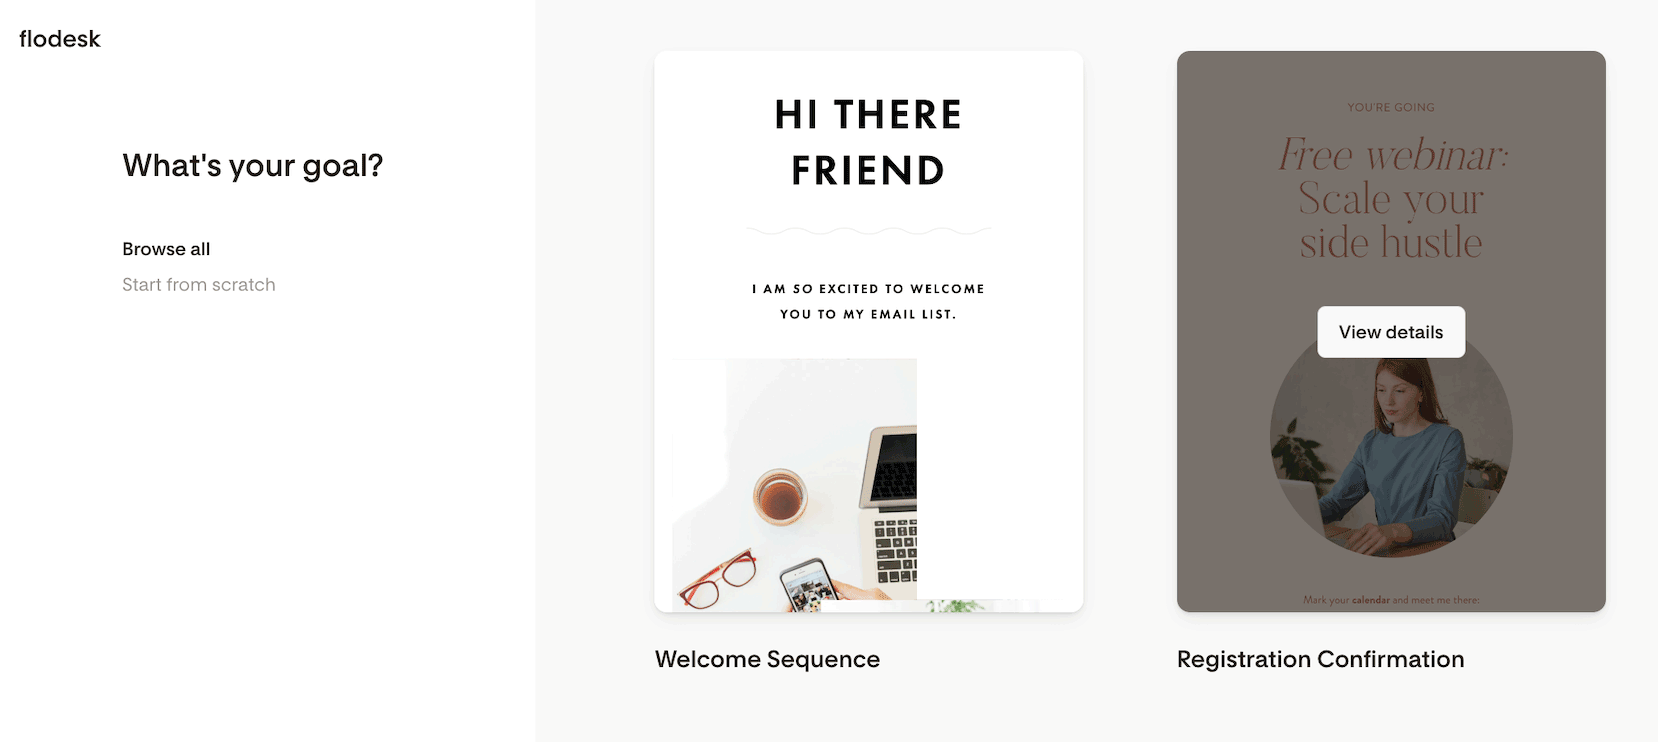
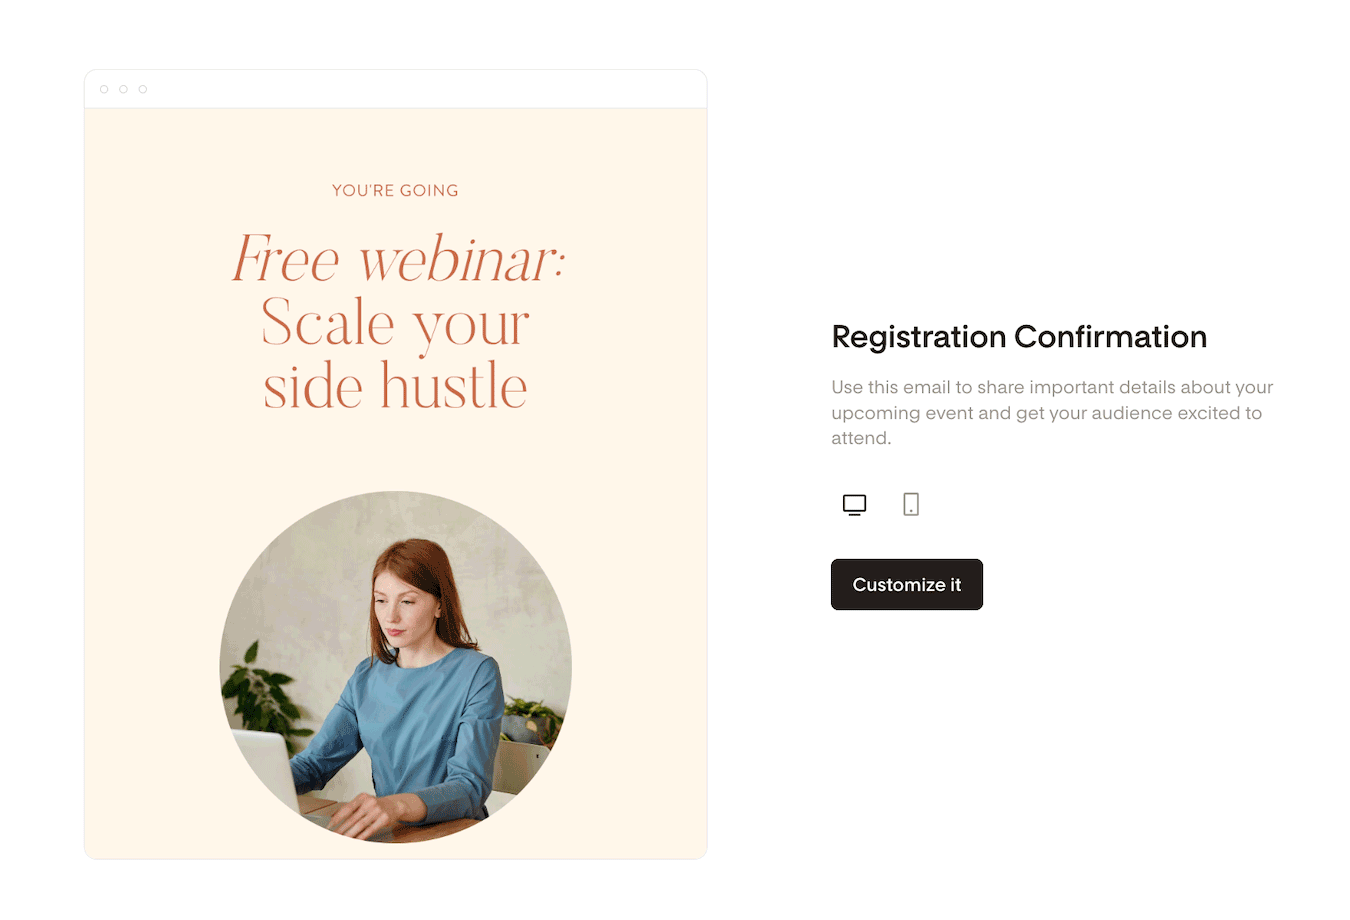
Step 2. In the workflow template gallery, select the Registration Confirmation workflow template. Click View details on the workflow’s card and Customize it.
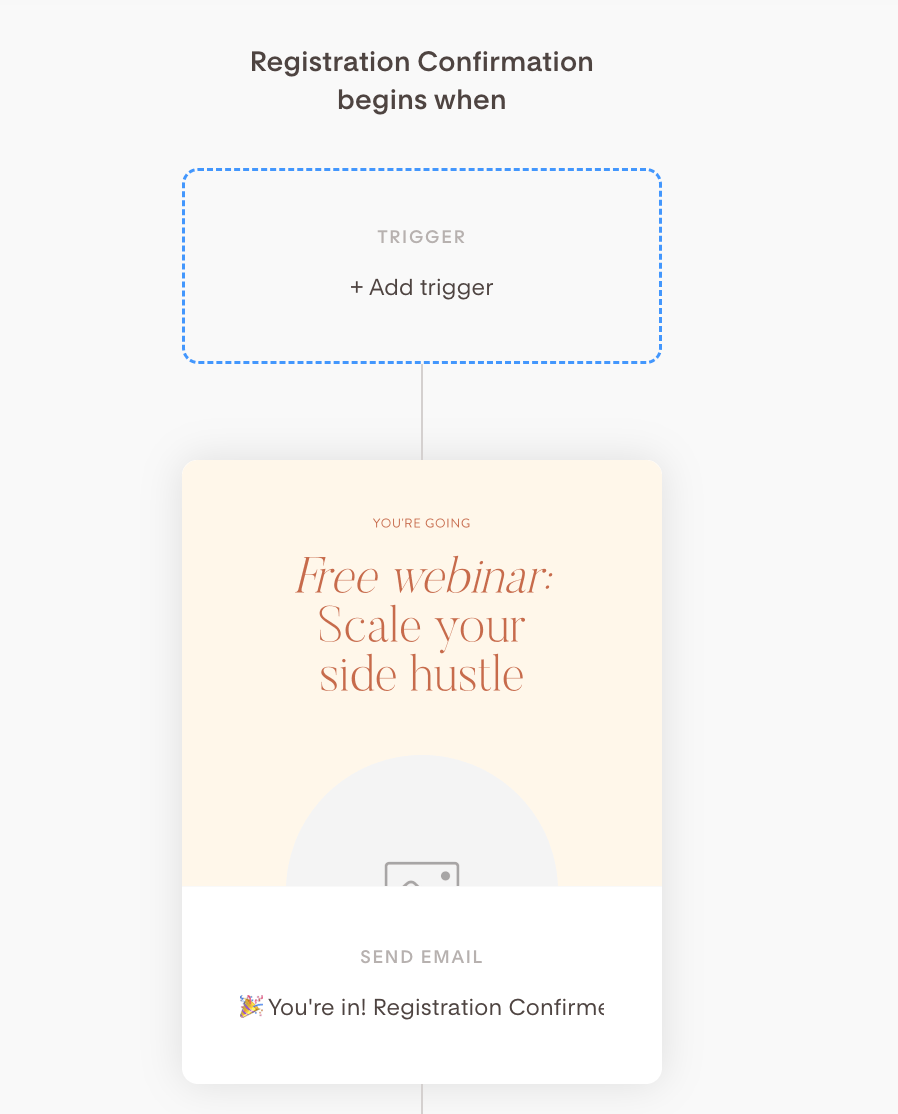
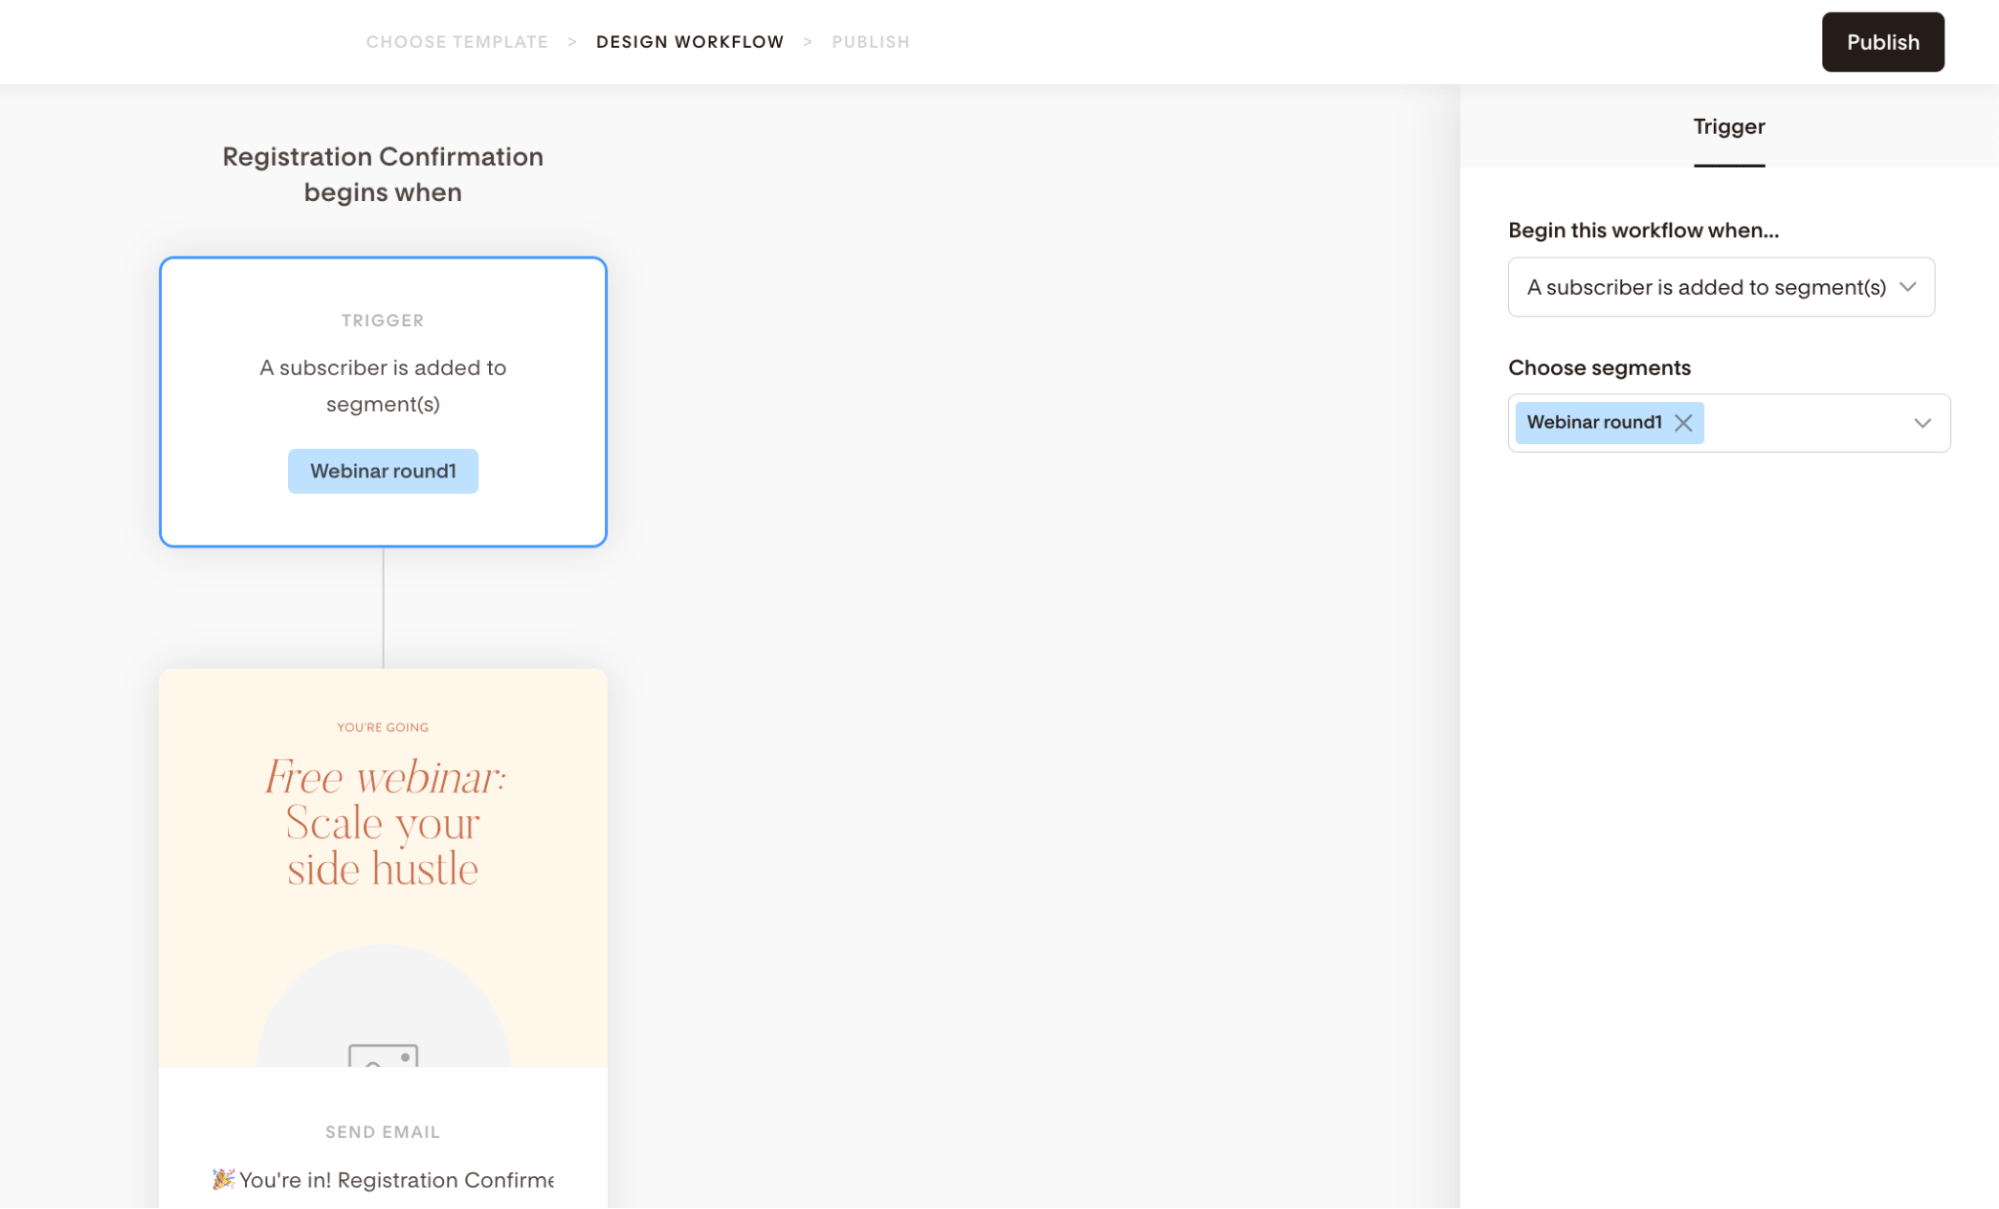
Step 3. As the first step in the workflow, click “+Add trigger”, and on the right sidebar, choose the segment you created earlier.
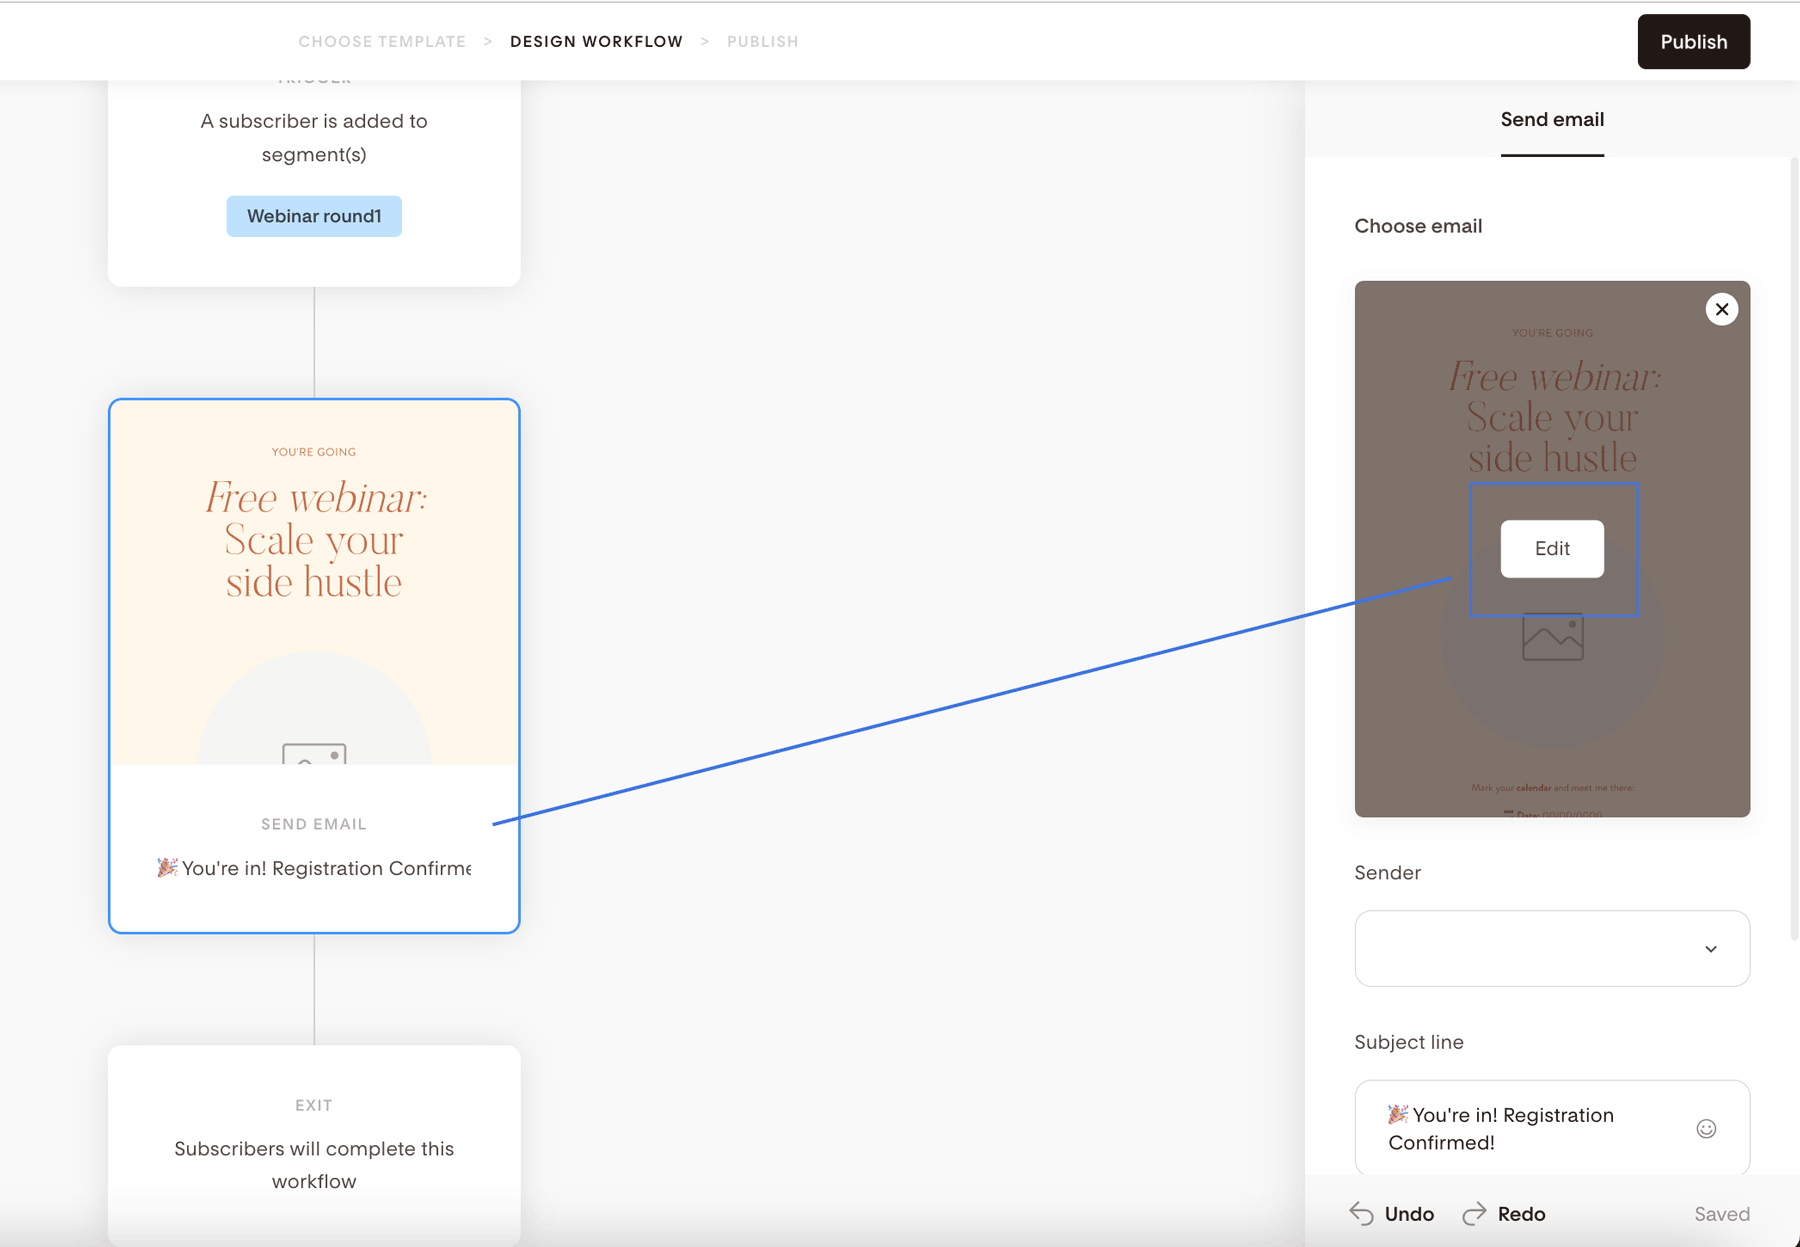
Step 4. Next, click the Email step to select it. You can then edit the email content and design by clicking Edit on the email’s card on the right sidebar.
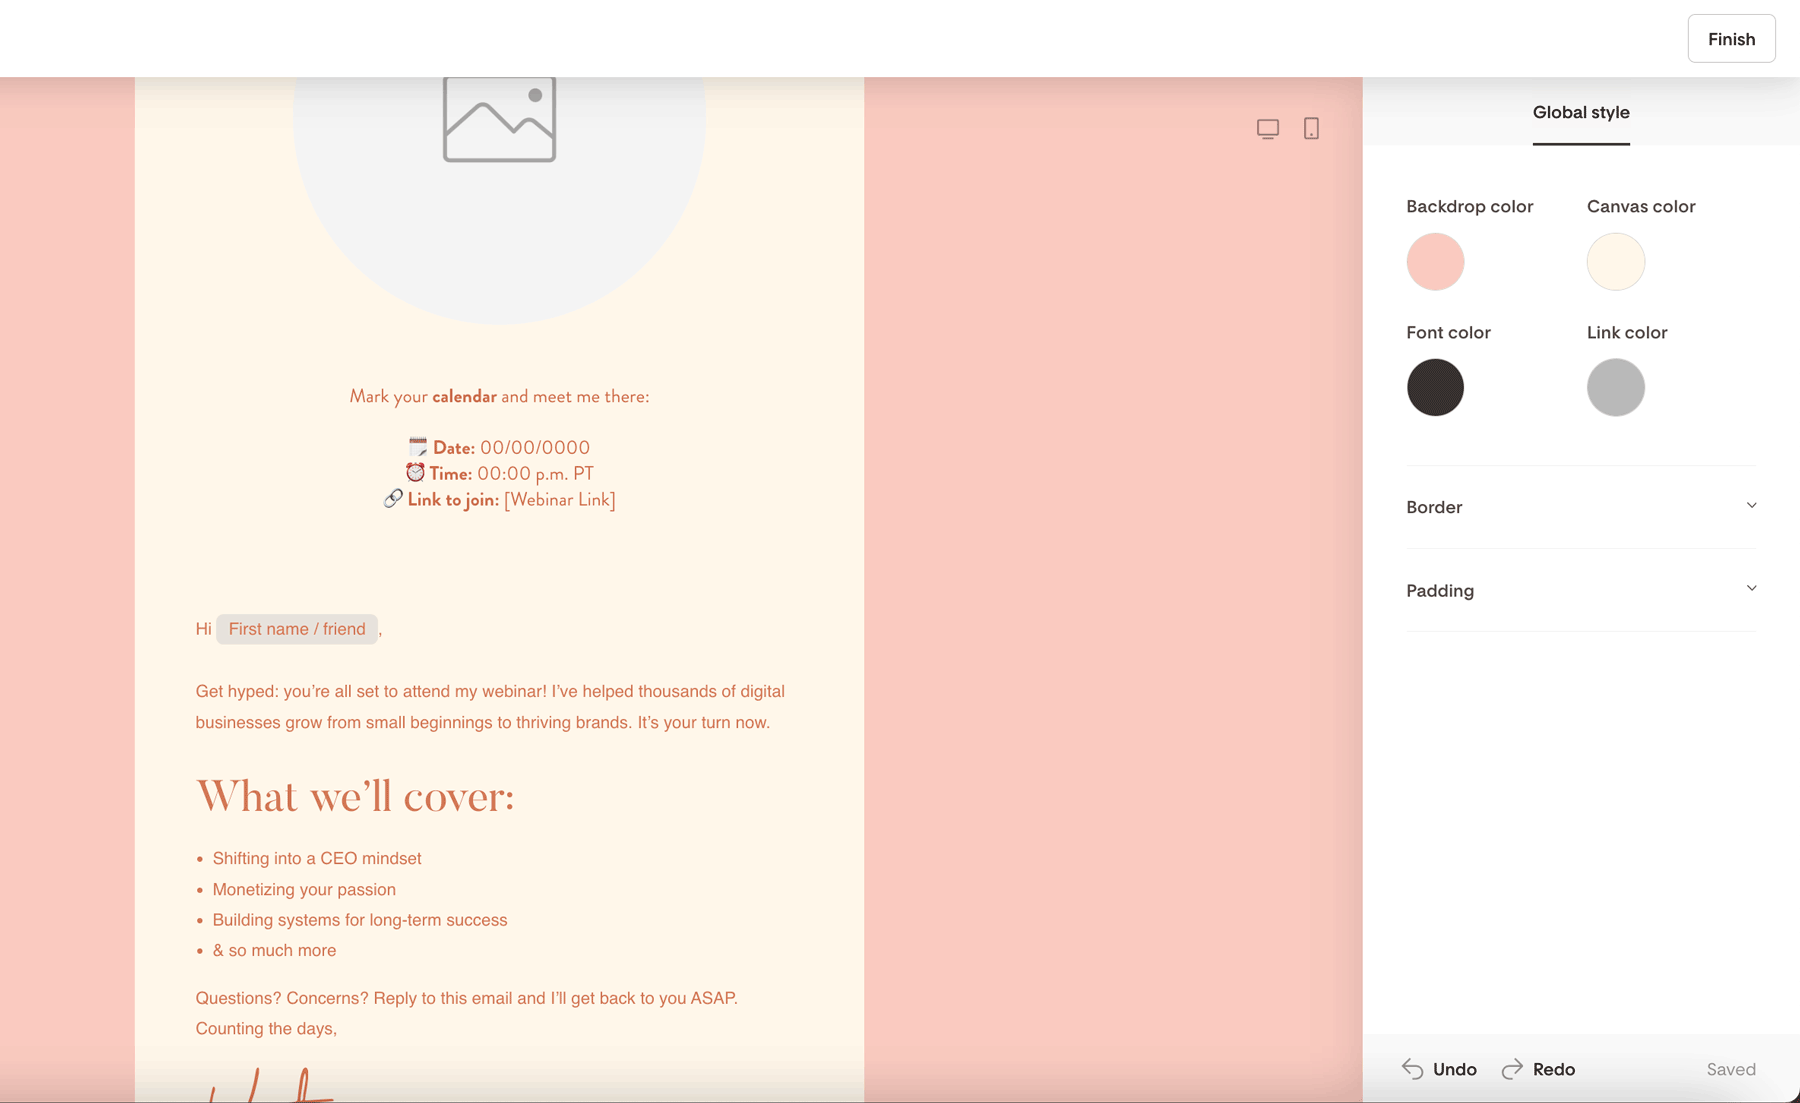
Update the placeholder copy in the email, upload your images, style your CTA buttons, and connect your links. Once you finish editing the email, click Finish in the top right corner to return to the workflow steps screen.
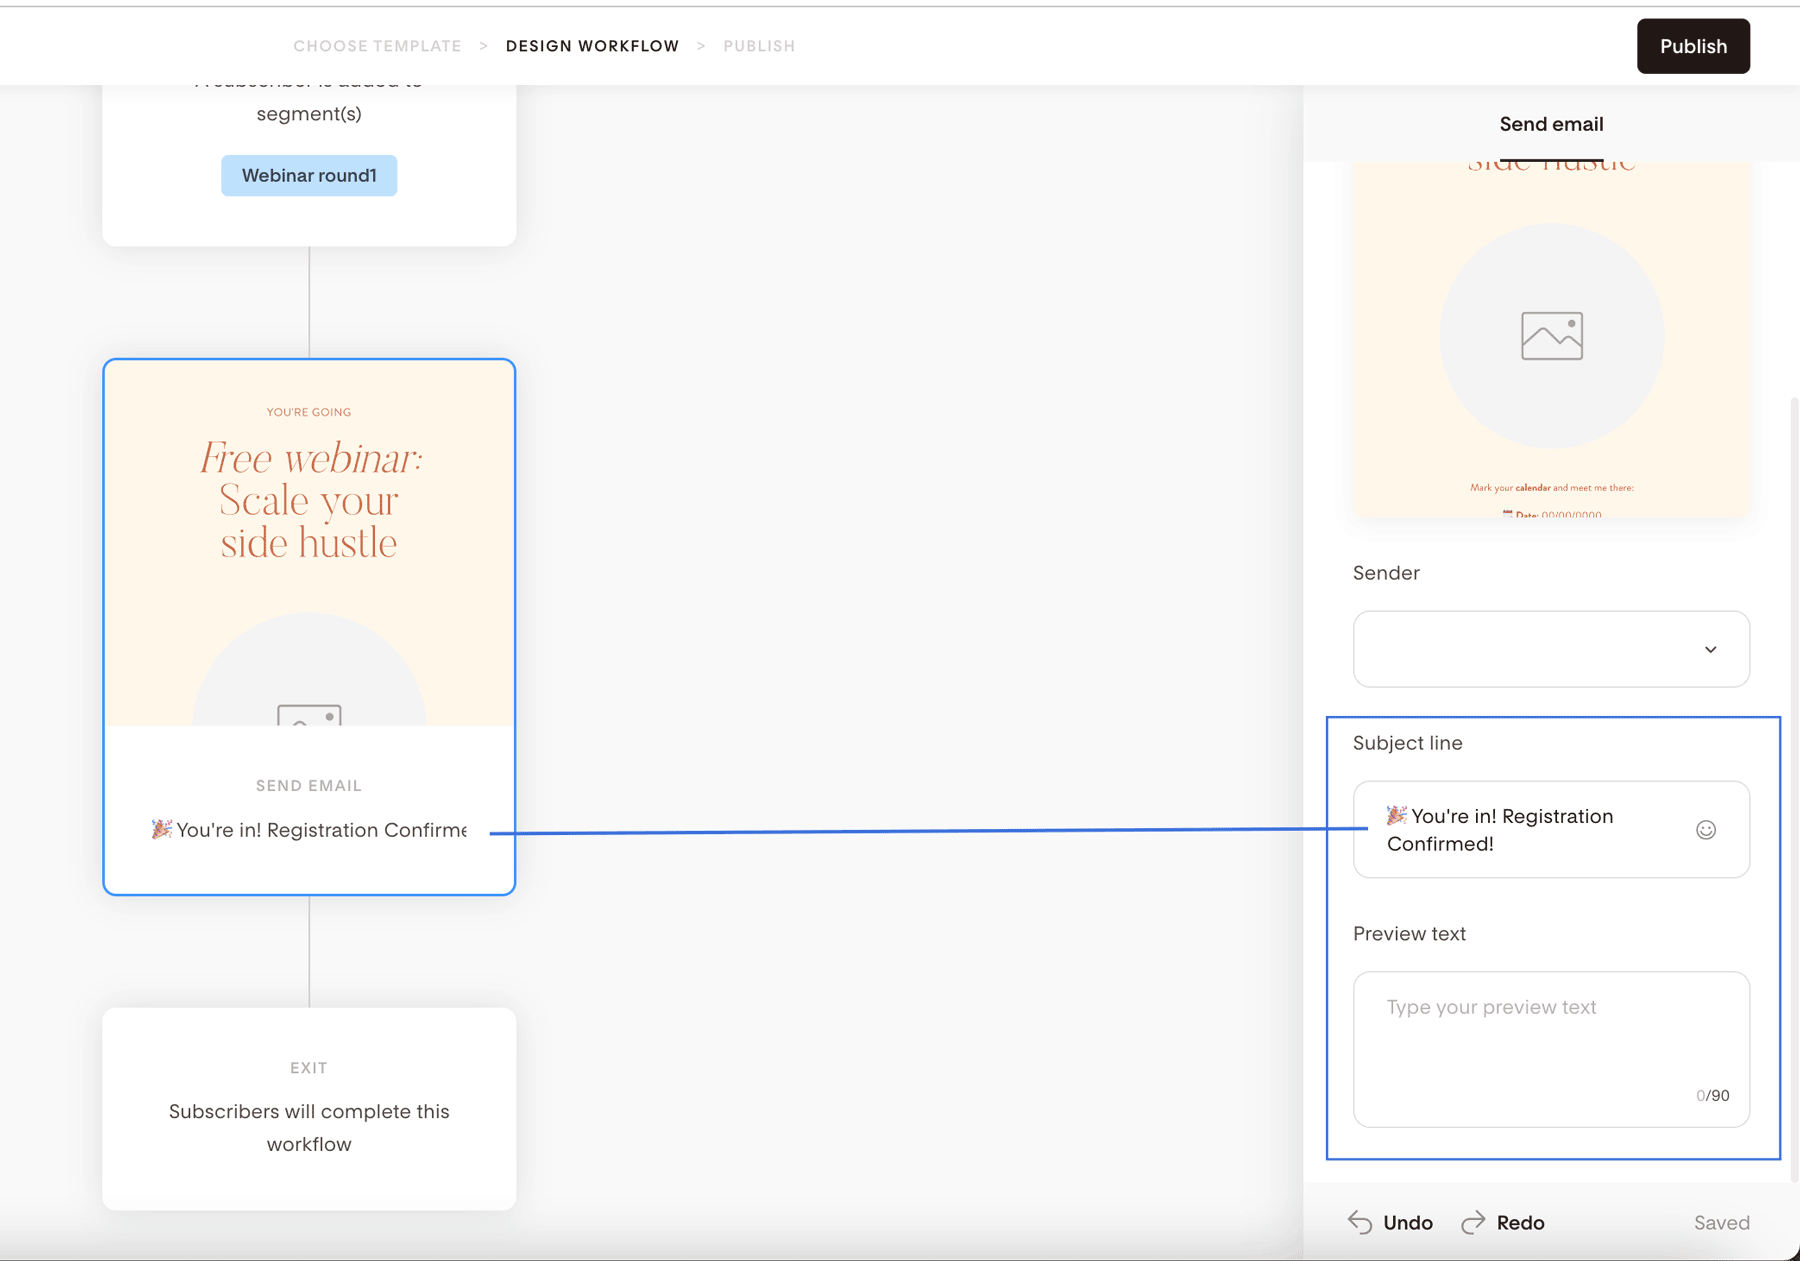
Step 5. Remember to edit the email’s subject line and preview text. Scroll down until you see those fields appear on the screen below the Sender email address section.
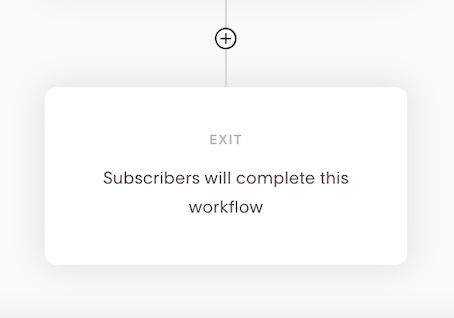
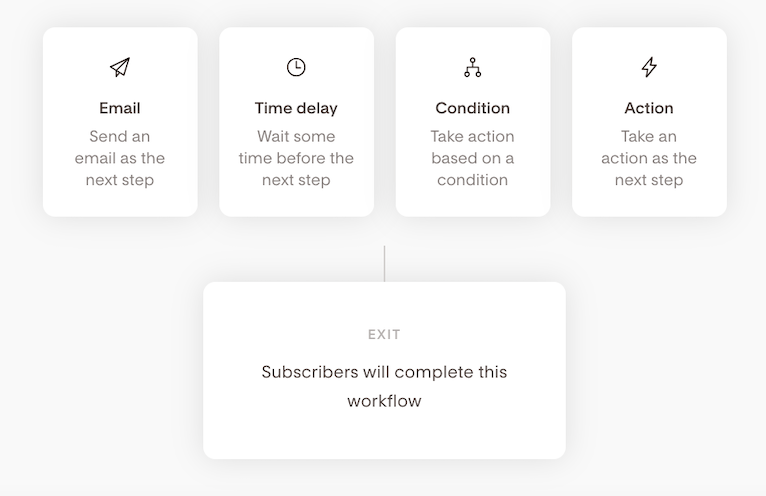
Note: This workflow template only contains one email, and then subscribers will exit and finish the workflow. However, if needed, you can add more steps to the workflow by hovering over the connecting line between the Email and Exit steps and clicking the plus (+) sign.
Step 6. Once you finish editing and customizing your workflow, click Publish in the top right corner and confirm that you want to activate the workflow.
All you need to do is create the opt-in form; anyone signing up will start your workflow.
Create an event registration signup form
Step 1. On your Forms dashboard, click the create +New form button.
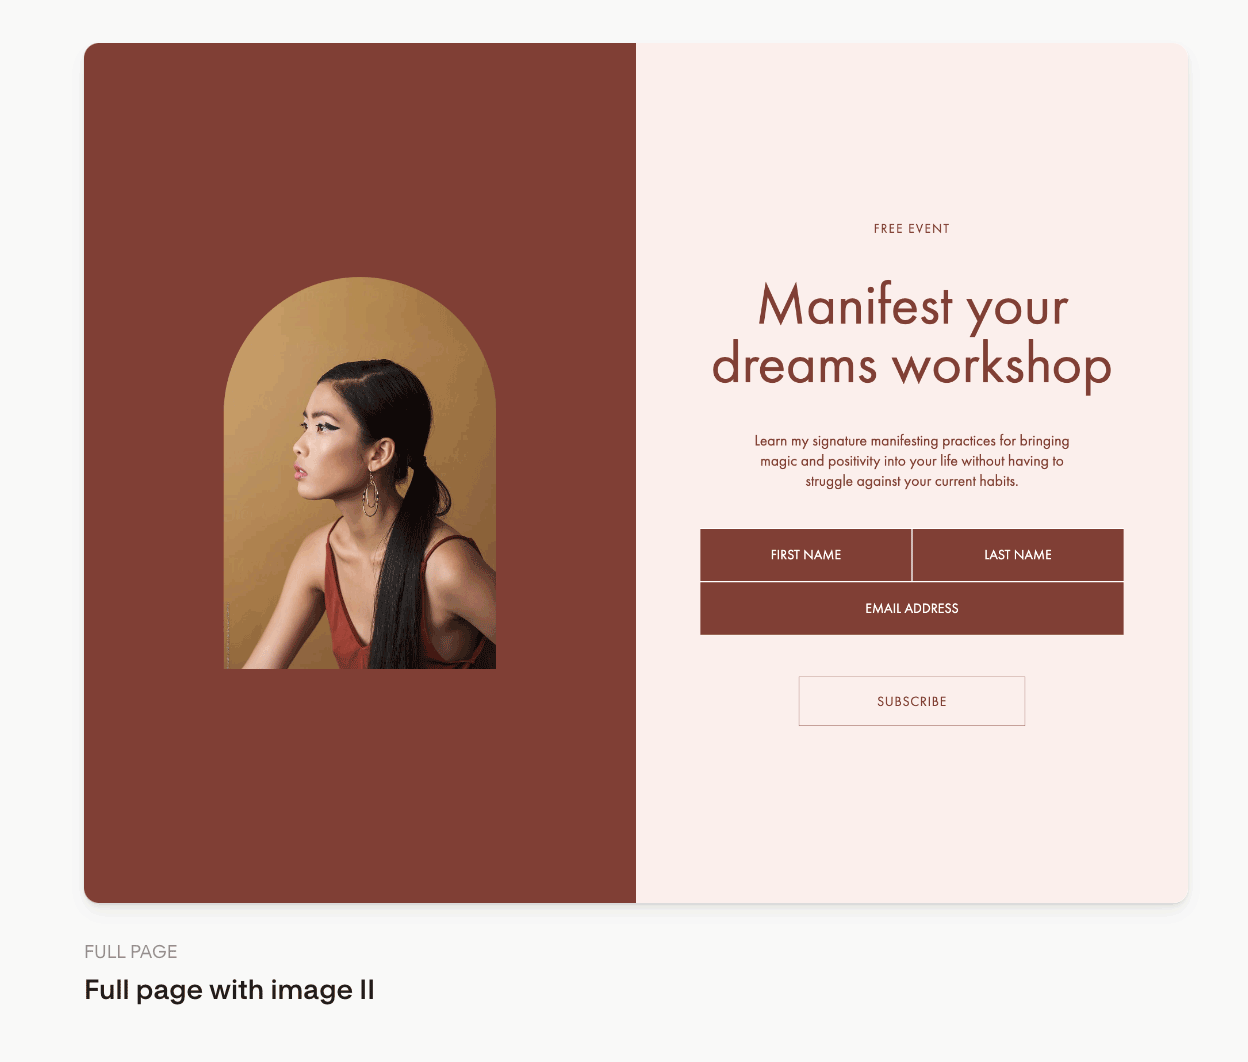
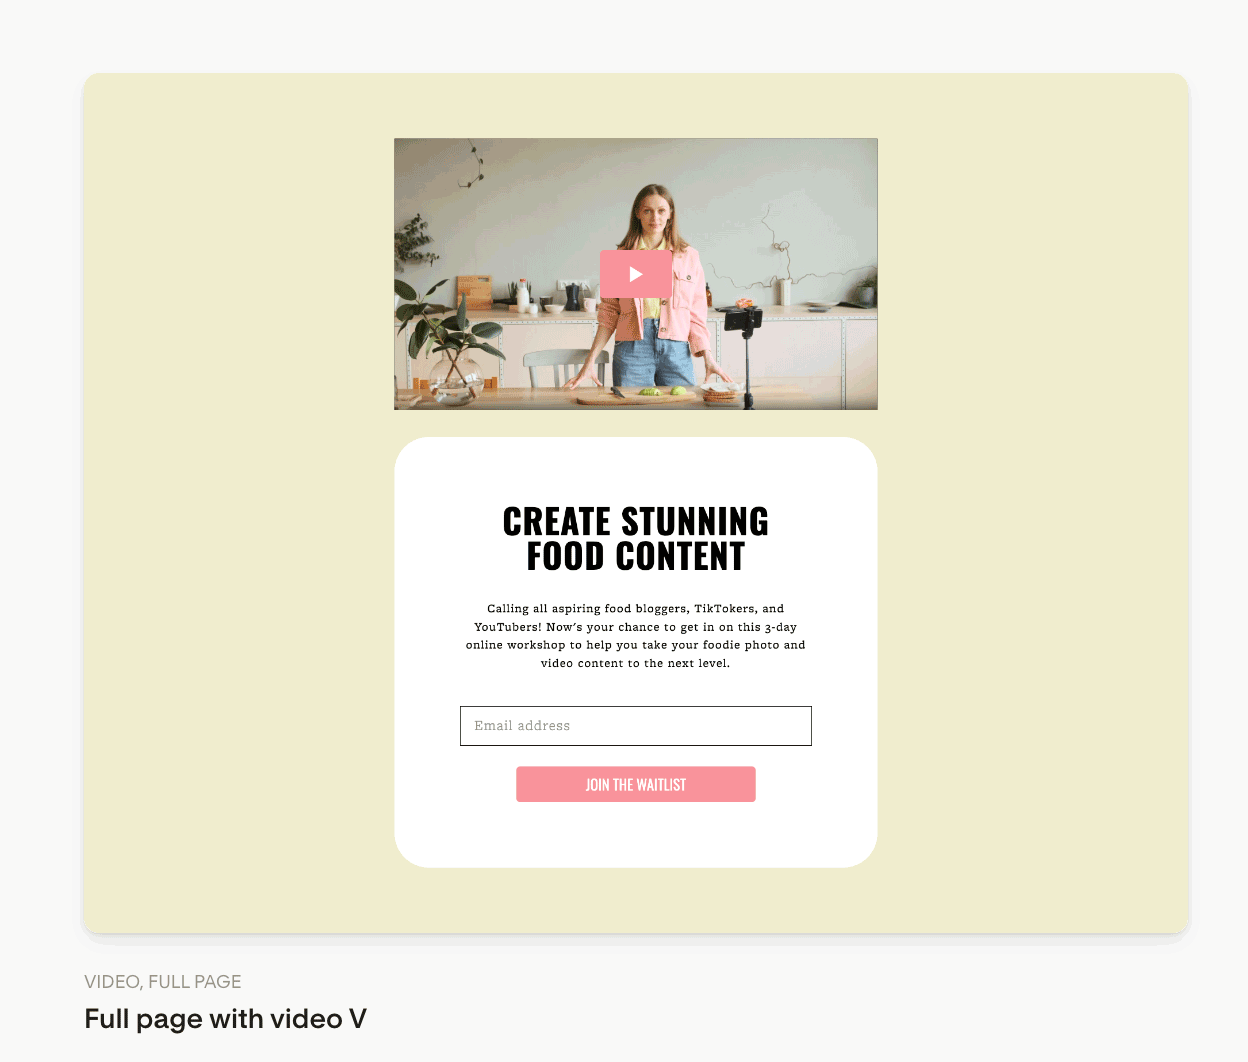
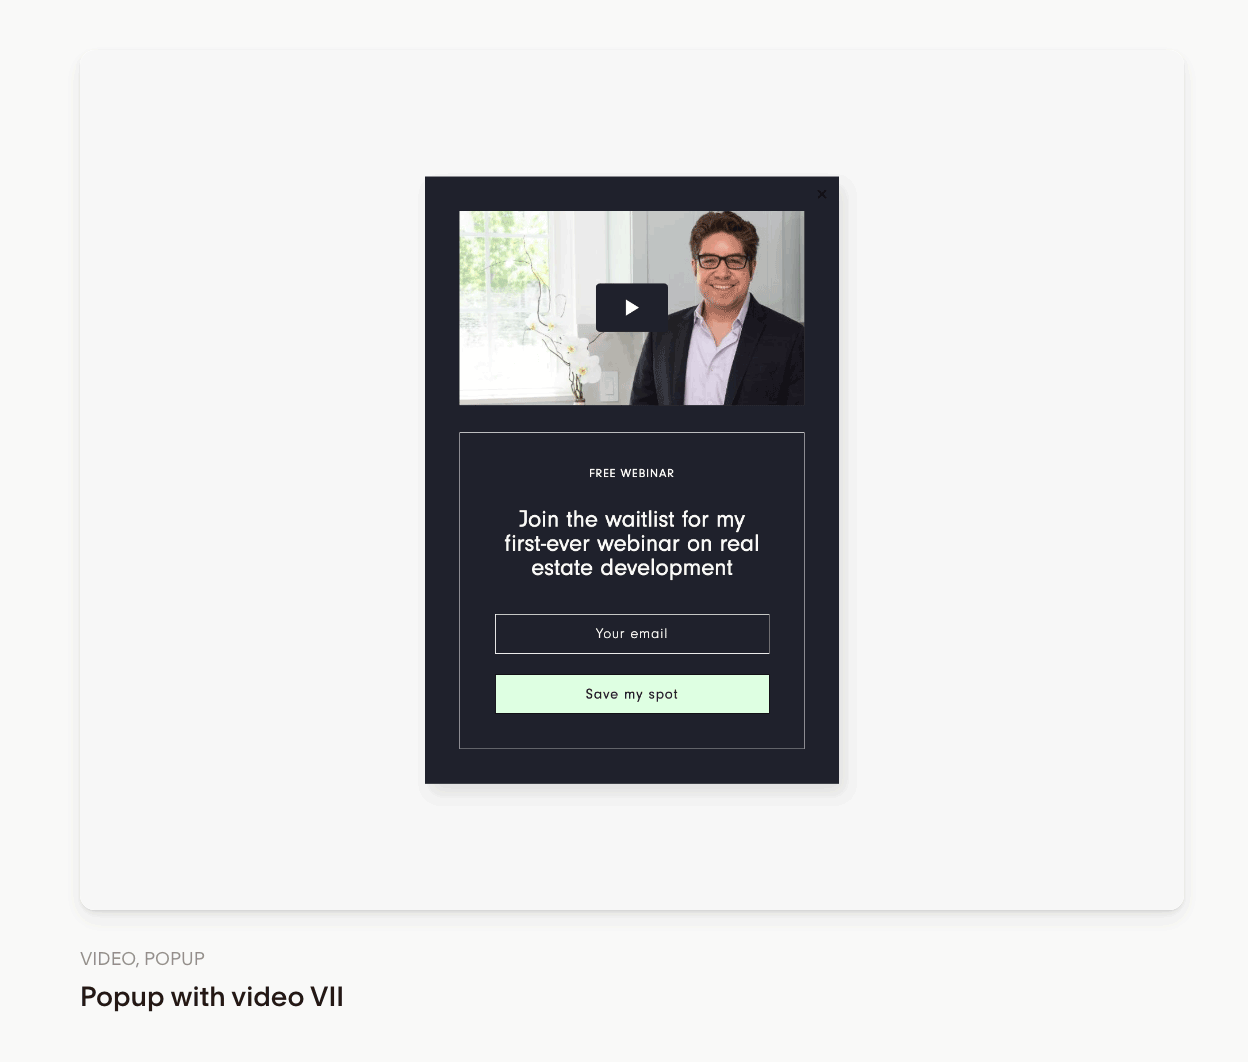
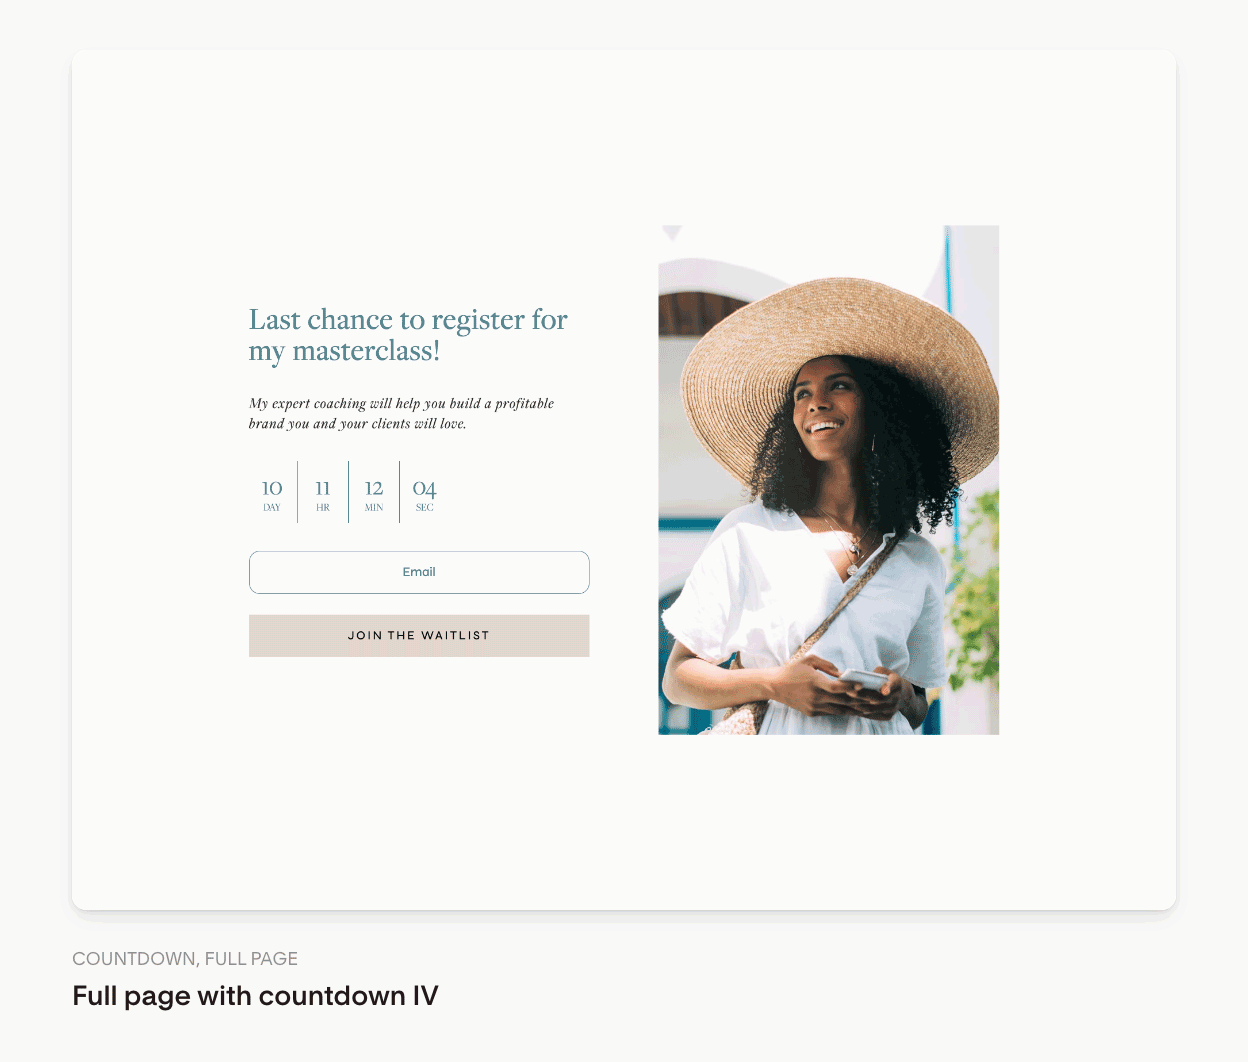
Step 2. The forms template gallery contains some event templates, like the ones below. Choose the one that best suits your needs, and then click Customize to start editing the form.
Remember, you can customize any of the form templates, not just the selected examples below, and make them about your upcoming workshop or masterclass.
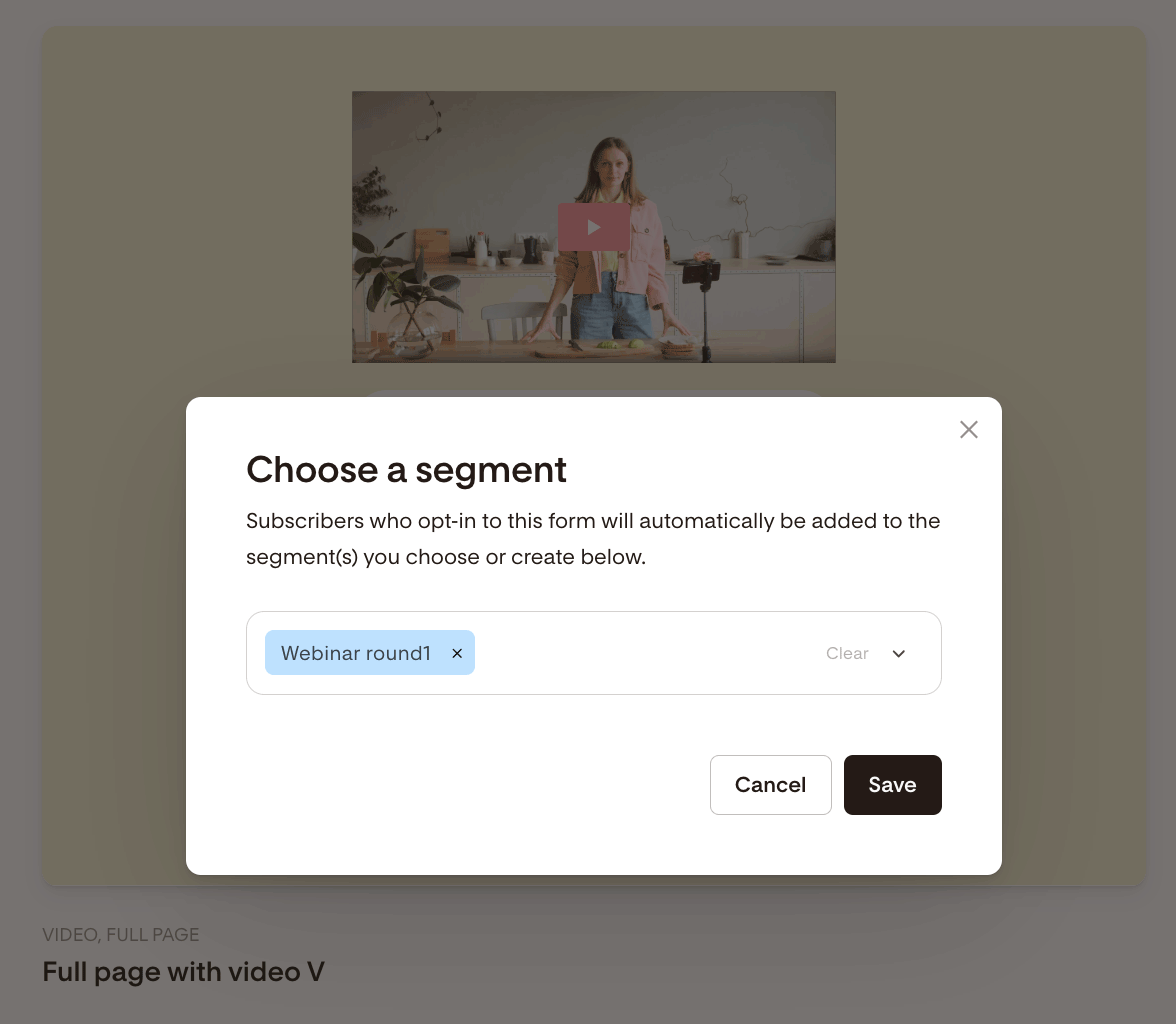
Step 3. Choose the segment you want to connect to your opt-in form. In our example, it’s the “Webinar round1” segment we created earlier.
Step 4. Edit the form to your heart’s desire.
Step 5. After you’ve created your Popup or Inline form, grab the HTML code snippets and paste them into the appropriate places on your website.
And if you created a Full page form or a Link in bio form, customize the form link and share it wherever you want!
Now, when visitors sign up for your event through this opt-in form, they get added to the segment you connected to the form and will start the registration confirmation workflow.
Summary
You can set up a registration confirmation flow by editing and customizing our registration confirmation workflow template and connecting it to your event registration opt-in form.

