How to set up a Re-engagement Workflow
A step-by-step guide on how to set up and customize the Subscriber Re-engagement Sequence workflow template
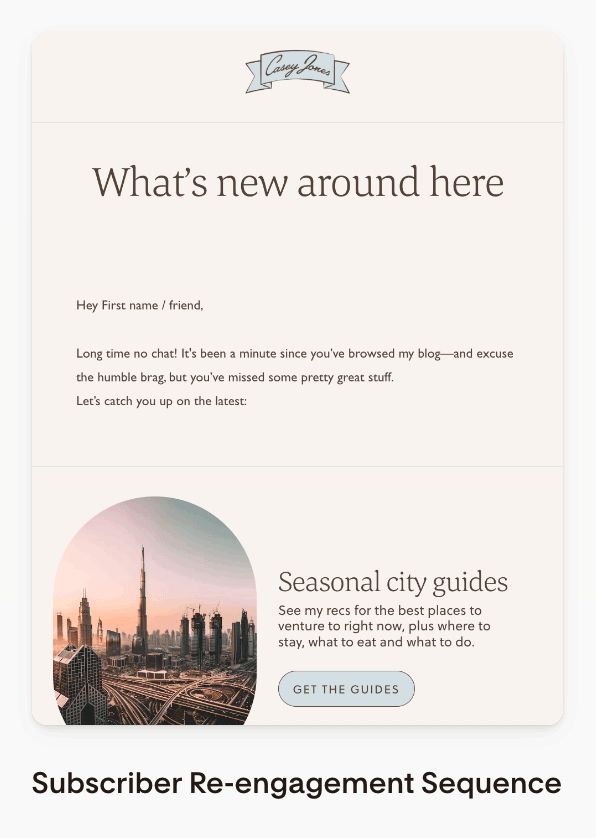
The Subscriber Re-engagement Sequence helps convert interest into action (and revenue) by reconnecting with subscribers who have grown distant.
This workflow template contains four emails you can customize to suit your needs and niche.
To set up a re-engagement flow, you’ll need:
A new segment to trigger the re-engagement sequence
A re-engagement sequence workflow
A list of subscribers you want to send into the re-engagement sequence
By combining these three elements, you can:
Bulk-select subscribers you want to re-engage and
Add them in bulk to the re-engagement workflow’s trigger segment so the workflow gets triggered, and they will receive the workflow emails
Let’s set it up together, starting with the segment and the workflow and identifying subscribers for re-engagement.
Create a new segment
Step 1. On your Audience > Segments dashboard, click the create +New segment button.
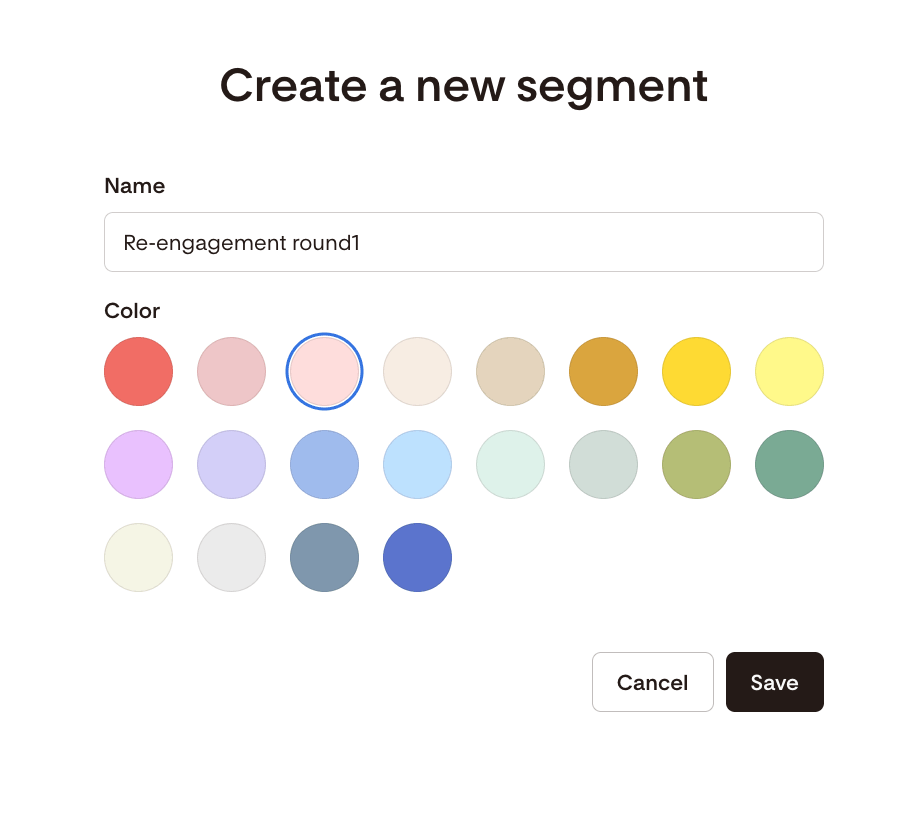
Step 2. Give it a meaningful name, pick a segment color, and hit save. In the example below, we named the segment “Re-engagement round1.”
We will connect this segment to the re-engagement workflow.
Important: do not add any subscribers to this segment yet.
Customize the Re-engagement Sequence workflow template
Step 1. On your Workflows dashboard, click the create +New workflow button.
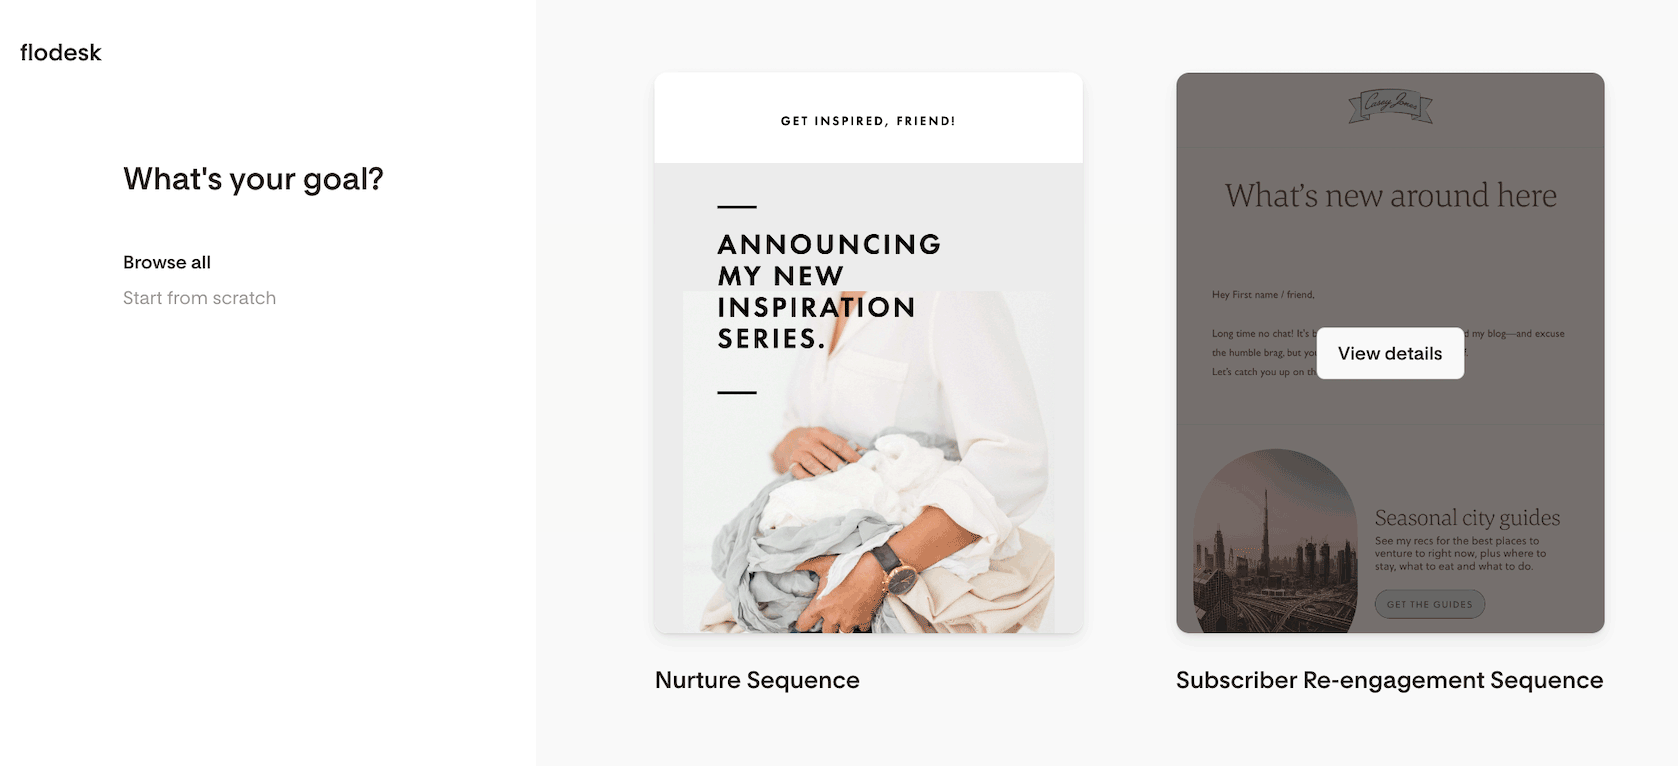
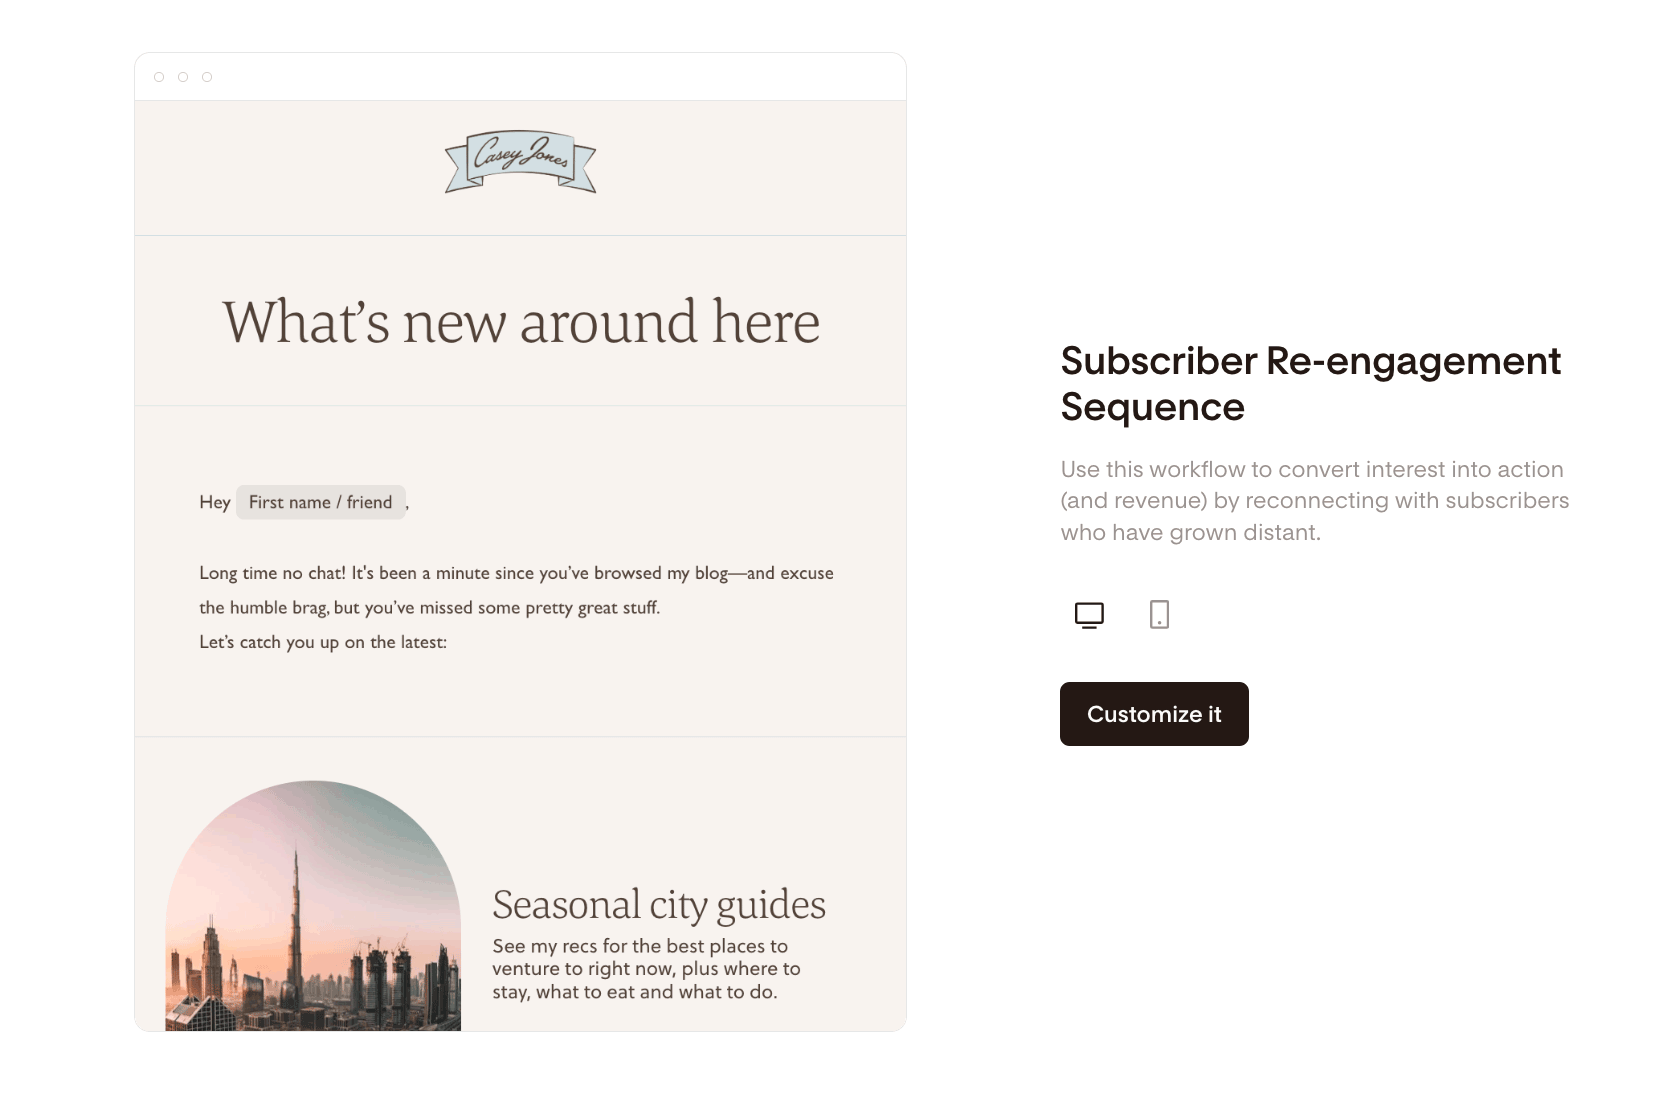
Step 2. In the workflow template gallery, select the Re-engagement Sequence workflow template. Click View details on the workflow’s card and Customize it.
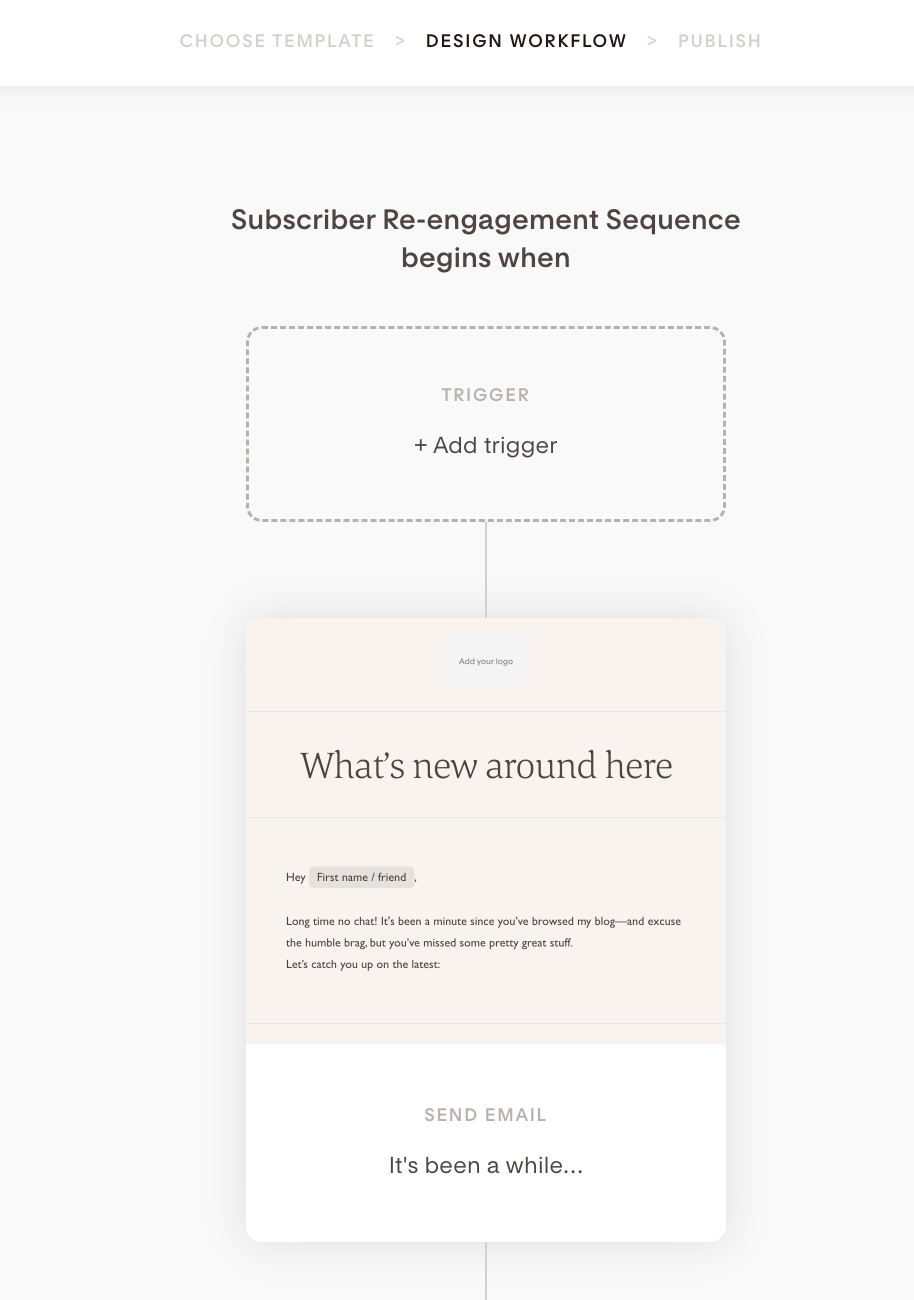
Step 3. As the first step in the workflow, click “+Add trigger”, and on the right sidebar, choose the segment you created earlier.
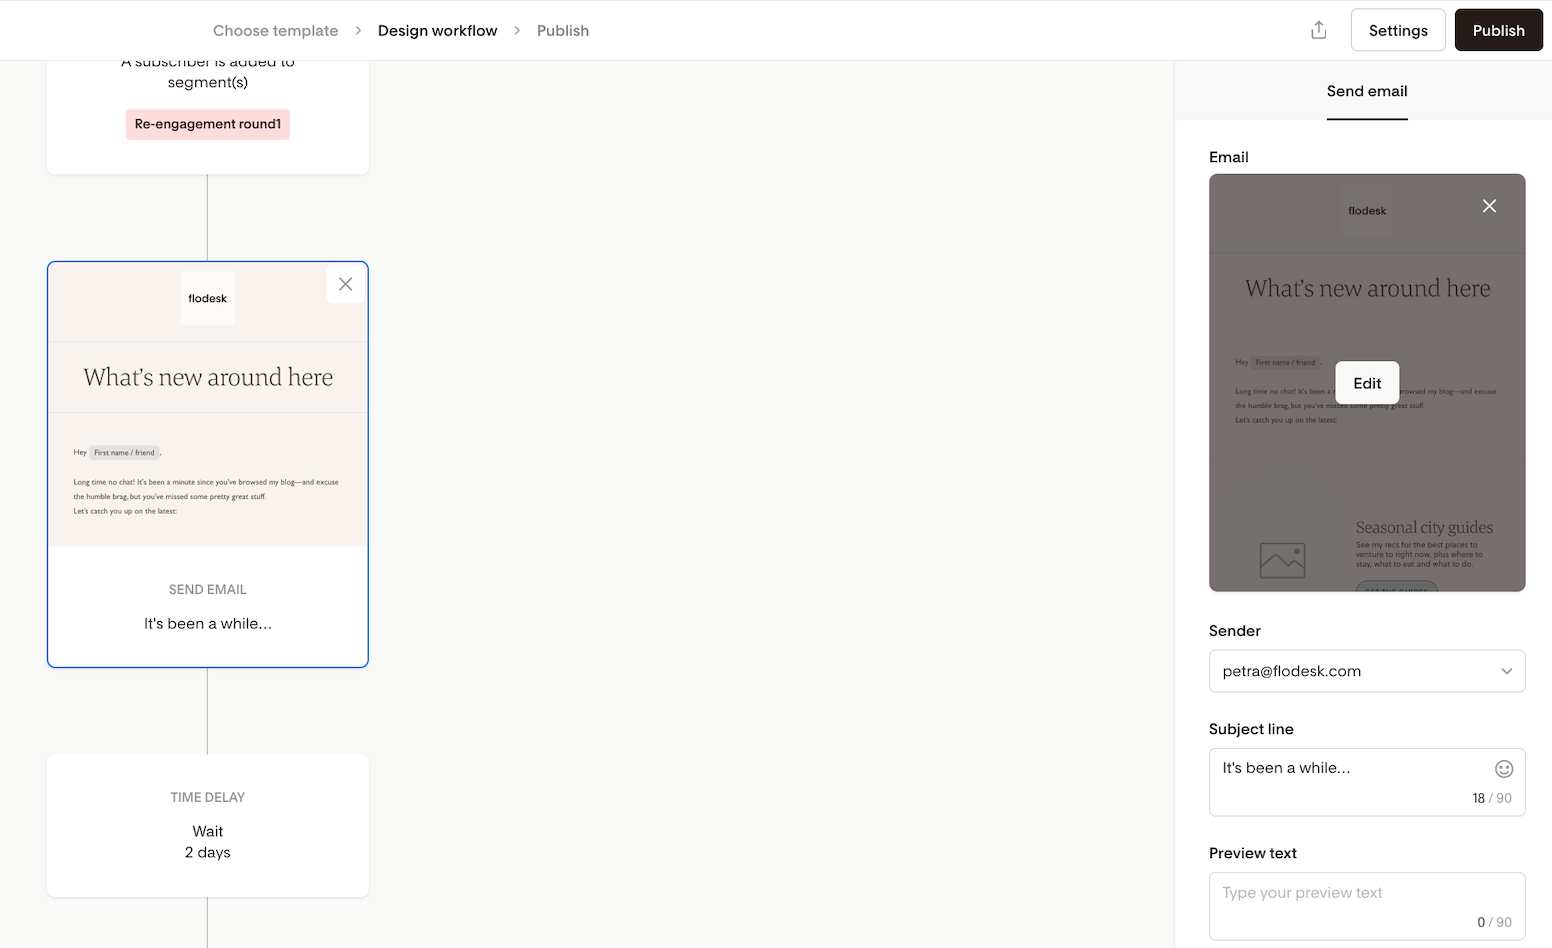
Step 4. Next, click the first Email step to select it. You can then edit the email content and design by clicking Edit on the email’s card on the right sidebar.
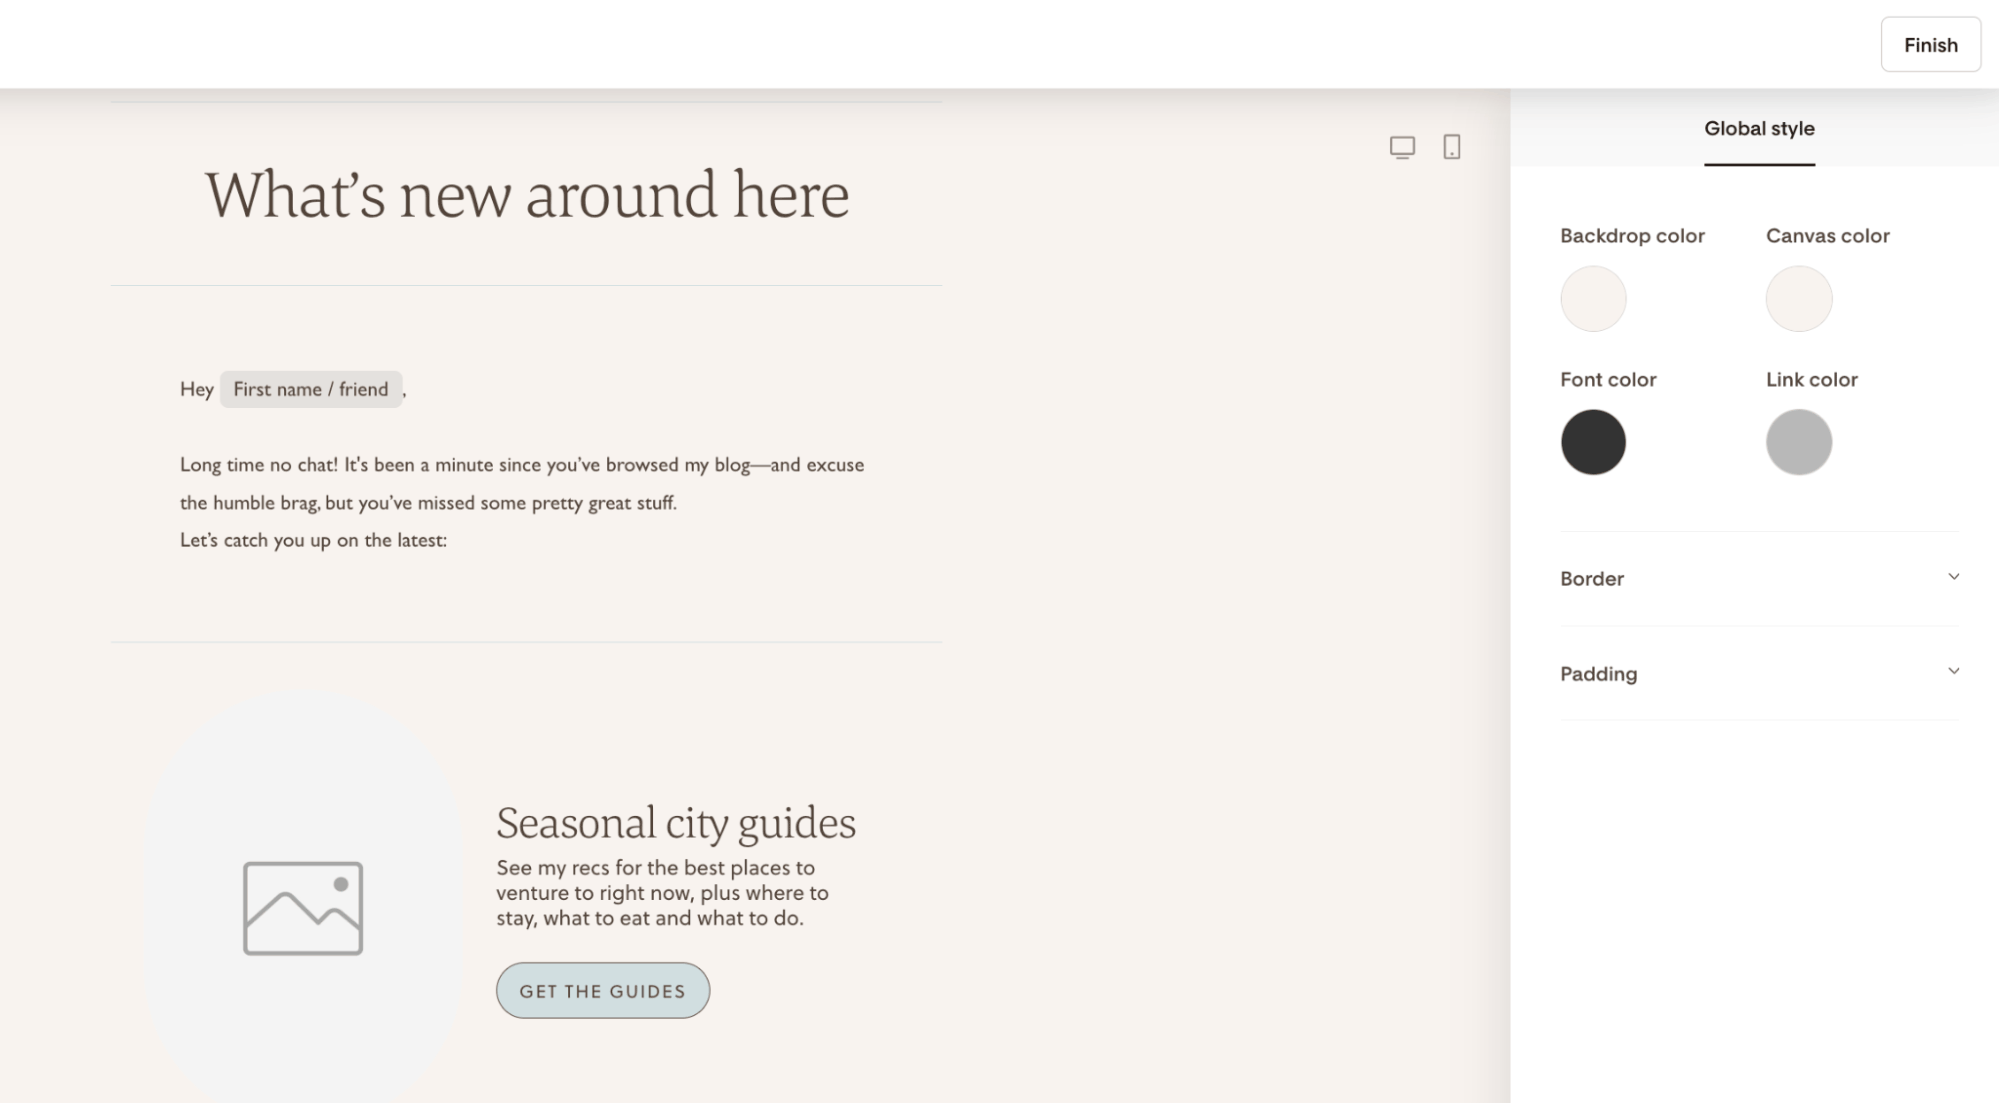
Update the placeholder copy in the email, upload your images, style your CTA buttons, and connect your links. Once you finish editing the email, click Finish in the top right corner to return to the workflow steps screen.
Step 5. Remember to edit the email’s subject line and preview text. Just scroll down until those fields appear on the screen below the Sender email address section.
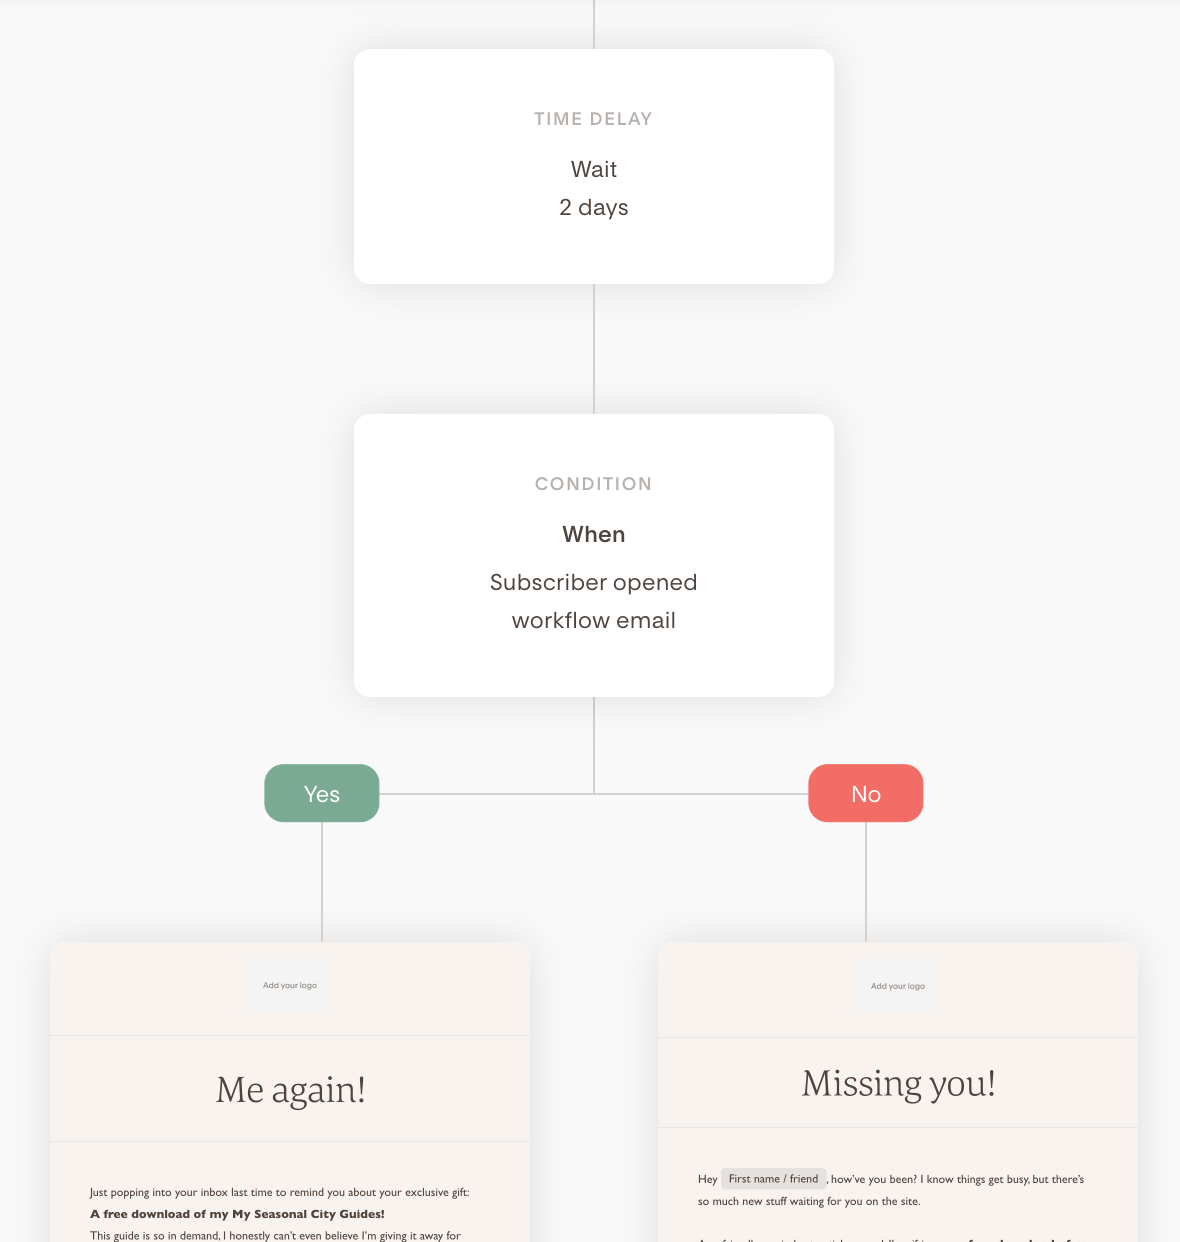
Step 6. Repeat the above steps to edit and customize the other three emails in this sequence, which you will find below the workflow condition step.
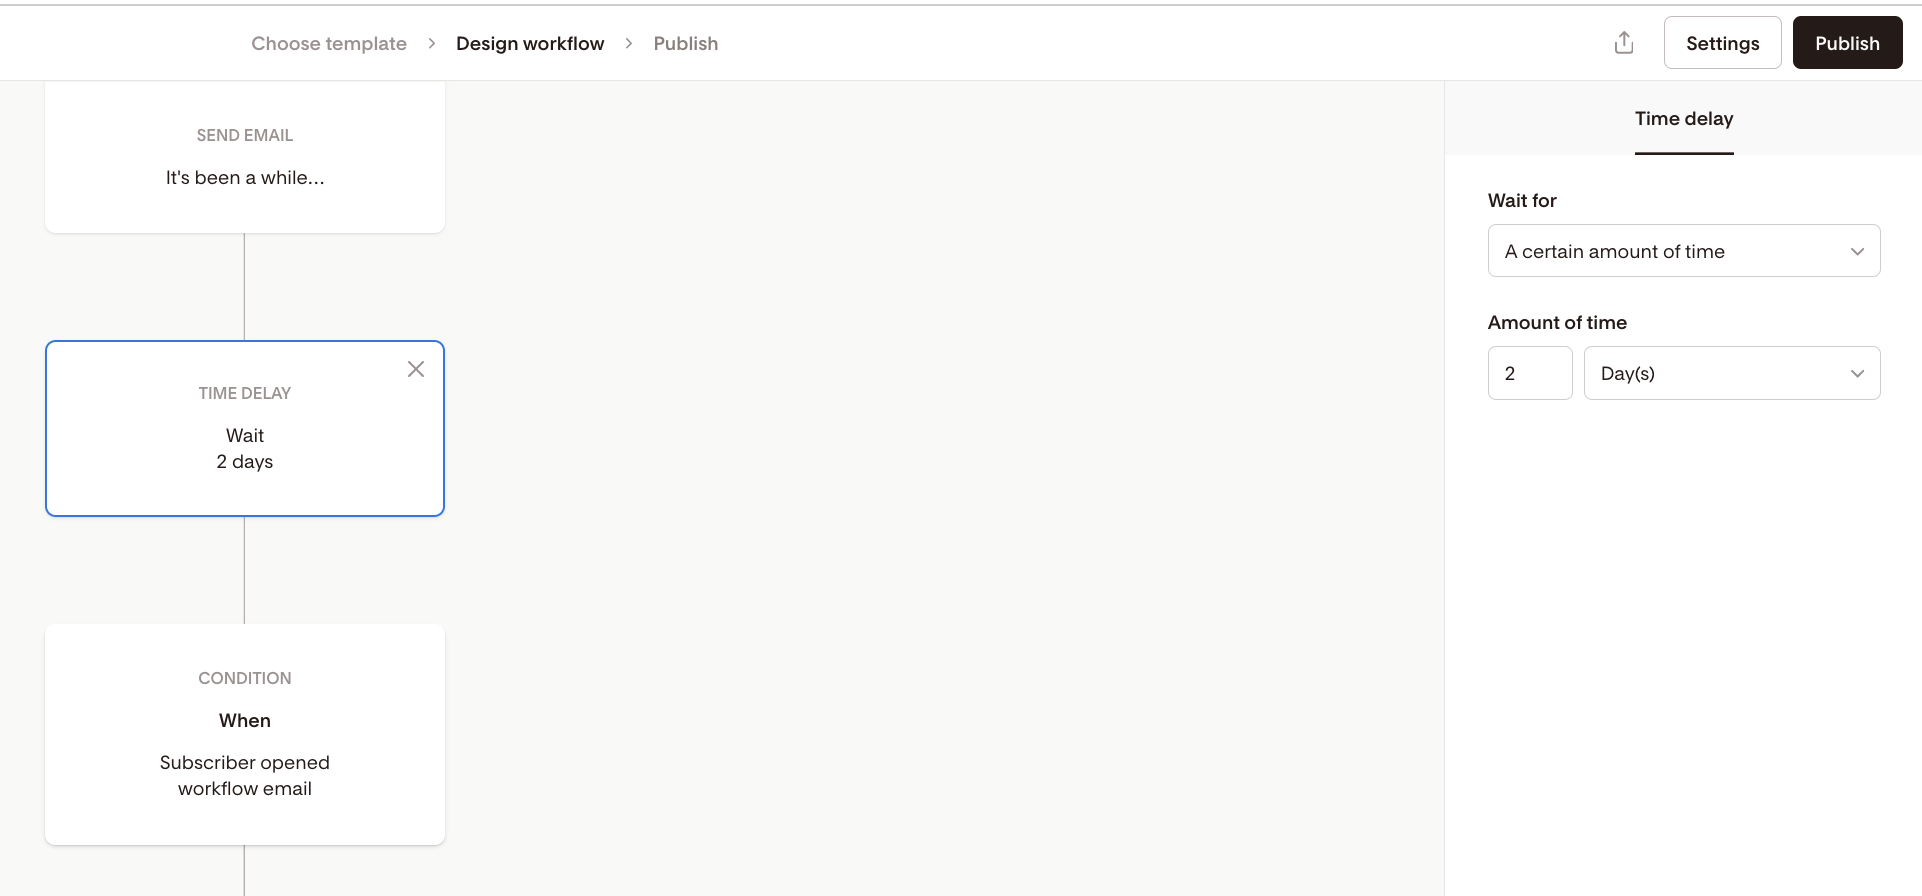
Note: This workflow contains a Condition step that checks after two days whether the initial email was opened and routes subscribers based on that to the YES or NO branch of the workflow.
This Time delay doesn’t have to be two days. You can pick any time delay that suits your needs by clicking the Time delay step and selecting the values on the right sidebar.
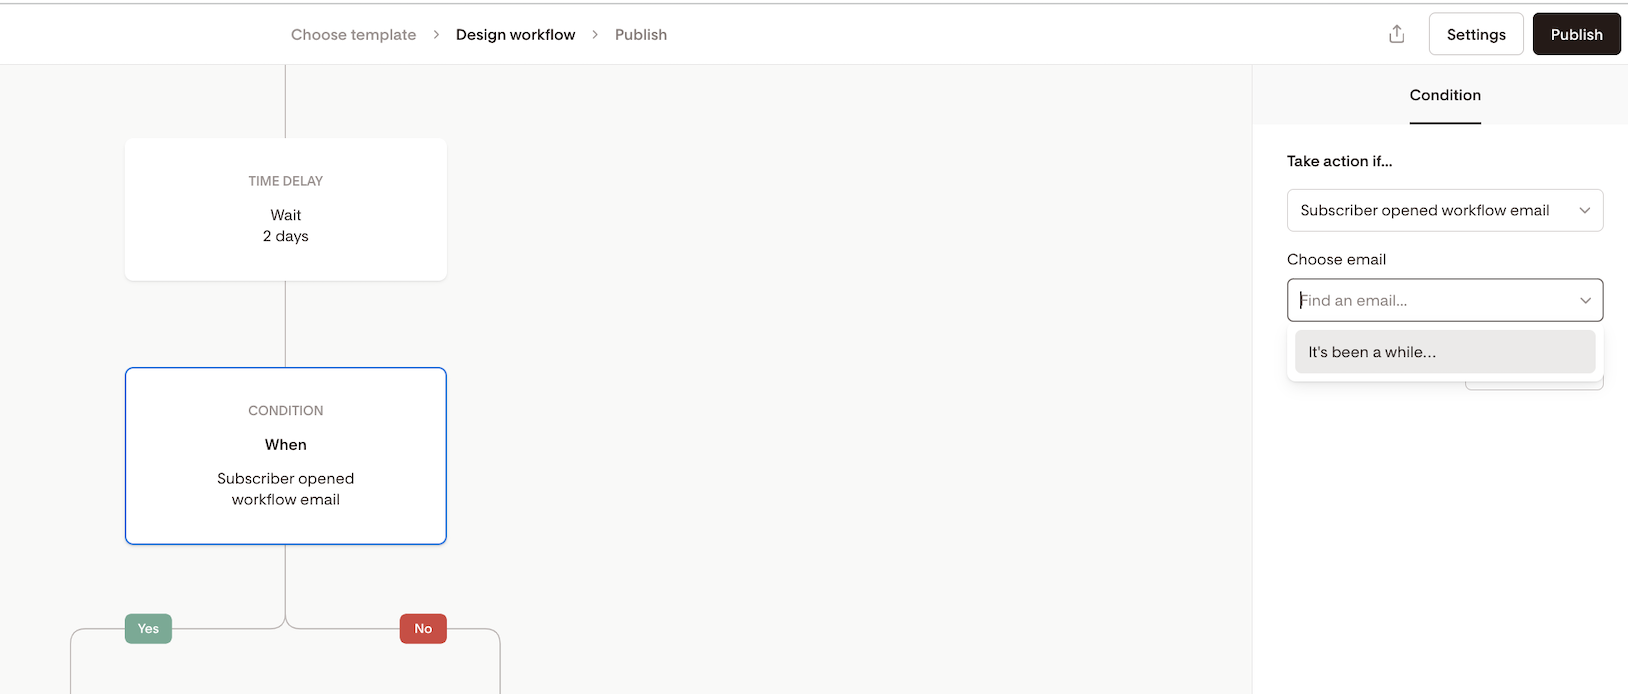
Step 7. Click the Condition step to select it, and make sure that you set it to check the first email in the workflow by choosing the email’s subject line from the dropdown.
Step 8. Once you finish editing and customizing your workflow, click Publish in the top right corner and confirm that you want to activate the workflow.
Identify and add less-engaged subscribers to the re-engagement sequence
Now that your re-engagement sequence is activated, it’s time to find subscribers in your audience who might have gone cold so you can send them to this workflow.
You can do that using the Audience Filter, which is detailed in this guide and the below video tutorial.
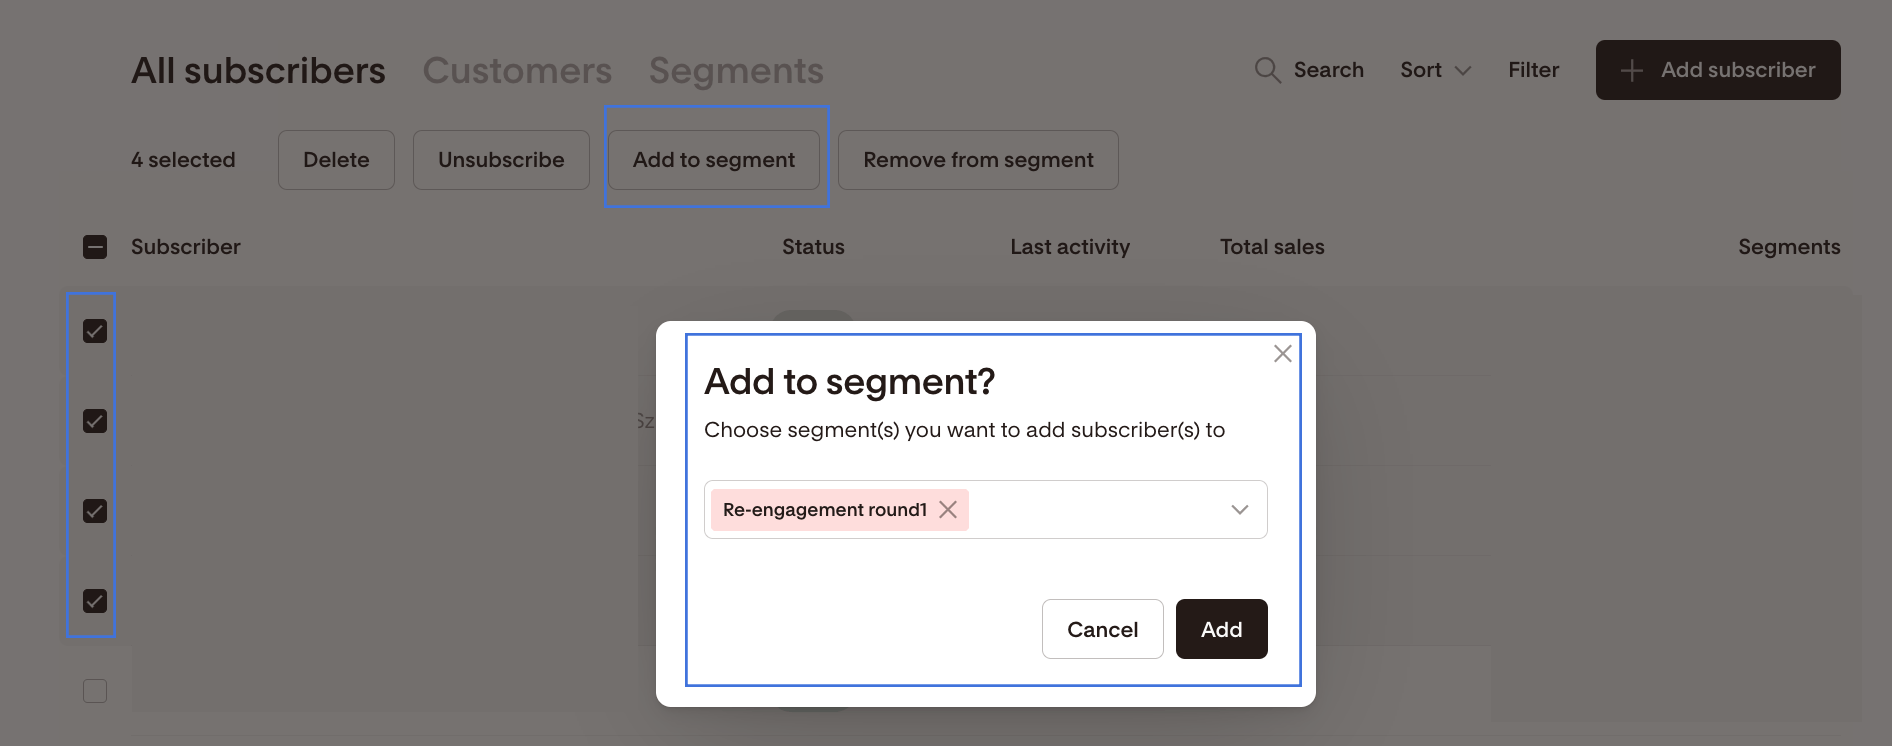
Once you have identified the intended audience for the re-engagement segment, select them in bulk and add them in bulk to the trigger segment of your published workflow via the “Add to segment” action.
In our example, it’s the segment called “Re-engagement round1”. And that’s it!
As your subscribers are added to the segment, they trigger the workflow and will receive your re-engagement sequence.
Summary
You can set up a re-engagement flow by editing and customizing our re-engagement sequence workflow template, then bulk selecting and bulk adding your target audience to the published workflow’s trigger segment.

