
All about Countdown timer forms
Countdown timer forms help you create urgency around a launch, limited-time offer, or deadline—while collecting email subscribers at the same time.
This guide explains what Countdown timer forms are, how they work, and how to customize and share them in Flodesk.
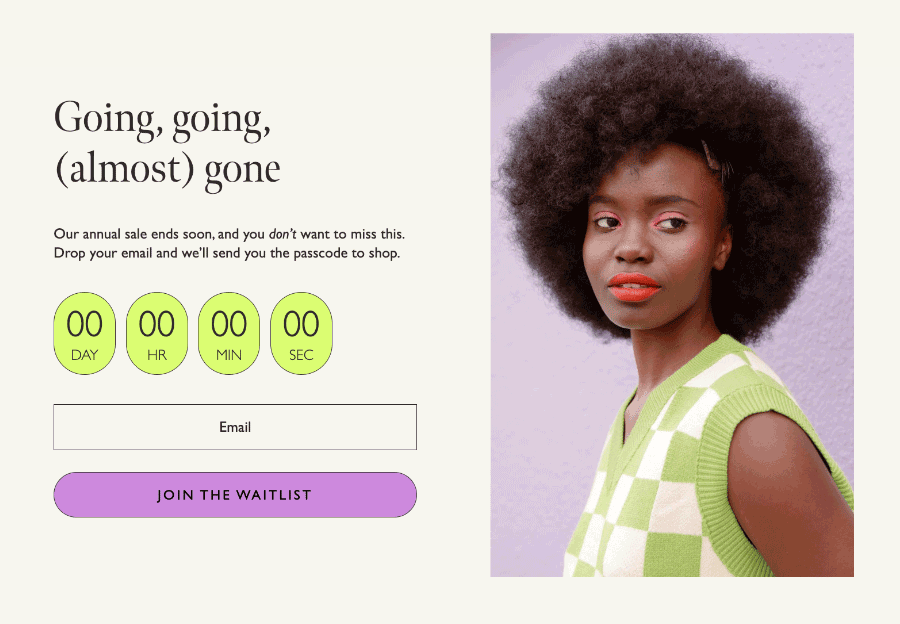
What are Countdown timer forms?
A Countdown timer form is an opt-in form that includes a fixed countdown timer. You choose:
The end date
The end time
The timezone
Everyone who views the form sees the same remaining time counting down to that fixed deadline.
You can:
Add subscribers to a main segment before the deadline
Automatically send late signups to a waitlist segment
Display an expiration message when time runs out
Countdown timer forms are great for:
Course launches
Limited-time discounts
Event registrations
Bonus deadlines
Early-bird pricing
Important things to know before you start
The timer can display a maximum of 99 days in the future (two digits for days).
If double opt-in is enabled, subscribers must confirm their email to be added to your segment.
If someone submits the form before the timer ends but confirms after it expires, they will still be added to the main form segment (not the waitlist).
Where to find Countdown timer forms
Go to your Forms dashboard.
Click + New form.
Select the Countdown category in the template gallery.
Choose a template and click Customize it.
Countdown timer forms are available as:
Full page forms
Popup forms
Inline forms
How to customize your Countdown timer form
Below is an example using a full page form. The editing experience is similar for popup and inline forms.
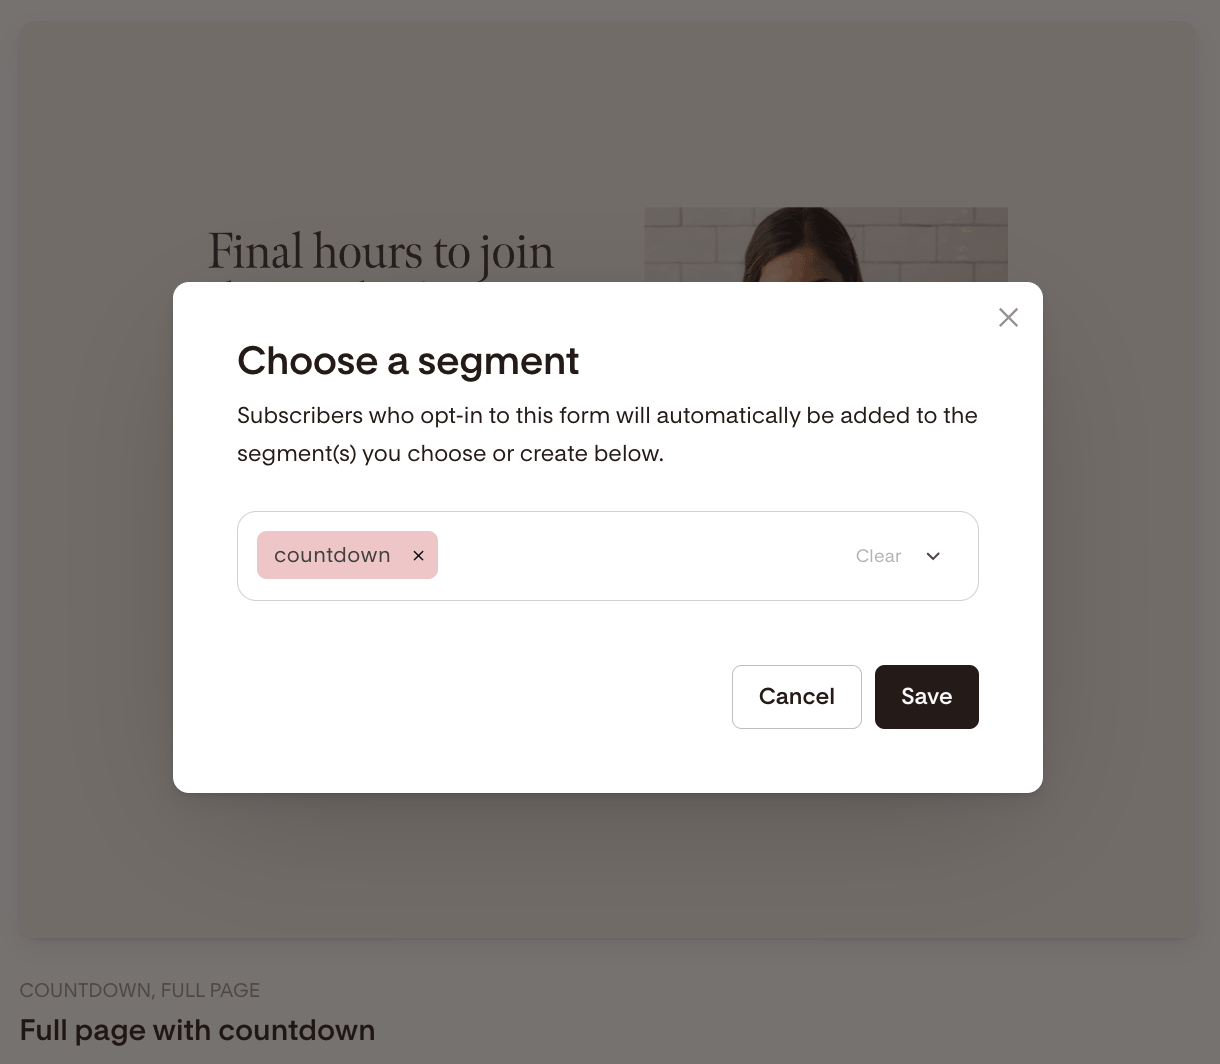
1. Choose your segment
When you first open the template:
Select an existing segment
Or create a new one
Anyone who signs up before the deadline will be added to this segment. Save your changes.
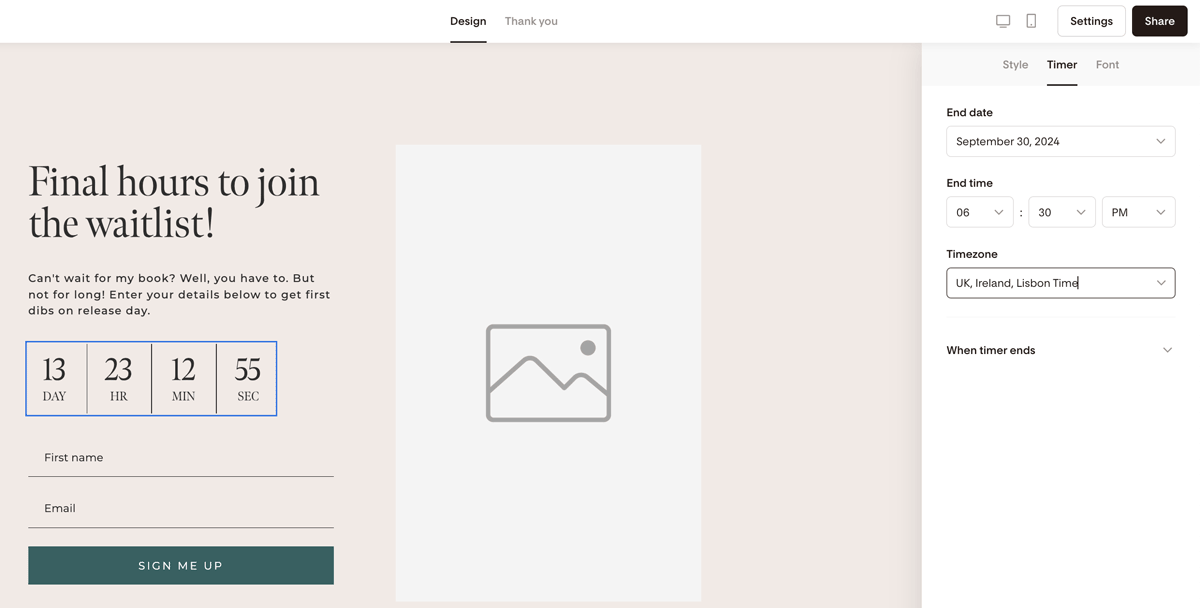
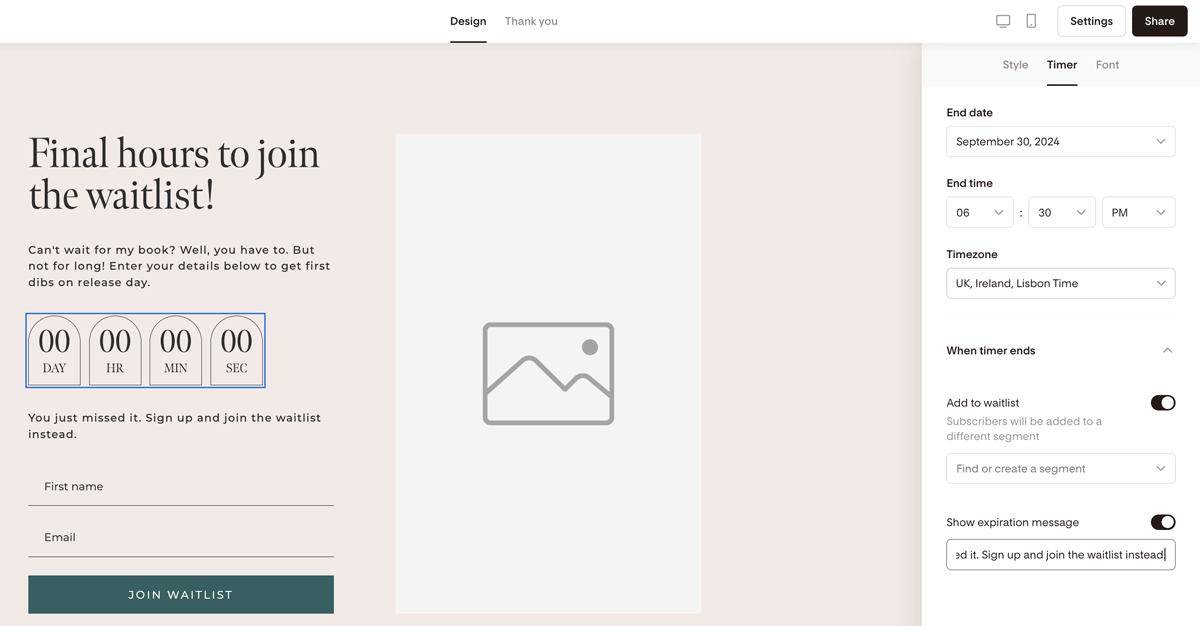
2. Set your countdown timer
Click the countdown timer in the builder. Under the Timer tab, set:
End date
End time
Timezone
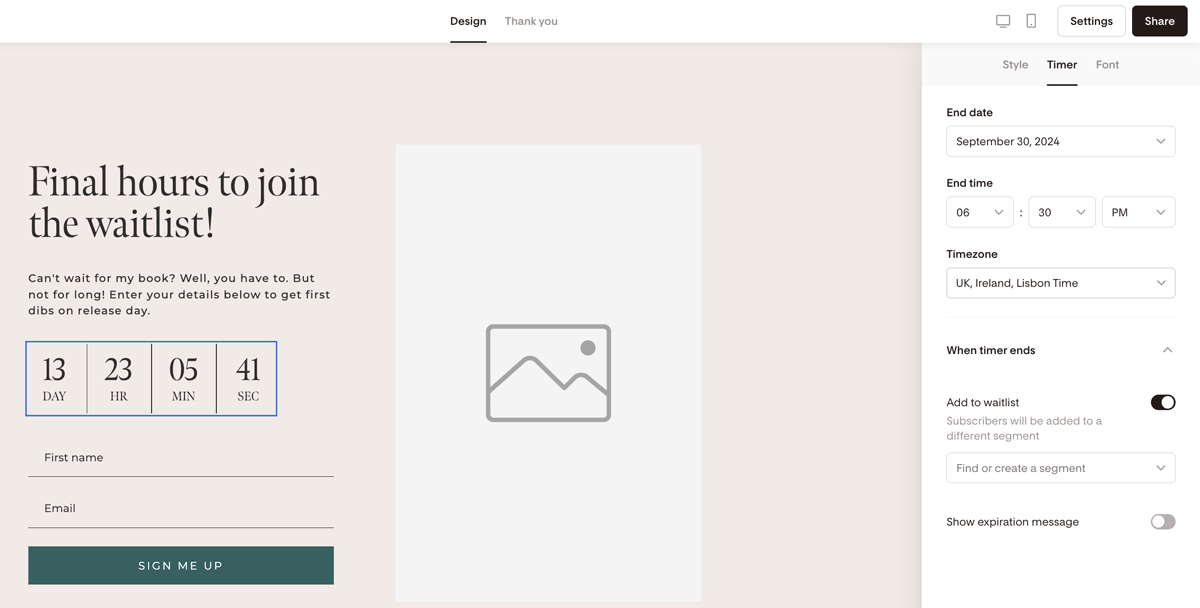
Then expand “When timer ends” to decide what happens after expiration.
You can:
Add late subscribers to a waitlist segment
Show an expiration message on the form
3. Add an expiration message (optional)
When enabled:
A text box appears below the timer
The message will inherit your form’s body text style
The preview appears directly in the builder
This is helpful for messaging like:
“This offer has expired. Join the waitlist below.”
“Registration is now closed.”
Note: if you click somewhere else, the expiration message preview will be hidden on the screen.
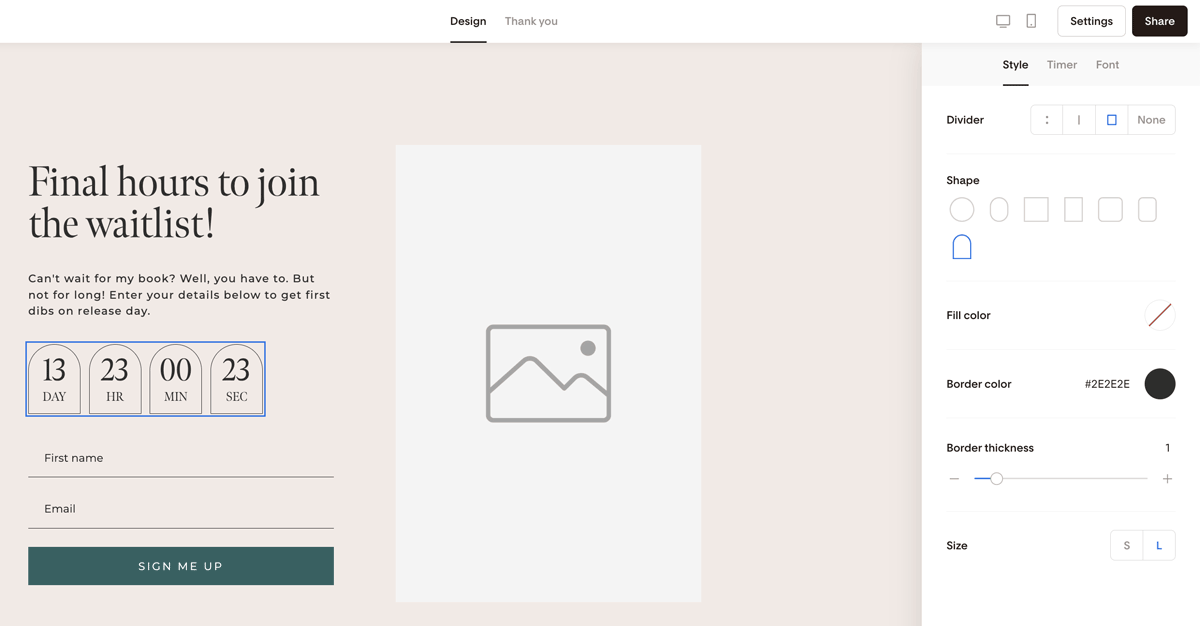
4. Style the countdown timer
Click the Style tab to customize:
Divider type between time digits
Divider shapes (depending on template)
Size of the countdown section
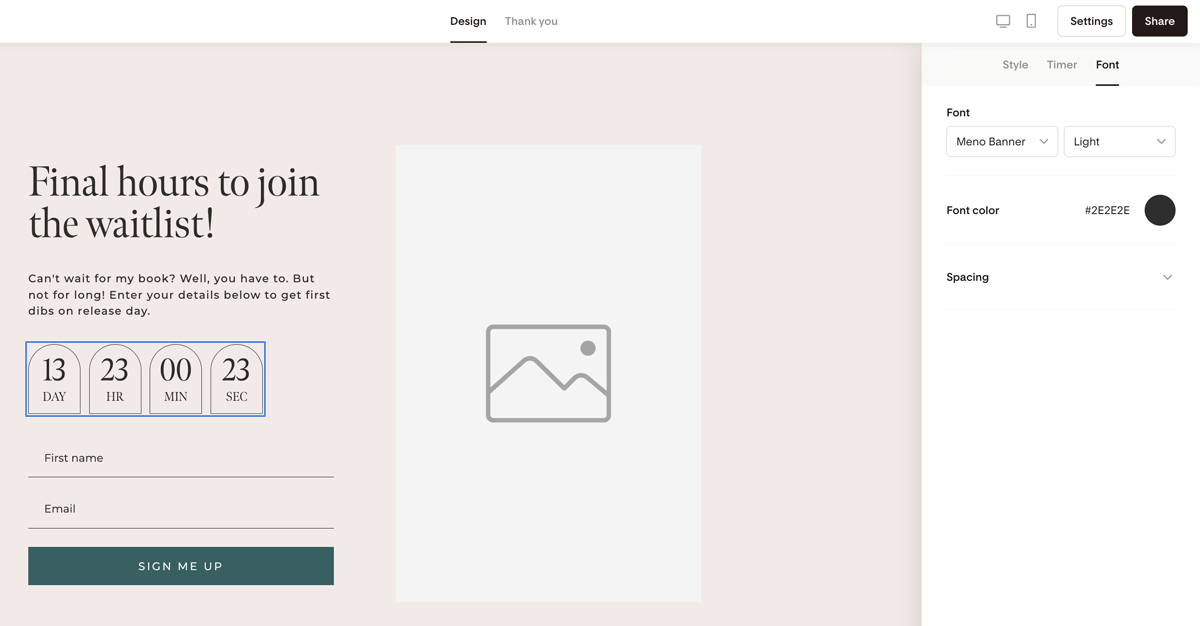
5. Customize fonts
Under the Font tab, you can adjust:
Timer font
Font style
Color
Letter spacing
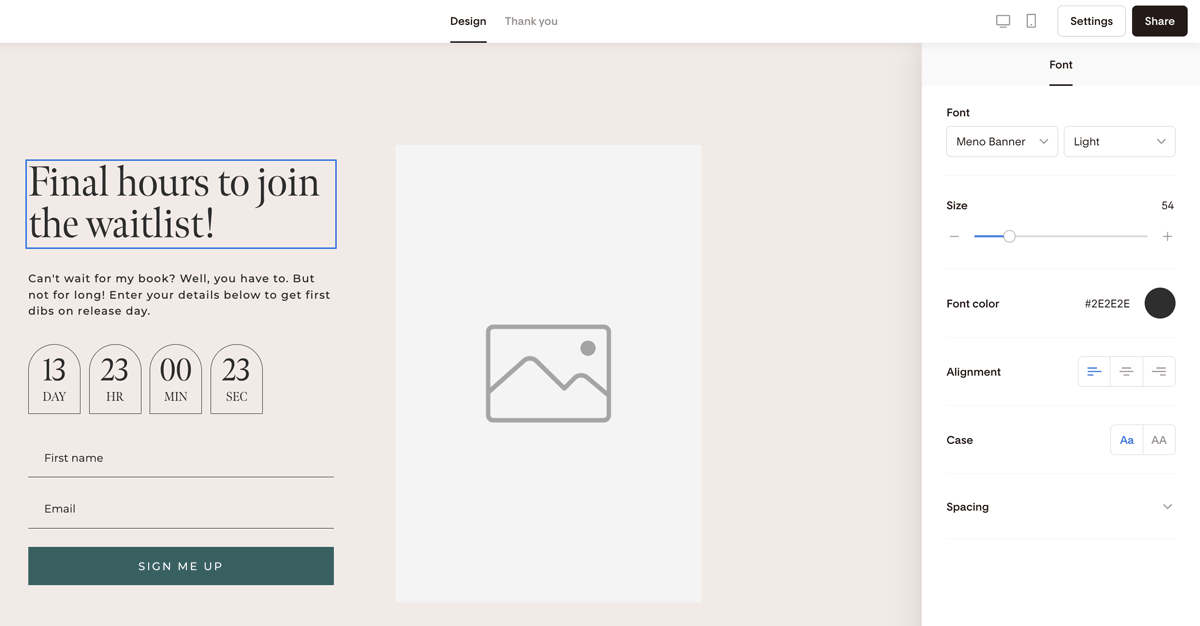
You can also edit:
Headline
Body text
Button text
Simply click the element you want to change.
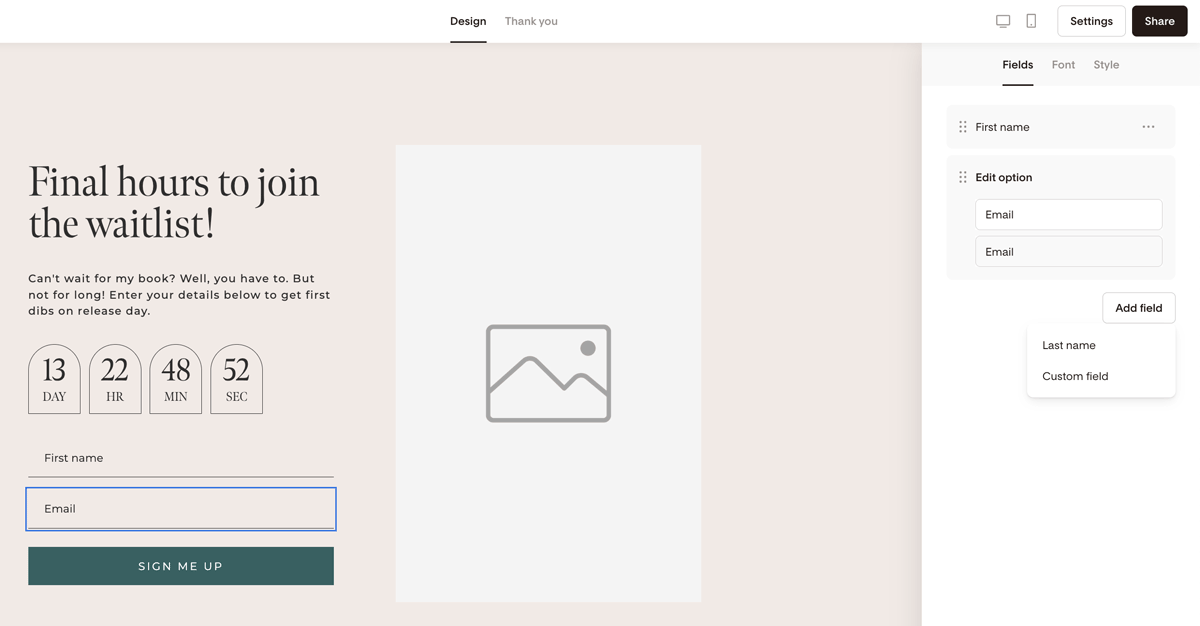
6. Add additional custom form fields
To collect more information:
Click Add field
Select or create a custom field
Mark it Required if needed
Map it to a data field
Important: If a custom field is not mapped properly, the subscriber’s input will not be saved.
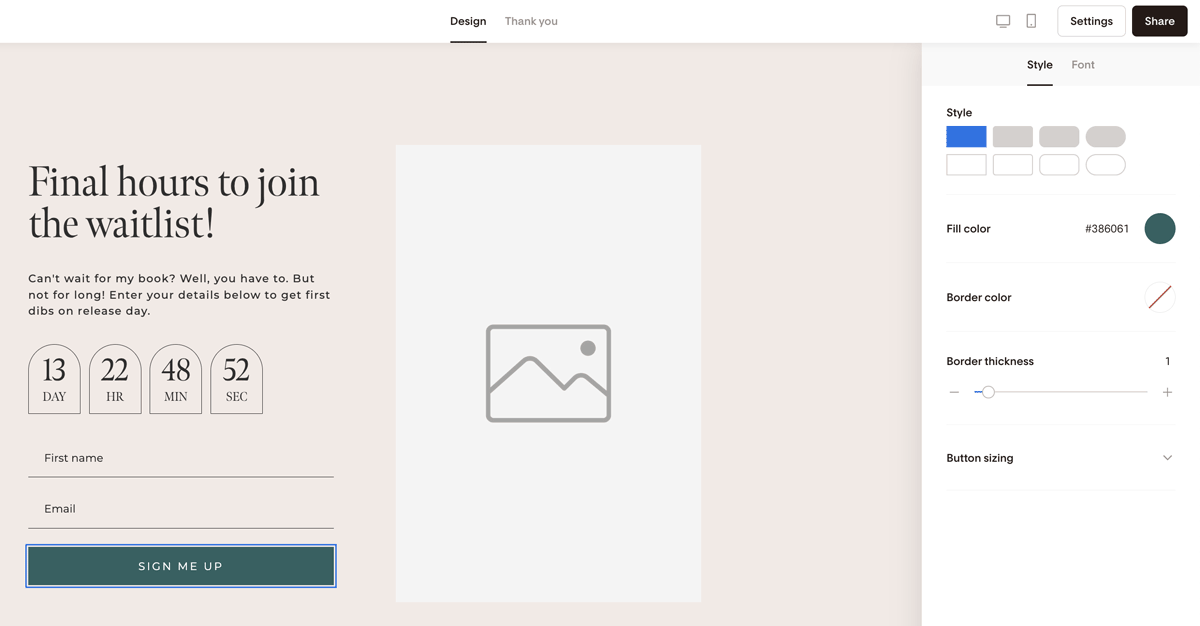
7. Edit the button
Click the button to:
Change the text (e.g., “Save my spot” or “Join before it’s gone”)
Adjust style and font settings
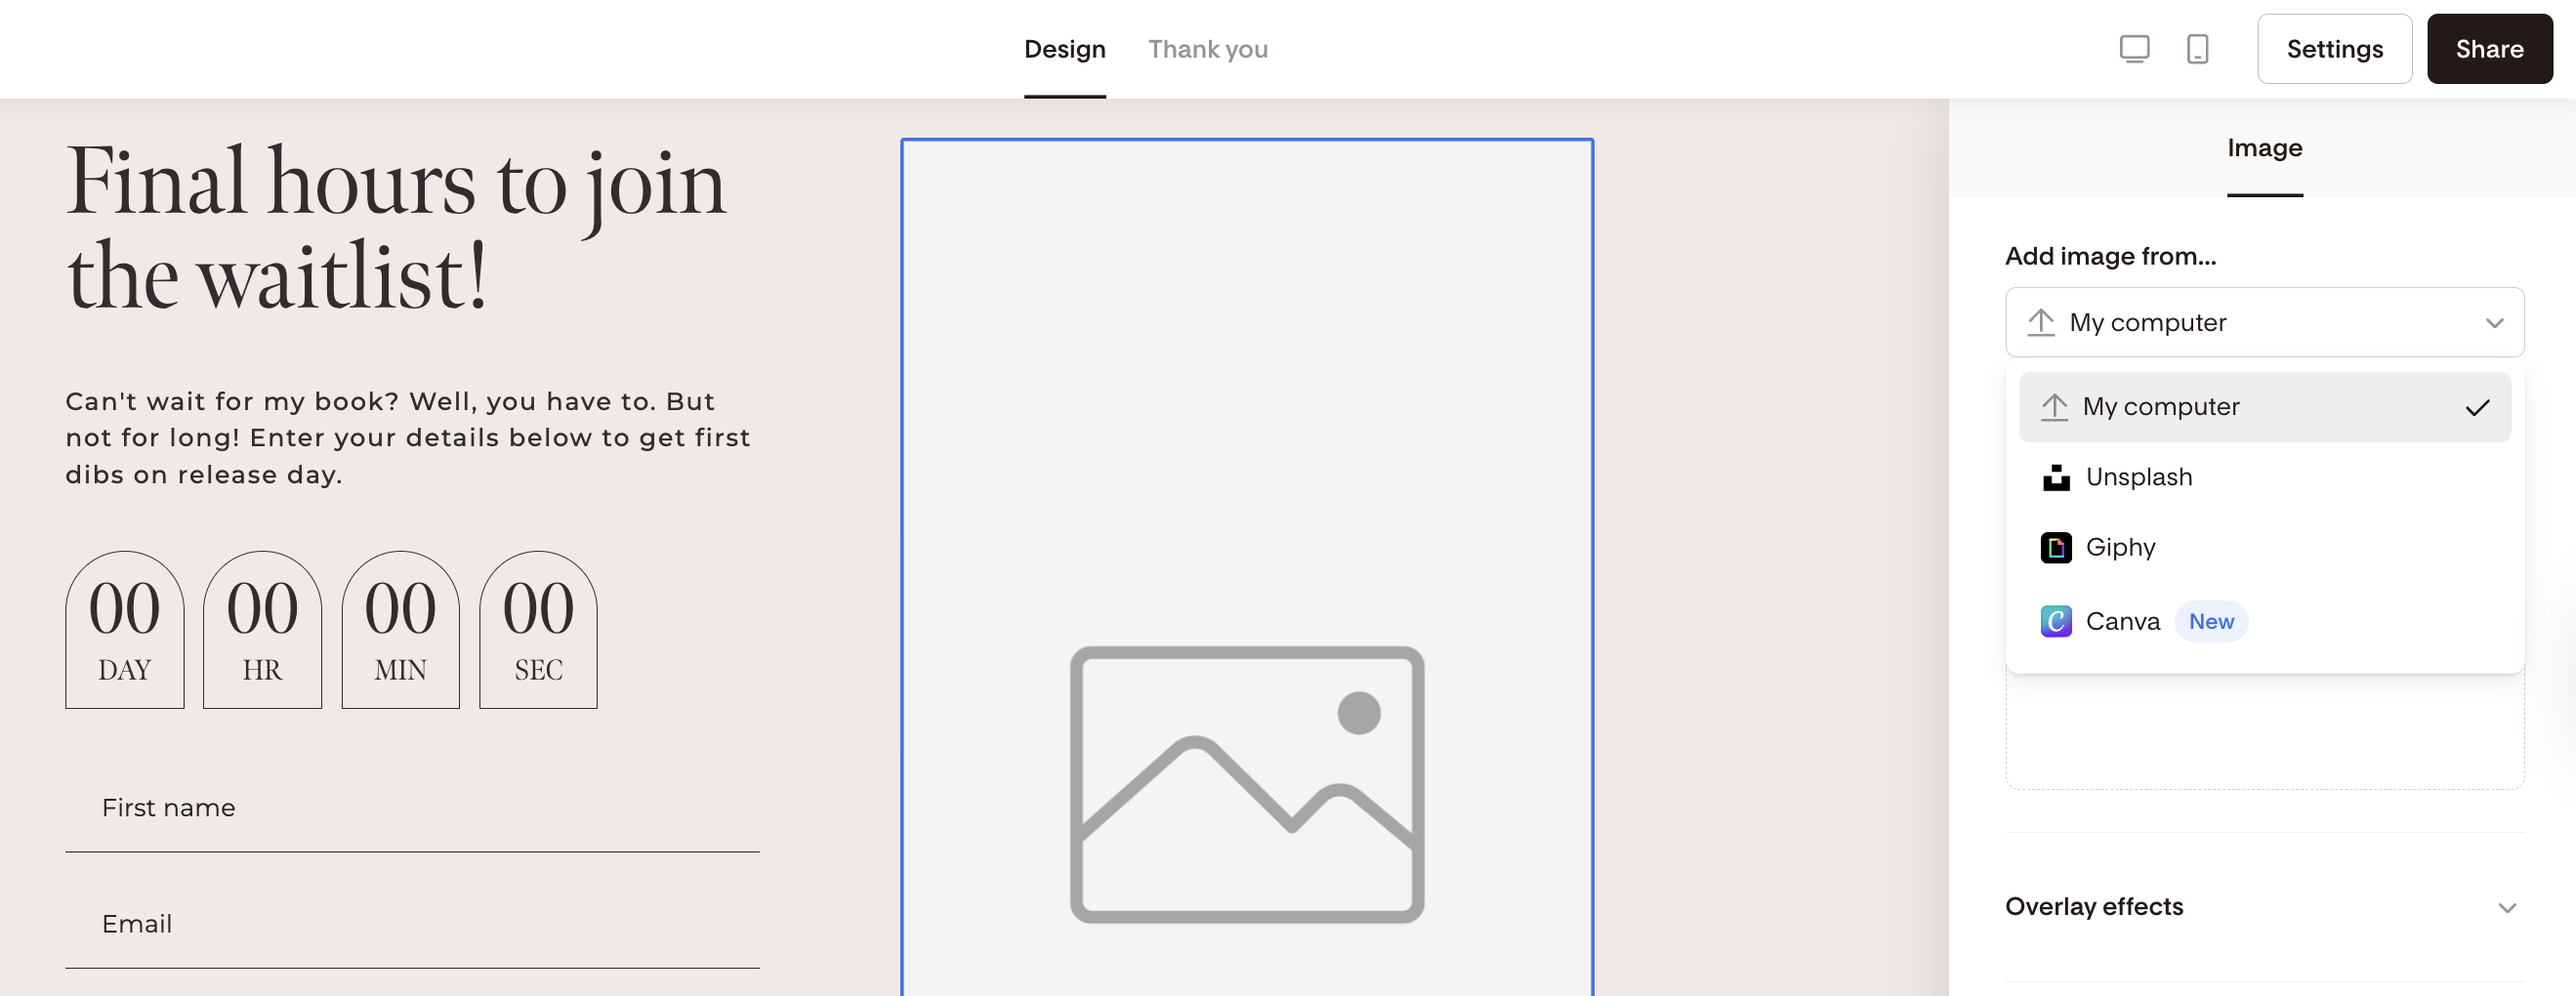
8. Add or edit images
Click the image placeholder to:
Upload your own image
Choose from Unsplash
Add a GIF from Giphy
Add a design from your connected Canva account
You can also adjust:
Overlay color
Opacity
And add alt text under Accessibility.
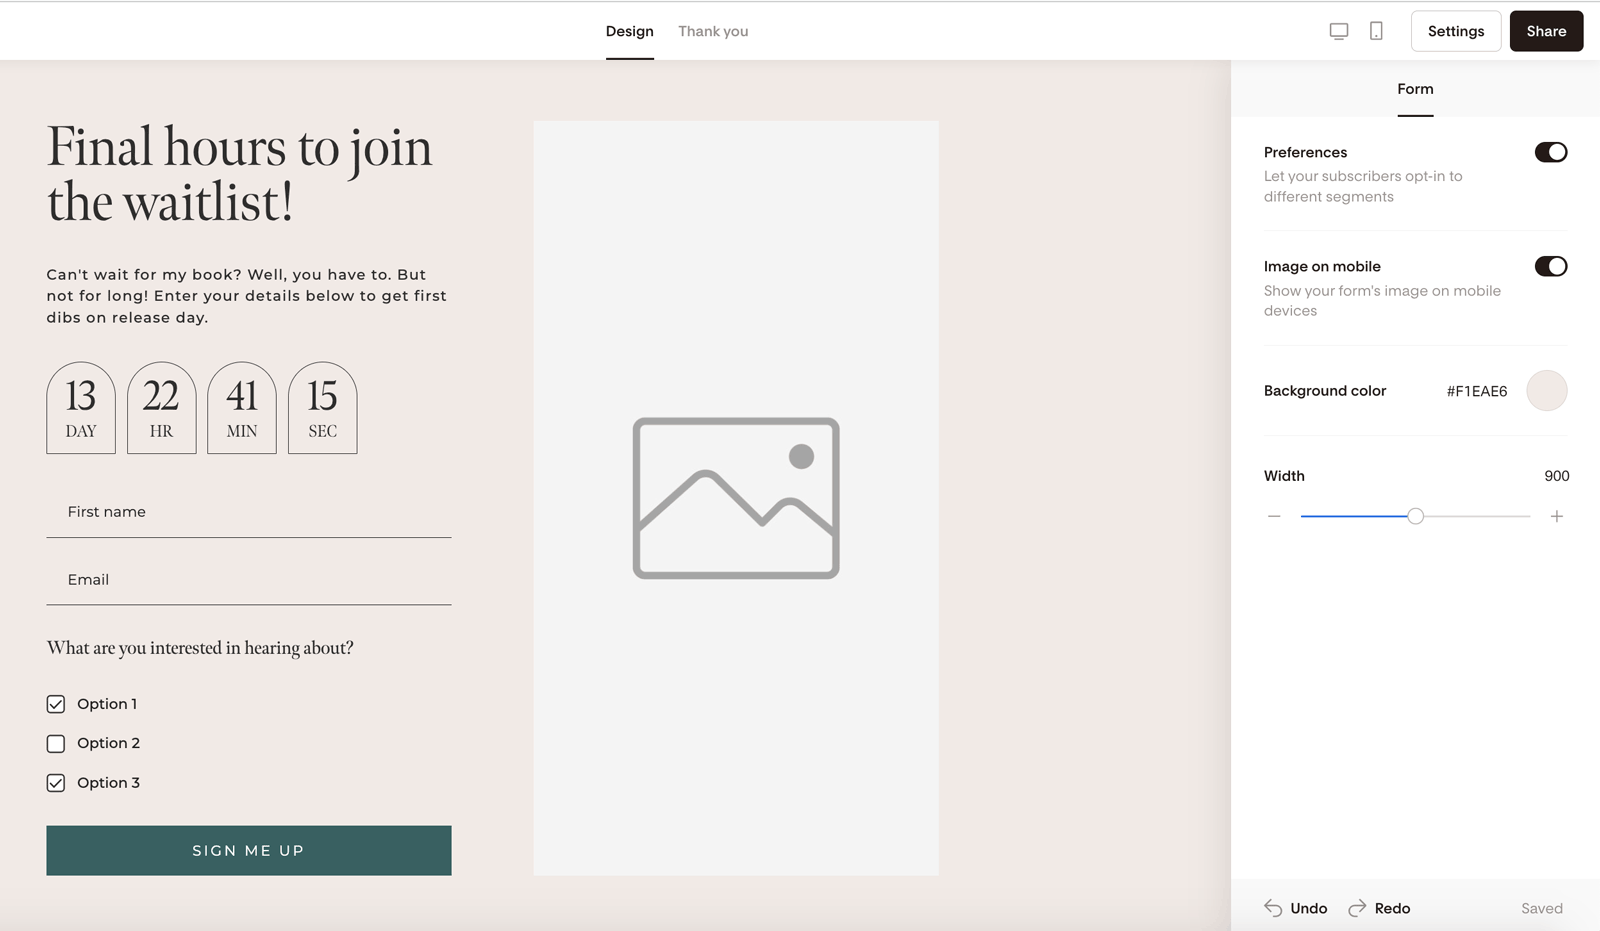
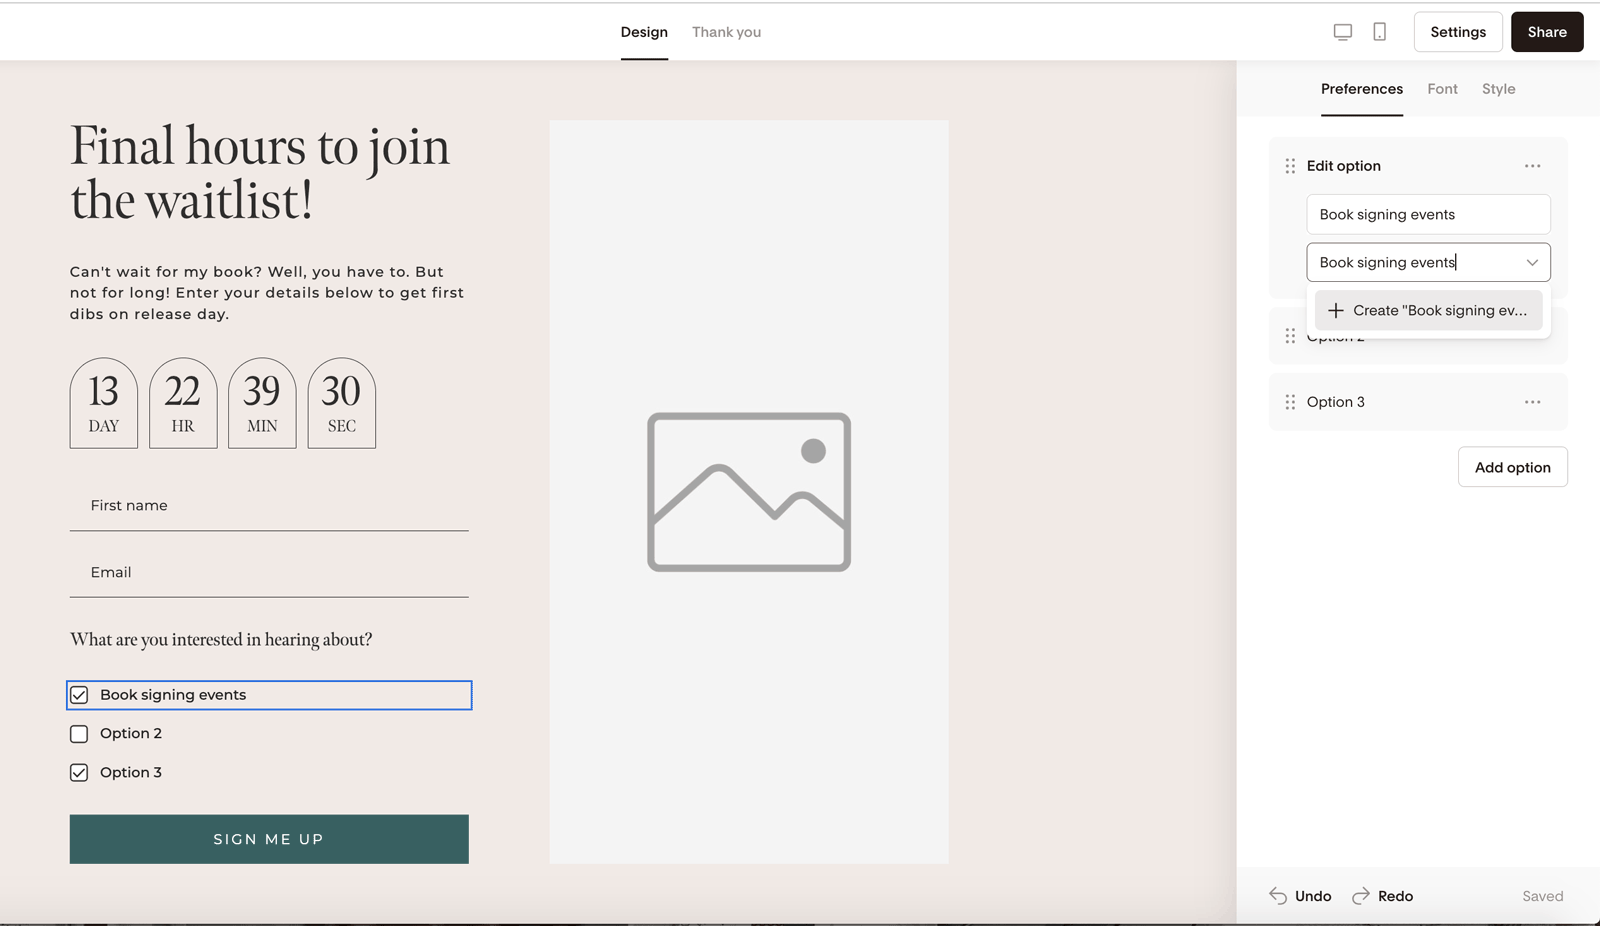
9. Form-level settings
Click outside the form editor area to access:
Preferences (allow subscribers to opt into multiple segments)
Image visibility on mobile
Background color
Form width
To customize the preference options, click a preference option on the main screen and edit its details on the right-side panel. You will need to map each preference option to a unique segment.
10. Customize the Thank You experience
Click the Thank You tab at the top of the builder.
You can:
Redirect to a URL
Use a pre-written success message
Write your own custom message
Enable form sharing
You can also style the success message font from the right-side panel.

How to access settings and share your form (Full page forms)
Once your design is ready:
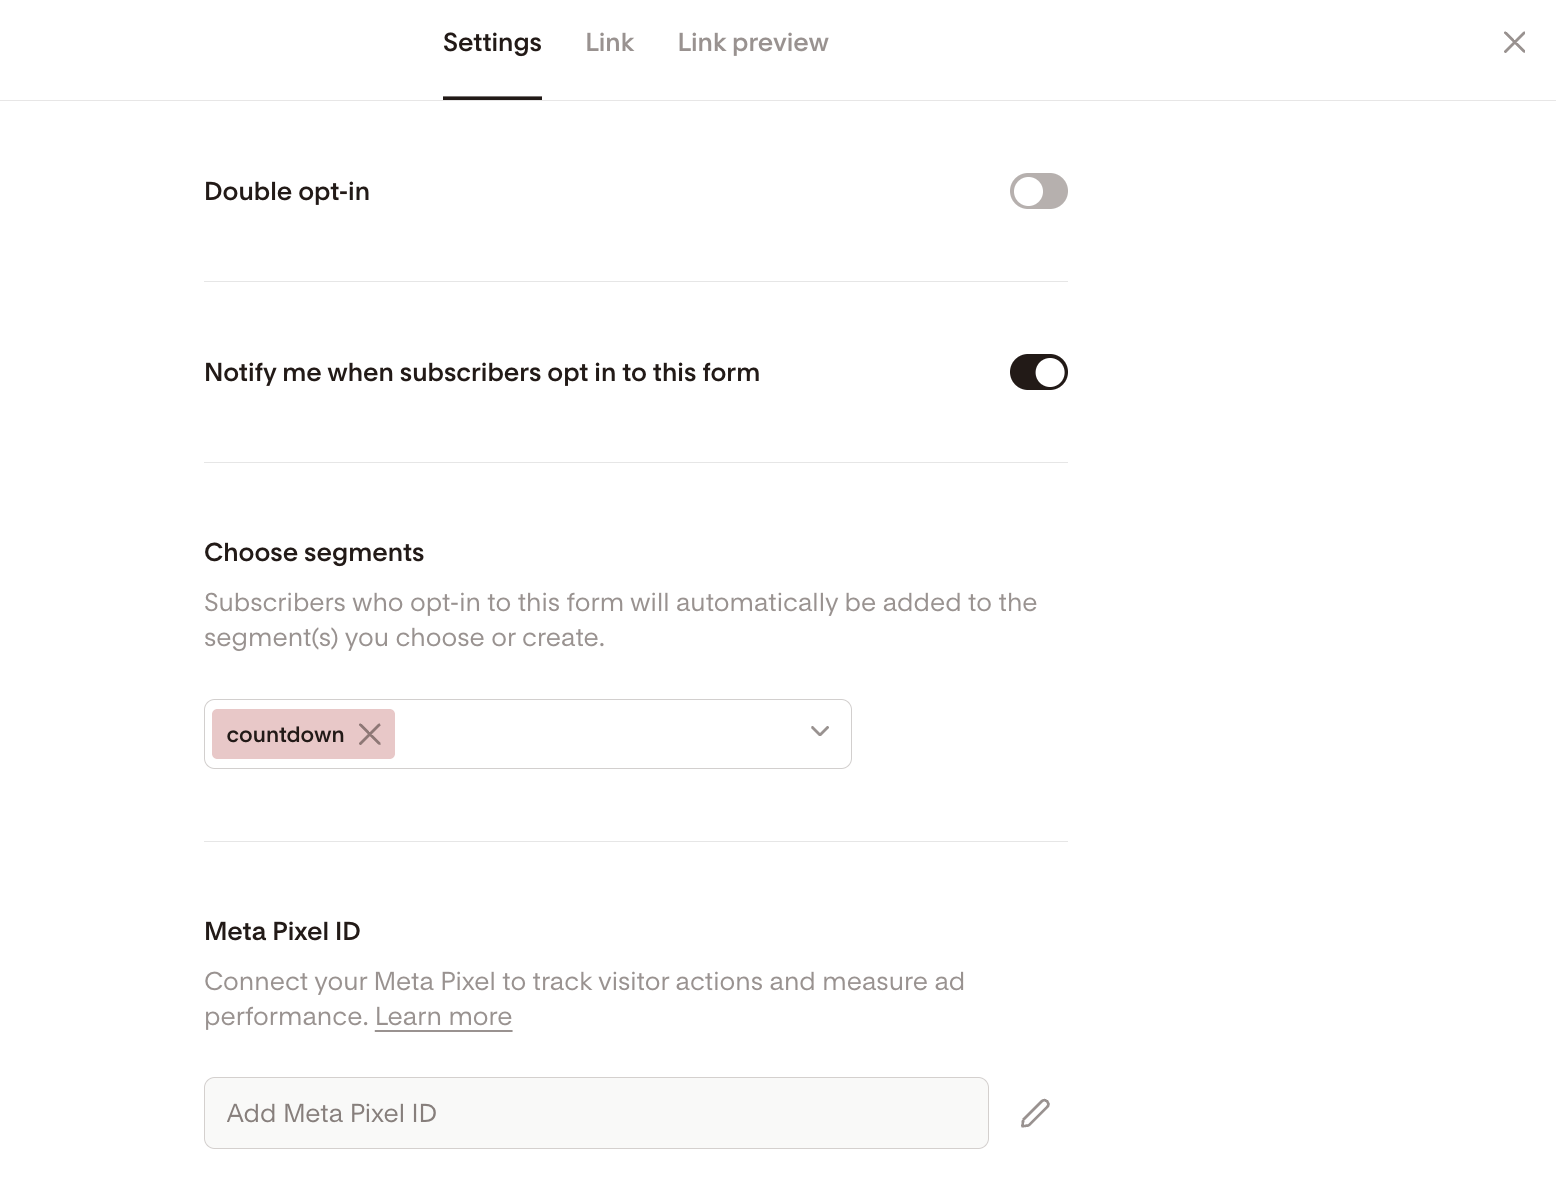
Click Settings in the top right corner.
Turn double opt-in on or off
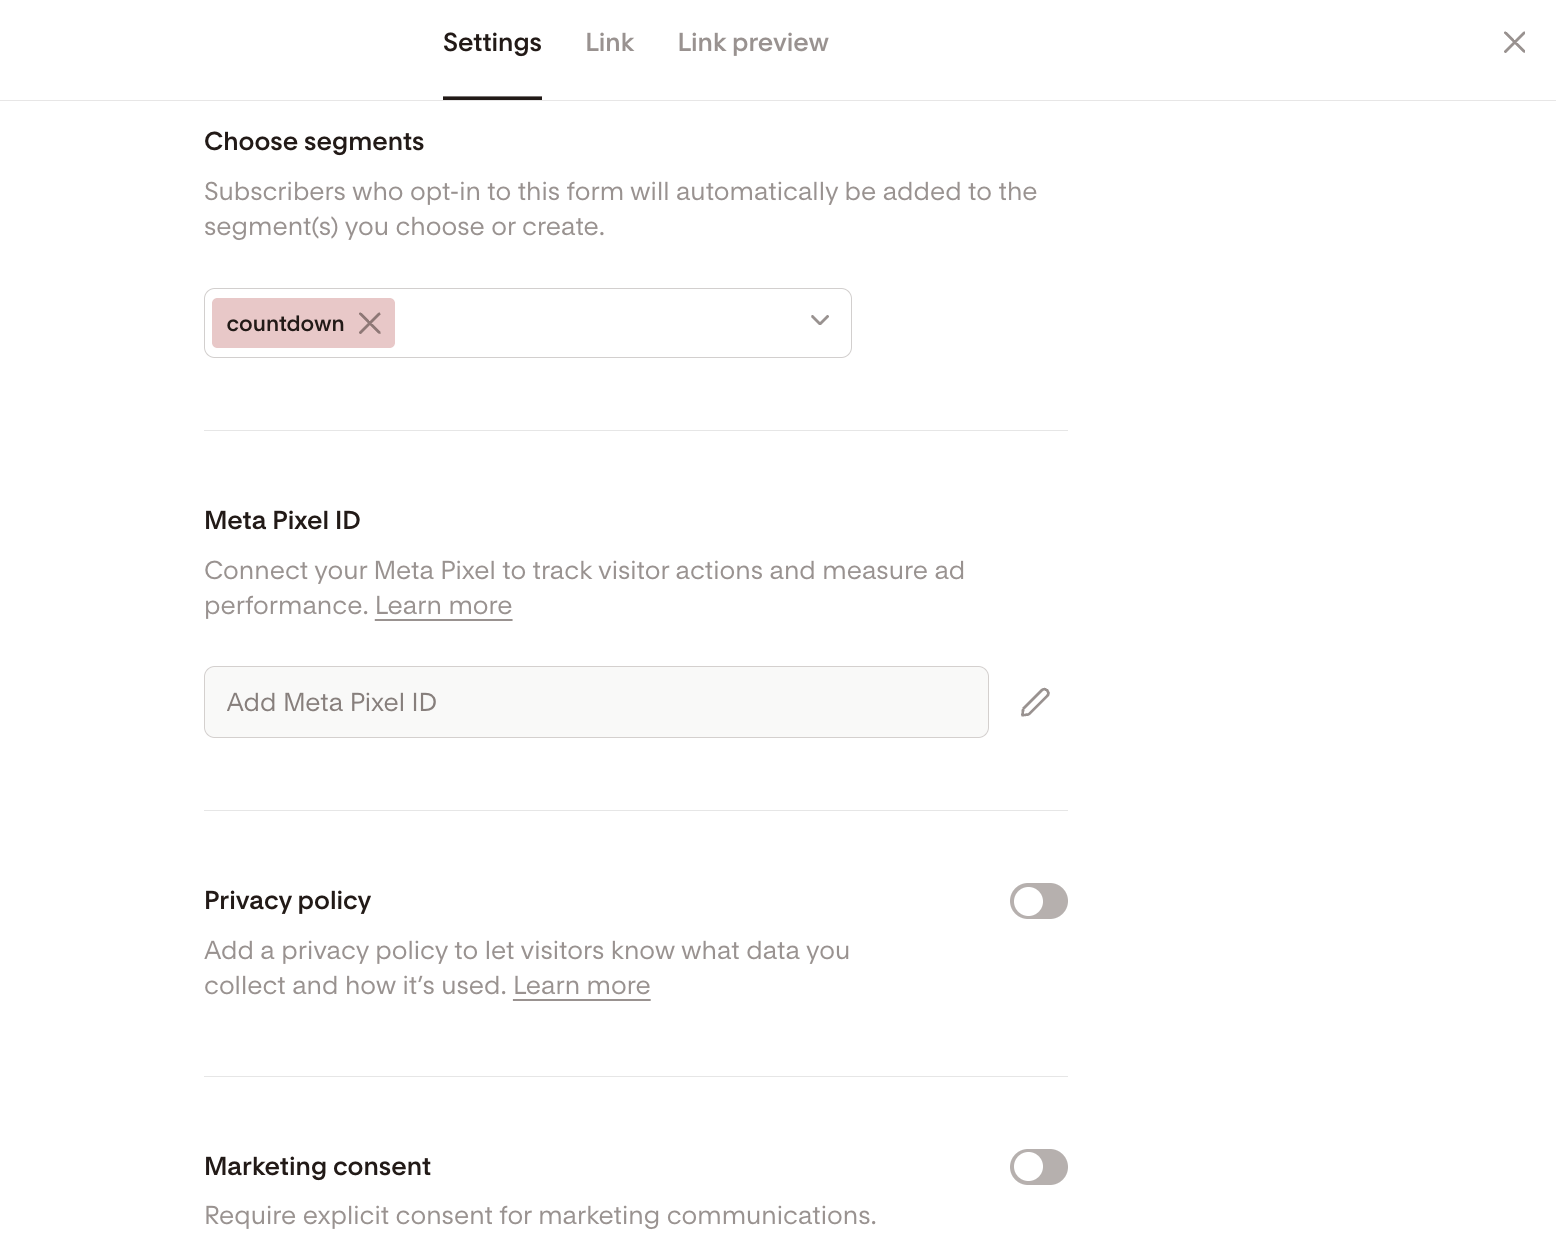
Choose which segments subscribers are added to
Enable subscriber notification emails (optional)
Connect your Meta pixel ID (if you are running ads)
Add your Privacy policy link to your full page form
Require explicit marketing consent
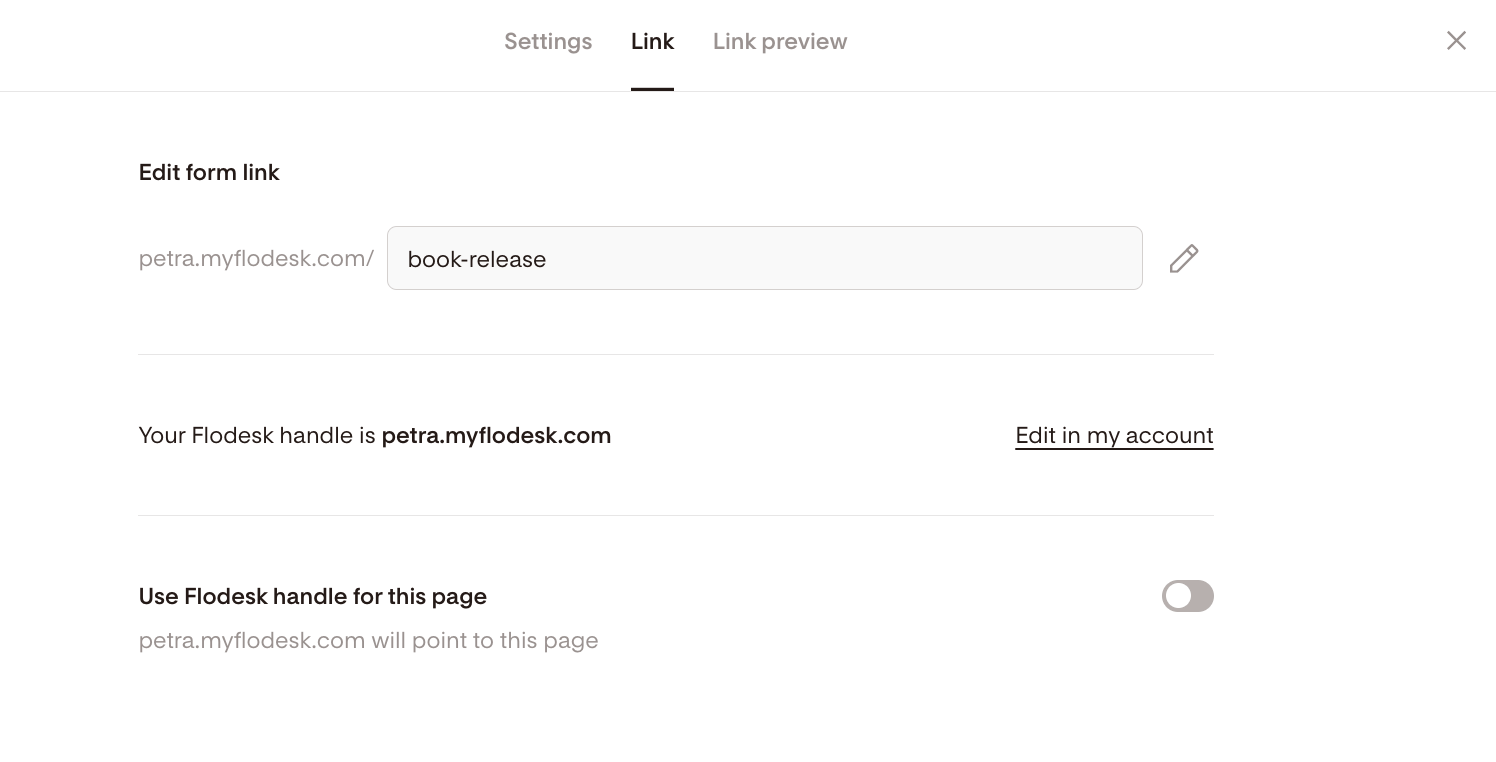
Customize your form link
Open the Link tab to:
Edit the form URL
Set your Flodesk handle (for a cleaner, branded link)
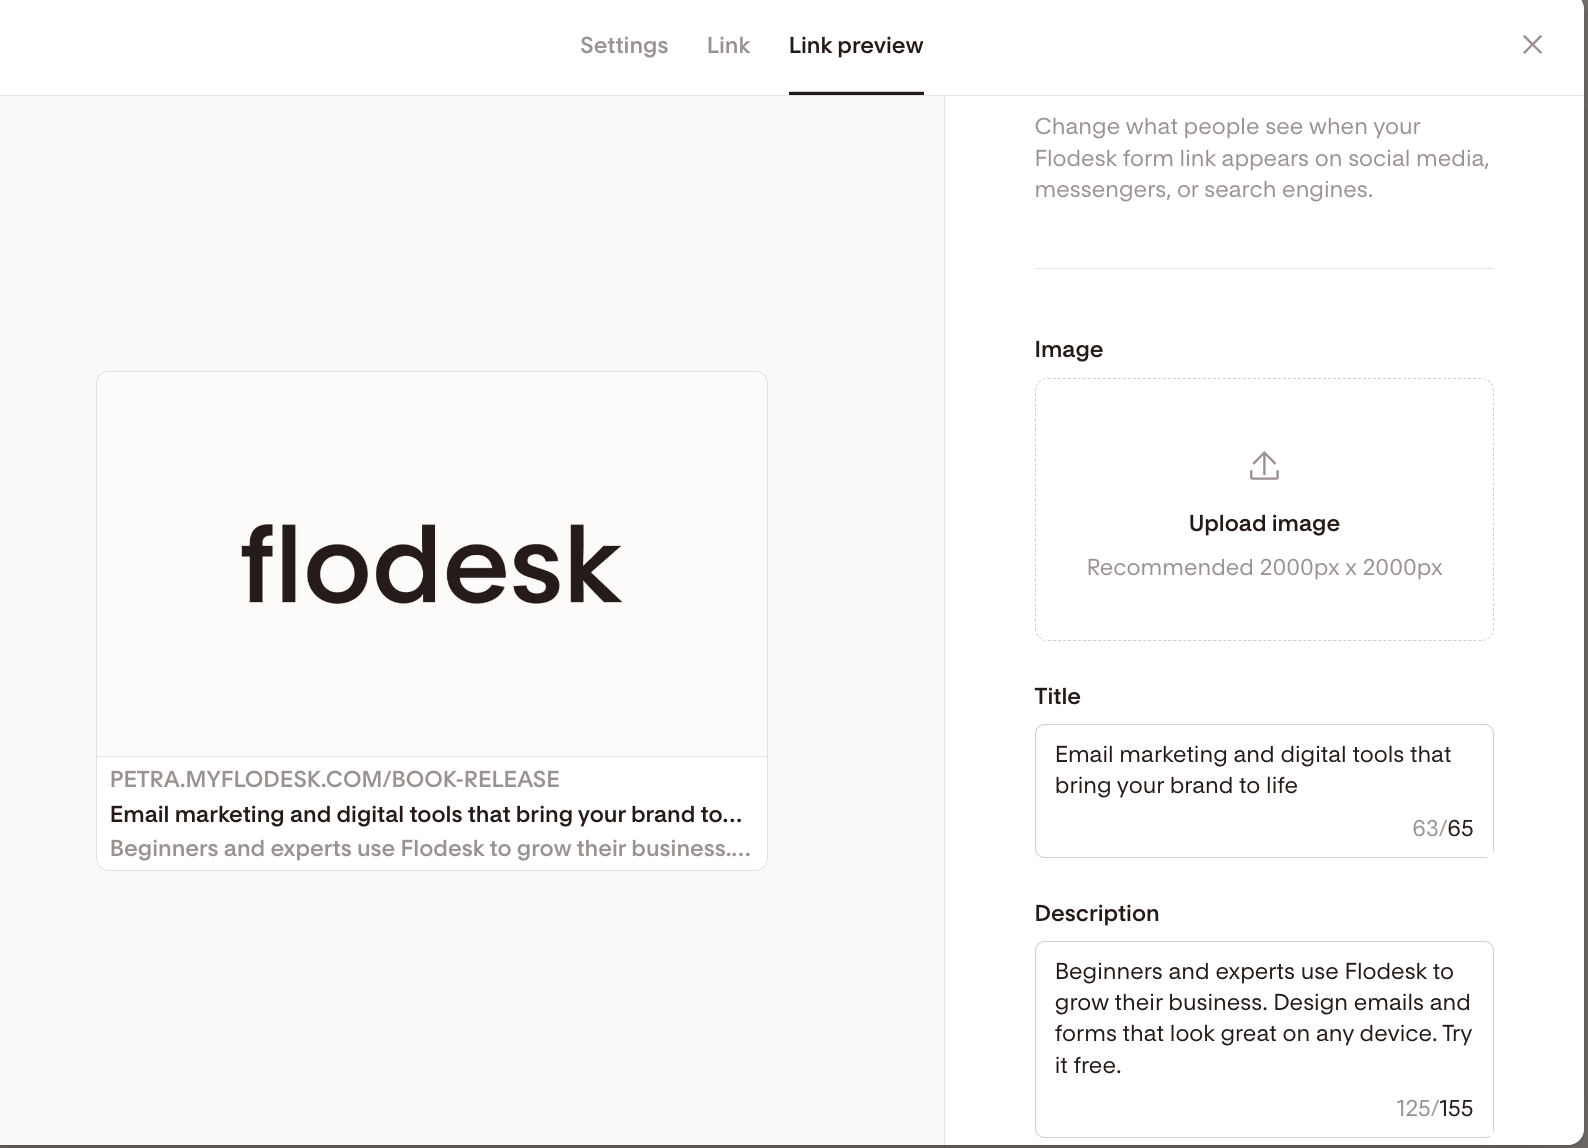
Under Link preview, you can control:
Preview image
Page title
Description
This affects how your form appears when shared on social platforms or in messages.
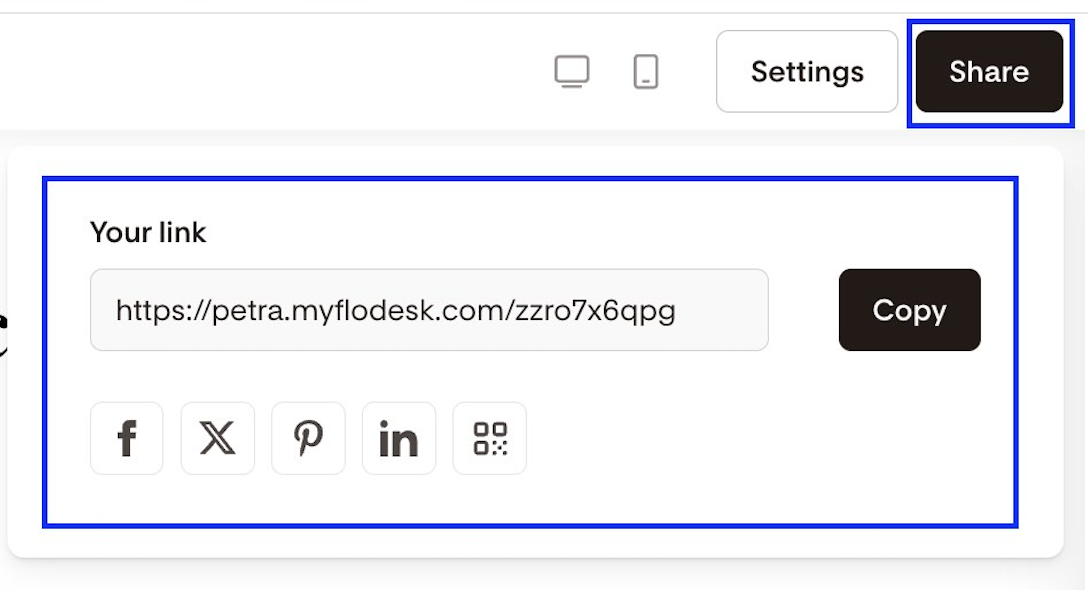
Click Share, then:
Copy the form link, or
Share directly to Facebook, X (Twitter), Pinterest, or LinkedIn
Grab the form's QR code
That’s it—your opt-in form is live.
What happens when the timer ends?
When the countdown reaches zero:
The timer stops
Your expiration message (if enabled) appears
Late signups can automatically be added to your waitlist segment
This allows you to clearly separate:
Subscribers who signed up before the deadline
Subscribers who joined after
FAQs
What is the difference between a Countdown timer form and a regular form?
A Countdown timer form includes a fixed deadline that all visitors see. Regular forms do not include a timer.
Can I create a personalized countdown for each subscriber?
No. Countdown timer forms use a fixed deadline. All visitors see the same remaining time.
If you want a timer that starts when someone opens an email, that would require a personalized countdown timer inside an email—not a form.
Can I use Countdown timer forms as popups?
Yes. Countdown forms are available as:
Full page
Popup
Inline
What is the maximum countdown length?
The maximum is 99 days in the future due to the two-digit day display.
What happens if someone confirms after the deadline with double opt-in enabled?
If they submitted the form before the timer expired, they will still be added to the main segment once they confirm—even if confirmation happens after the timer ends.
Can I automatically add late signups to a waitlist?
Yes. Enable the “When timer ends” option and map late subscribers to a separate waitlist segment.
Can I edit the form URL?
Yes. In Settings under the Link tab, you can edit the slug and customize the preview information.
Can I redirect subscribers after they sign up?
Yes. In the Thank You tab, toggle on Redirect to URL and enter your desired destination.
Summary
Countdown timer forms help you:
Create urgency around a fixed deadline
Collect subscribers
Separate early signups from late signups
Automatically manage waitlists
You can create one by going to:
Forms > + New form > Countdown category
From there, customize your timer, design, segments, and sharing settings—and start building excitement around your next launch.