
How to connect Marvelous and Flodesk
A step-by-step guide on how to connect your Marvelous account to Flodesk
Marvelous empowers creators to build and sell online courses, memberships, communities, and coaching programs by removing the tech overwhelm from the creation process.
In this article, we’ll show you how to connect your Marvelous account to Flodesk within minutes via our direct integration interface.
Things you’ll need for the integration:
Marvelous account
At least one published Marvelous product
Flodesk account
At least one segment in Flodesk
Connecting your Marvelous account and Flodesk
Start by creating the segment (or segments) you want to add your Marvelous students to. Next, connect your Marvelous account to Flodesk.
Step 1. Within your Flodesk account, create a new segment by navigating to your Audience > Segments dashboard
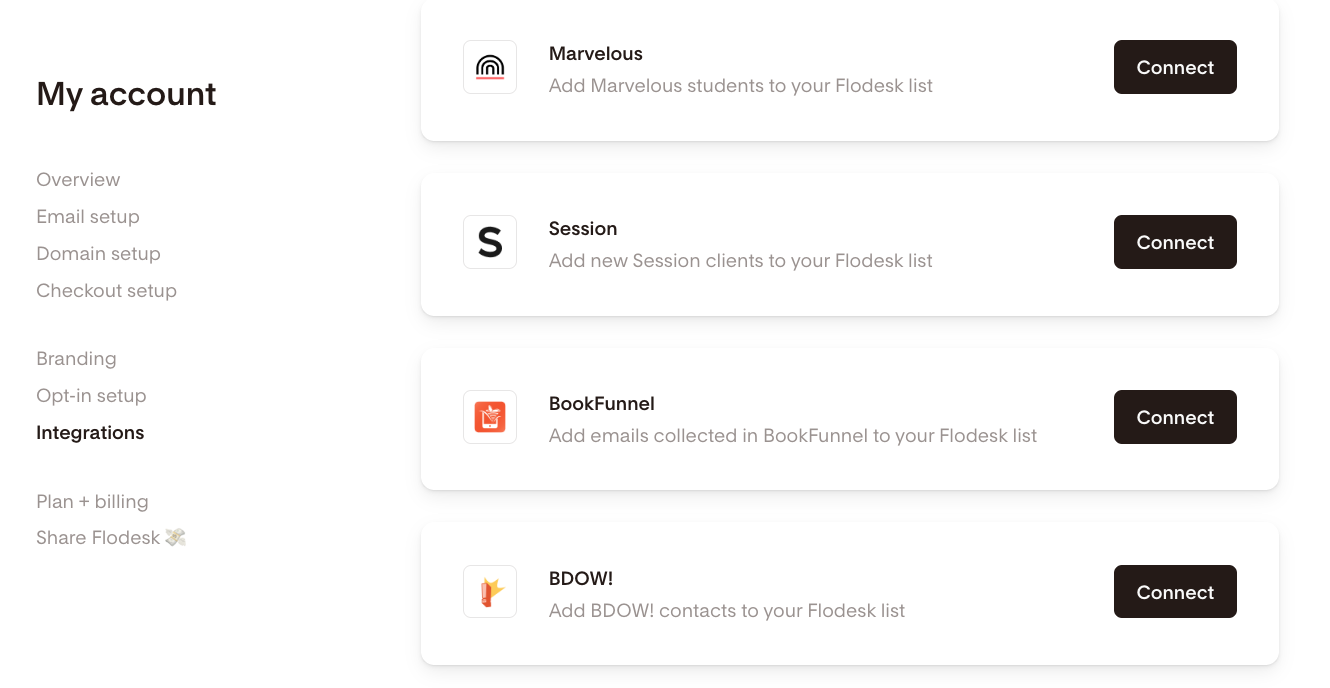
Step 2. Next, go to Account settings > Integrations and click Connect on the Marvelous card
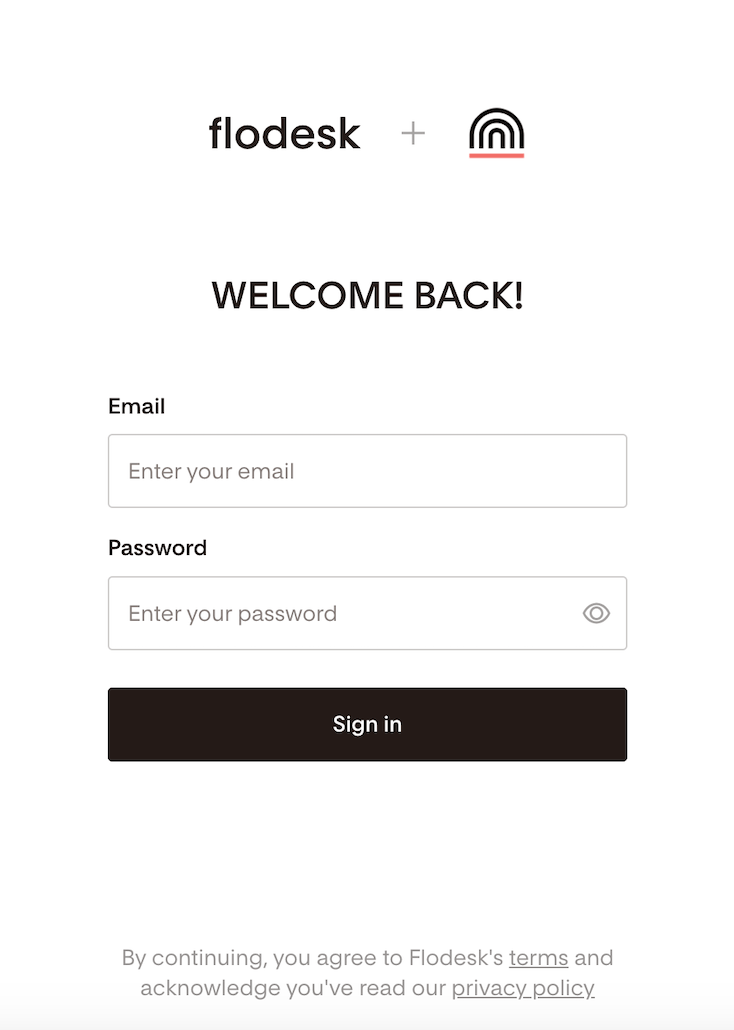
Step 3. If you have a Marvelous account, sign in. Otherwise, sign up for a new account
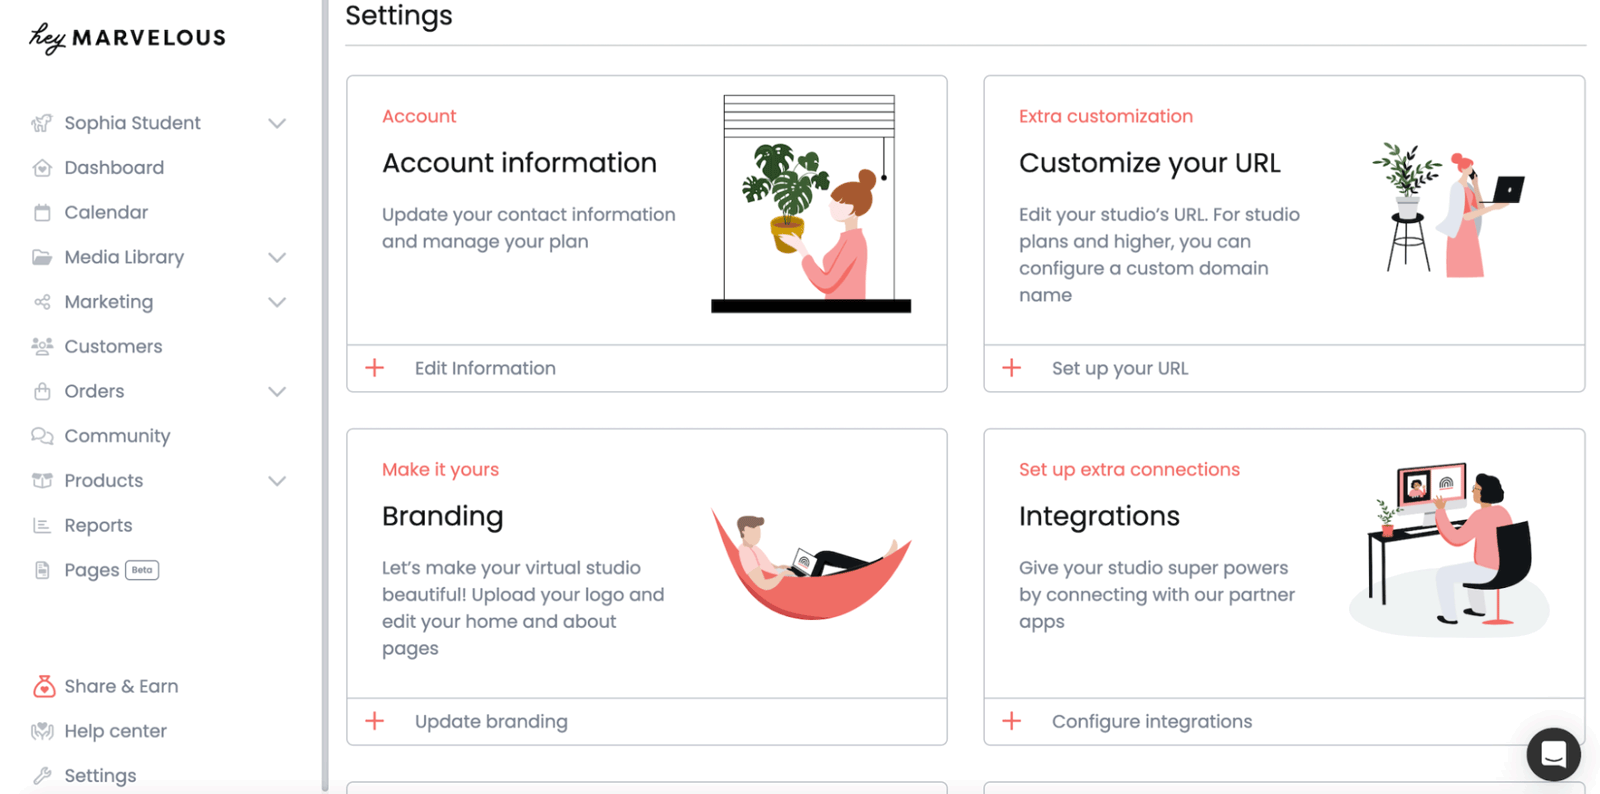
Step 4. Once you’re logged into your Marvelous account, go to Settings > Integrations
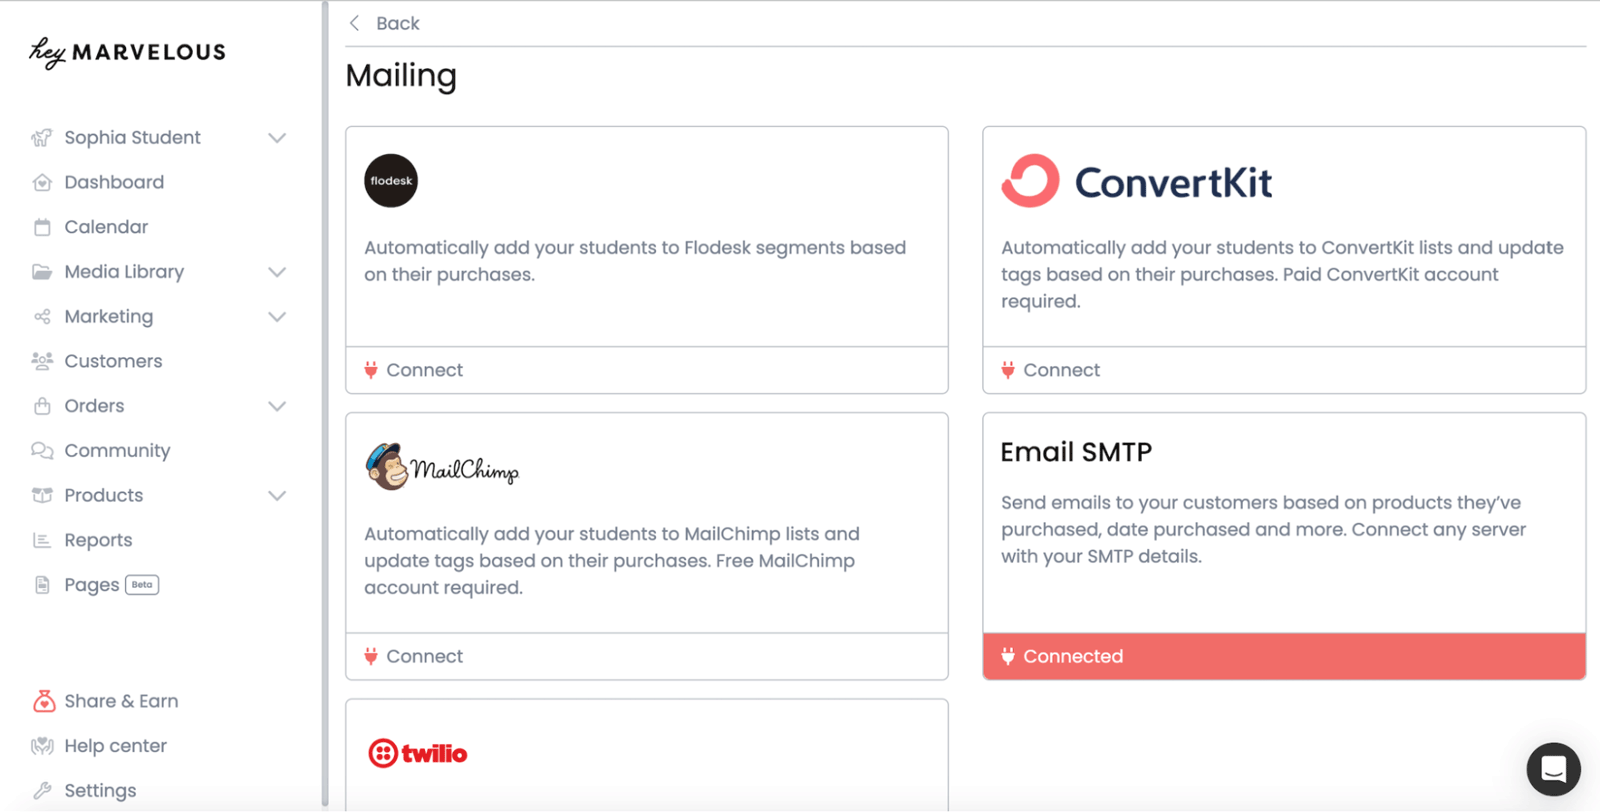
Step 5. On the next screen, scroll down to the Mailing section and select Flodesk from the available apps
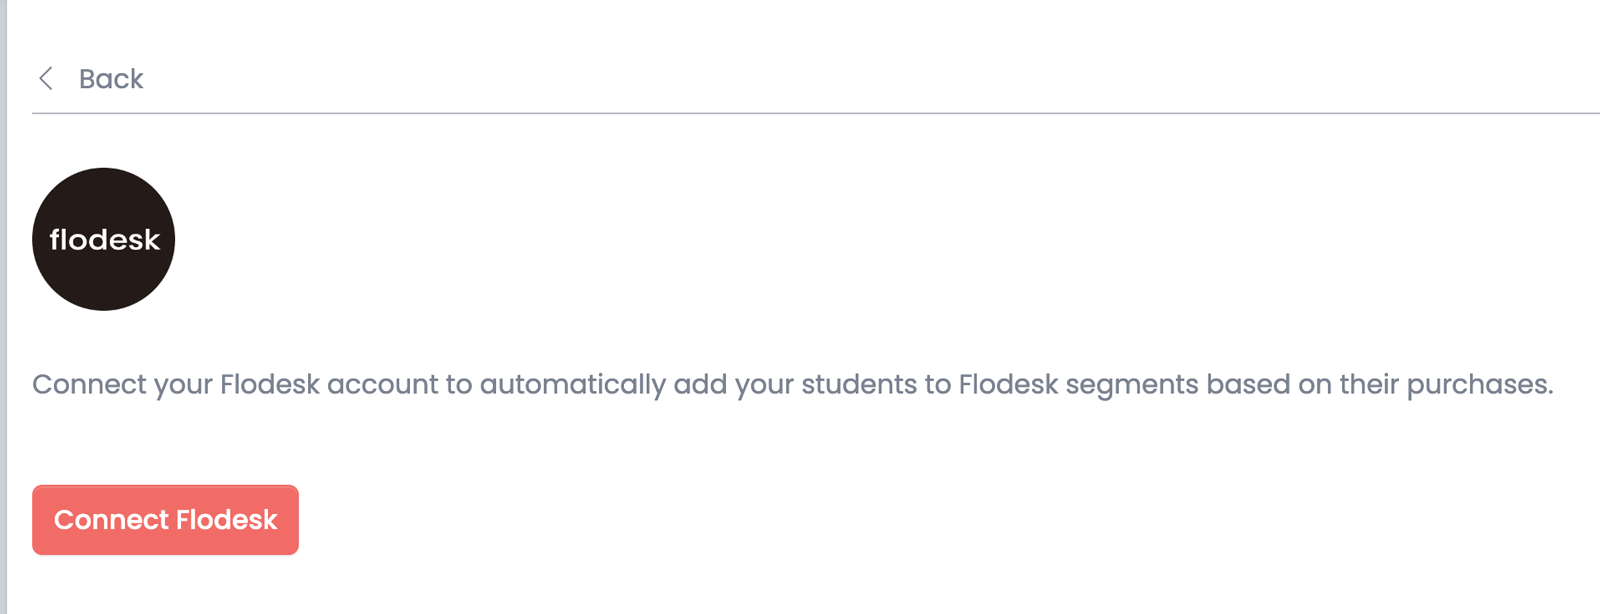
Step 6. Click Connect Flodesk
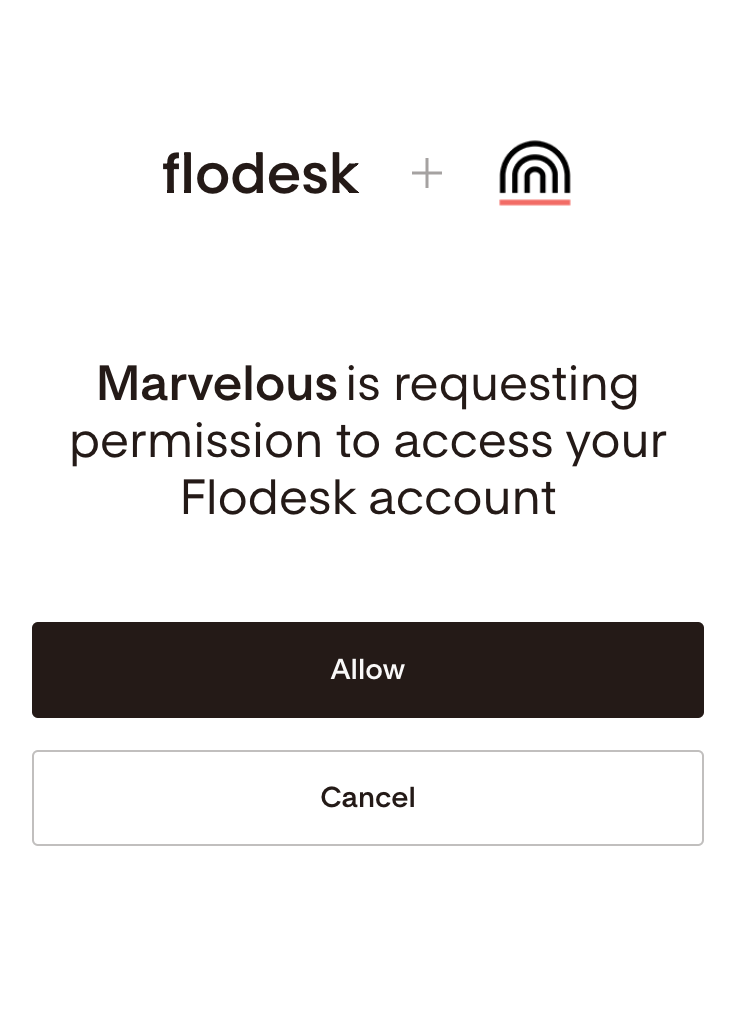
Step 7. Log in to your Flodesk account and click Allow to authorize Marvelous to access your Flodesk account
Step 8. Once your Flodesk account is connected, you can enable Double Opt-in. You can also select a main Flodesk segment for your Marvelous students to be added to—or you can choose to leave this field empty.
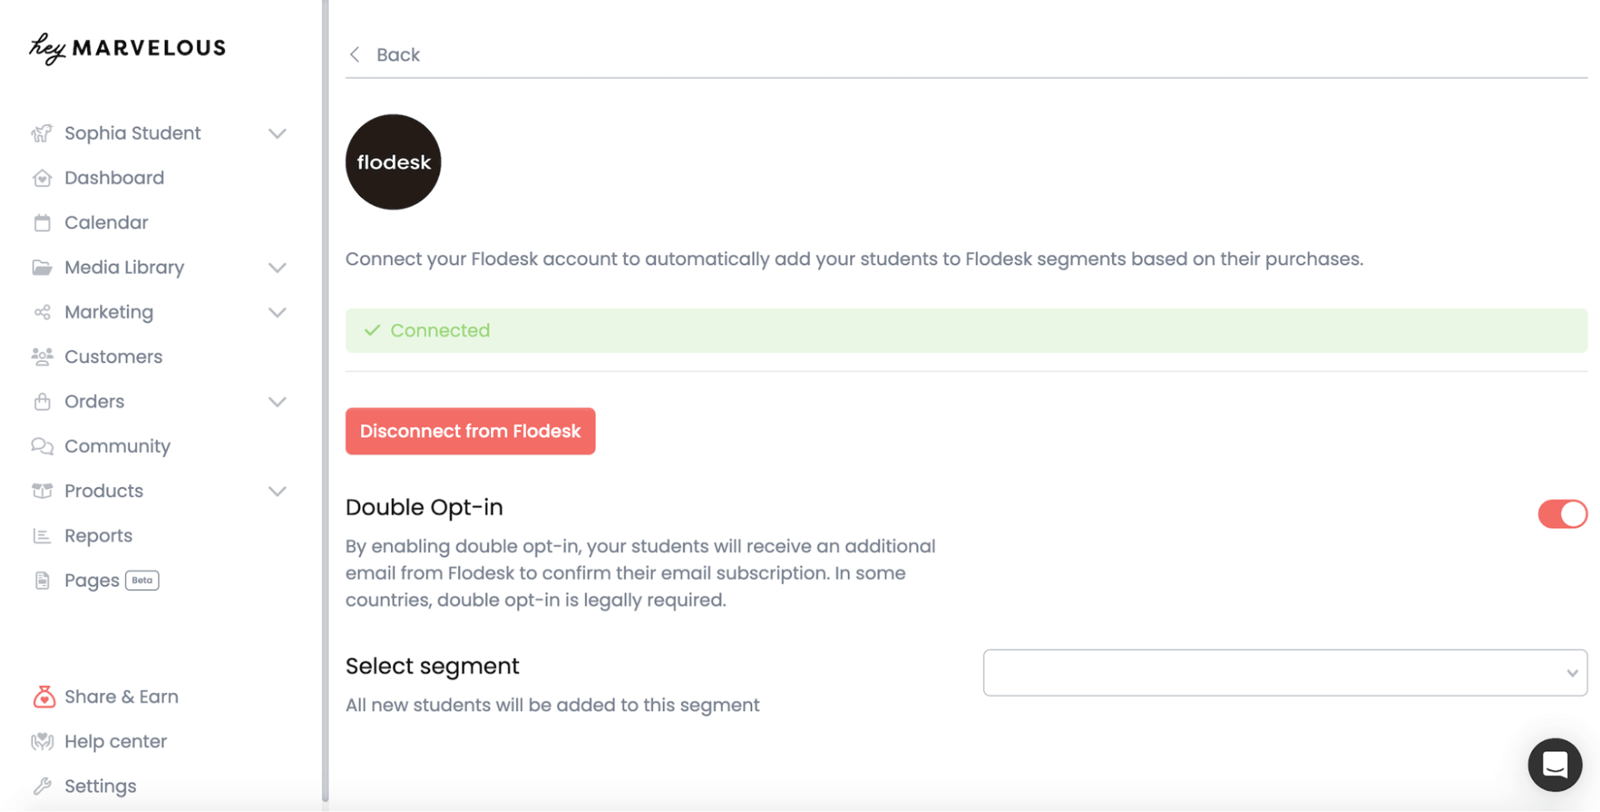
Note: if you turn on double opt-in in Marvelous, make sure to edit and customize the double opt-in confirmation email and thank you page in Flodesk.
How to add customers of a specific product to a dedicated Flodesk segment
Within Marvelous, you can edit products to automatically add customers of each specific product to a Flodesk segment. Here’s how.
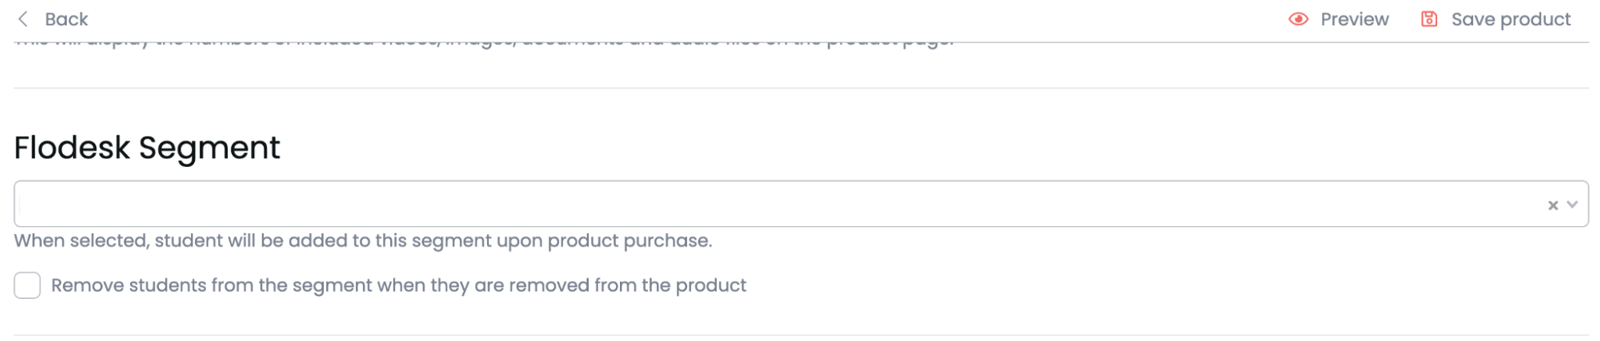
Step 1. Click on Edit product and Navigate to the Summary tab
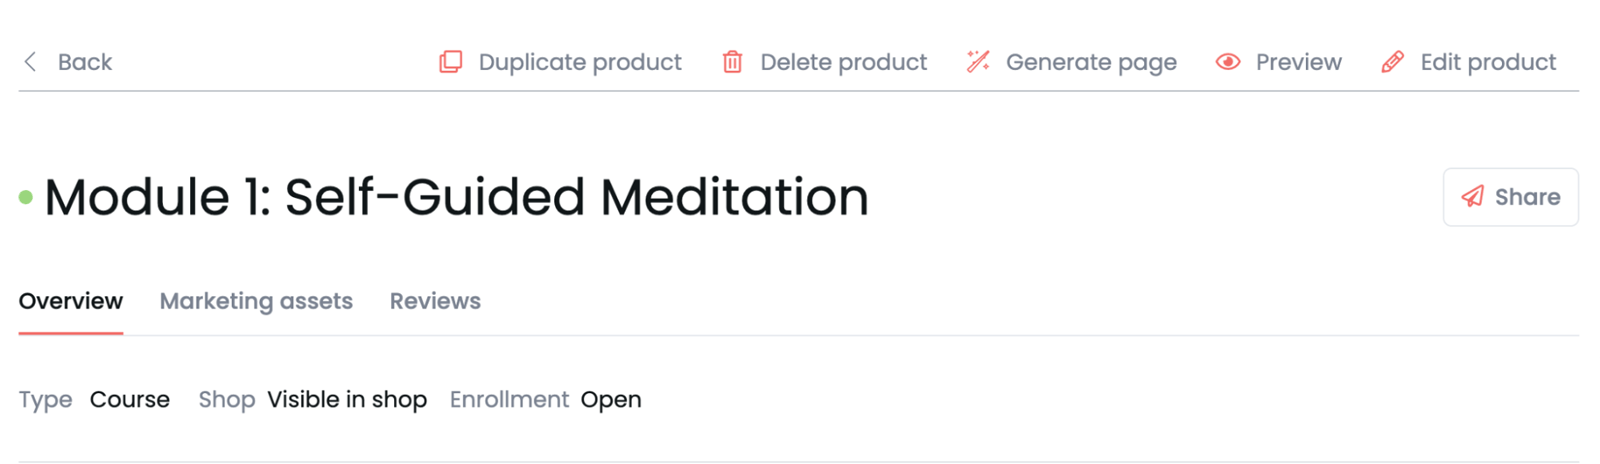
Step 2. Scroll down to the Flodesk segment section. Select the Flodesk segment you want to add customers purchasing this specific product to. Toggle on/off the option to remove students from the segment if they’re removed from the product in Marvelous—meaning they’re no longer a customer of that specific product. Click Save product.
How to add lead capture event registrants to a specific Flodesk segment
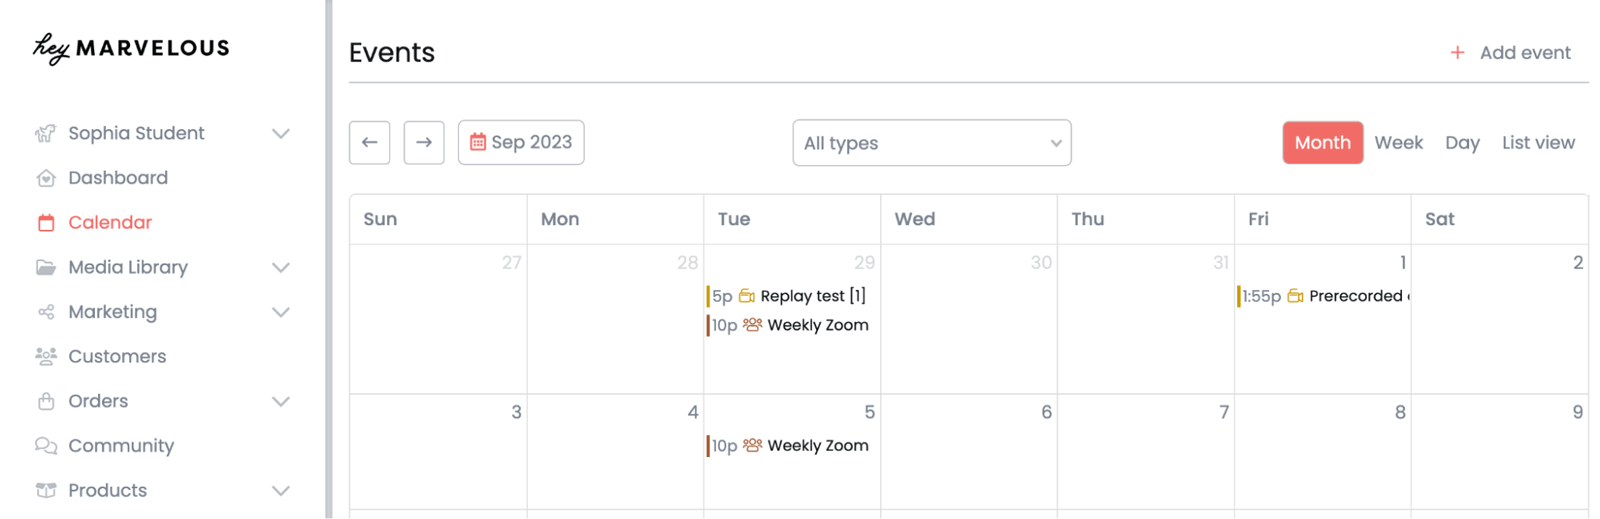
You can also specify a Flodesk segment when you create a new event on the Calendar in your Marvelous account and set it as a free lead capture event.
Step 1. Click on Add event and fill in the Event details
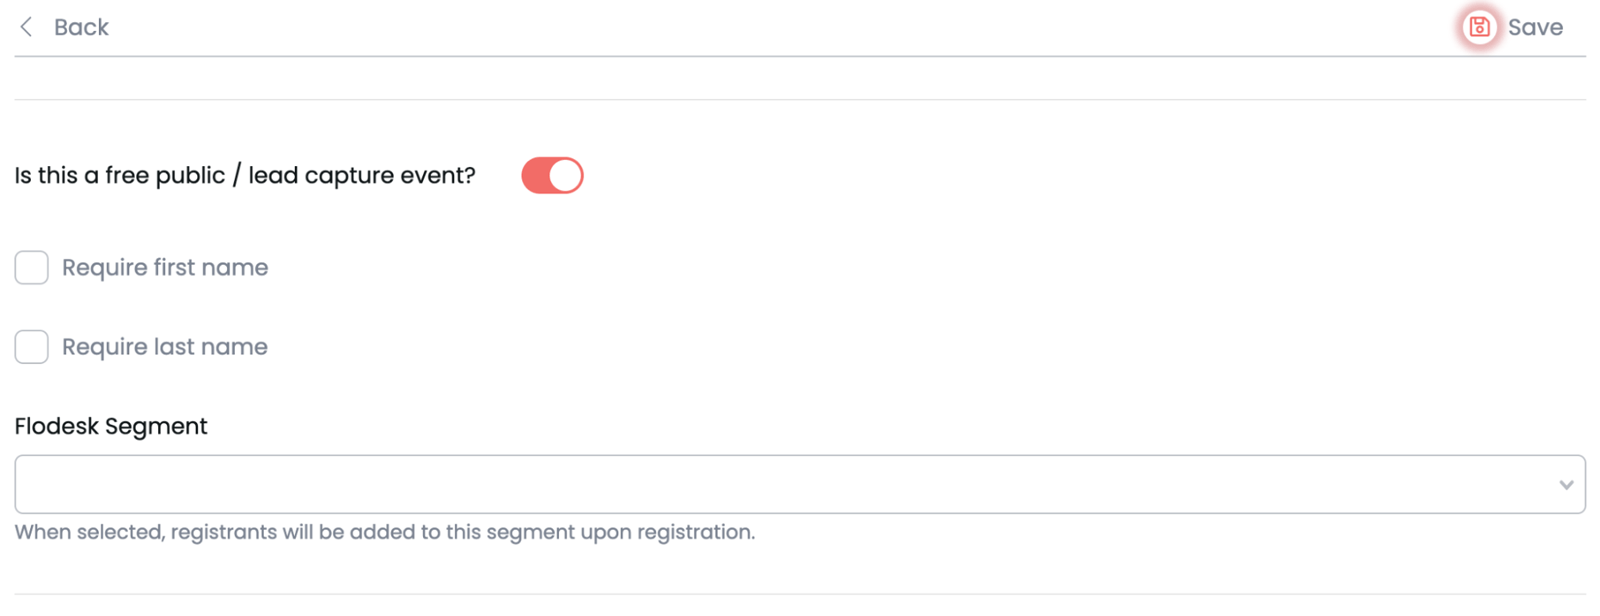
Step 2. Toggle on “Is this a free public / lead capture event?” and then decide if you want to require registrants to include their first name and last name. Select the Flodesk segment you want to add registrants to upon registration. Click Save.
Summary
To connect your Marvelous account to Flodesk,
Log into your Marvelous account
Go to Settings > Integrations
Select Flodesk from the available apps
Click Connect to Flodesk
Enter your Flodesk login details and click Allow to authorize Marvelous to access your Flodesk account