
How to Customize Your Flodesk Checkout Page Link
Want to make your checkout link easy to remember and share?
In Flodesk, you can personalize the URL (also called the slug) of any checkout page—so instead of a long random string, your link can clearly reflect your product name or brand.
Whether you’re promoting an eBook, digital offer, or service, customizing your checkout link helps build trust and gives your page a polished, professional feel.
How to customize your Checkout links
If you’re editing a checkout in progress:
Click the Setup button at the top of your checkout builder
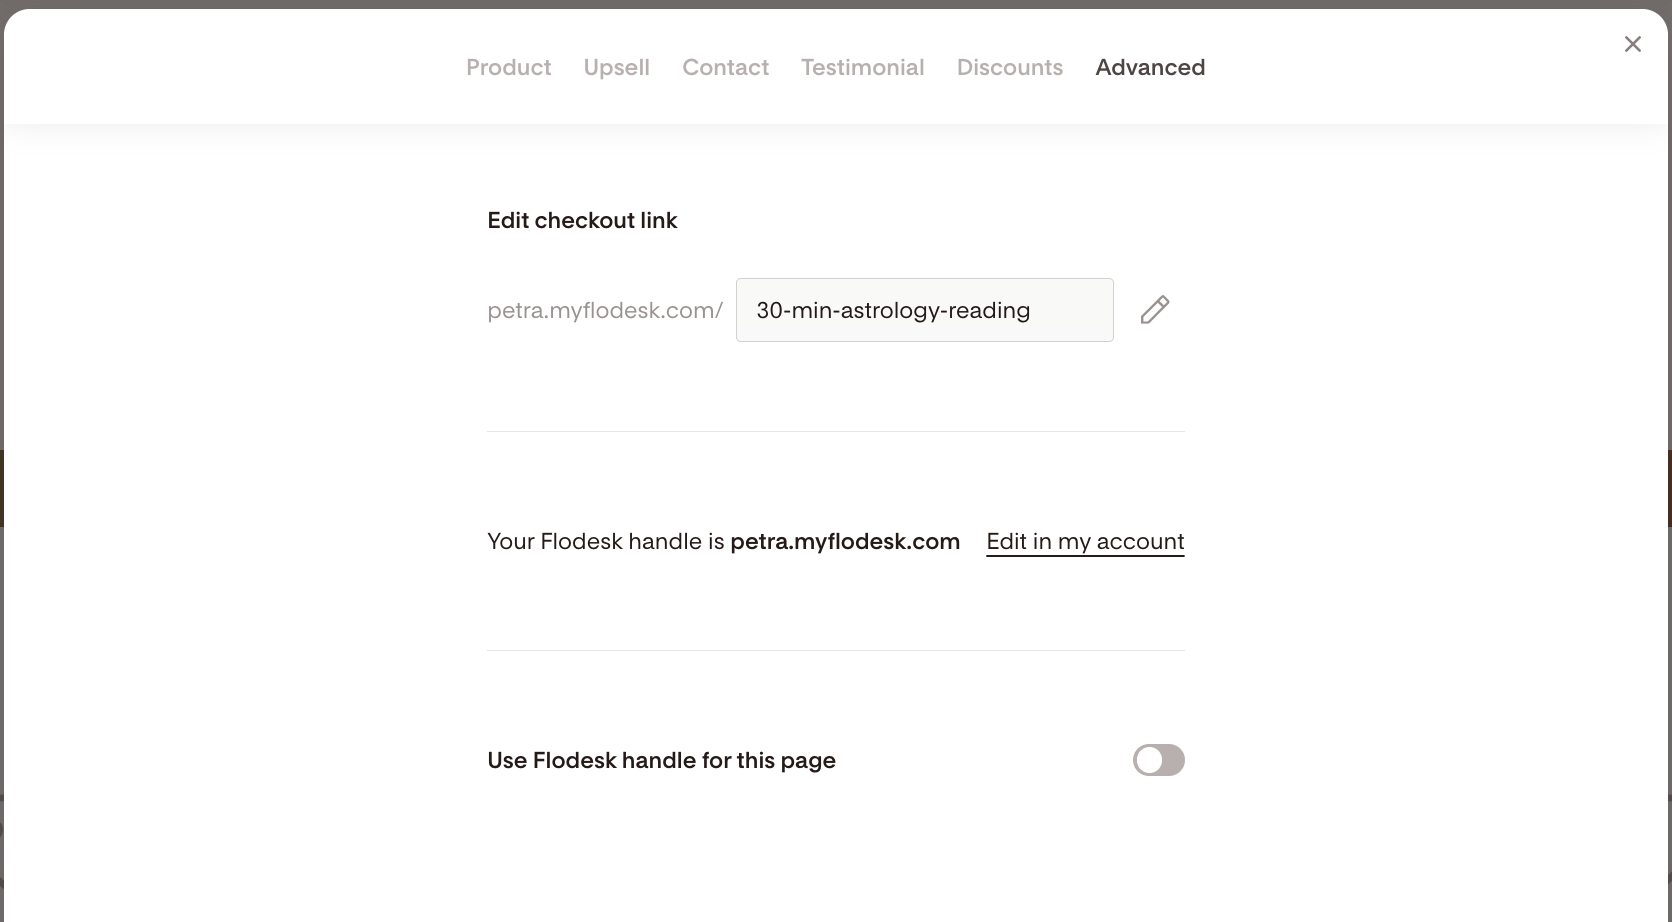
Go to the Advanced tab
Click the pencil icon next to the URL
Enter your preferred slug (e.g. summer-sale, ebook-download)
Click Save

If you’re editing an existing checkout:
Go to your Checkouts dashboard
Hover over the checkout card and click the three dots (…)
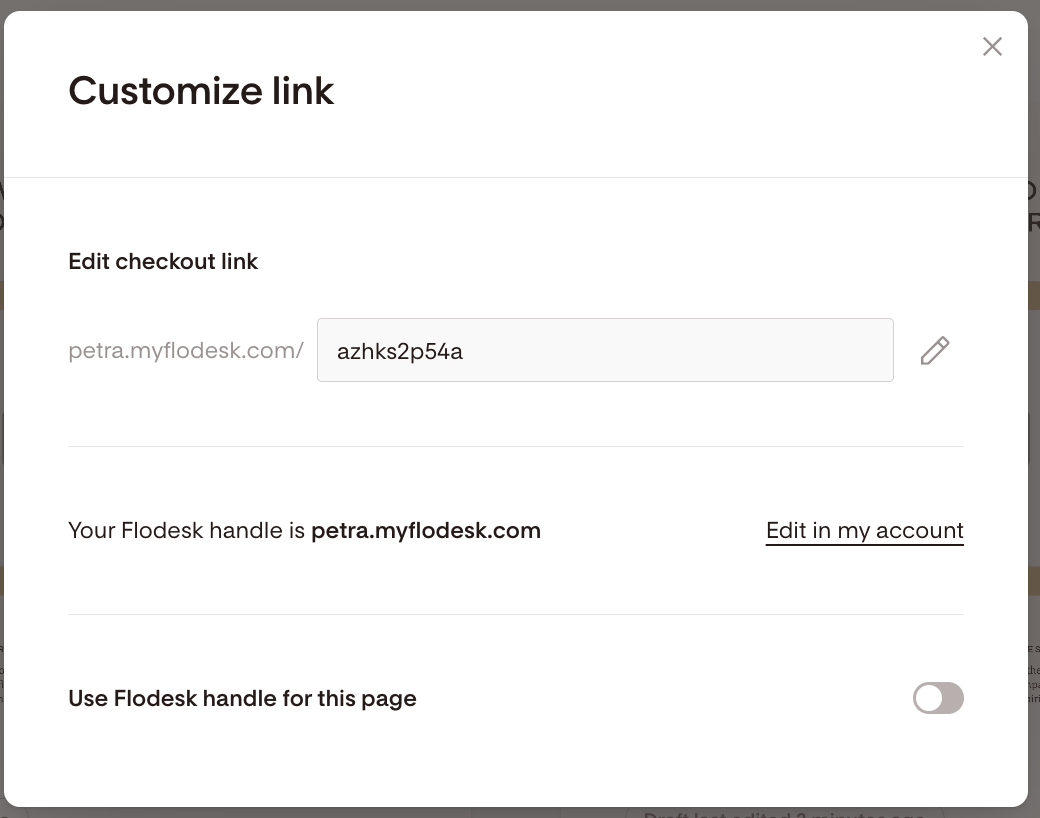
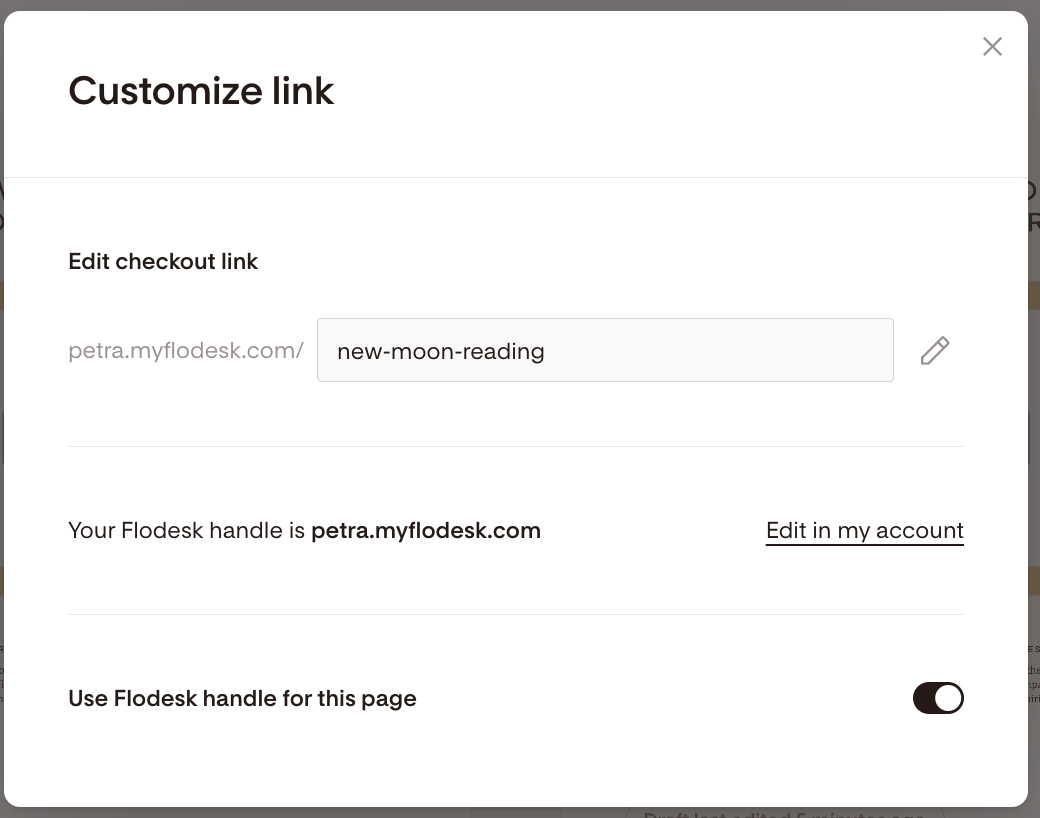
Select Customize link
On the next screen, click the pencil icon to edit the link
Type in your new slug and click Save

Pro tip: Choose a slug that’s short, descriptive, and easy to type.
Want to use your Flodesk handle as the main checkout link?
You can also direct people to a branded handle like https://petra.myflodesk.com, and have that automatically point to one of your checkouts.
To do this:
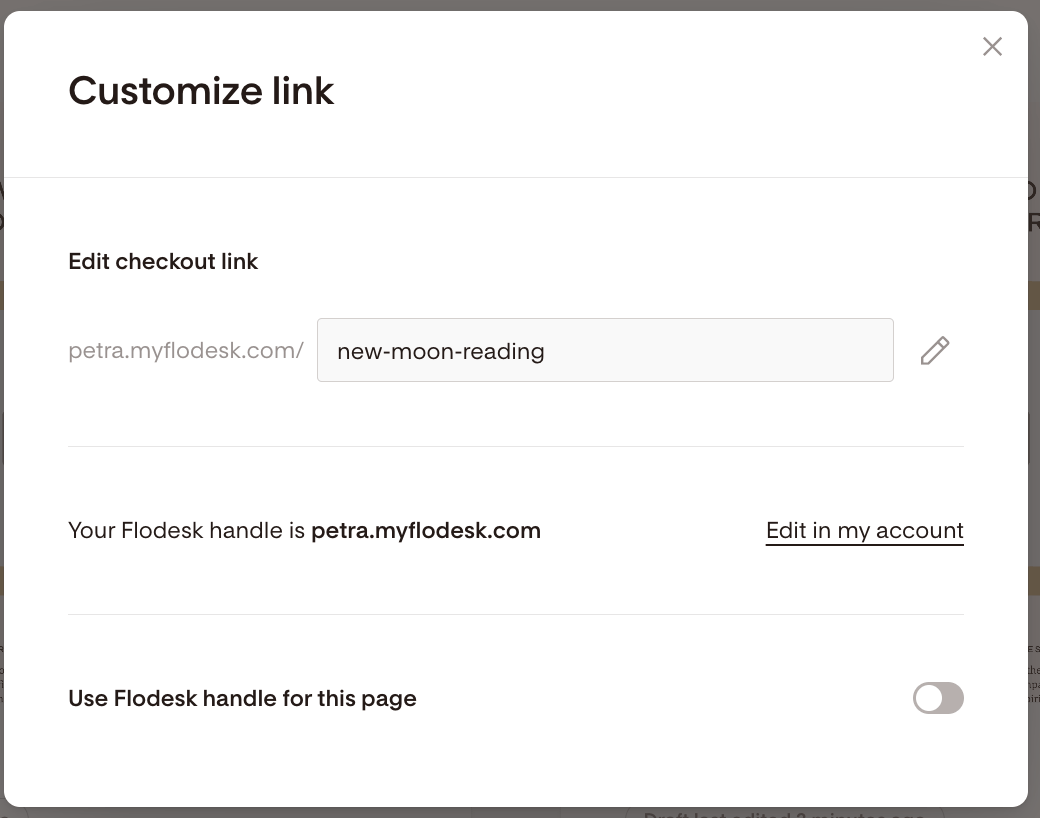
Open the Customize link screen
Toggle on Use Flodesk handle for this page
Now when someone visits your Flodesk handle, they’ll be taken to this specific checkout page.
Example:
https://petra.myflodesk.com→ redirects to →https://petra.myflodesk.com/new-moon-reading
Will old checkout links still work if I change them?
Your original auto-generated Checkout page link with format “solitary-truth-935.myflodesk.com/0a93b779-0e9d-4df56“ will always work.
But here’s what you need to know:
Once you claim your Flodesk handle and customize your checkout link for the first time (e.g. petra.myflodesk.com/recipe-book), it will work alongside your original link
Here’s an example.
Say your current Checkout link is “solitary-truth-935.myflodesk.com/0a93b779-0e9d-4df56“ and you edit your Flodesk handle and Checkout page link to create something like “petra.myflodesk.com/recipe-book”. The very first time, both links will work.
If you change the custom link again (e.g. to petra.myflodesk.com/summer-recipes), the previous custom link (recipe-book) will break and show a 404 error
As a best practice: Before sharing a new link, always test it by pasting it into an incognito browser window to make sure it’s live and correct.
Summary
Customizing your Flodesk Checkout page link helps you:
Share clear, memorable URLs with your audience
Reinforce your brand identity
Easily promote offers across your website, emails, and social media
To customize your checkout link:
Open the checkout builder and go to Setup > Advanced, or
Use the three-dot menu on your checkout card and choose Customize link
And don’t forget: once you update your custom link, always test it before publishing it widely.