How to add an inline form to your Weebly website
A step-by-step tutorial on how to embed a Flodesk inline form to a Weebly website
Flodesk opt-in forms help you capture your visitors’ email addresses so you can build your list and start regularly sharing your brand message.
And adding them to your Weebly website couldn’t be easier.
The most common sign-up forms you find on websites are inline forms. They’re the ones that are embedded into website pages, blog posts, sidebars or footers. Unlike popup forms, they appear as a natural, built-in part of the web page and are displayed at all times.
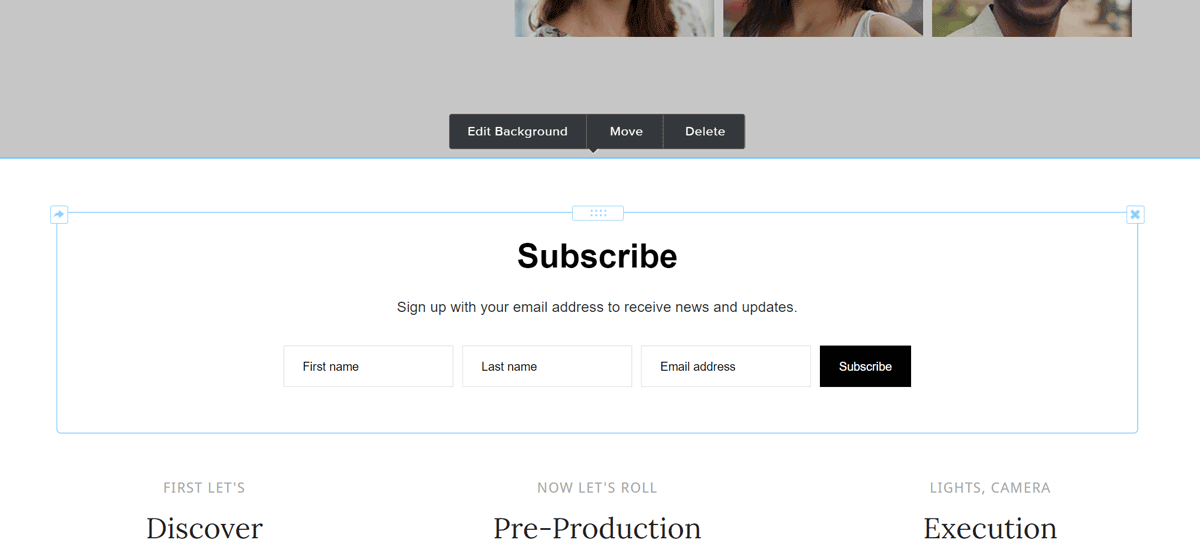
How do you embed an inline form to your website? Just add two code snippets.
How to add an inline form to your Weebly website
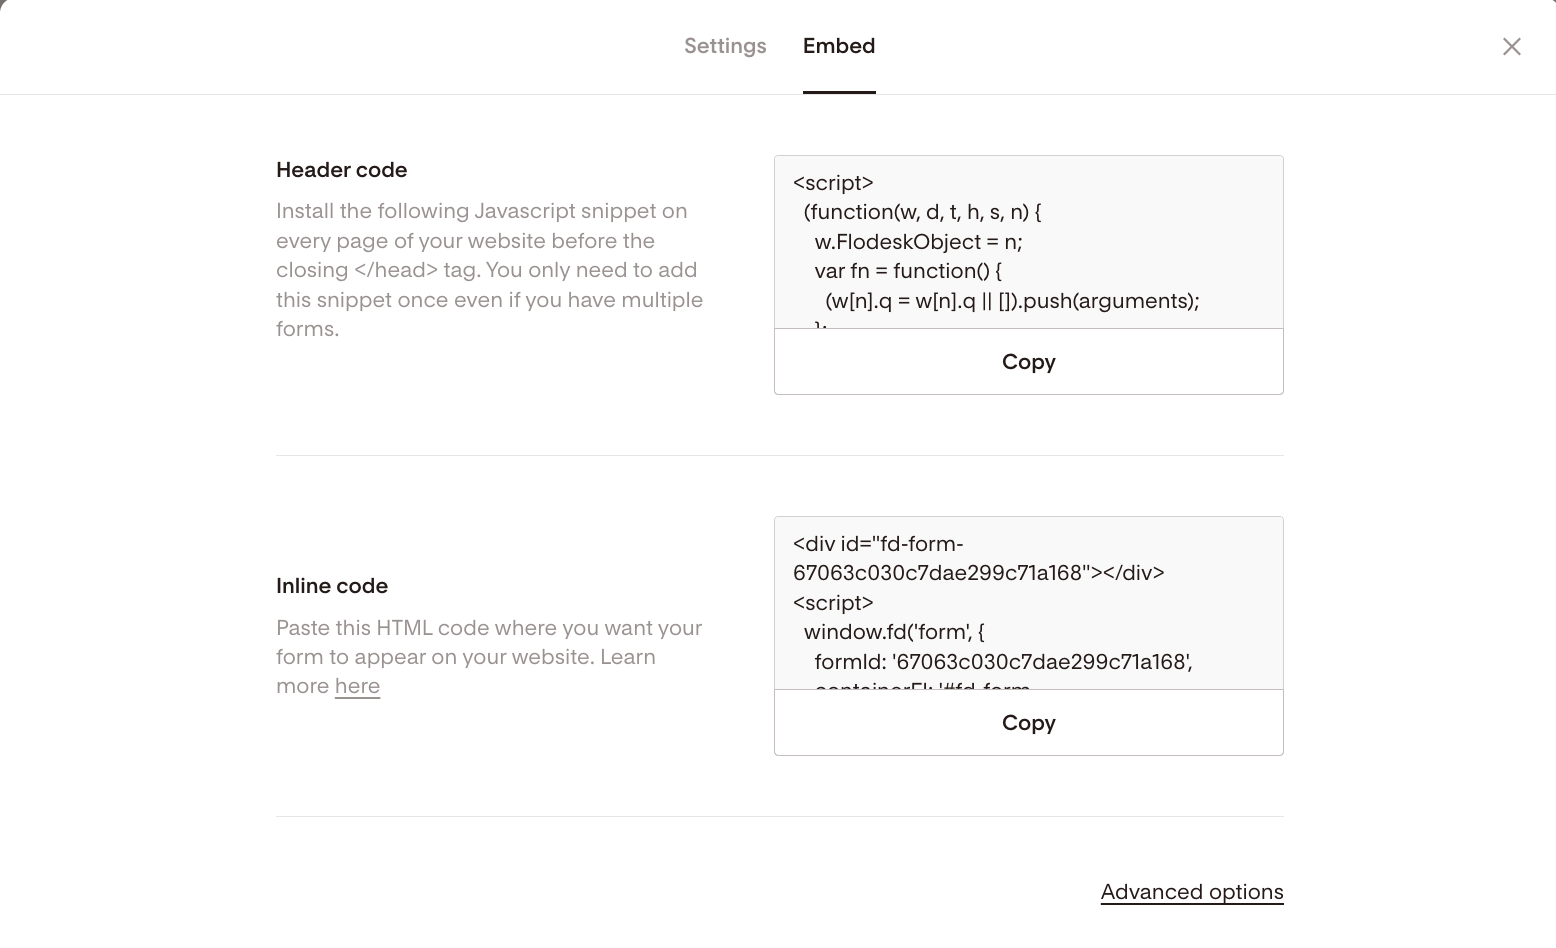
Step 1. Start by creating and customizing your Inline form, then click the Embed button. You’ll get two code snippets similar to the image below.
You need to add these codes to your Weebly website so that the form gets displayed and your subscribers can sign up.
Note: Both the Header code and the Inline code have to be added to your website. It’s not enough to add only one of them.
How to add the header code and inline code to your Weebly website
Step 1. Go to the page where you want to embed the inline form.
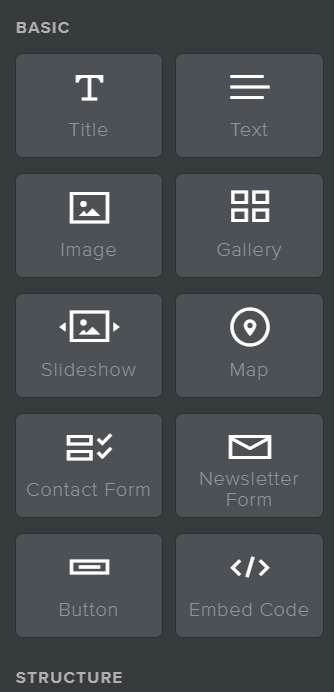
Step 2. Click and drag the Embed Code block to where you want the form to appear on the page.
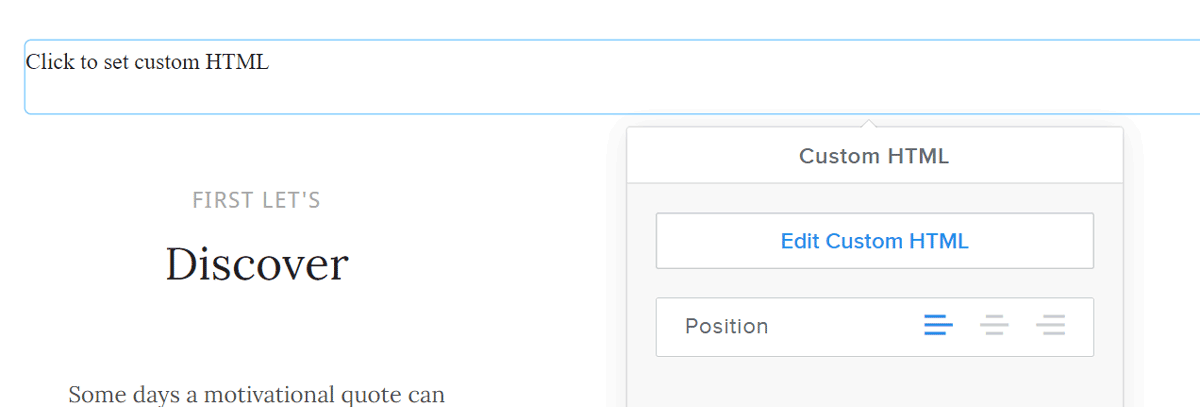
Step 3. Click on the new block, then select Edit Custom HTML from the popup.
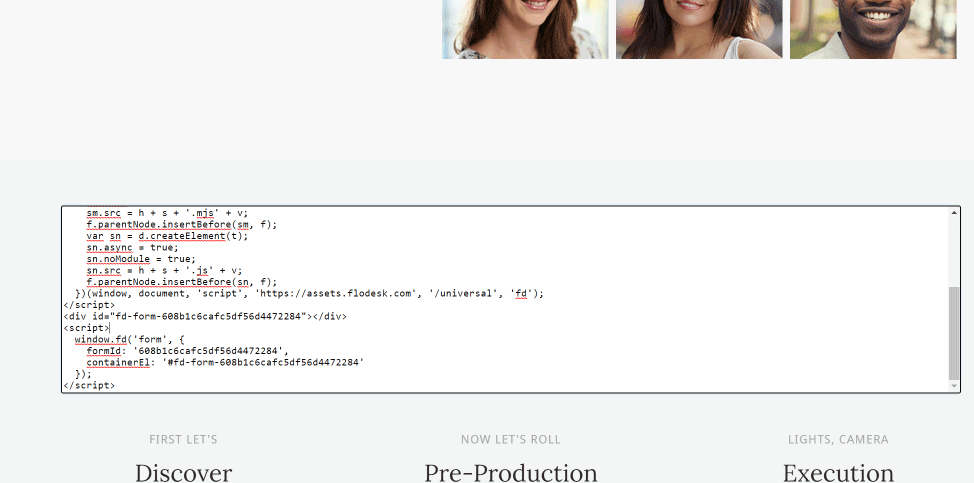
Step 4. Paste the Header code snippet first, immediately followed by the Inline code snippet from your Flodesk inline form into the field provided.
Step 5. Click outside the HTML field, and the form will display on your page.
Step 6. Resize and position your code block so it displays how you like it. Then publish the changes.
Want to learn more?
Check out the Weebly support documentation on how to add HTML content.
Summary
If you’re serious about increasing your sales, building your brand and positioning yourself as a thought leader, be sure to add an inline form to your website.
First, create an inline form.
Go to the website page where you want to embed the inline form.
Add a code block and paste in the Flodesk header code first, followed by the inline code snippet right below it.

