
How to create and send a daily roundup email of your new subscribers
Learn how to use Zapier to create a daily, weekly, or monthly email that contains your Audience growth for that time period.
Have you ever wondered how your Audience grows day over day? What about each week or each month? Imagine waking up to an email every Monday with a total number of people who subscribed to your email list the previous week. 🙌🏻
With just a few steps in Zapier, you can automate an email or notification that tells you how many new subscribers you obtained over a period of time.
To set this up, we will assume that you want to receive an email every Monday morning that tells you how many subscribers you gained on the previous day.
Things you’ll need for the automation
Flodesk account
Zapier account
One supported email or communication account (for example, Gmail, Outlook, or Slack)
In order to set up the Daily Digest, you will need a paid Zapier account.
The Daily Digest requires a multi-step zap, which is not included in their free plan.
Connecting Flodesk, Digest by Zapier, and Gmail
This automation will include one trigger step and two action steps:
Trigger: Flodesk
Action 1: Digest by Zapier
Action 2: Delay by Zapier
Action 3: Gmail
Step 1. Create a new zap and give it a name.
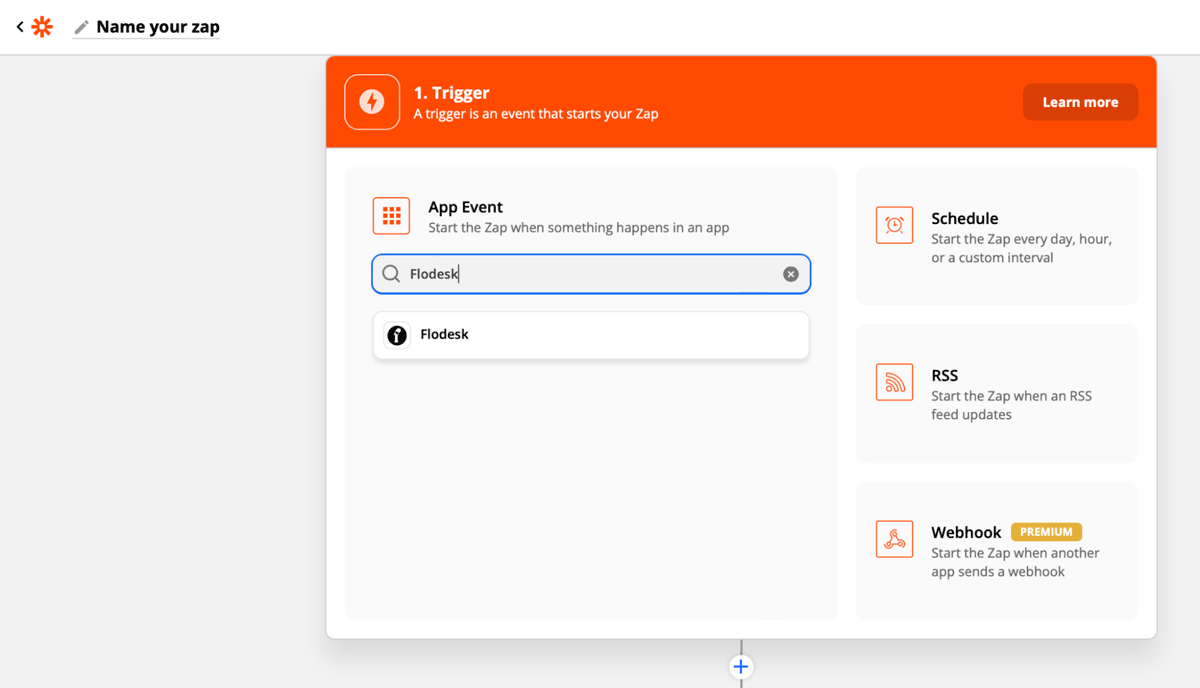
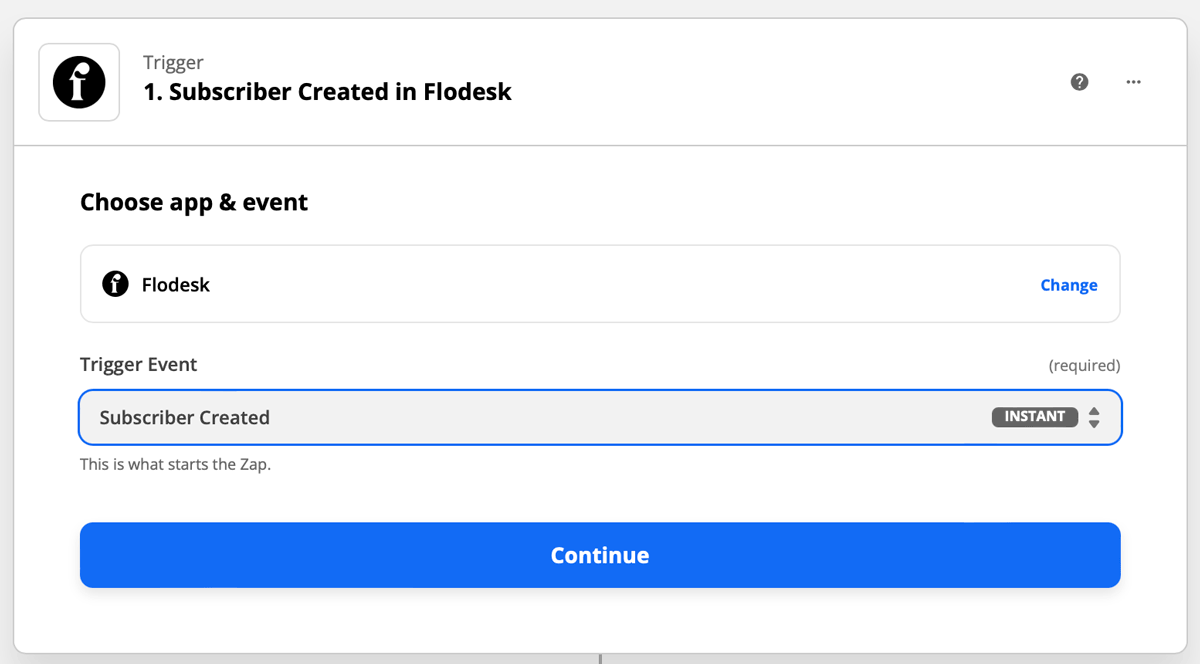
Step 2. Select Flodesk as the Trigger and choose an Event.
For this example, we will use “Subscriber Created” as the event that starts the zap. This means that the zap will start when a new subscriber is created in your Flodesk account.
Note: This zap will add new subscribers from the following: CSV import, native Flodesk opt-in form, Zapier integration, Shopify integration, and manual upload.
Alternatively, you can choose “Subscriber Unsubscribed” for a daily number of addresses that unsubscribed from your audience.
Step 3. If this is your first time connecting Flodesk and Zapier, you’ll be prompted to log into your Flodesk account.
Step 4. Zapier will test the trigger to make sure it works properly. This step is optional.
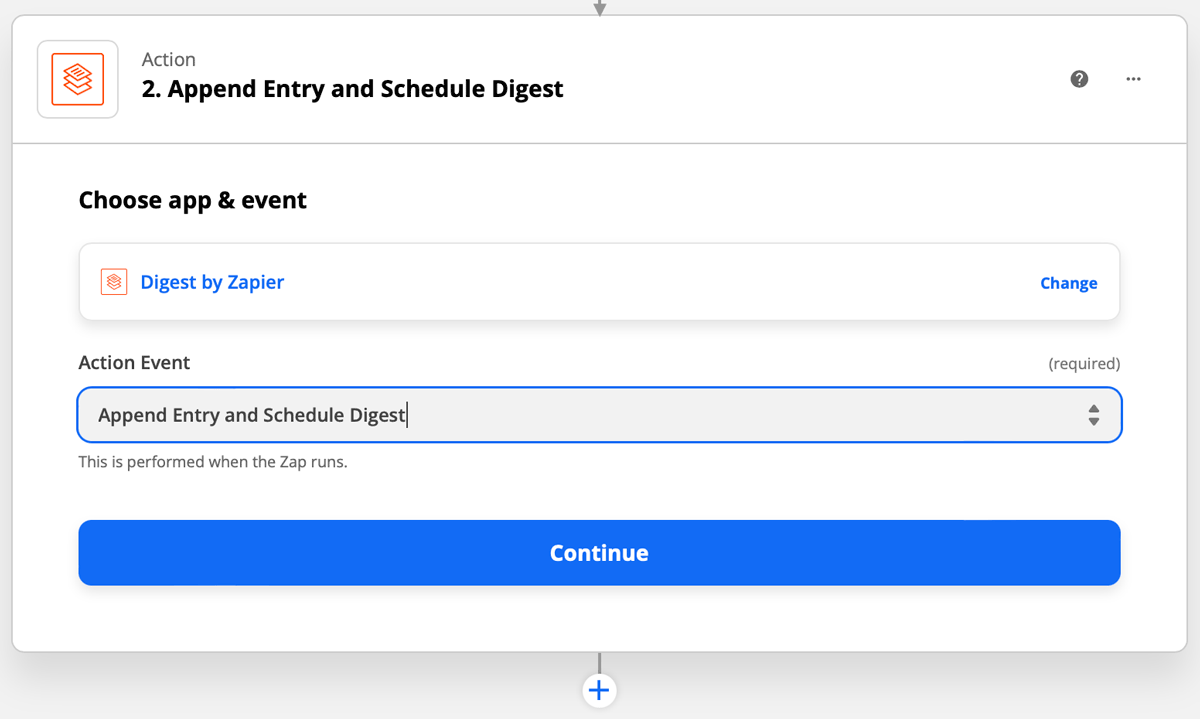
Step 5. Select Digest by Zapier as the Action and choose the event.
For this example, we will use “Append Entry and Schedule Digest” as the action that happens when the zap runs. Click Continue.
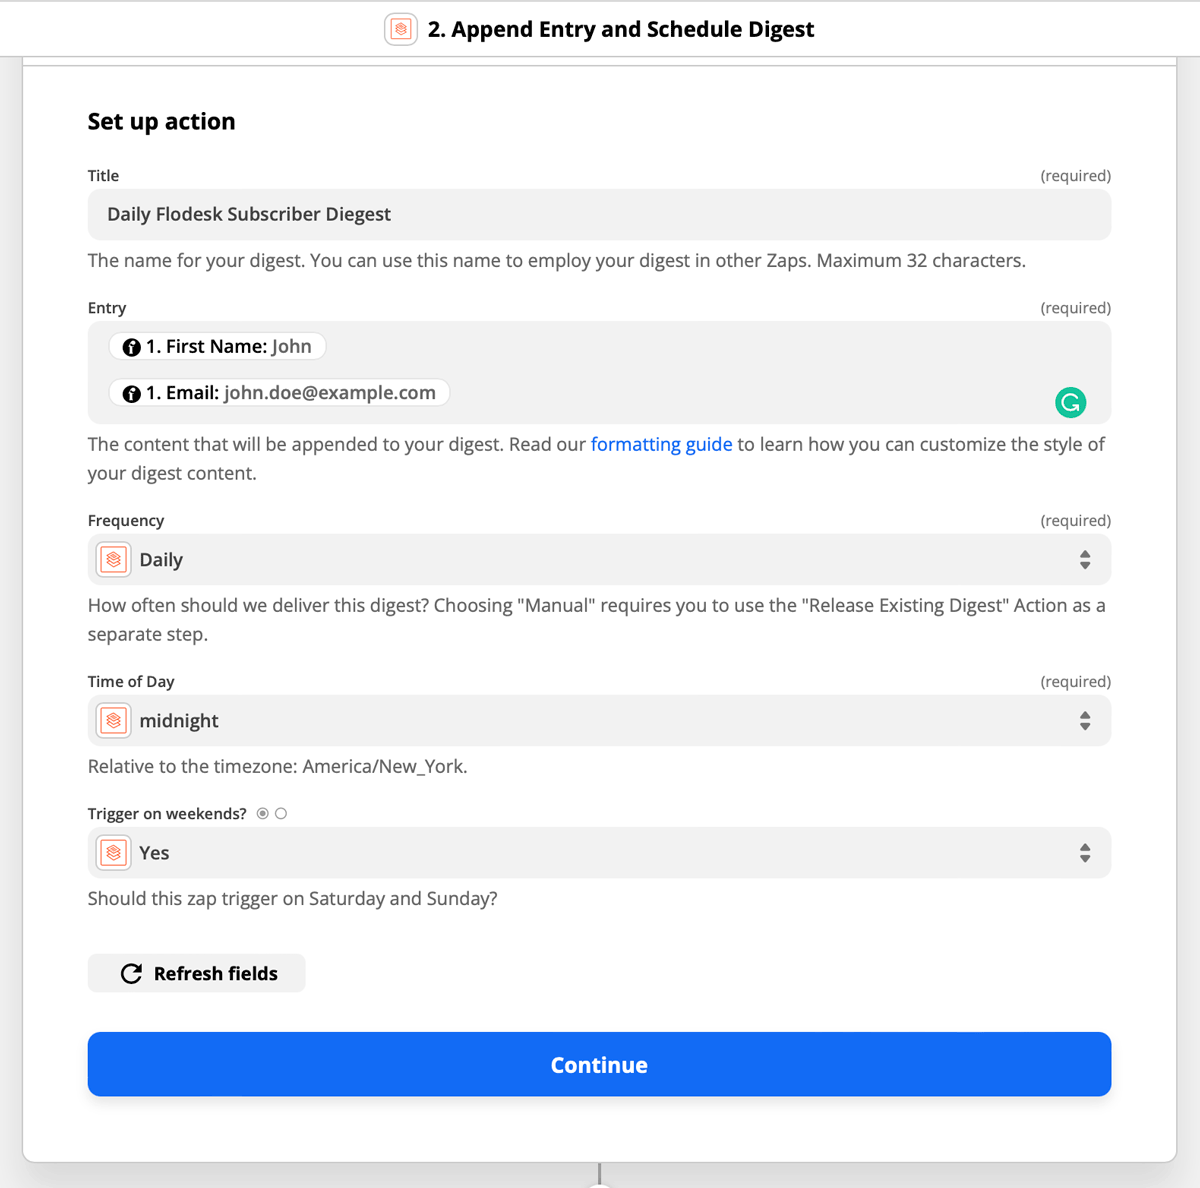
Step 6. Set up the Action by completing all the fields.
Title: The name for your Digest
Entry: The data going into your Digest
Frequency: How often Zapier should send the Digest (For this example, we will choose daily)
Time of Day: The time that the Digest should start
Select midnight for the time of day so that the Digest counts new subscribers collected from midnight to 11:59 pm for the previous day
Trigger on weekends: Select this if you want to receive the digest on Saturday and Sunday
Step 7. Add a new Action step: Delay by Zapier.
After setting up the Digest in step 6, the zap will automatically send you a daily email at midnight. If you want to receive your digest at a different time, add the "Delay by Zapier" action step.
If you prefer to receive your digest at midnight, you can skip this step.
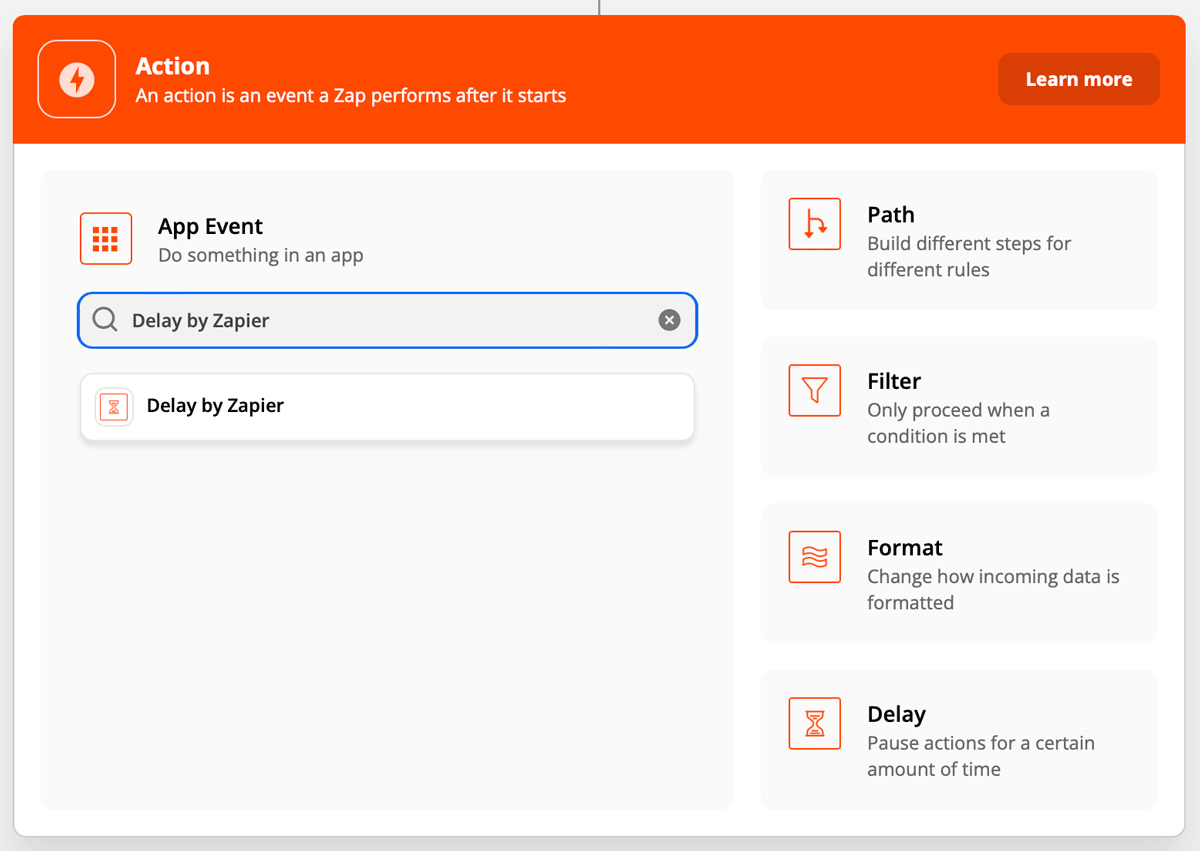
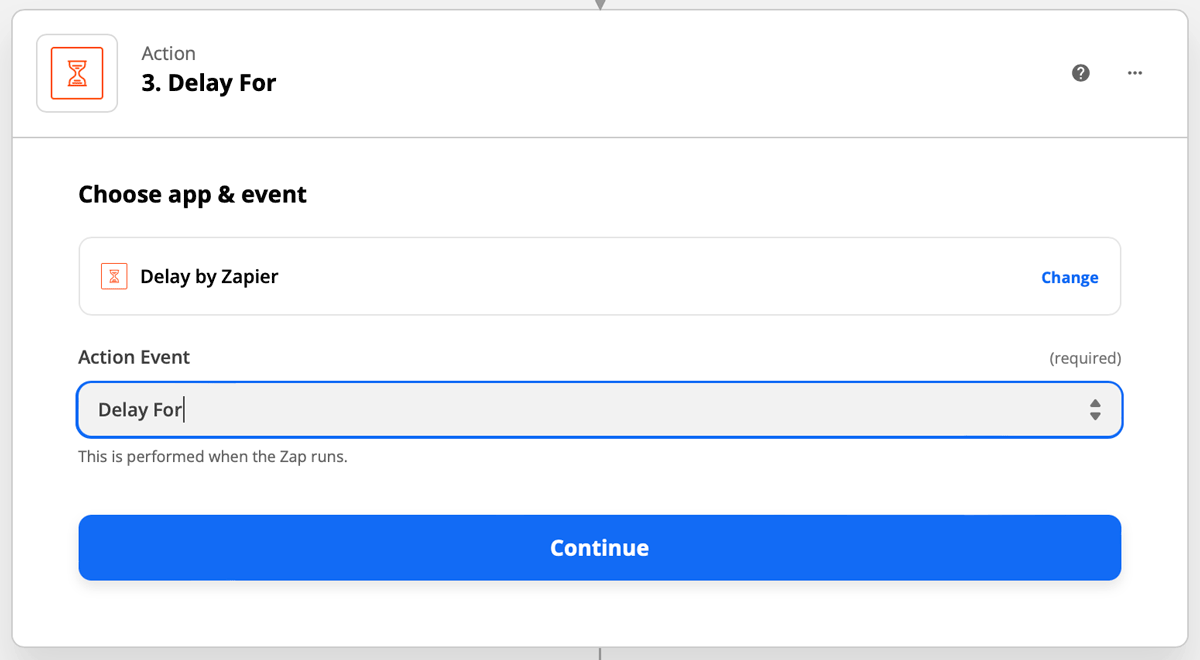
Step 8. Choose "Delay For" as the action event. This means that the zap will wait for a set amount of time before moving to the next action step.
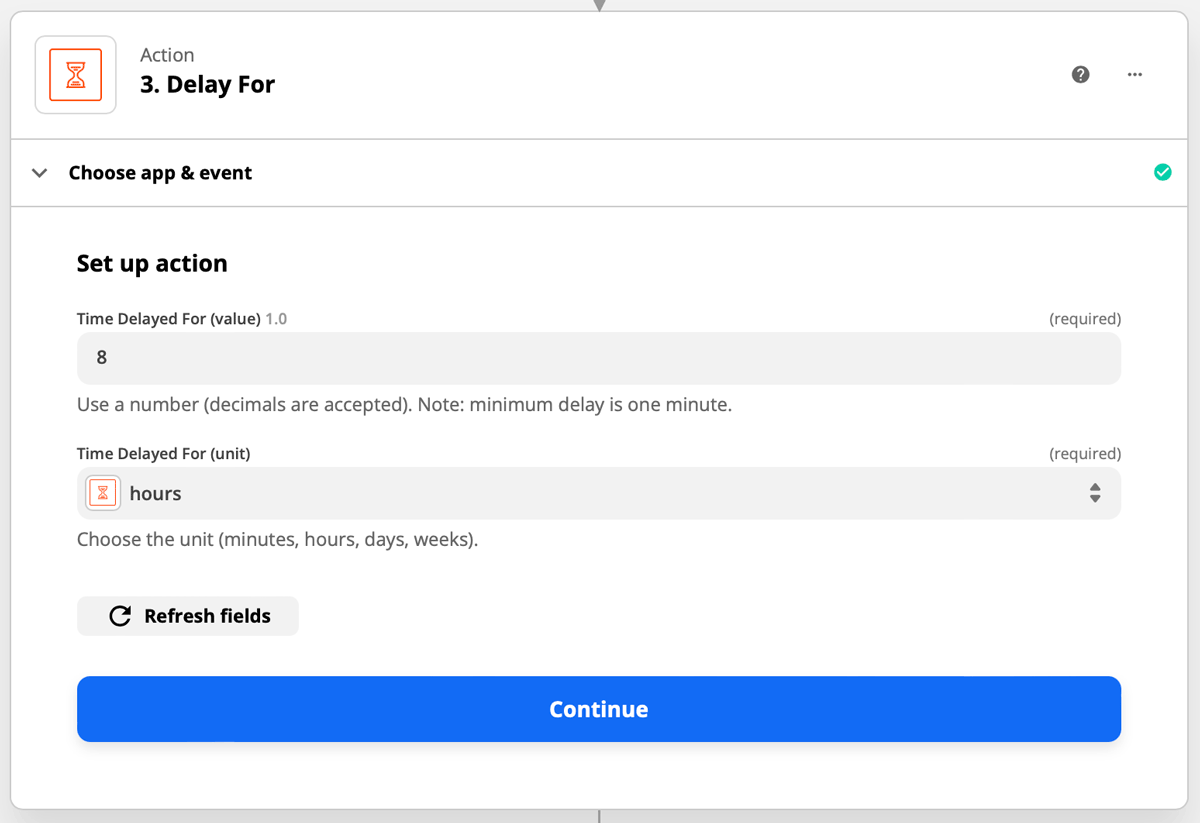
For this example, we will choose 8 hours, so that the digest is delivered at 8:00 am every day.
If you prefer a later delivery, select the number of hours that the digest should wait. For example, a 1:00 pm delivery will delay for 13 hours, a 2:00 pm delivery will delay for 14 hours, etc.
Step 9. Add Gmail as your final action and choose "Send Email" as the action event.
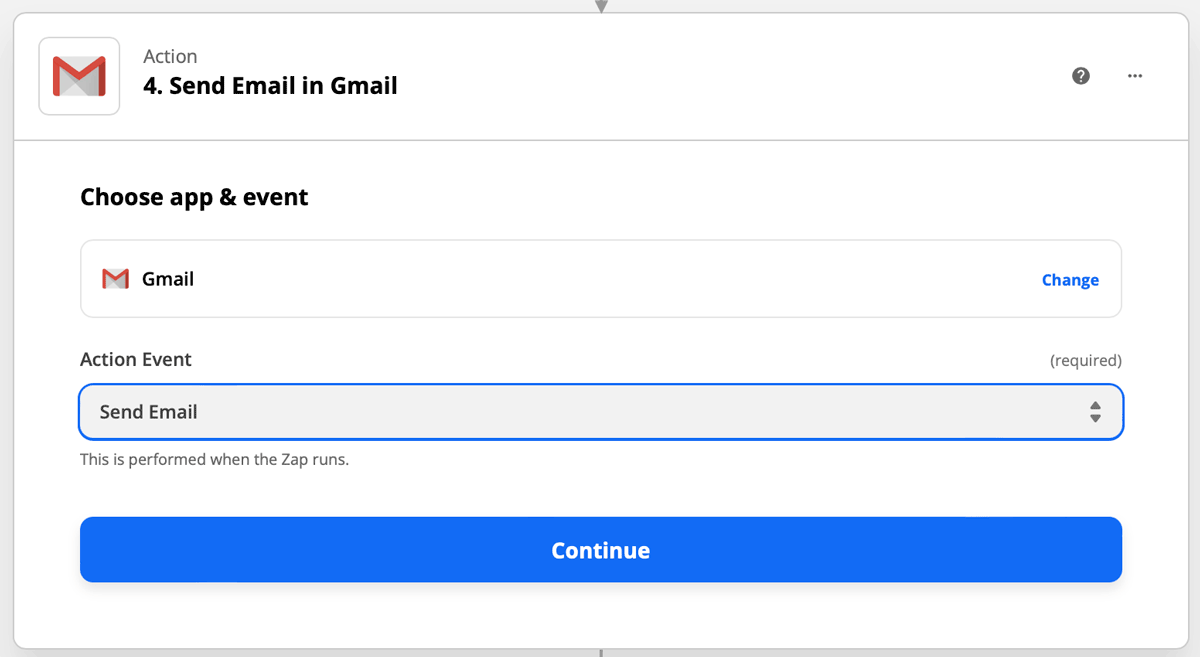
Step 10. Connect your Gmail account to Zapier.
If you’re connecting to Gmail for the first time, you’ll be prompted to add your Gmail credentials or select one of the Gmail accounts that you’re already logged into from that browser.
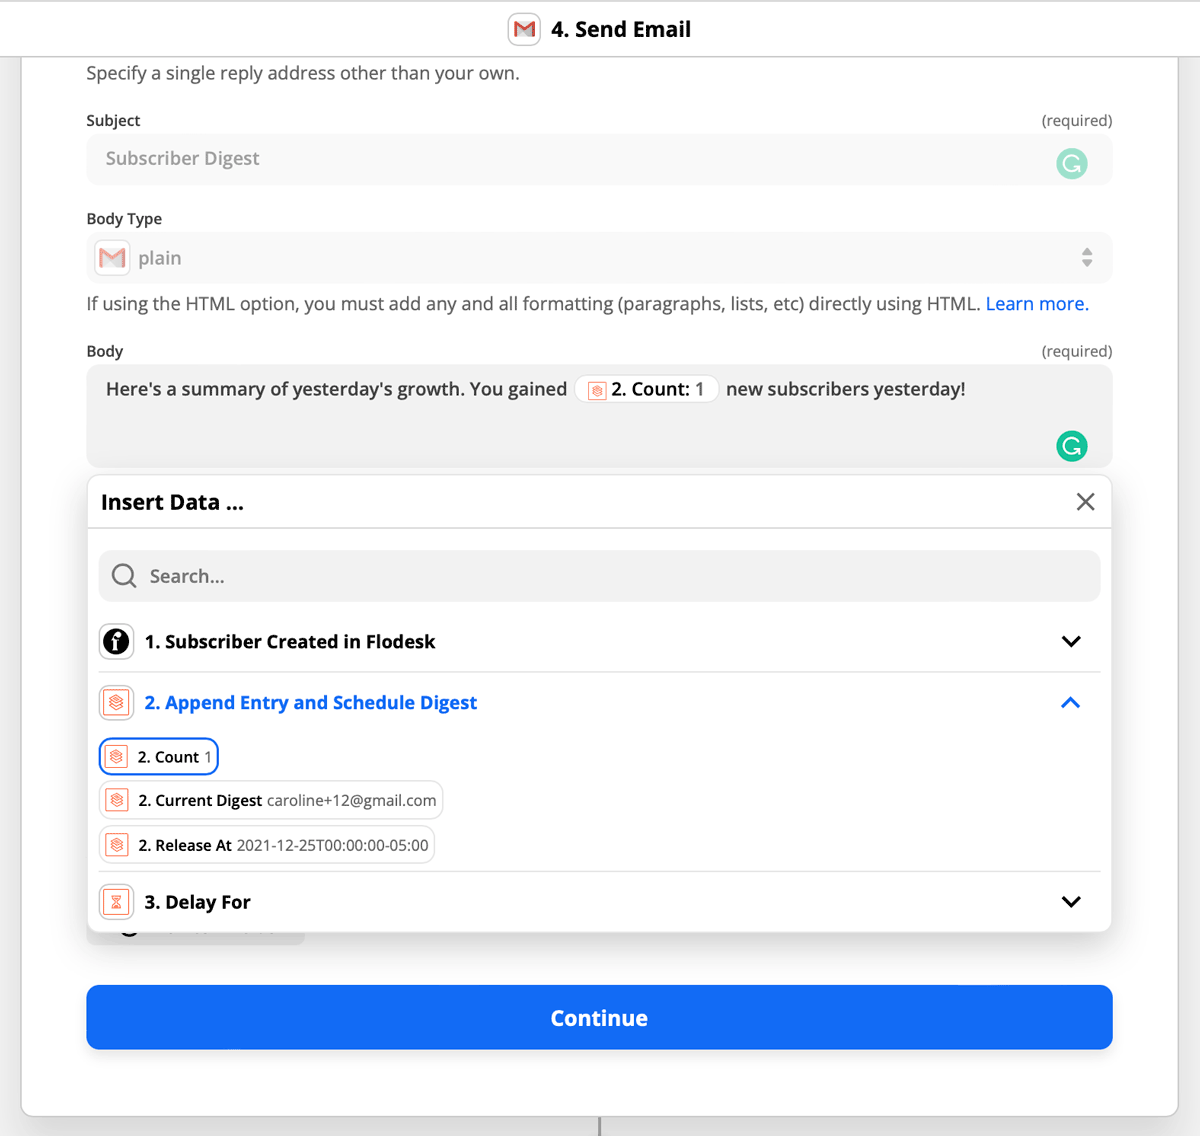
Step 11. Finish setting up the action.
Make sure that the body of the email contains the Count field from the Append Entry and Schedule Digest step. That is how the number of new subscribers is pulled into your email.
As a reminder, you can use other communication apps like Microsoft Outlook or Slack for your daily digest as well.
Step 12. Test your zap.
Step 13. After the test is successful, you can review the zap or turn on the zap so that it’s live.
Summary
If you want to see how many subscribers you gained the previous day, follow these steps to receive a daily email digest of your growing audience.
Choose Flodesk as the trigger and Subscriber Created in Flodesk as the event
Select Digest by Zapier as the first action and Append Entry and Schedule Digest as the action event
Add a Delay by Zapier action and Delay For as the action event
Finally, select your communication channel (Gmail, Slack, Outlook, etc.) and Send Email as the action step