How to connect Thinkific and Flodesk via Zapier
A step-by-step tutorial that walks you through the Thinkific and Flodesk integration using Zapier.
Thinkific is a technology company with a platform that allows people and businesses to create online courses from their existing knowledge and then deliver or sell those courses to their audience from their website, and under their own brand. Thinkific offers the tools you need for every step of your online course journey, from initial course creation to well past your launch.
You can connect Thinkific and Flodesk within minutes using Zapier.
Things you’ll need for the integration
Flodesk account
Zapier account
Thinkific account
At least one Thinkific product (course or membership)
At least one segment in Flodesk
Note: You need an active, paid Thinkific plan to use Zapier. You can set up Zapier triggers on a Basic Thinkific plan. You need a Pro Thinkific plan to use both triggers and actions on Zapier.
If you plan to use a zap to trigger a Workflow in Flodesk, we highly recommend creating the workflow in its entirety before creating and testing your zap.
Connecting Thinkific and Flodesk via Zapier
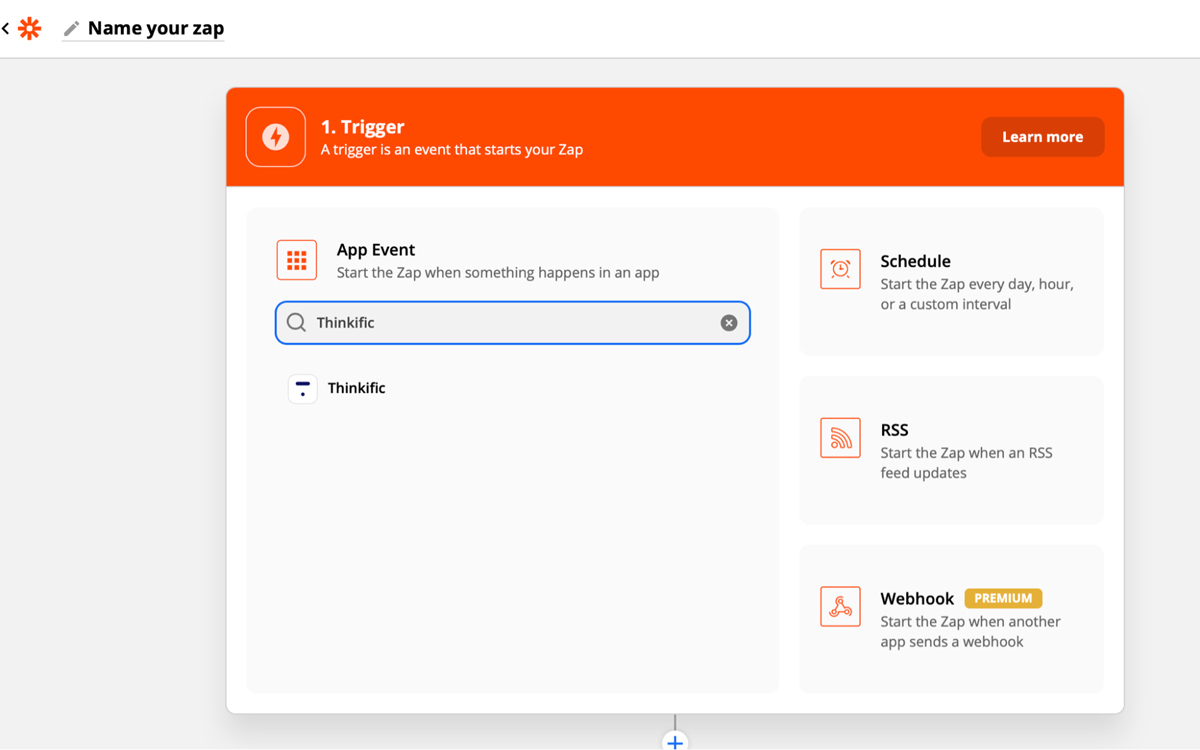
Step 1. Create a new zap and give it a name.
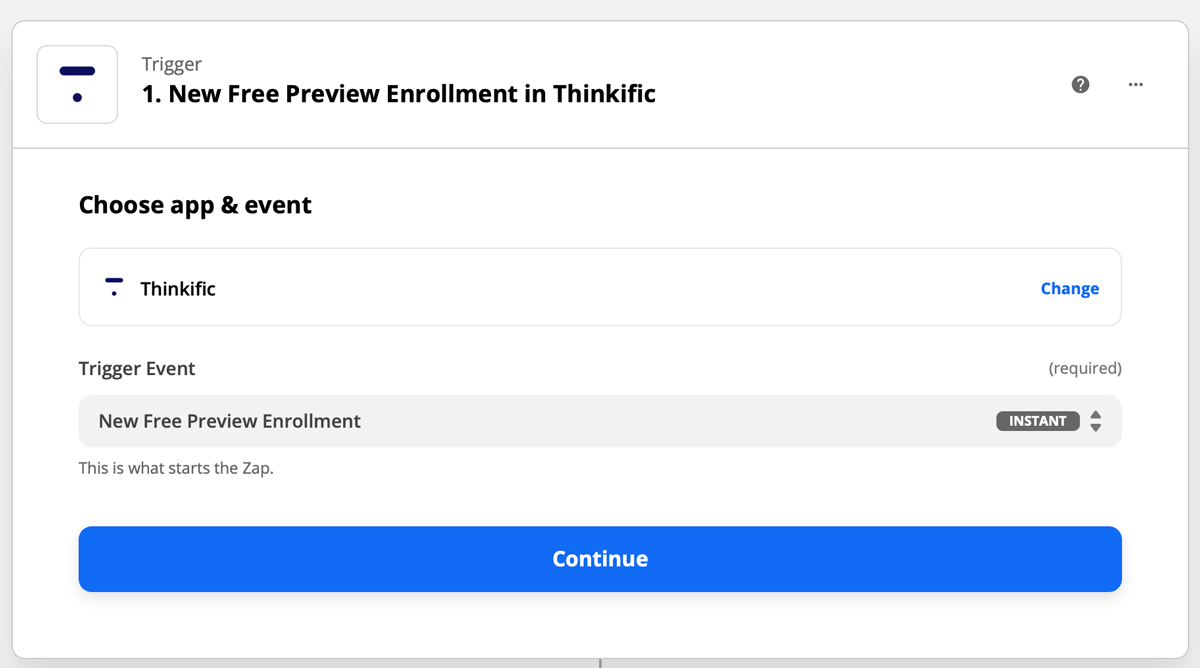
Step 2. Select Thinkific as the Trigger and choose an event. For this example, we will use 'New Free Preview Enrollment' as the event that starts the zap.
This means that a zap will start when a new user enrolls in the free preview of your course. Offering a free preview of your course can be a great lead magnet to grow your Audience in Flodesk.
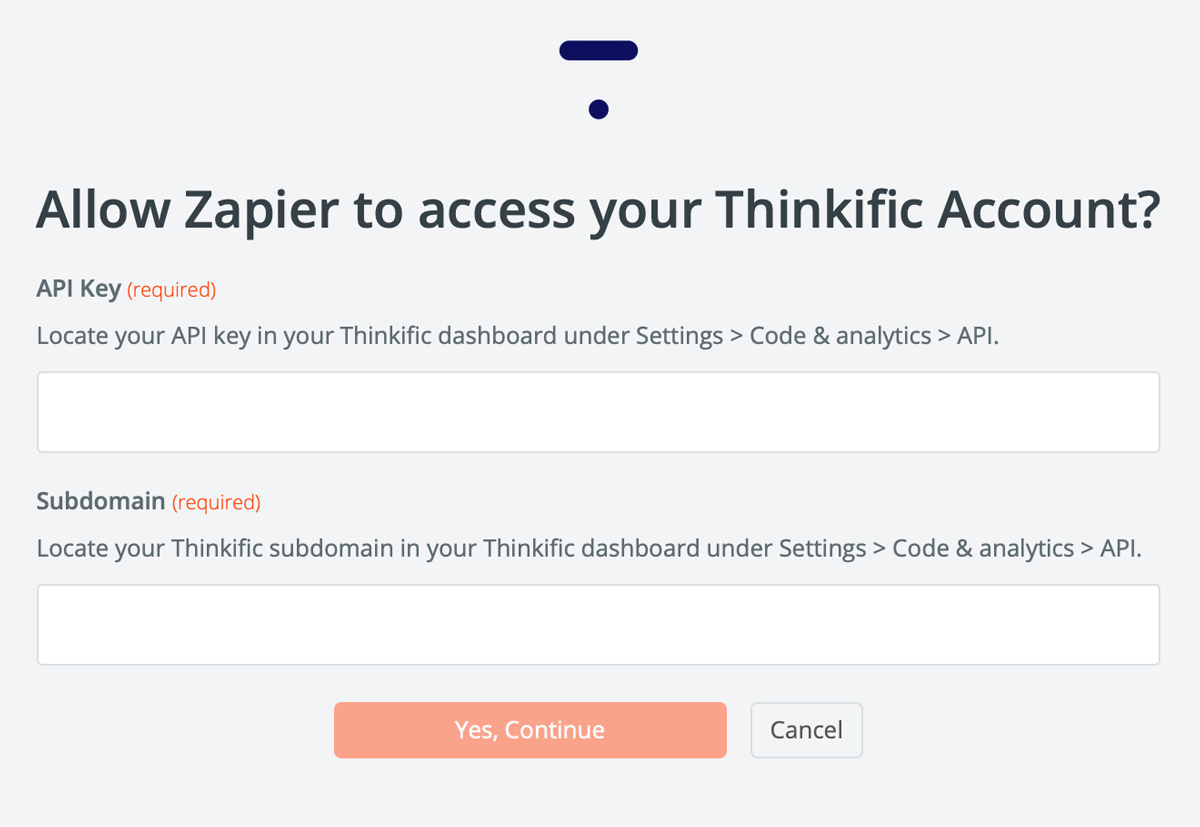
Step 3. Zapier will redirect you to sign in to connect to Thinkific. If you're connecting Thinkific to Zapier for the first time, you will be asked for your account API Key and Subdomain.
You can find your subdomain in your Thinkific dashboard under Settings > Code & analytics > API.
Step 4. Zapier will test the trigger to make sure it works properly. This step is optional.
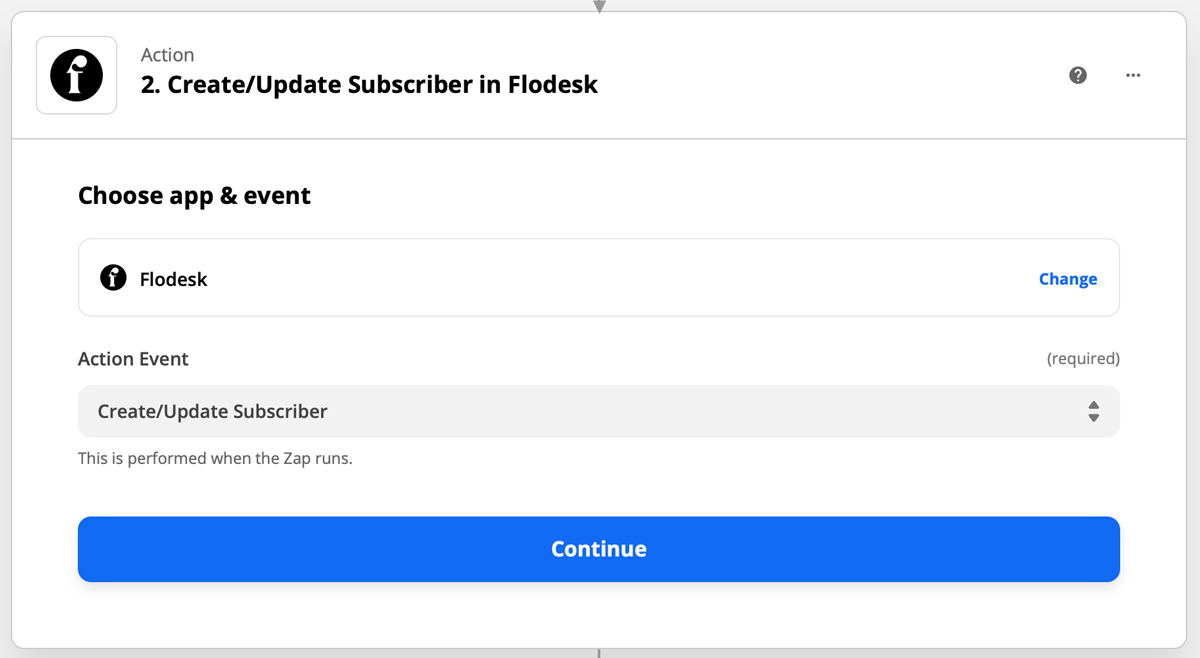
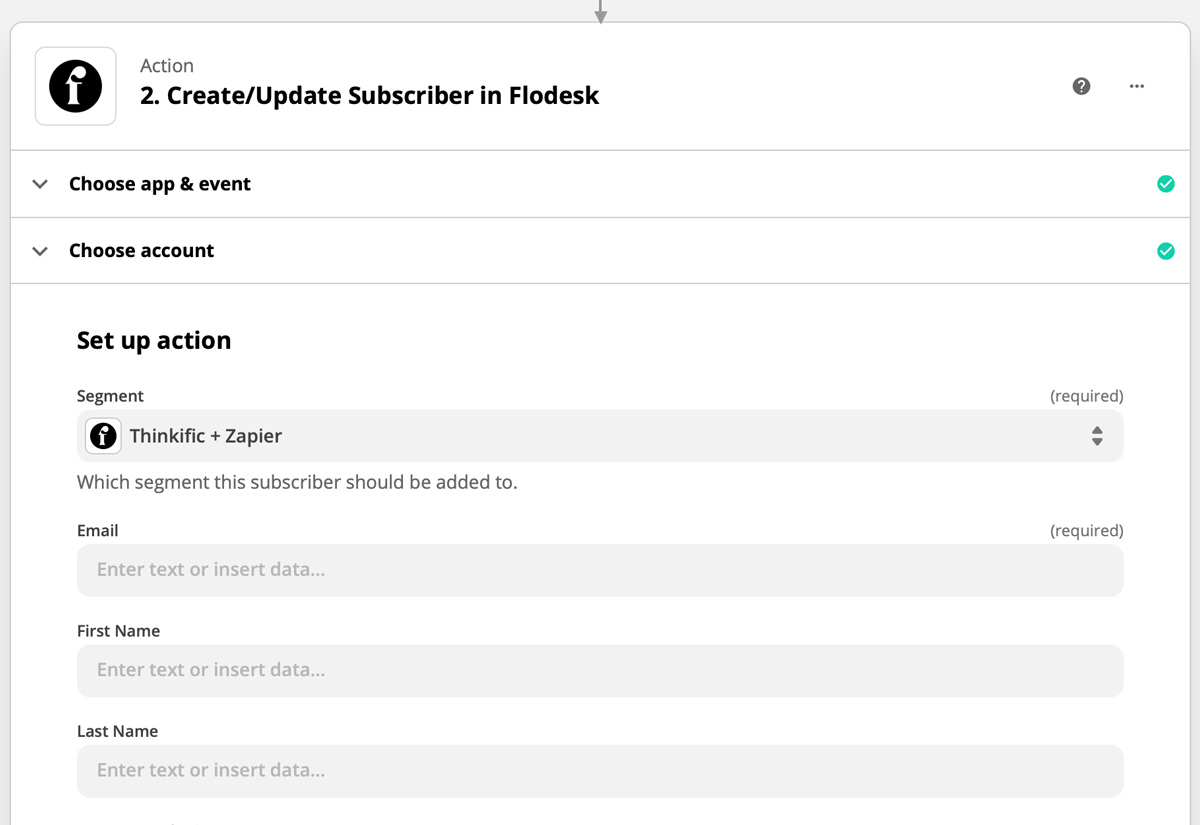
Step 5. Select Flodesk as the Action and choose the event. For this example, we will 'Create/Update Subscriber' as the action that happens when the zap runs.
The first step almost always should be 'Create/Update Subscriber' in Flodesk. Unless the subscriber’s address already exists in Flodesk, they can't be added to segments, workflows, etc.
Step 6. If this is your first time connecting Flodesk and Zapier, you’ll be prompted to log into your Flodesk account.
Step 7. Choose your segment and any additional data fields that you want to map when the subscriber is added to Flodesk.
Step 8. Test your zap.
Step 9. After the test is successful, you can review the zap or turn on the zap so that it’s live.
More Thinkific + Flodesk integration ideas
In addition to adding students who enrolled in the free preview of your Thinkific course to your Audience in Flodesk, here are some more integration examples:
Trigger: Subscriber added to Segment in Flodesk
Action: Enroll user in course in Thinkific
*You need a Thinkific Pro plan to create this zap.
Trigger: Subscription cancelled in Thinkific
Action: Remove existing subscriber from Workflow in Flodesk
*The student who cancelled the subscription must already be in your Flodesk audience for this zap to work.
Whenever you add students from Thinkific to Flodesk, make sure that you obtain their permission to send them email marketing.
Summary
You can connect Thinkific and Flodesk via Zapier by creating a trigger event on Thinkific and a following action event in Flodesk.
Also, you can set up zaps that are triggered by events in Flodesk followed by an action in Thinkific.

