
How to connect Thinkific and Flodesk via Zapier
Overview
If you use Thinkific to sell online courses or memberships, you can connect it to Flodesk via Zapier so that student data moves between the two platforms automatically. For example, when someone enrolls in a free preview of your course, they can be added to a Flodesk segment and entered into a welcome sequence without any manual work.
The integration works in both directions, depending on your Thinkific plan. This article walks you through the setup step by step.
What you'll need before you start
An active Flodesk account
A Zapier account
An active, paid Thinkific account
At least one Thinkific product (a course or membership)
At least one segment created in Flodesk
A note on Thinkific plan requirements:
A Basic Thinkific plan lets you set up triggers in Thinkific that fire actions in Flodesk
A Pro Thinkific plan lets you use both triggers and actions in either direction
If you plan to use this zap to trigger a Flodesk workflow, build the workflow in full before creating and testing your zap.
How to connect Thinkific and Flodesk via Zapier
Step 1: Create a new zap
Log in to Zapier and create a new zap. Give it a name so it's easy to find later.
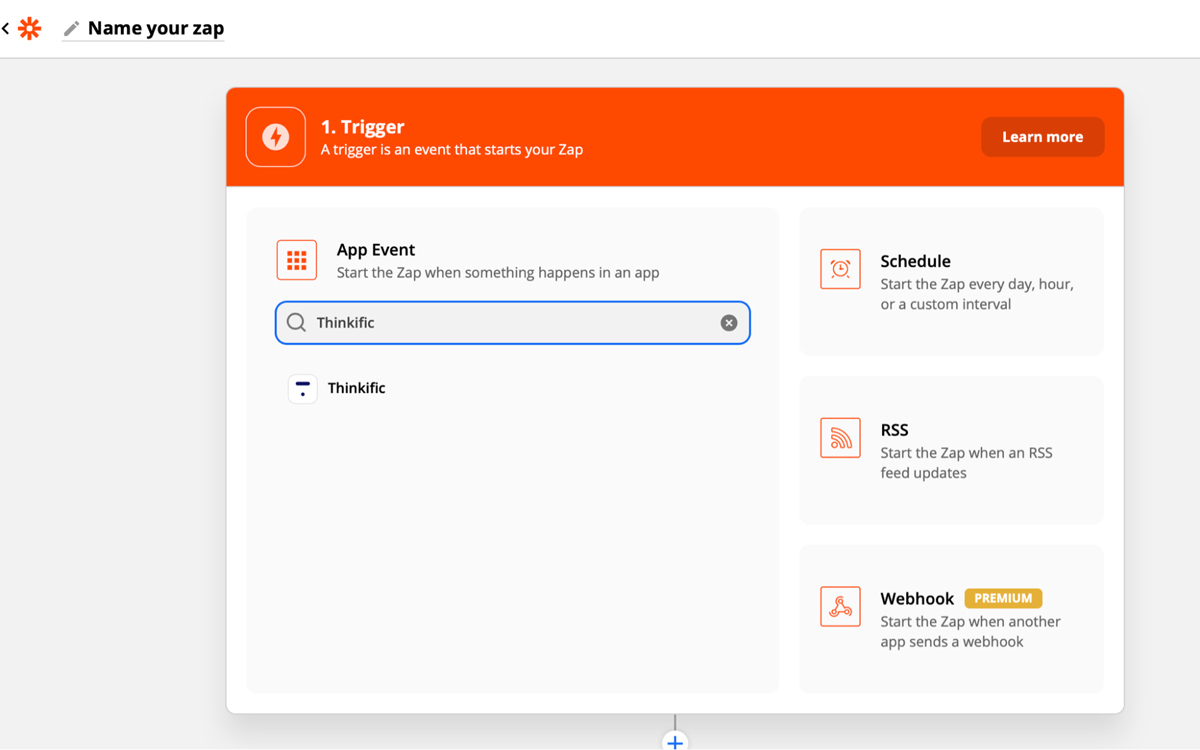
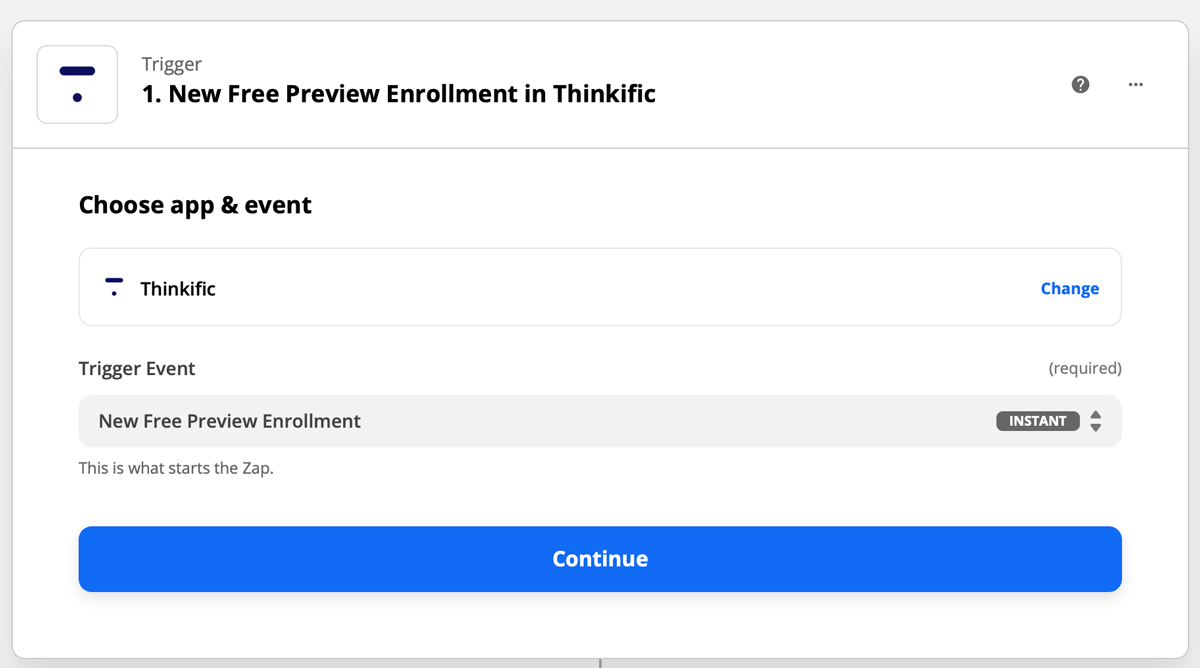
Step 2: Set Thinkific as the trigger
Select Thinkific as the trigger app and choose the event that should start the zap. For this example, we're using New Free Preview Enrollment, which means the zap will run whenever someone enrolls in the free preview of your course. This is a useful way to grow your Flodesk audience by turning course preview sign-ups into email subscribers.
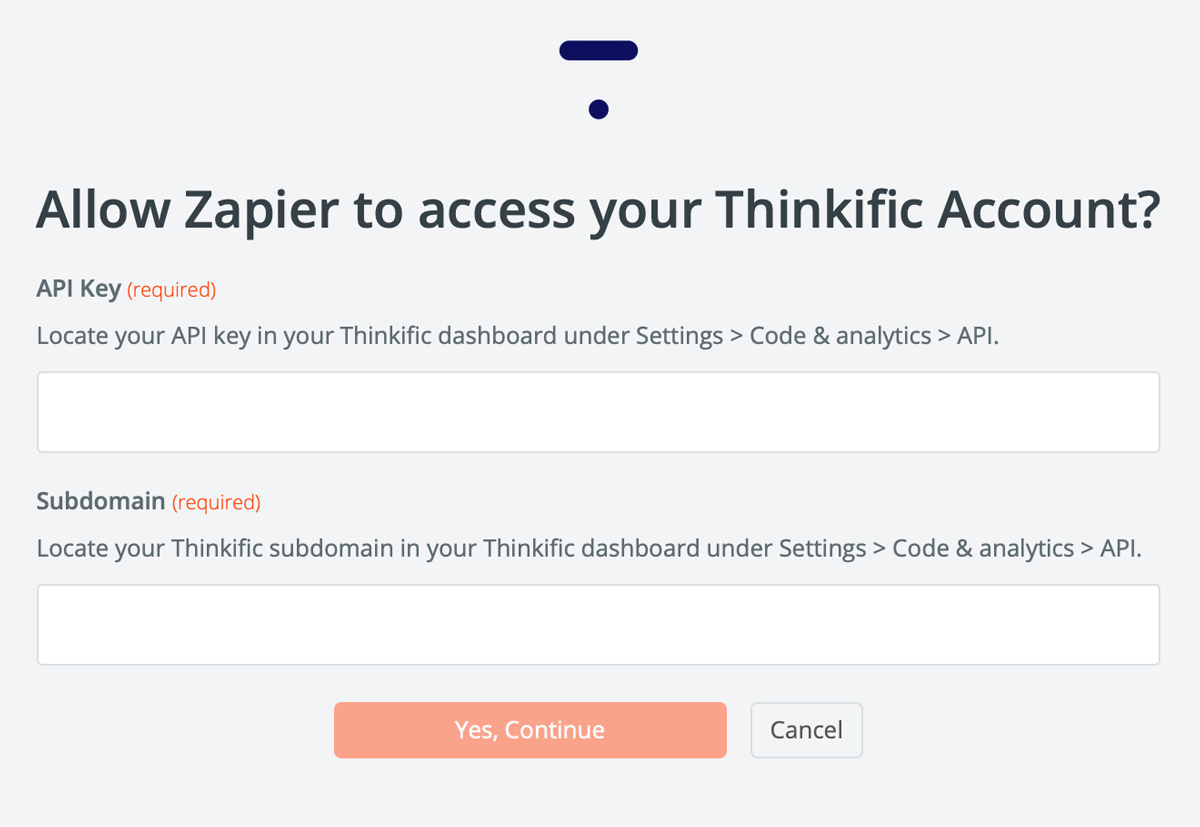
Step 3: Connect your Thinkific account
If this is your first time connecting Thinkific to Zapier, you'll need your Thinkific API key and subdomain. You can find both in your Thinkific dashboard under Settings > Code & analytics > API.
Step 4: Test the trigger
Zapier will test the trigger to confirm it's working correctly. This step is optional but recommended.
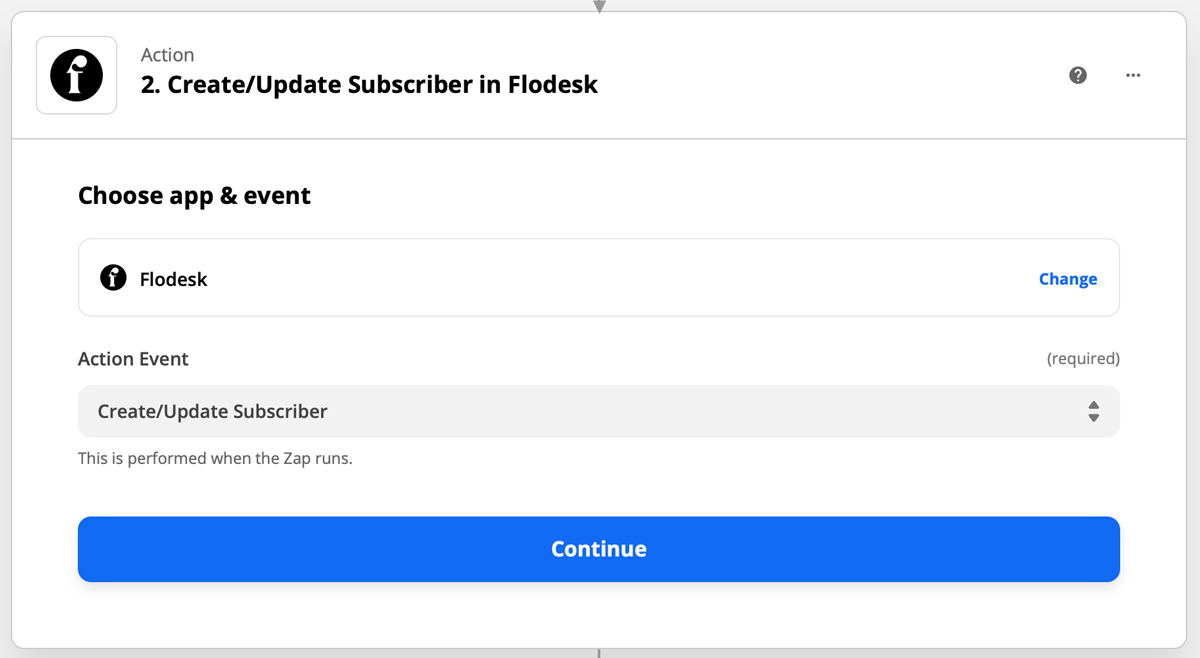
Step 5: Set Flodesk as the action
Select Flodesk as the action app and choose Create/Update Subscriber as the event. This should almost always be your first Flodesk action: subscribers need to exist in Flodesk before they can be added to segments or workflows.
Step 6: Connect your Flodesk account
If this is your first time linking Flodesk and Zapier, you'll be prompted to log in to your Flodesk account.
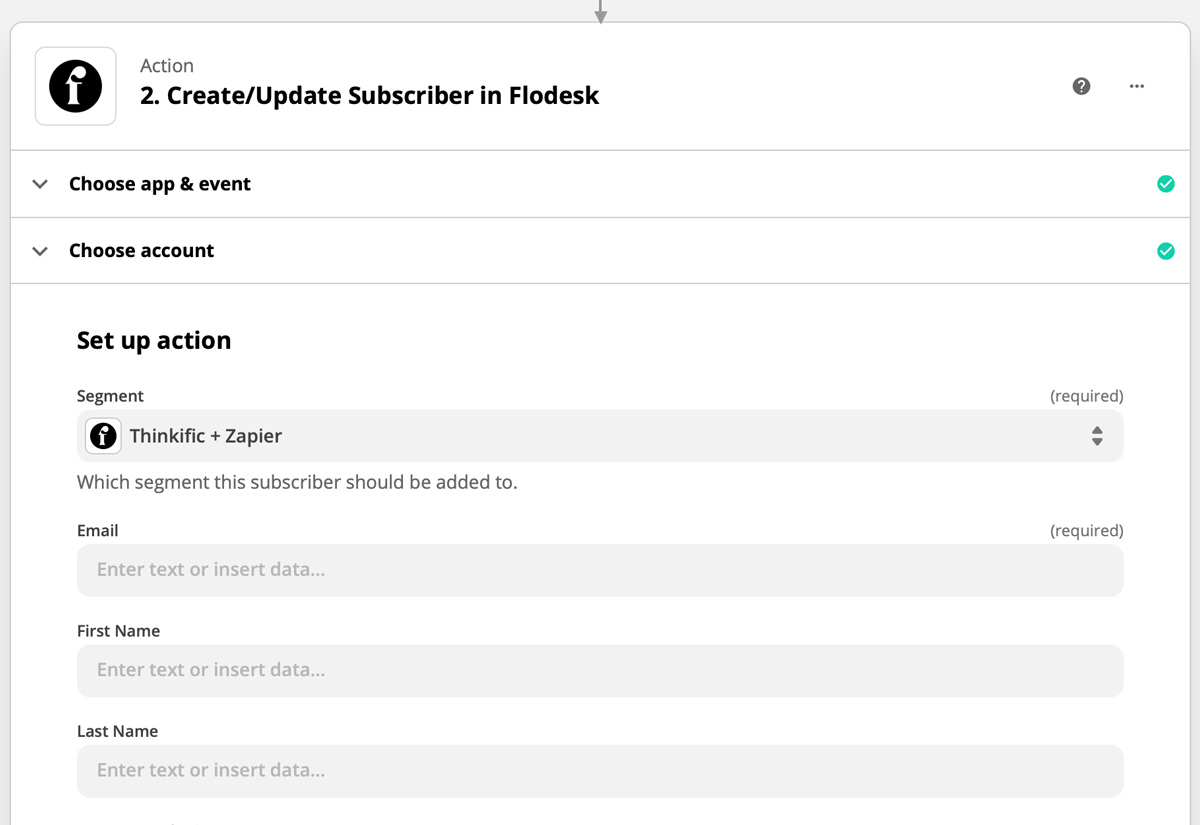
Step 7: Choose the segment and map the fields
Choose the Flodesk segment you want subscribers added to, then map any additional data fields you'd like to carry over, such as name.
Step 8: Test your zap
Run the test in Zapier to make sure everything is connected correctly.
Step 9: Turn on your zap
Once the test passes, review the zap and turn it on so it's live.
More integration ideas
The Thinkific and Flodesk integration works in both directions. Here are a couple of other zap setups worth considering:
Trigger: Subscriber added to a segment in Flodesk / Action: Enroll student in a course in Thinkific Note: this requires a Pro Thinkific plan.
Trigger: Subscription cancelled in Thinkific / Action: Remove subscriber from a workflow in Flodesk Note: the student must already exist in your Flodesk audience for this zap to work.
A note on consent
Whenever you add students from Thinkific to your Flodesk audience, make sure they've given permission to receive email marketing from you.
FAQ
How do I connect Thinkific to Flodesk?
You connect them using Zapier. Create a zap with a Thinkific event as the trigger (such as New Free Preview Enrollment) and Flodesk as the action (using Create/Update Subscriber). Map the relevant fields, choose your Flodesk segment, and turn the zap on.
What Thinkific events can trigger a zap to Flodesk?
Common triggers include a new free preview enrollment, a new course enrollment, and other student activity events in Thinkific. You can browse all available Thinkific triggers when setting up your zap in Zapier.
Do I need a paid Thinkific plan to use Zapier?
Yes. You need an active, paid Thinkific plan to use Zapier. A Basic plan lets you set up triggers in Thinkific that fire actions in Flodesk. A Pro plan lets you use triggers and actions in both directions.
Where do I find my Thinkific API key and subdomain?
Go to your Thinkific dashboard and navigate to Settings > Code & analytics > API. You'll find both your API key and subdomain there. You'll only need these the first time you connect Thinkific to Zapier.
What Flodesk action should I use in Zapier?
Always start with Create/Update Subscriber as your first Flodesk action. Subscribers need to exist in Flodesk before they can be added to segments or workflows, so this step should come first.
Can I automatically enroll someone in a Thinkific course when they join a Flodesk segment?
Yes, but only if you have a Pro Thinkific plan. Set up a zap with the Flodesk trigger (subscriber added to a segment) and the Thinkific action (enroll student in a course).
Can I remove a subscriber from a Flodesk workflow when they cancel a Thinkific subscription?
Yes. Set up a zap with Subscription Cancelled in Thinkific as the trigger and Remove Subscriber from Workflow in Flodesk as the action. Keep in mind that the student must already exist in your Flodesk audience for this zap to work.
Should I build my Flodesk workflow before setting up the zap?
Yes. If you plan to use the zap to trigger a Flodesk workflow, build the workflow in full before creating and testing your zap. This ensures everything is in place when you run your test.
Do I need to get permission before adding Thinkific students to my Flodesk audience?
Yes. Whenever you add students from Thinkific to Flodesk, make sure they've given consent to receive email marketing from you. This is an important step for both legal compliance and list quality.
What do I need before I can connect Thinkific and Flodesk via Zapier?
You'll need an active Flodesk account, a paid Zapier account, a paid Thinkific account, at least one Thinkific product (a course or membership), and at least one segment already created in Flodesk.