
How to connect Honeybook and Flodesk
Overview
HoneyBook is a client management platform for service-based businesses. With the direct Flodesk integration, you can automatically add HoneyBook clients to your Flodesk audience as part of a HoneyBook automation, so new contacts move from inquiry to your email list without any manual work.
This article walks you through connecting the two accounts and setting up the automation action that sends contacts to Flodesk.
What you'll need before you start
An active HoneyBook account on the Essentials or Premium plan (the automation feature required for this integration is only available on these plans)
An active Flodesk account
At least one segment created in Flodesk
How to connect HoneyBook and Flodesk
Step 1: Create a segment in Flodesk for your HoneyBook clients
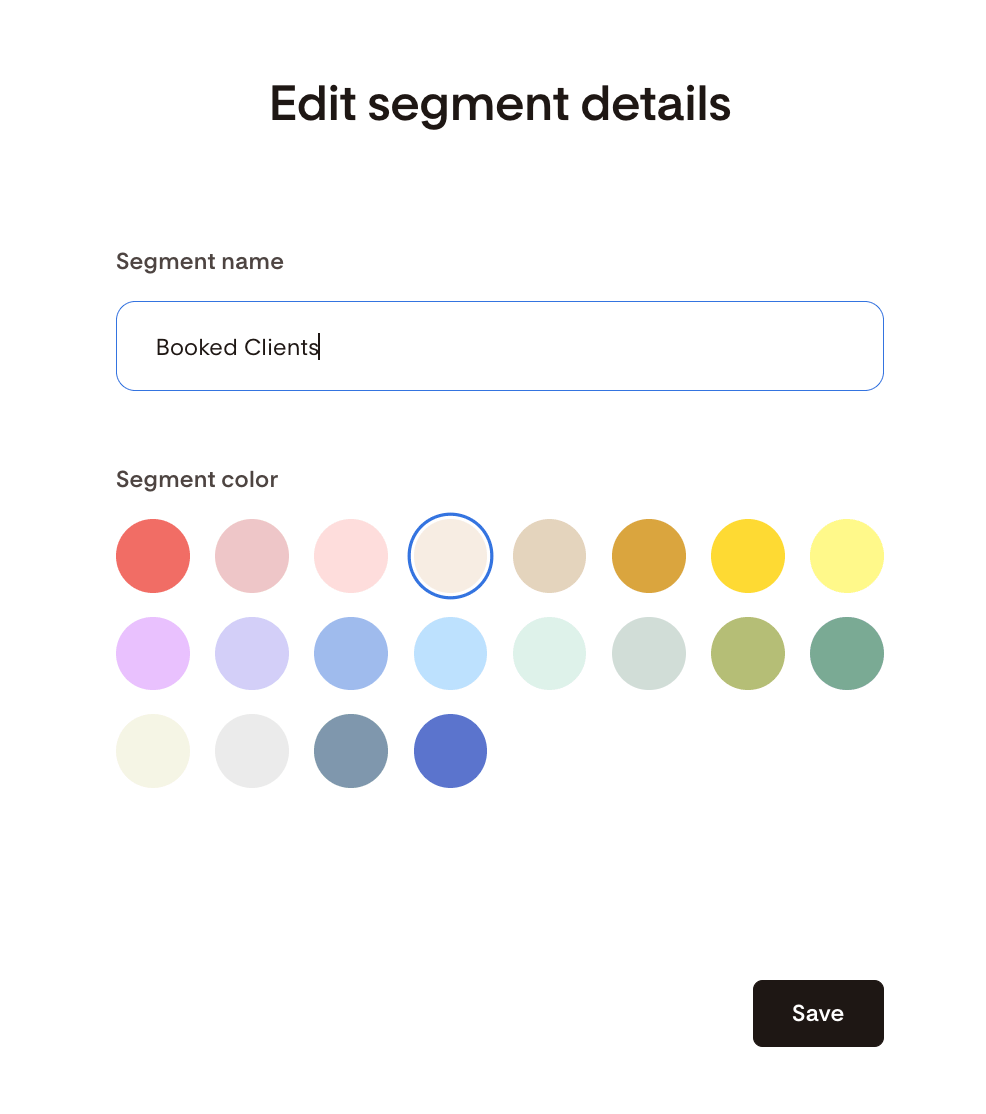
Before connecting the two accounts, create the segment in Flodesk where you want HoneyBook clients to be added. Go to Audience > Segments and create a new segment, or use an existing one if you already have the right segment set up. In this example, we created a new segment called “Booked Clients”.
Step 2: Go to Integrations in Flodesk
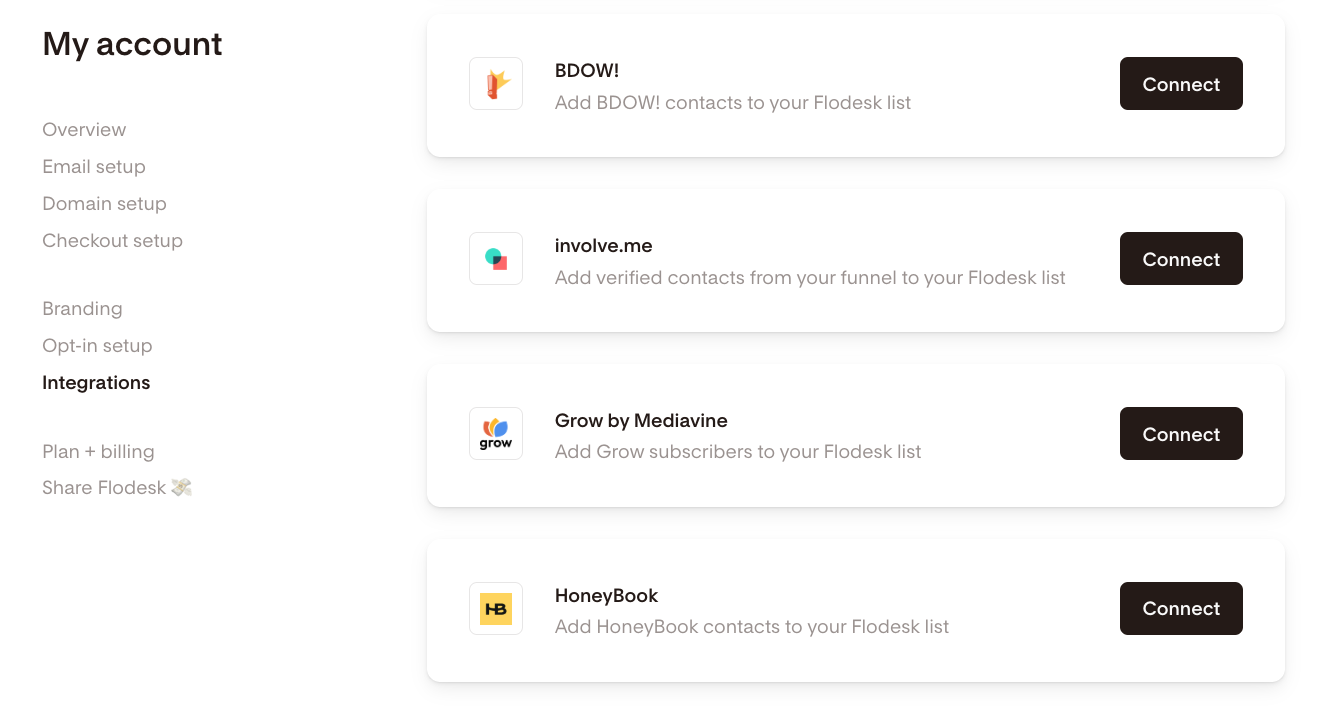
In your Flodesk account, go to My Account > Integrations and click Connect on the HoneyBook integration card.
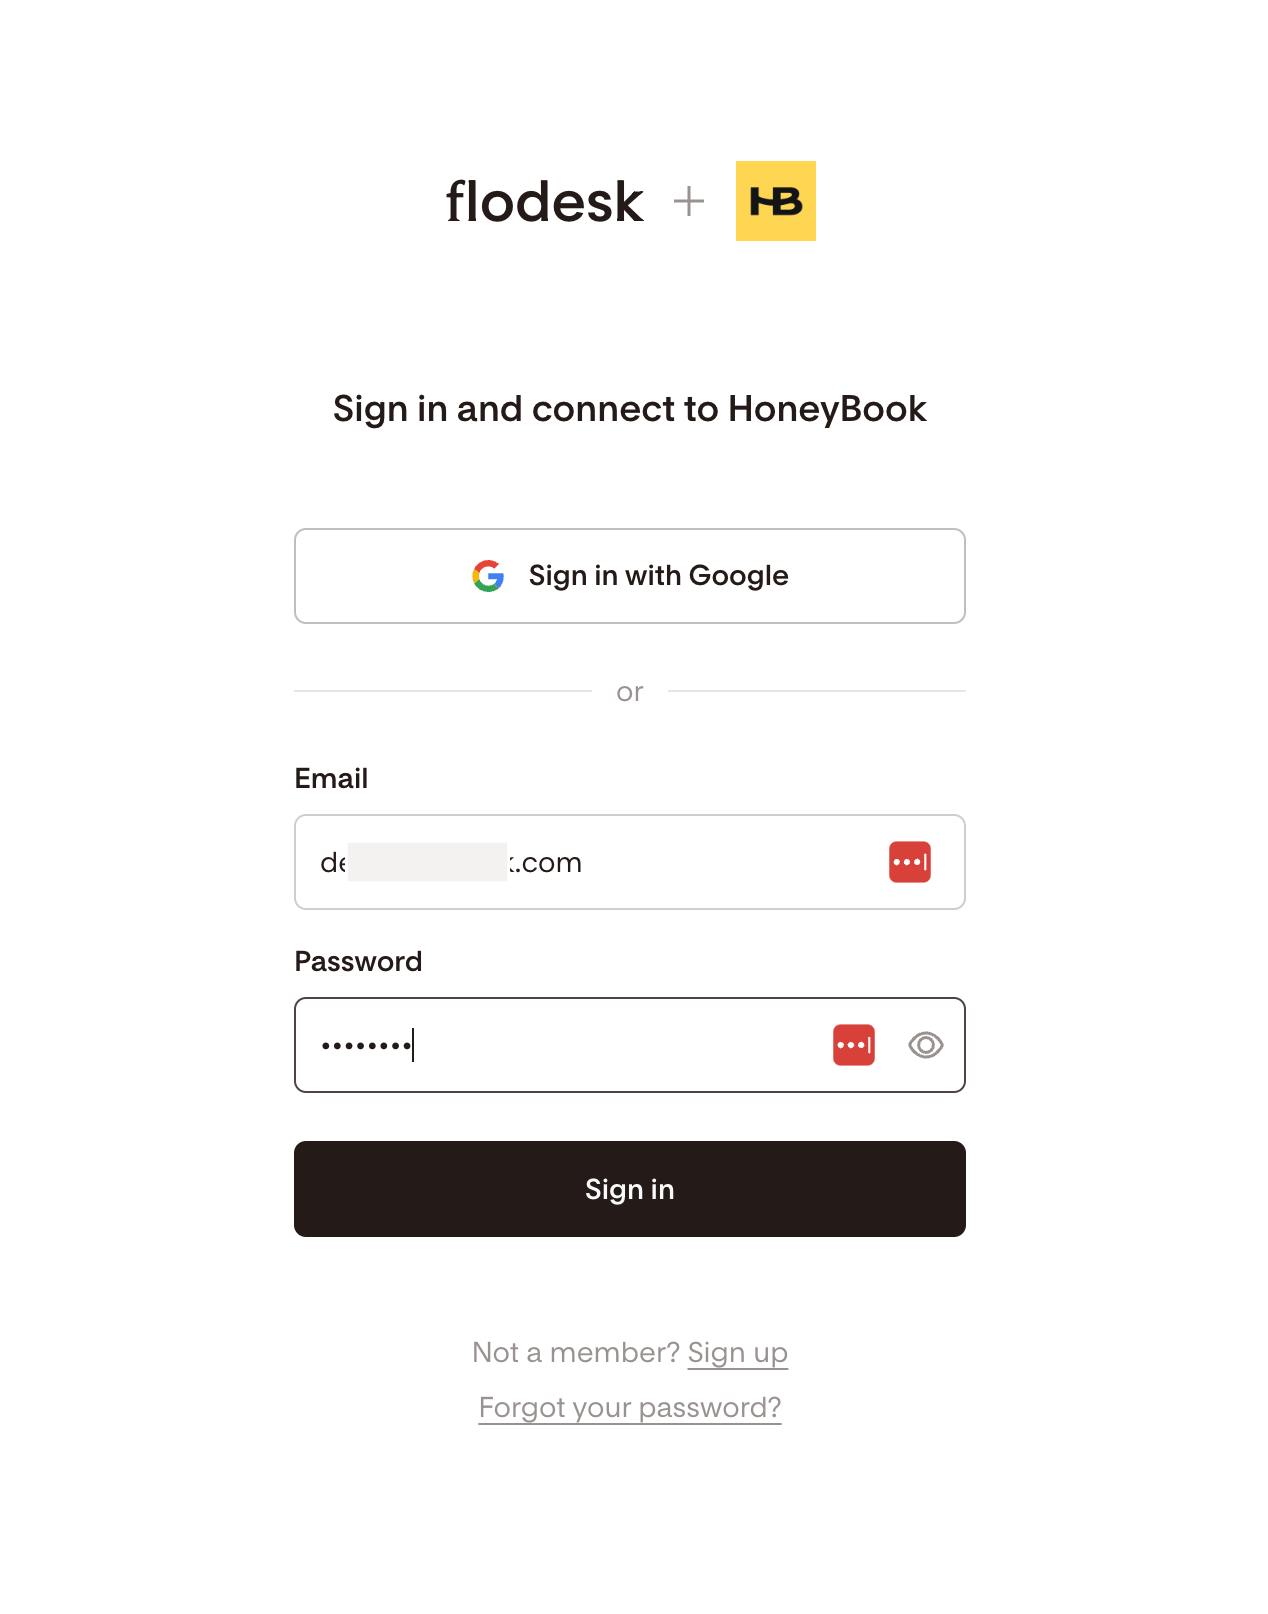
Step 3: Log in to HoneyBook
If you already have a HoneyBook account, sign in. If not, you can sign up for a new account at this step.
Step 4: Connect Flodesk from within HoneyBook
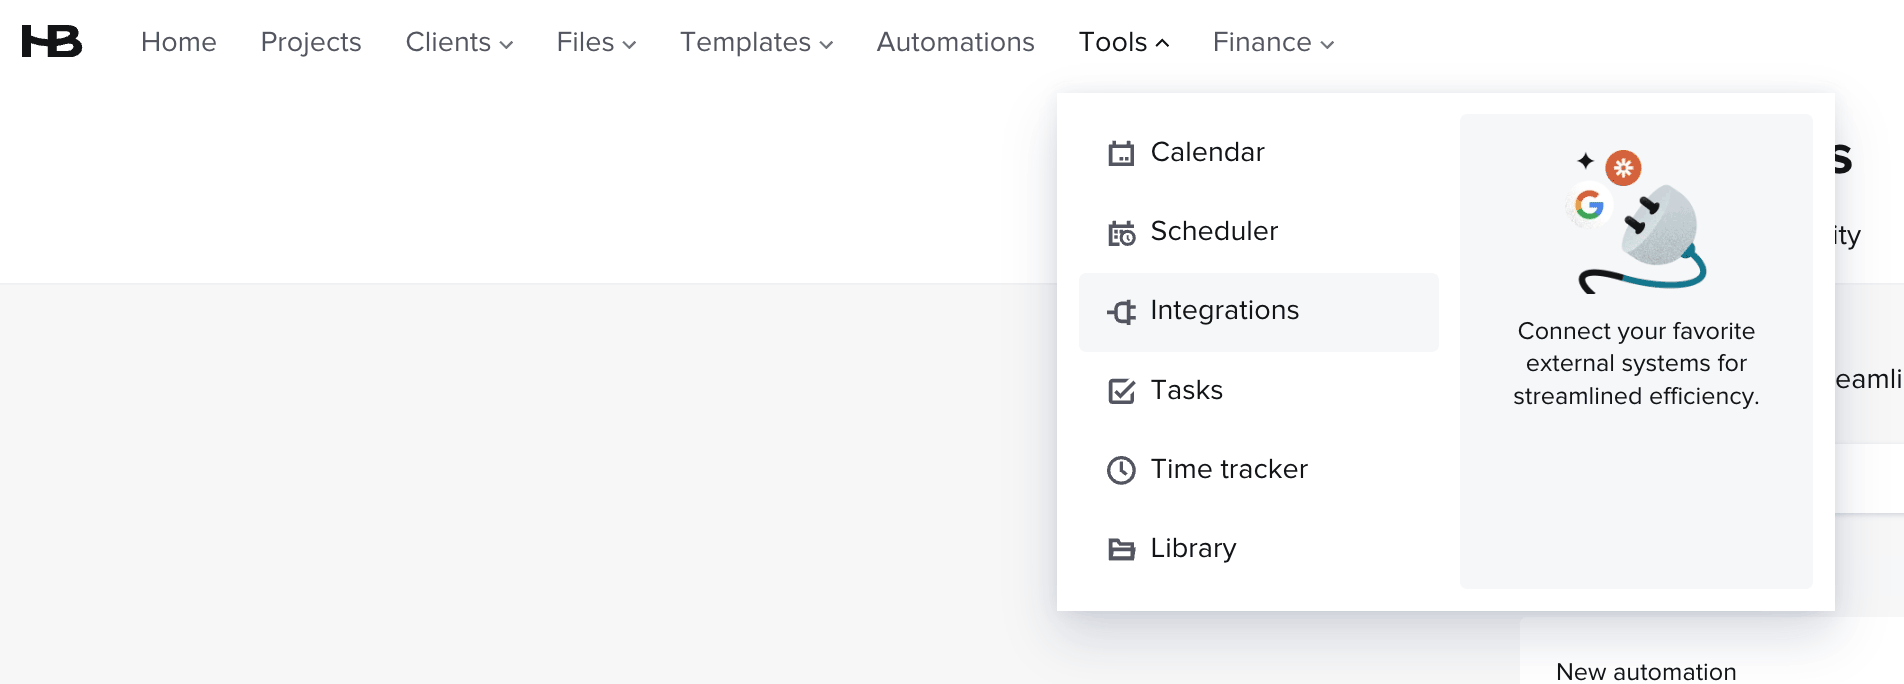
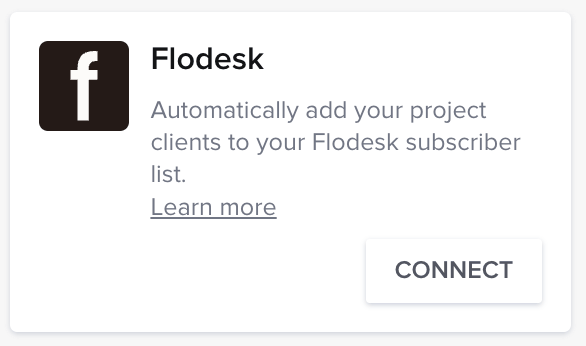
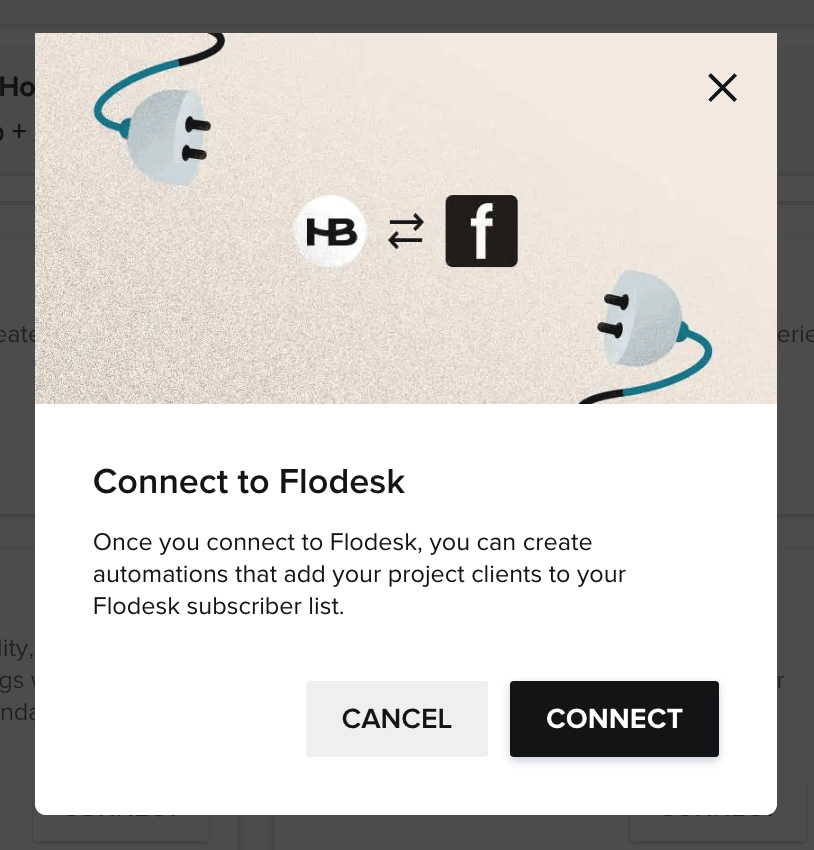
Once you're logged in to HoneyBook, go to Tools > Integrations and click Connect on the Flodesk card.
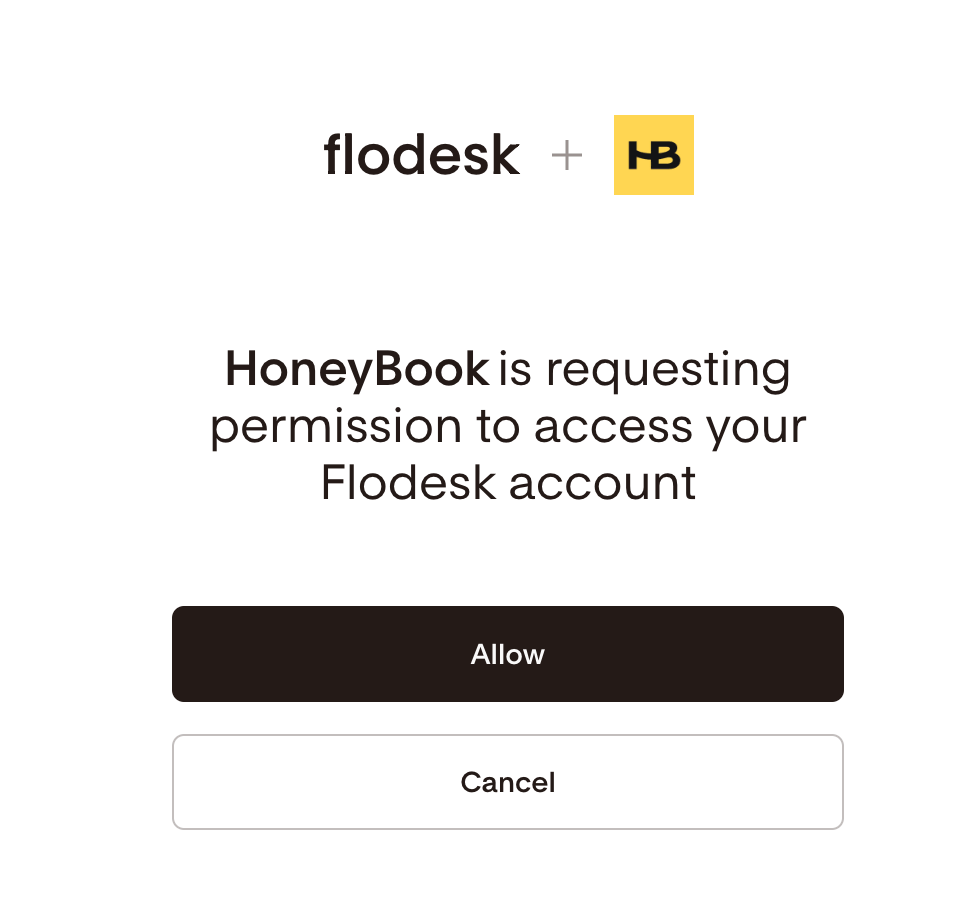
Step 5: Authorize the connection
You'll be prompted to log in to your Flodesk account. Click Allow to authorize HoneyBook to access your Flodesk account.
How to add the Flodesk action to a HoneyBook automation
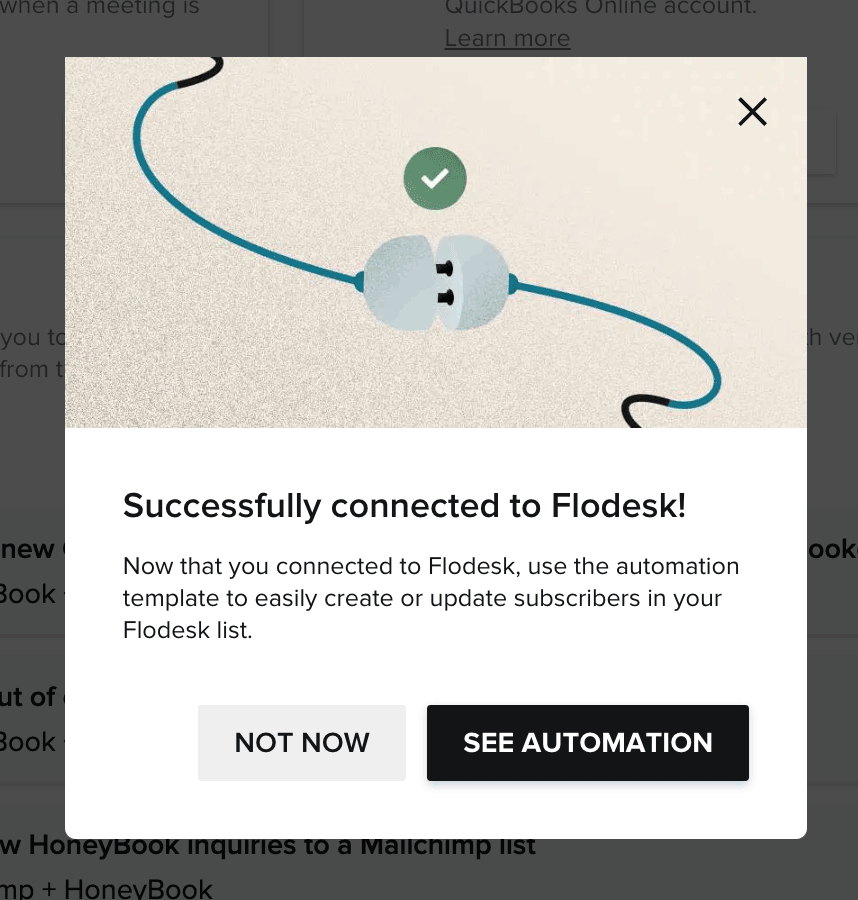
Once the accounts are connected, you can add a Flodesk action to any HoneyBook automation to send contacts to your Flodesk audience automatically.
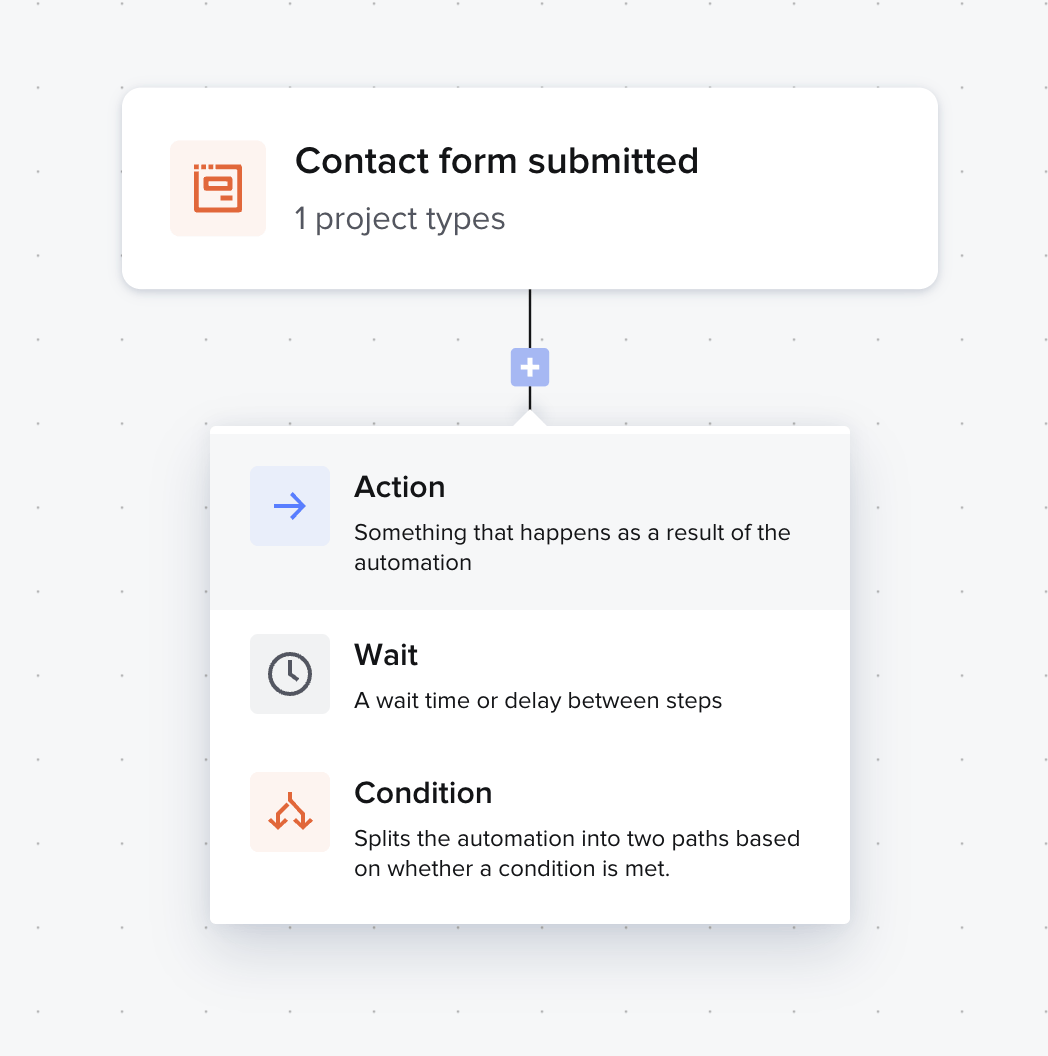
Step 6: Add the action to your automation
In HoneyBook, click the Automations tab
Select the automation you want to edit
Click the + button in the automation workflow
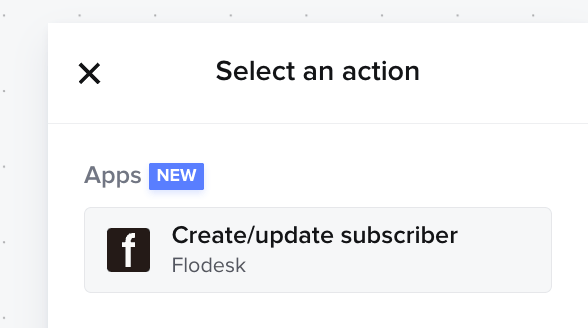
Select Action
Choose Create/update subscriber from the action options
Note: this option only appears if you're using HoneyBook's new automations feature, which is available on Essentials and Premium plans.
Step 7: Configure the action
In the right-hand panel, complete the action setup:
Choose the HoneyBook account to use for this automation
Select Create/update subscriber as the Flodesk action
Map the subscriber's full name and email address from HoneyBook
Select the Flodesk segment (or segments) you want the subscriber added to
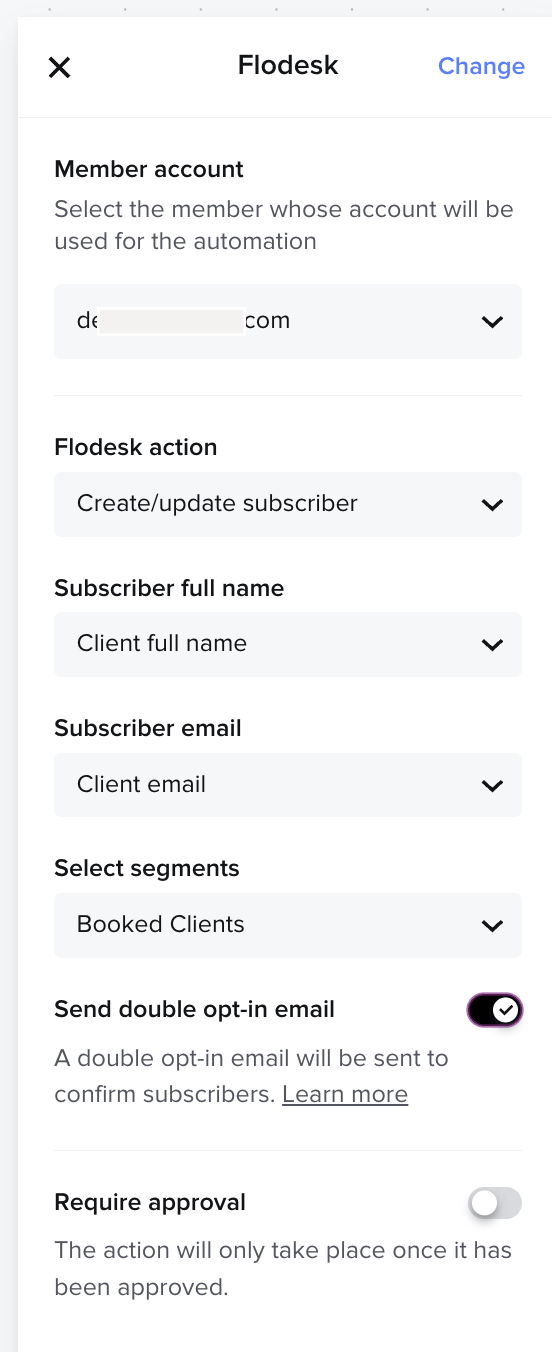
Double opt-in is turned on by default to comply with marketing consent requirements. When enabled, your subscriber will receive a confirmation email from Flodesk asking them to confirm they want to receive marketing emails. Make sure to edit and customize your double opt-in confirmation email and thank you page in Flodesk so it matches your brand before going live.
Step 8: Save the automation
Click Save to apply your changes. The automation will now send contacts to Flodesk whenever the trigger conditions are met.
FAQ
How do I connect HoneyBook to Flodesk?
In your Flodesk account, go to My Account > Integrations and click Connect on the HoneyBook card. Then in HoneyBook, go to Tools > Integrations and click Connect on the Flodesk card. Log in to Flodesk when prompted and click Allow to authorize the connection.
Which HoneyBook plans support the Flodesk integration?
The Create/update subscriber action used in this integration requires HoneyBook's new automations feature, which is only available on the Essentials or Premium plans. It's not available on the Starter plan.
How do HoneyBook contacts get added to Flodesk?
Once the accounts are connected, you add a Create/update subscriber action to a HoneyBook automation. When that automation runs (for example, when a client books or signs a contract), the contact is automatically sent to the Flodesk segment you've specified.
Can I choose which Flodesk segment HoneyBook contacts are added to?
Yes. When configuring the Create/update subscriber action in HoneyBook, you can select one or more Flodesk segments to add the contact to. You can set up different automations to route contacts to different segments based on the type of project or client.
Is double opt-in enabled by default for the HoneyBook integration?
Yes. Double opt-in is turned on by default to comply with marketing consent requirements. When enabled, contacts added through this integration will receive a confirmation email from Flodesk asking them to confirm they want to receive marketing emails. Make sure to customize the double opt-in confirmation email and thank you page in Flodesk so it matches your brand.
Do I need to create a Flodesk segment before connecting HoneyBook?
It's a good idea to create the segment first so it's ready to select when you configure the automation action in HoneyBook. You can create a segment by going to Audience > Segments in your Flodesk account. You can also use an existing segment if you already have the right one set up.
Will my existing HoneyBook contacts be added to Flodesk after I connect the accounts?
No. The integration only applies to contacts who trigger a HoneyBook automation after the connection is set up. Existing contacts won't be synced automatically.
What happens after I connect HoneyBook and Flodesk?
Once connected, the Create/update subscriber option becomes available as an action in your HoneyBook automations. You'll need to add this action to the relevant automation and configure which Flodesk segment contacts should be added to. The integration doesn't automatically send contacts to Flodesk without an automation set up.