How to connect Honeybook and Flodesk
A step-by-step guide on how to connect your Honeybook account to Flodesk
In this article, we’ll show you how to connect your Honeybook account to Flodesk in minutes via our direct integration.
Things you’ll need for the integration:
Honeybook account (Essentials or Premium plans)
Flodesk account
At least one segment in Flodesk where you want to add clients from Honeybook
Connecting Honeybook and Flodesk
Start by creating the segment you want to add clients to. Next, connect your Honeybook account to Flodesk.
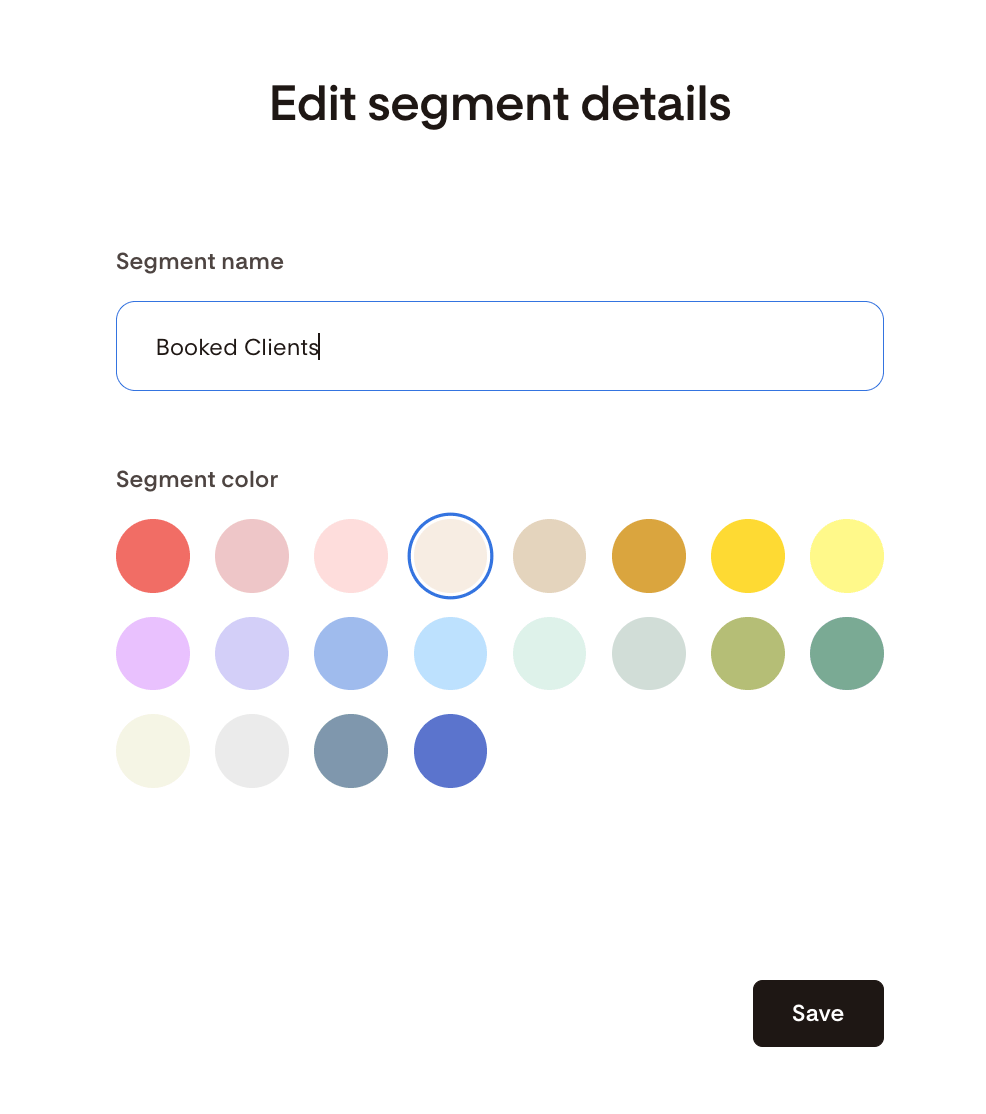
Step 1. Within your Flodesk account, create a new segment by navigating to your Audience > Segments dashboard. In this example, we created a new segment called “Booked Clients”.
Note: you can also use an existing segment if you have one you’d like to use!
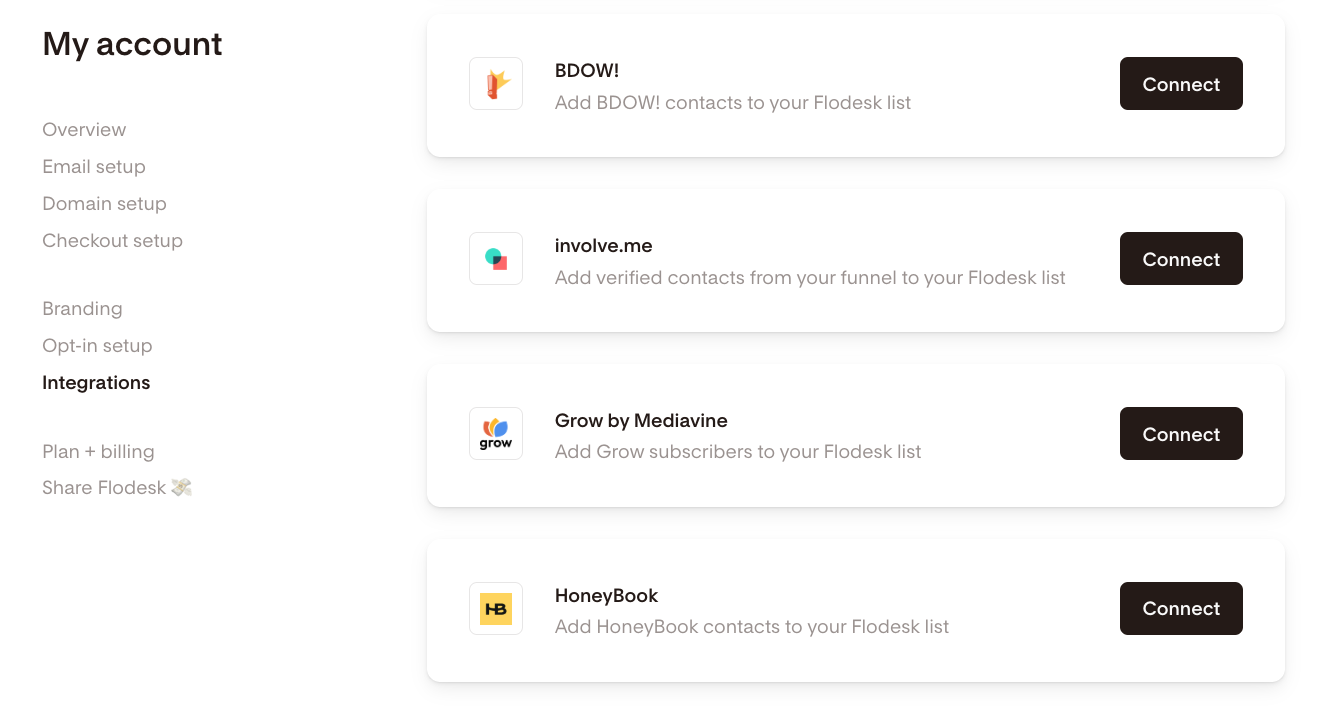
Step 2. Go to Account settings > Integrations and click the Connect button on the Honeybook integration card.
Step 3. If you have a Honeybook account, sign in. Otherwise, sign up for a new account.
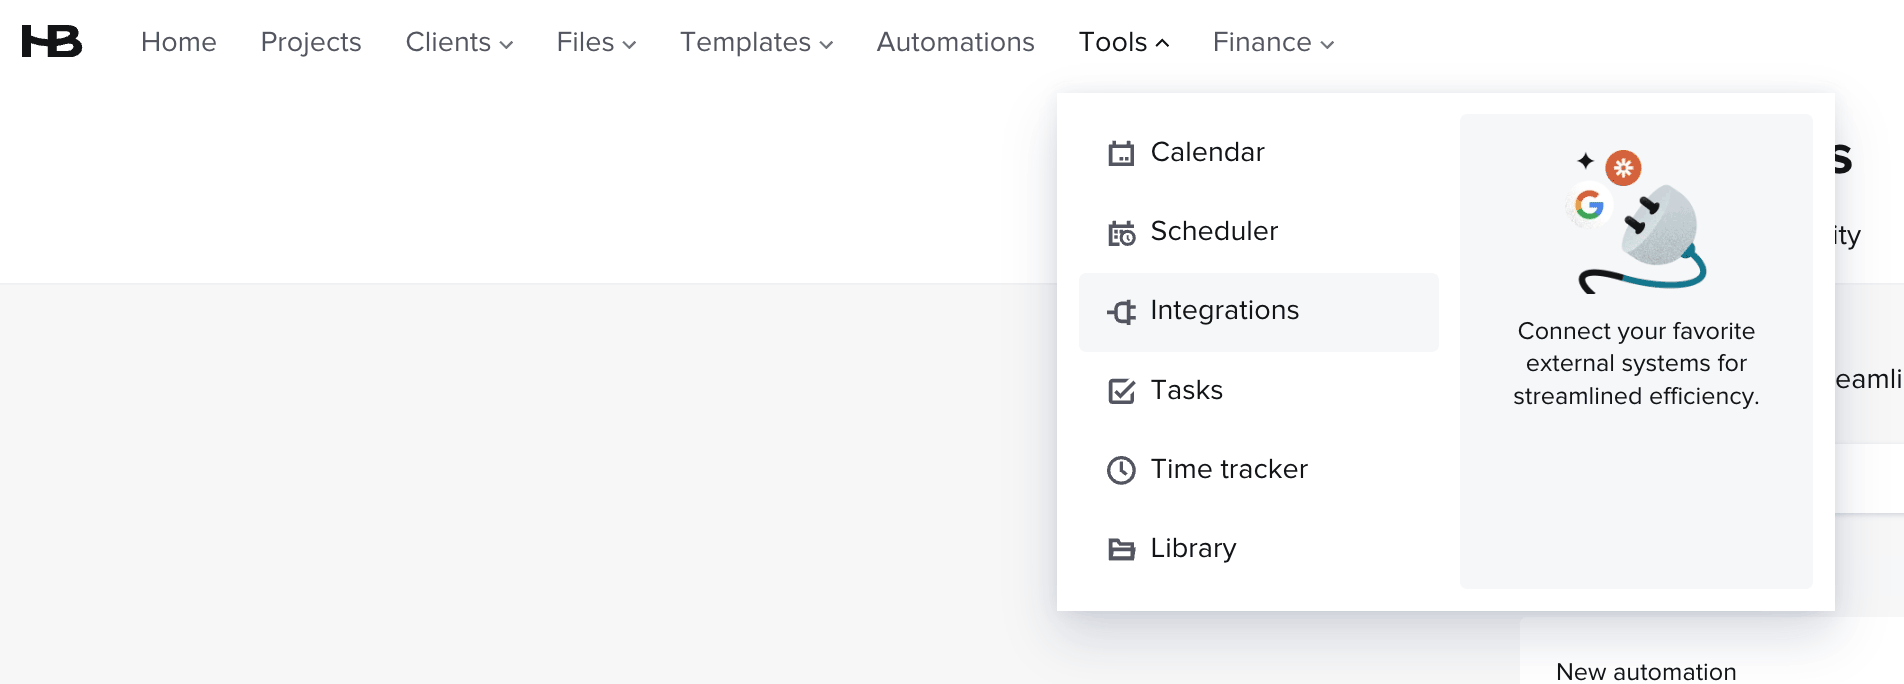
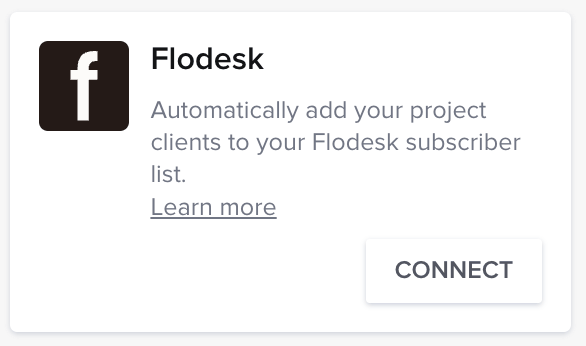
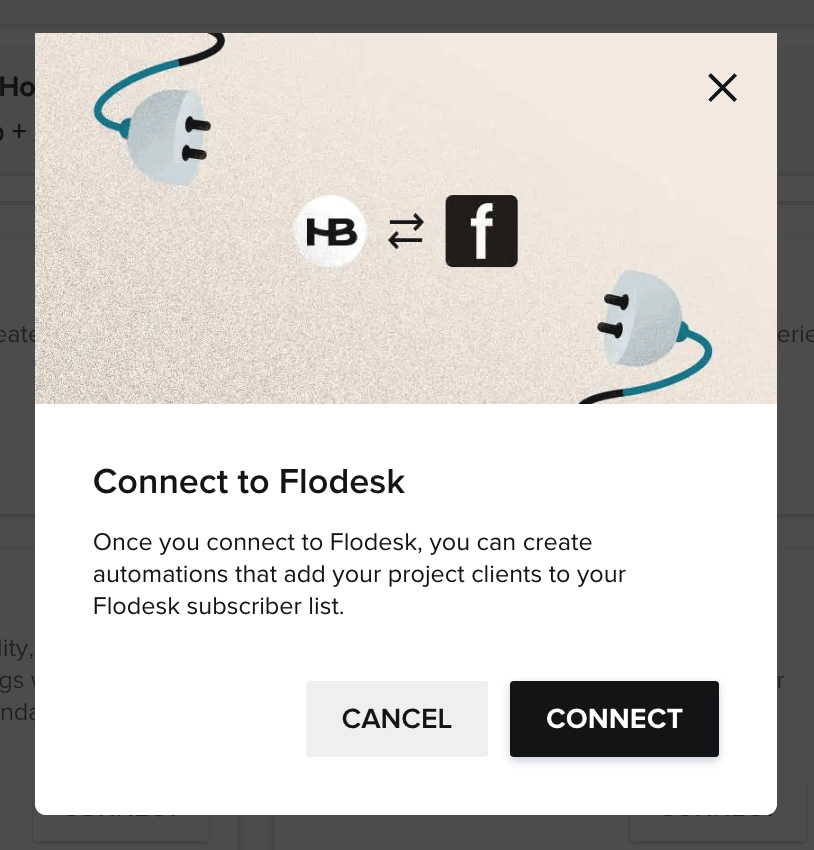
Step 4. Once you’re logged into your Honeybook account, go to Tools > Integrations and click Connect on the Flodesk card.
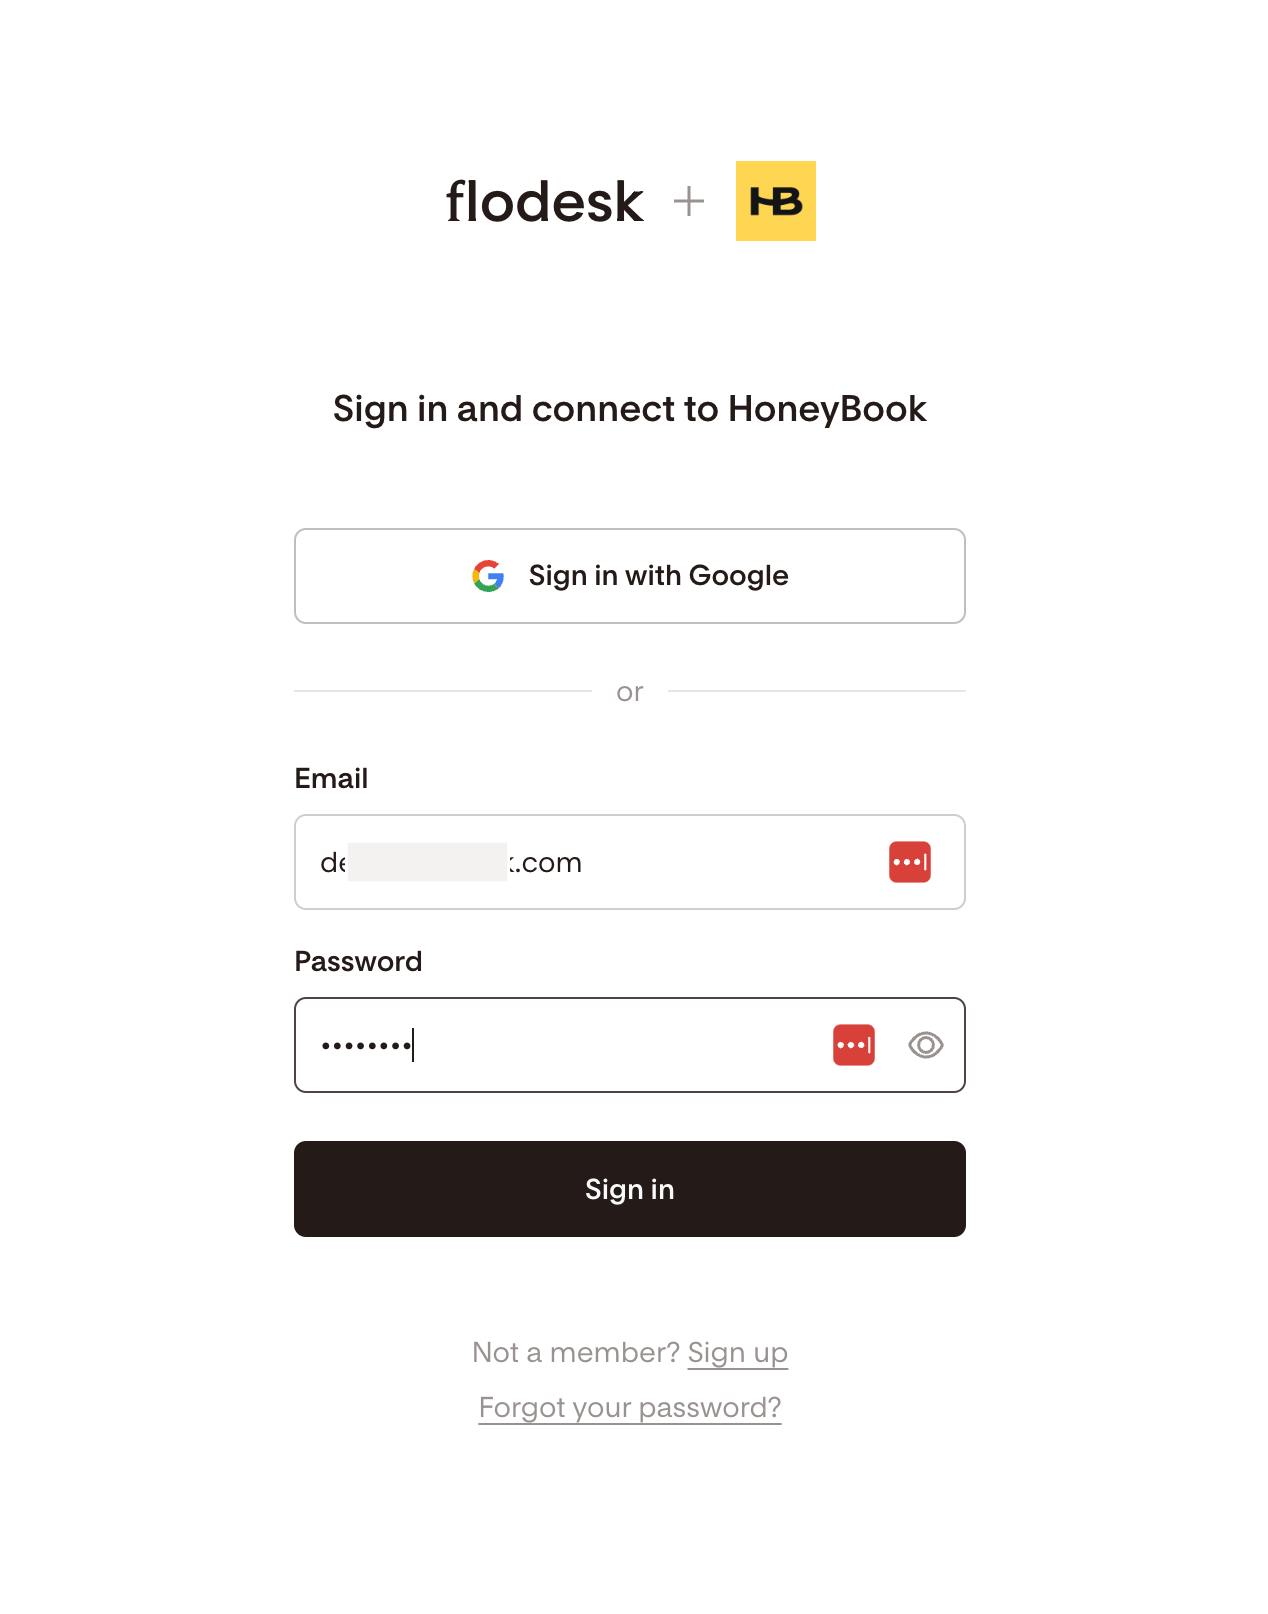
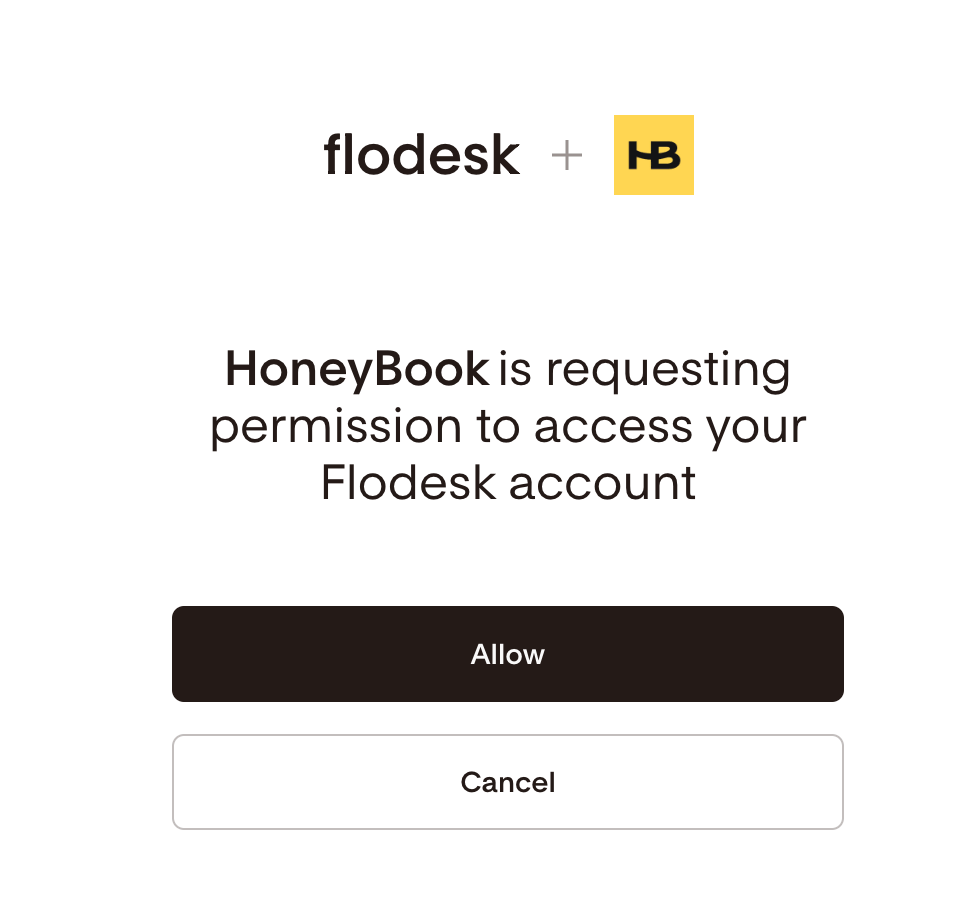
Step 5. Log in to your Flodesk account and click Allow to authorize Honeybook to access your Flodesk account.
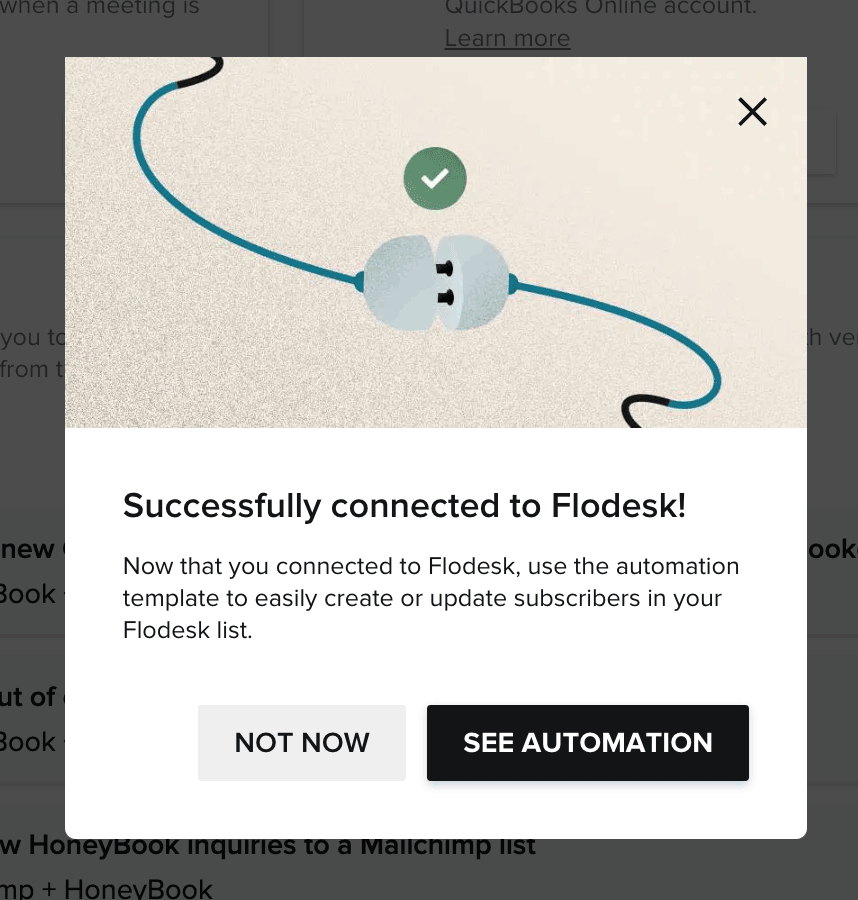
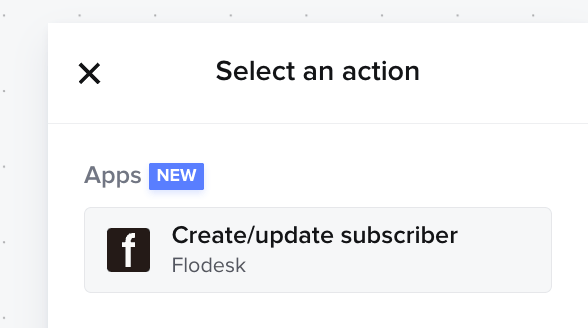
Step 6. Once your Flodesk account is connected, you will be able to access the “Create/update subscriber” action in your Honeybook automations.
To do this in Honeybook
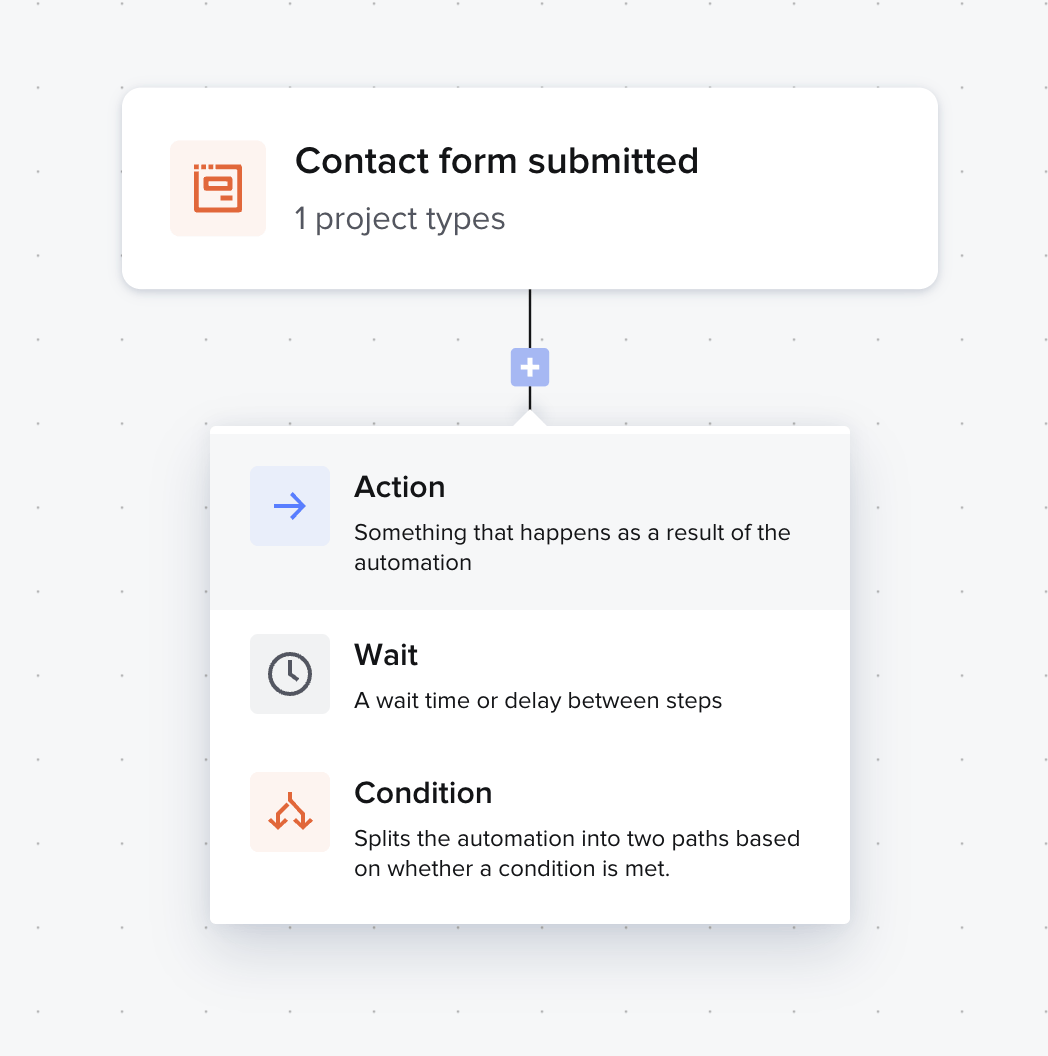
Click the Automation tab
Select an automation
Click the + in the automation workflow
Select Action
Select “Create/update subscriber” option.
Note: you must be using HoneyBook’s new automations feature for this option to appear (available to members on HoneyBook Essentials or Premium plans).
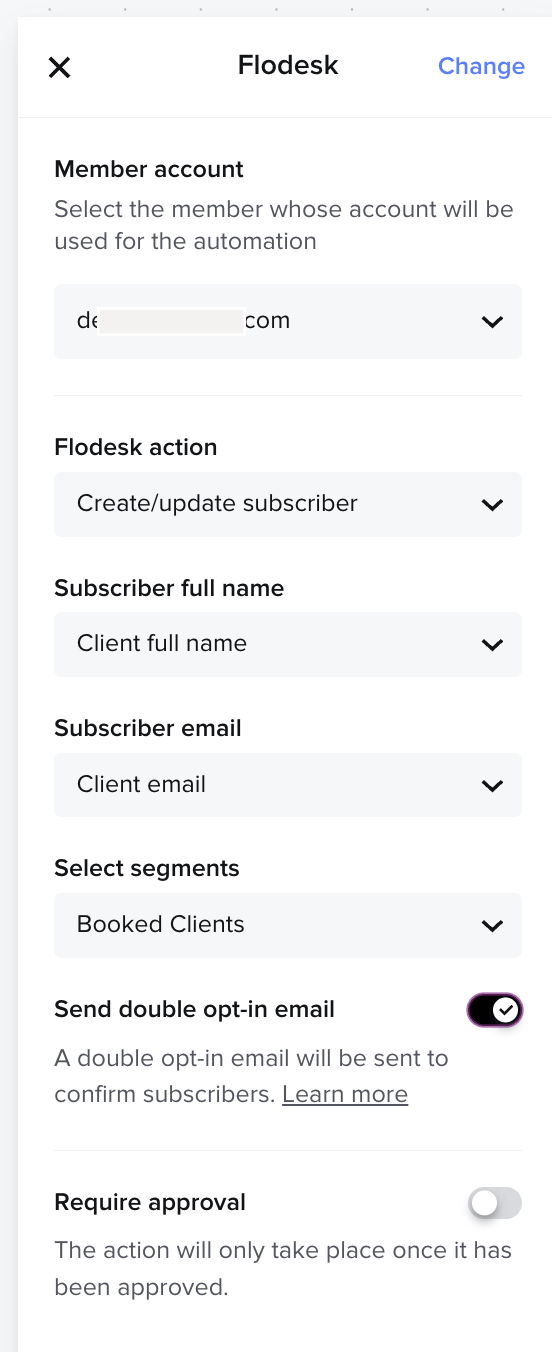
Step 7. On the right hand panel, complete the automation setup.
First, choose the Honeybook account that will be used for this automation, the Flodesk action, Subscriber’s full name, Subscriber email, and then which Flodesk segment(s) you’d like the subscriber to be added to.
In order to comply with marketing consent requirements, double opt-in will be defaulted to on. When double opt-in is on, your subscriber will receive a confirmation email from Flodesk asking them to confirm they want to receive marketing emails.
Remember to edit and customize the double opt-in confirmation email and thank you page in Flodesk!
Step 8. Save the automation.
Summary
To connect your Honeybook account to Flodesk:
Log into your Honeybook account
Go to Tools > Integrations
Select Flodesk from the available apps
Click Connect to Flodesk
Enter your Flodesk login details and click Allow to authorize Honeybook to access your Flodesk account
Once connected, you can use the Create/update subscriber action within an automation to send a Honeybook contact over to selected segments in Flodesk

